Transforming an Heirloom: A Mid-Century Modern China Cabinet Makeover Story
Embark on a captivating journey to revitalize a cherished family heirloom! Discover the step-by-step process of breathing new life into a mid-century modern china cabinet, proving that even extensive damage can be overcome with creativity and a few essential materials. This comprehensive guide will inspire you to tackle your own furniture restoration projects, blending preservation with contemporary style.
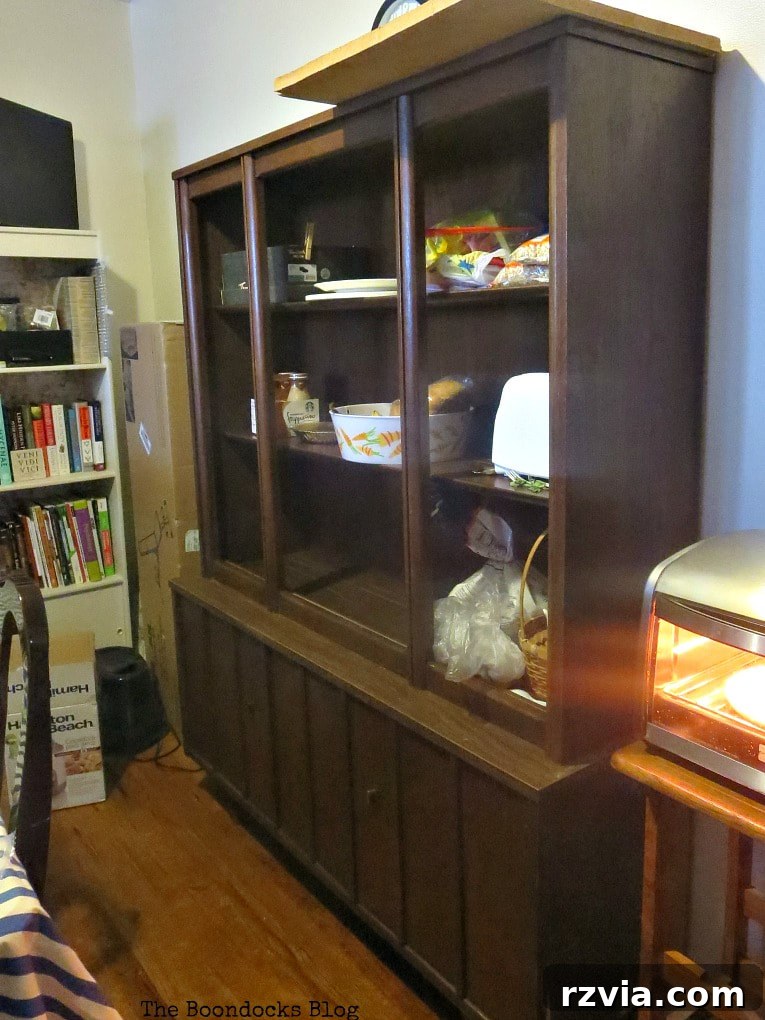
This particular project, a passionate endeavor to revive a piece of my family’s history, spanned several months. What initially seemed like a straightforward refresh quickly evolved into an intricate challenge, demanding patience, problem-solving, and a shift in vision. The star of this story is a distinguished mid-century modern china cabinet, a fixture in my family’s home since the 1960s. I vividly recall its presence from my earliest memories after we first moved to the USA, a silent witness to countless family gatherings and evolving decor trends. My connection to this piece runs deep, rooted in decades of personal history.
The decision to undertake this china cabinet makeover wasn’t merely a desire for a fresh look; it was an absolute necessity. Time had taken its toll, and the cabinet, despite its sentimental value, desperately needed intervention to prevent further deterioration and integrate gracefully into modern living spaces.
Disclosure: I was compensated for doing this post with product. However, all the opinions stated here are my own. I only use products I love and would recommend to my viewers.
Essential Materials for This Mid-Century Modern China Cabinet Transformation
Disclosure: This post contains affiliate links for your shopping convenience. If you purchase any of these products through the links, we receive a small commission at no extra charge to you. You can find our full disclosure here.
- Hope’s 100% Pure Tung Oil, Moisture Resistant Wood Finish for All Fine Woods, Furniture and Antiques
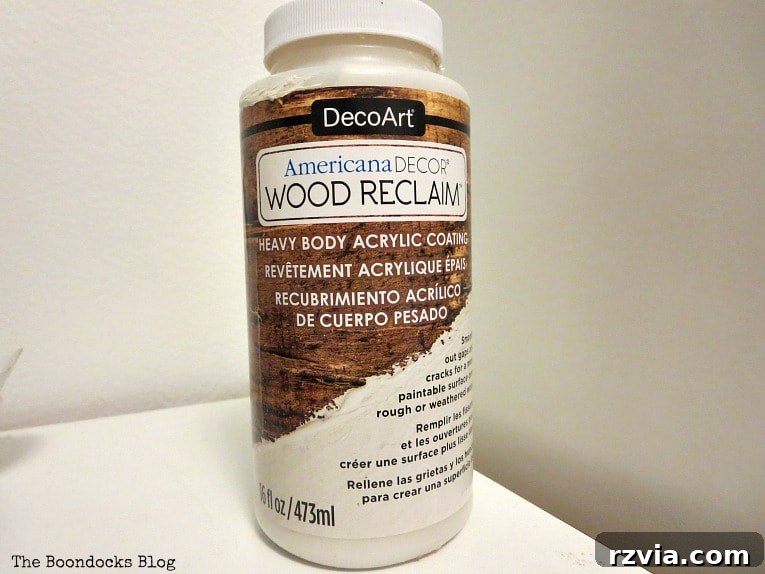
- DecoArt Americana Decor Wood Reclaim 16oz
- DecoArt ADC-01 Americana Chalky Finish Paint in Everlasting
- Mod Podge Waterbase Sealer, Glue and Finish in Matte Finish
- DecoArt Varnish in Ultra Matte
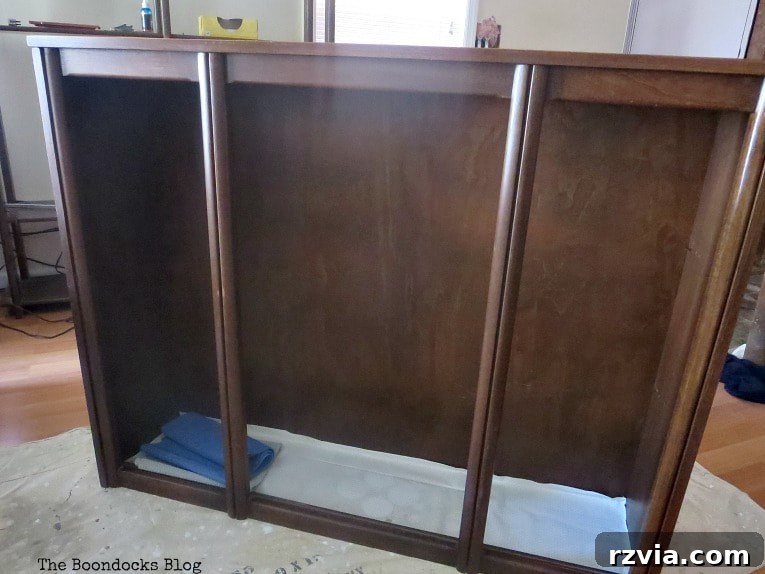
Growing up with this china cabinet, I distinctly remember a period of indifference towards it. Its classic lines, while elegant, didn’t capture my youthful imagination. However, as I matured and began to curate my own living spaces, I developed a profound appreciation for its distinctive smooth, clean lines and the inherent quality of mid-century modern design. The cabinet originally featured heavy, yet functional, glass sliding doors, which were a hallmark of its era and added to its utilitarian appeal.
Upon my return to New York last fall, tackling this cabinet became a priority on my upcycling list. My initial vision was simple: to preserve and enhance the rich, beautiful wood tones with a subtle sheen, allowing its natural beauty to shine through without significant alteration. This seemingly straightforward plan set the stage for a much more involved and ultimately rewarding transformation.
The Transformation Process: A Detailed Guide
Step 1: Initial Wood Treatment with Tung Oil
My journey began with the application of Tung oil to the entire piece. I meticulously rubbed the oil onto the wood using a clean rag, ensuring even coverage. After allowing it to penetrate for about an hour, I wiped away the excess. This process was repeated once more, aiming to nourish the wood and bring out its inherent warmth and grain. Tung oil is renowned for its ability to create a durable, water-resistant finish while highlighting the natural beauty of wood, making it an ideal choice for a cherished antique.
Discovering the Cabinet’s Legacy: Holman Furniture
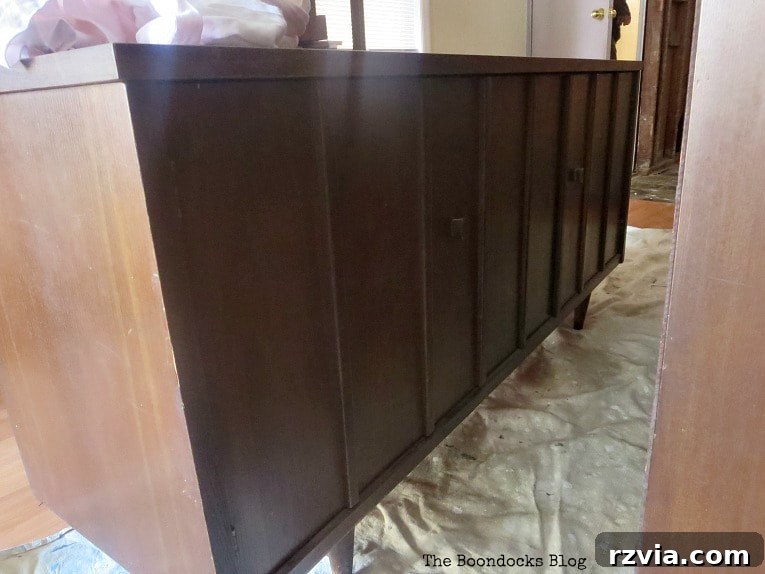
As I delved deeper into the cabinet’s construction, opening the bottom doors revealed a utensil drawer, and within it, a small metal label: “Holman Furniture, Pittsburg Texas.” Intrigued by this discovery, I embarked on an online search for similar pieces, but to my surprise, found very little information. This raised questions about the cabinet’s rarity and history.
Fortunately, I have an incredibly knowledgeable friend, Ann Marie from the blog Iris Abbey. She enlightened me about Holman Manufacturing, describing it as a “family-owned business, believed to be founded by Danish immigrants, Holman Manufacturing existed from the early 1900s to sometime in the 1990s. They sold their furniture to higher-end department stores.” This revelation profoundly impacted my perception of the cabinet, underscoring its historical significance and inherent value, making its preservation even more crucial.
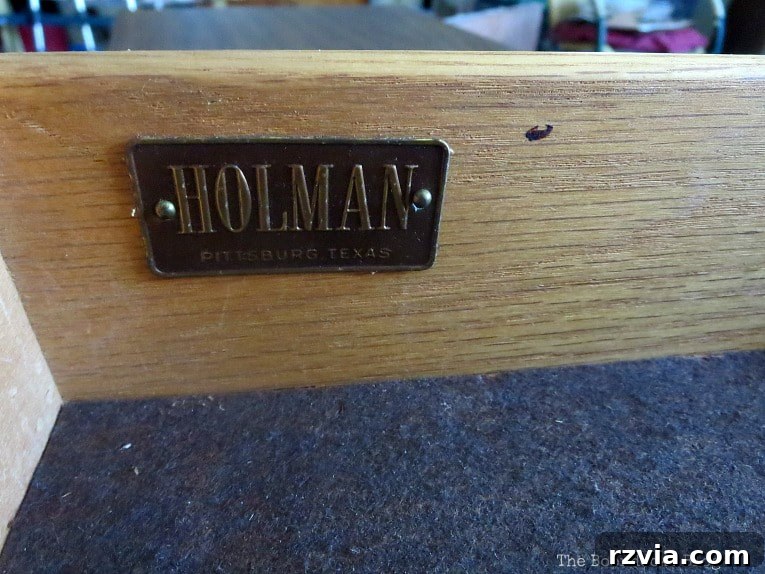
Here, we see the interior of the lower cabinet, with the utensil drawer nestled in the upper left-hand side. Despite some unavoidable dust from decades of use, I was immensely proud after applying the Tung oil to these interior surfaces, believing the toughest part was behind me. Little did I know, a significant challenge awaited just around the corner, poised to derail my initial plans for a simple, wood-only restoration.
The Unforeseen Challenge: Damaged Veneer
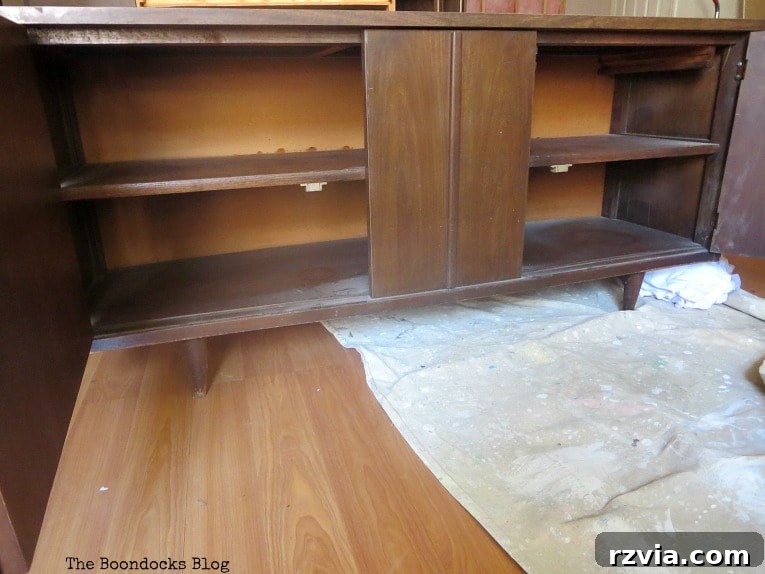
My enthusiasm quickly deflated when I encountered this sight: the bottom left-hand side of the cabinet, where the veneer was extensively damaged and peeling. I attempted to salvage it by carefully nailing down the loose pieces, but my efforts proved futile. The veneer was too brittle and fragmented, refusing to reattach securely. This moment marked a critical turning point in the makeover process.
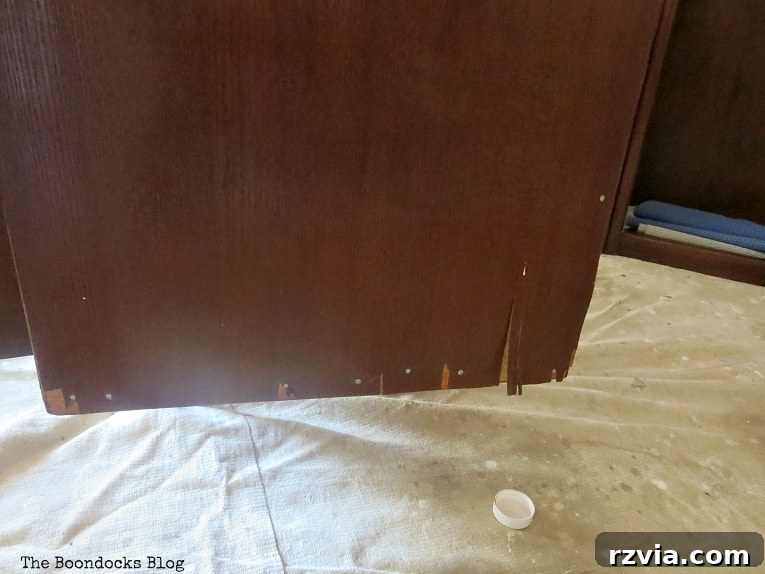
In fact, as I tried to work with it, more and more pieces of the delicate veneer detached, leaving me disheartened and at a loss for how to proceed. The extent of the damage was heartbreaking, especially after my initial hopes for a quick and simple restoration. This setback forced me to pause and re-evaluate my entire approach to the cabinet’s transformation.
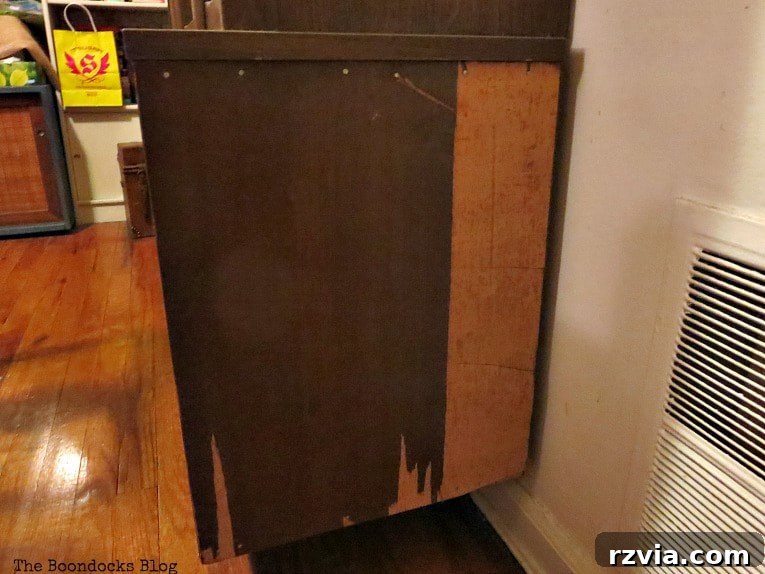
For the better part of three months, the cabinet sat untouched, a testament to my indecision and growing dismay. I scoured the internet for solutions, finding an excellent post from The Navage Patch on veneer repair. While admirable, Greg’s advanced skills were beyond my current capabilities. I realized I needed a more accessible, yet effective, method to address the severe damage.
Step 2: Repairing the Veneer with Wood Reclaim
My chosen solution was a wood reclaim product, which I meticulously applied to even out the damaged side of the cabinet. This process was time-consuming, requiring approximately five coats to achieve a smooth, uniform surface that effectively masked the imperfections left by the missing veneer. While wood reclaim worked wonders, a quality wood filler could likely achieve similar results, offering an alternative for those facing comparable veneer issues.
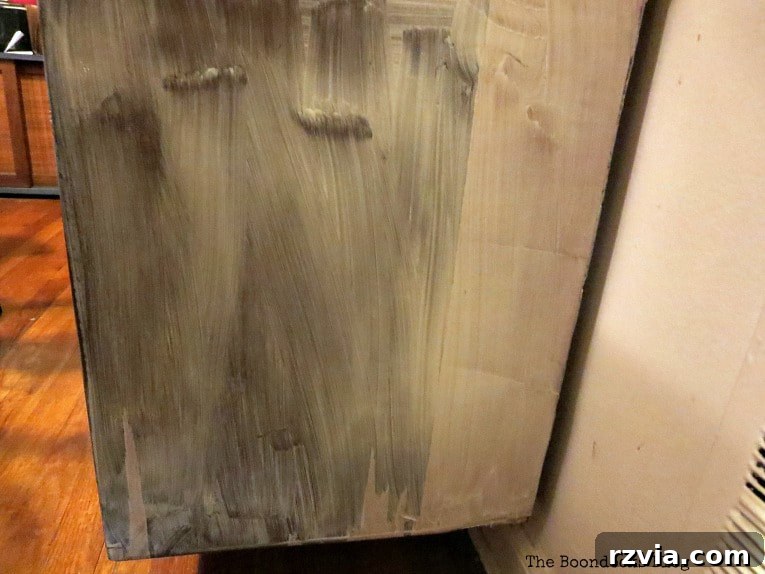
Step 3: Strategic Painting to Conceal and Complement
Once the wood reclaim had dried and the surface was adequately prepared, I knew leaving it in that state was not an option. The unevenness, though improved, still required a cosmetic finish. My goal remained to preserve as much of the cabinet’s original wood as possible, especially its beautiful walnut grain. Therefore, I made the strategic decision to paint only the sides and the top of the cabinet.
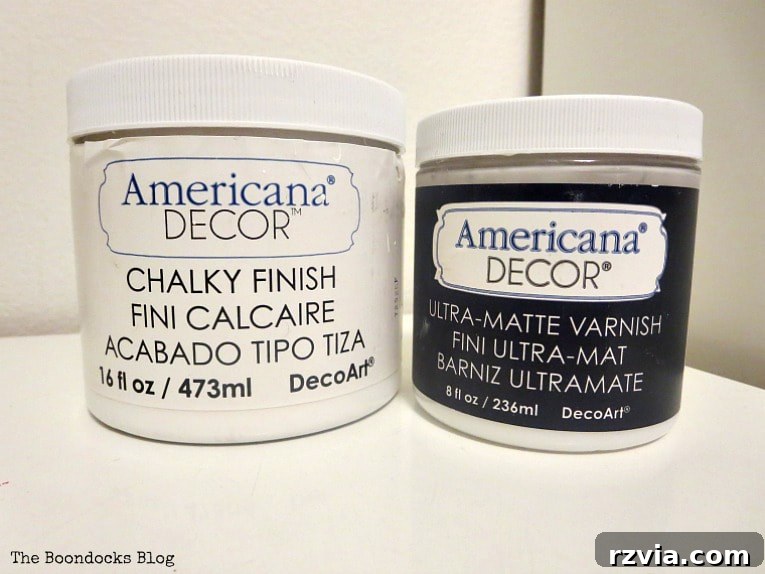
For this, I used Americana Chalky Finish Paint in “Everlasting,” a soft, versatile white that has become my go-to color for refreshing furniture. This choice allowed me to beautifully conceal the repaired veneer sections while providing a fresh, clean contrast to the unpainted wood. It was a careful balance between restoration and aesthetic enhancement, ensuring the painted areas complemented rather than overwhelmed the cabinet’s natural character.
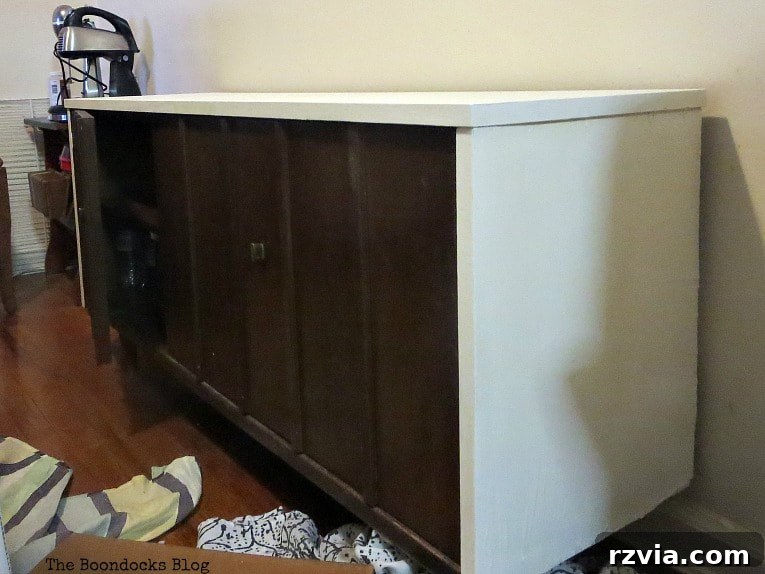
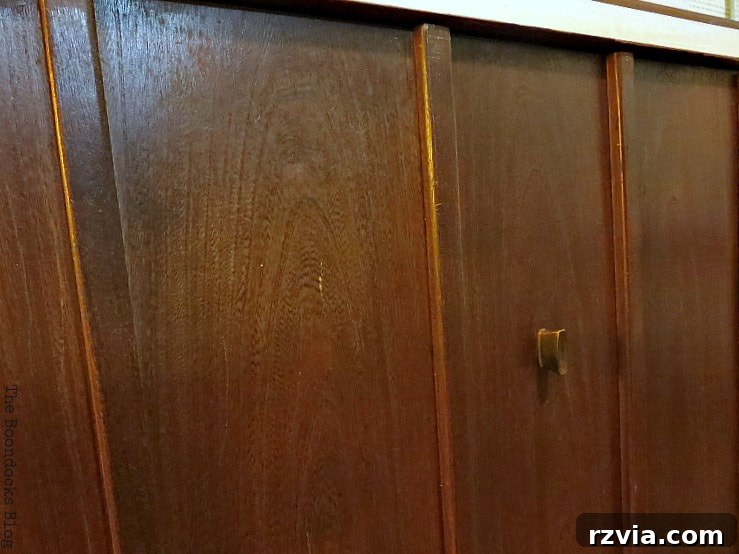
Indeed, painting the beautiful walnut grain of the cabinet’s front was simply out of the question. The rich, intricate patterns of the wood were too precious to cover. My aim was always to honor the piece’s original craftsmanship where it was still intact, letting its natural elegance speak for itself while cleverly disguising the areas that had succumbed to age and damage. This careful selection ensured the cabinet retained its authentic mid-century charm.
Step 4: An Innovative Solution for the Upper Cabinet Doors
The top half of the china cabinet presented a unique challenge. While traditionally used for display, my practical needs dictated its use as discreet storage. My daughter, a passionate baker, had accumulated an impressive array of gadgets and supplies, far exceeding what a simple display cabinet could artfully present. The original glass sliding doors, transparent by design, would only showcase clutter, a visual cacophony I wished to avoid. I considered fabric, but there was no practical way to install it cleanly within the existing structure.
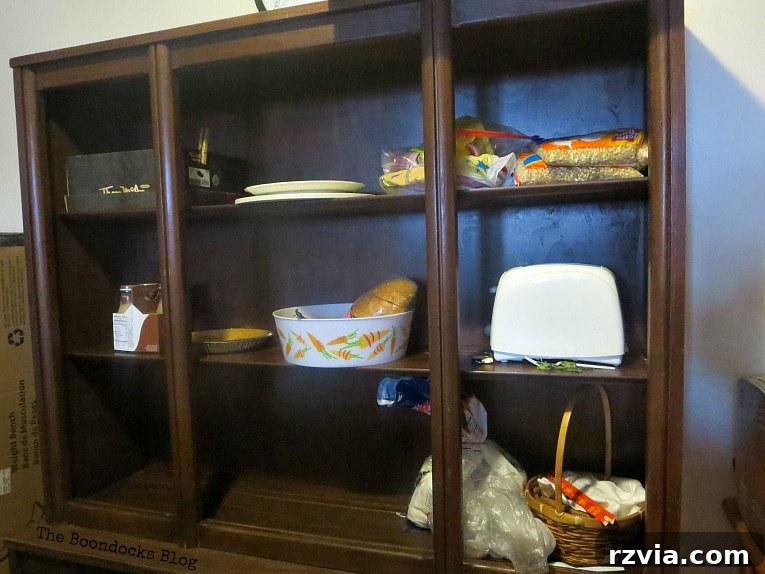
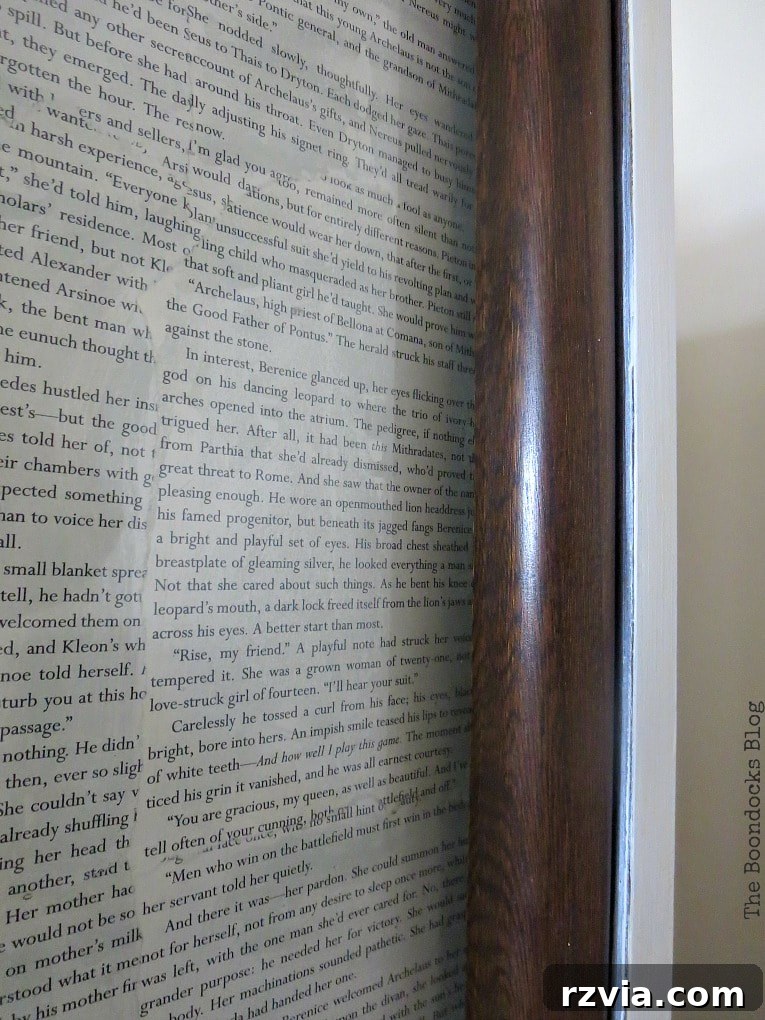
My creative solution was to decoupage book pages onto the inside of the glass doors. This ingenious method served a dual purpose: it effectively obscured the contents of the cabinet, transforming it into a neat storage unit, while simultaneously adding a unique, neutral, and aesthetically pleasing texture to the doors. Using Mod Podge, I carefully adhered the book pages to the interior glass surfaces, ensuring a smooth, bubble-free finish. This allowed me to hide my daughter’s baking tools while maintaining easy access to the glass handles on the exterior.
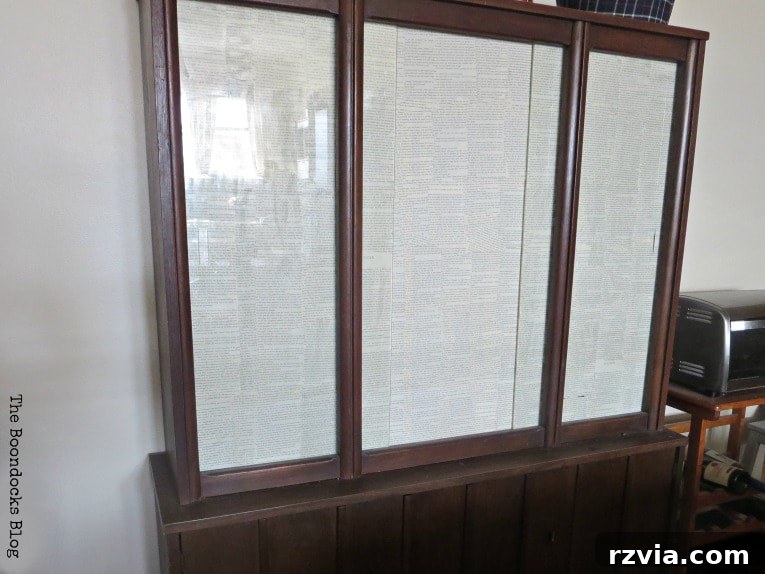
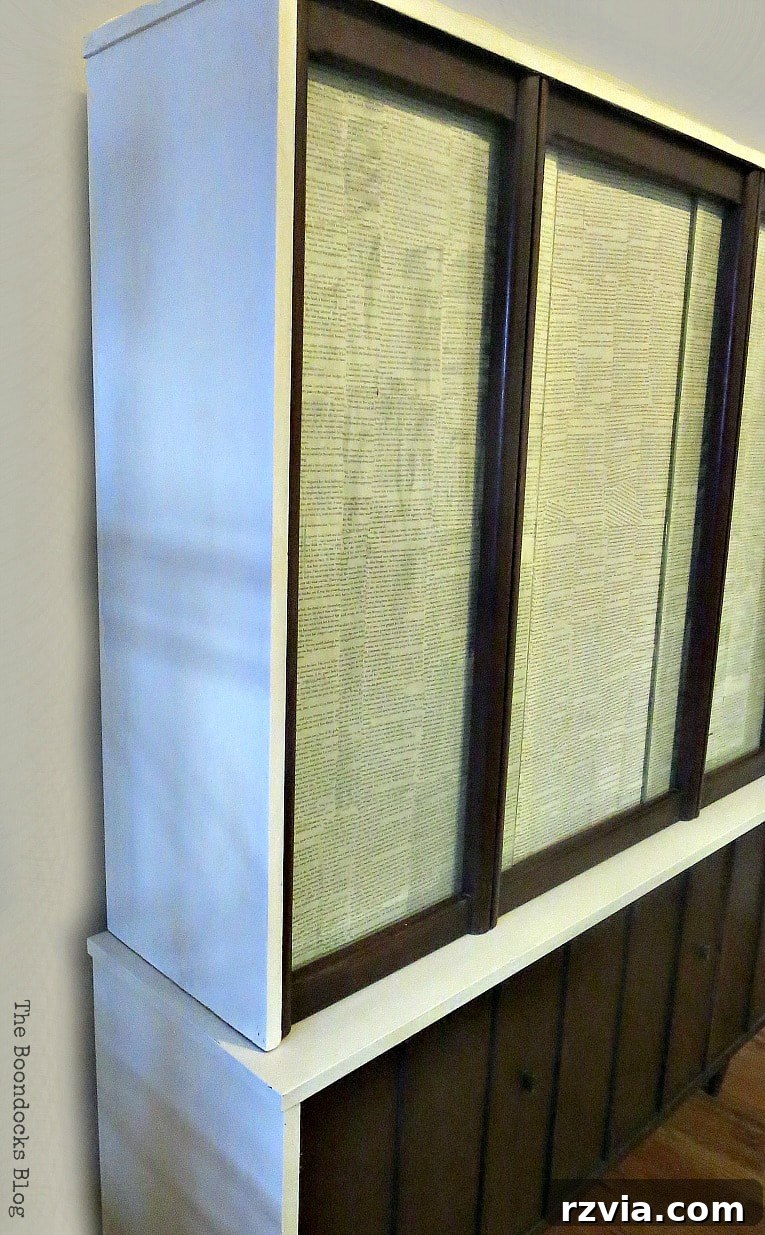
To further enhance the cabinet’s refreshed aesthetic and create a cohesive look, I made the deliberate choice to paint the sides and top of the upper cabinet white, mirroring the treatment of the lower section. This decision was crucial in unifying the piece, ensuring that despite its two distinct functions and varied surface treatments, it presented as a singular, thoughtfully restored item rather than a collection of disparate elements.
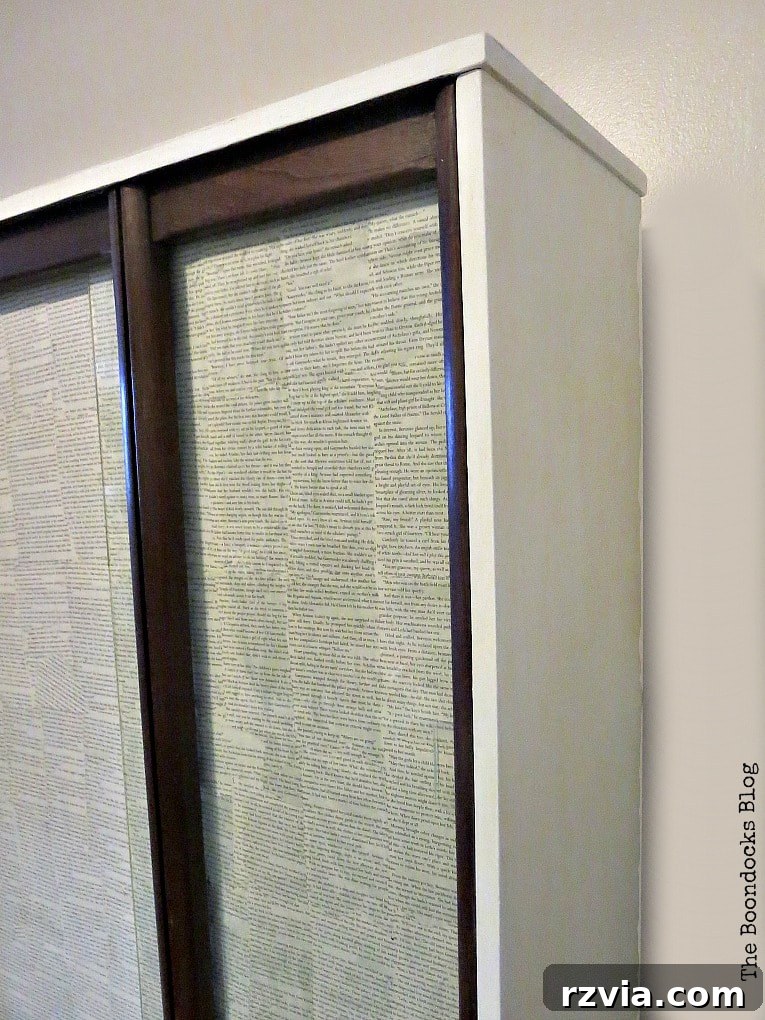
Step 5: Sealing and Final Touches with Ultra Matte Varnish
After the chalky finish paint had dried, I sealed the painted areas with DecoArt Ultra Matte Varnish. I applied approximately three coats within a few hours, meticulously ensuring even coverage. While varnish typically requires a longer curing period for optimal durability, my immediate need to reclaim my dining room from the project’s disarray led me to reassemble the upper and lower cabinet sections sooner than recommended. I was delighted to find that the matte finish delivered exactly what I hoped for: absolutely no shine, just a sophisticated, flat appearance. Crucially, it maintained the pristine white of the paint, preventing any undesirable yellowing that can sometimes occur with certain finishes.
Remarkably, this entire painting and sealing process, after the initial three-month period of procrastination and problem-solving, was accomplished in a single, focused day. It was a testament to the power of a clear plan and the desire to see a beloved heirloom restored.
The Grand Reveal: A Transformed Heirloom
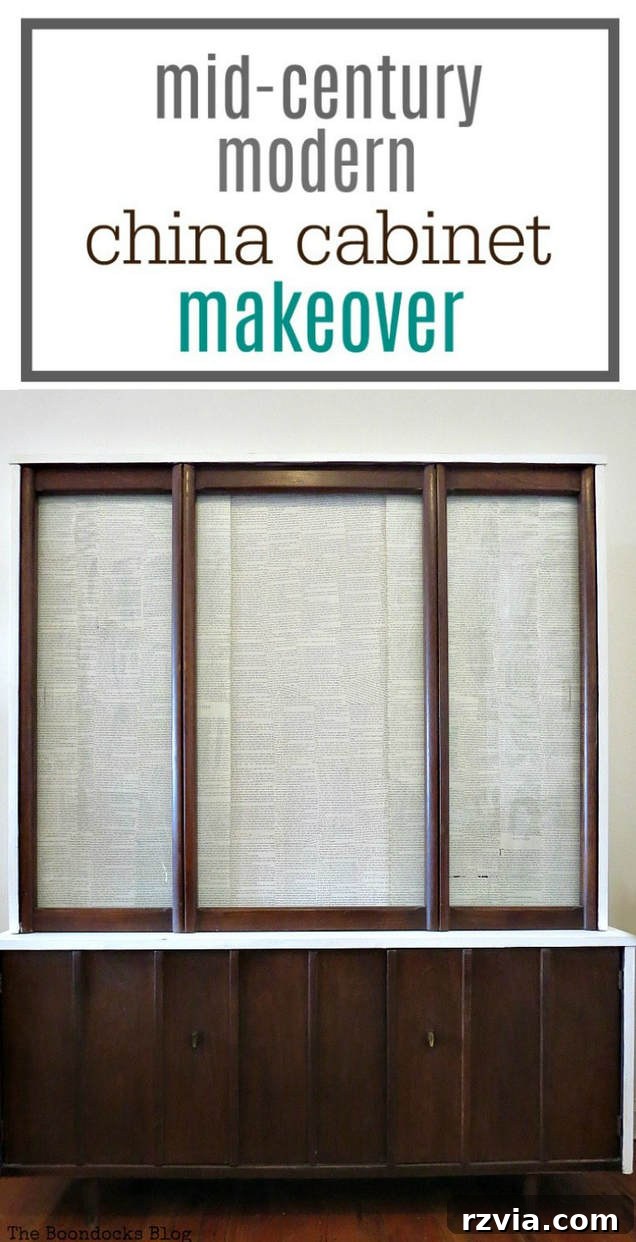
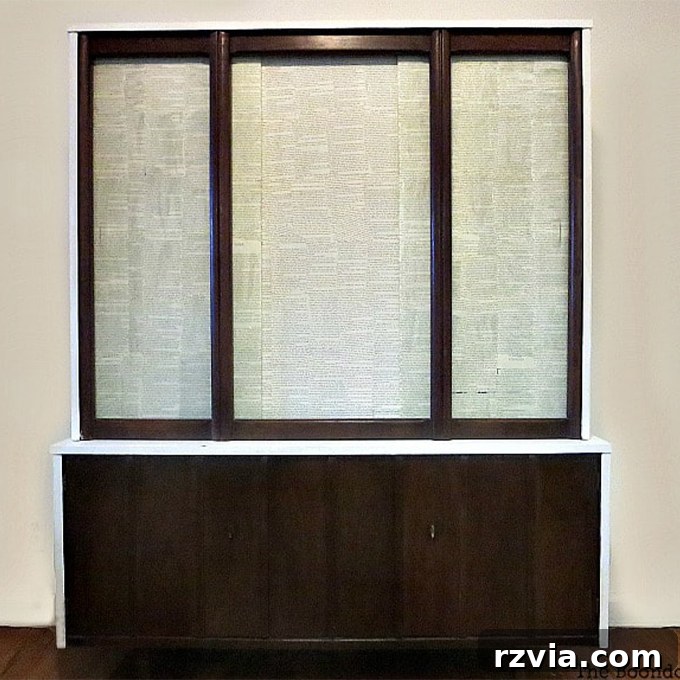
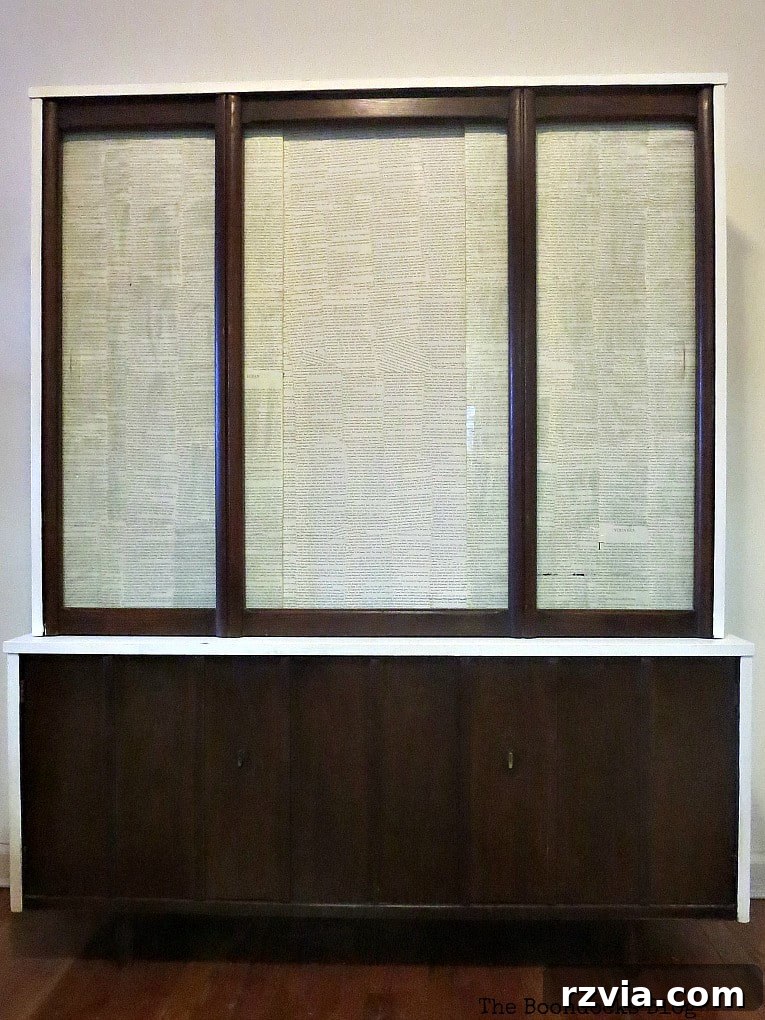
And here it stands, completely transformed and undeniably more appealing than its former self. I often muse that if you weren’t privy to the full saga of its peeling veneer and the strategic decisions made, you might question my choice to paint a vintage piece. However, knowing the challenges overcome, I trust you now understand and, perhaps, even commend the outcome! Wink.
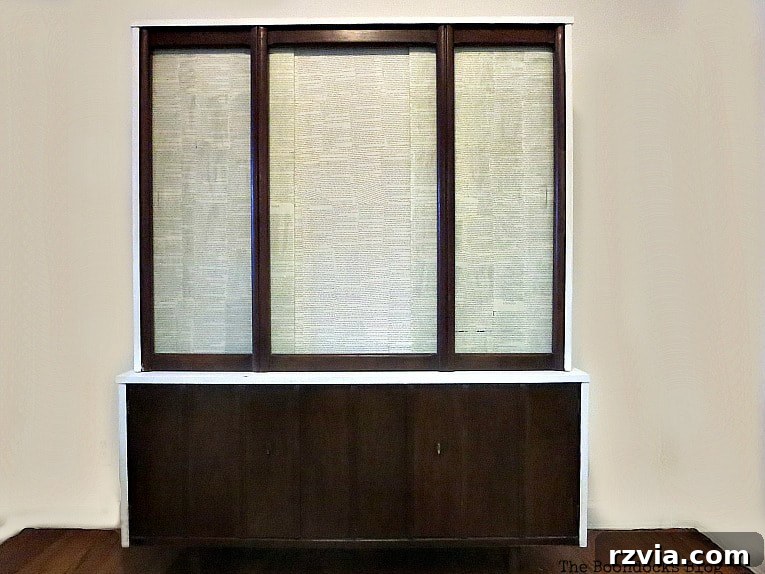
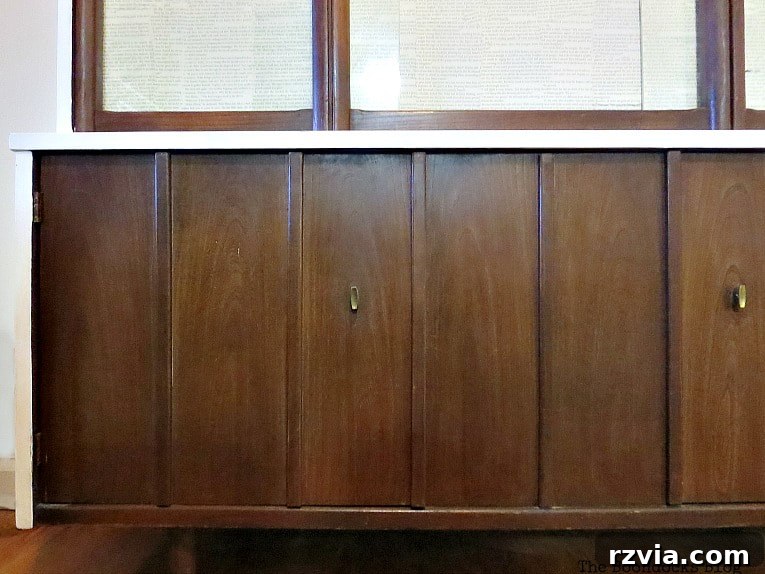
Despite my initial reluctance to introduce paint to such a classic piece, the final result has made an undeniable world of difference to the entire dining room. This room, unfortunately, lacks any windows, which often leads to poor lighting conditions for photography, hence the less-than-perfect pictures. However, in person, the cabinet’s refreshed white elements significantly brighten the space, creating an illusion of greater openness and light where none existed before.
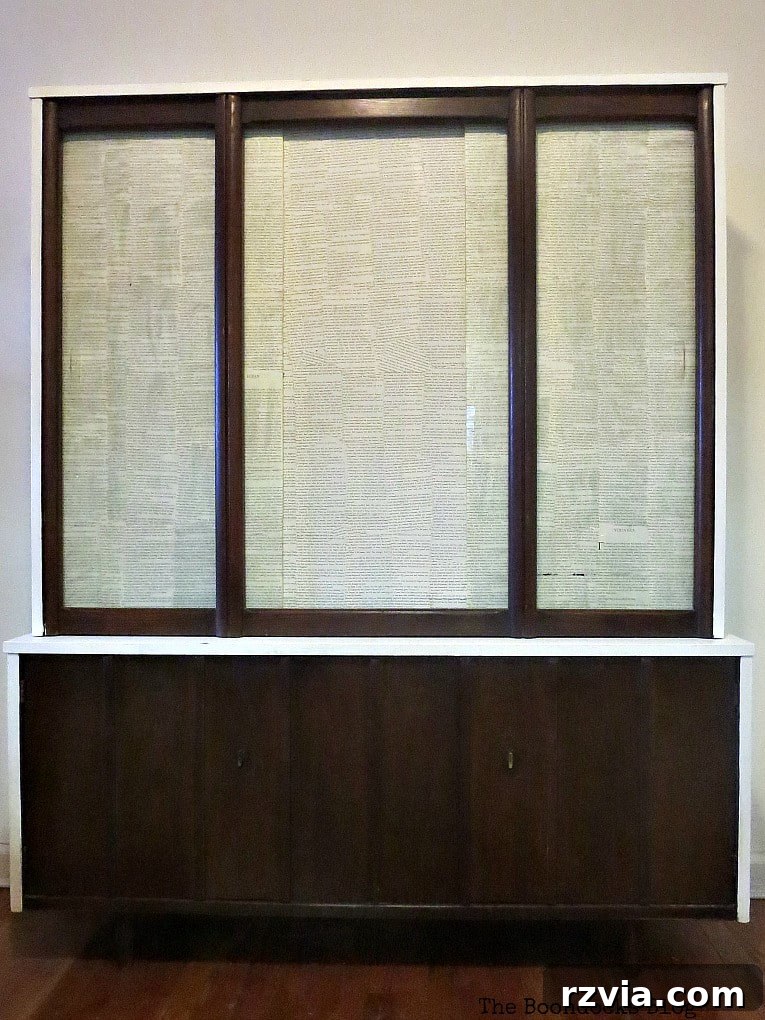
Crucially, I managed to preserve enough of the original wood, particularly the striking walnut grain on the front panels, ensuring that the cabinet’s historical integrity and natural beauty remain evident despite the painted sections. This careful balance between preservation and modernization was key to a successful makeover, honoring its heritage while adapting it for continued use.
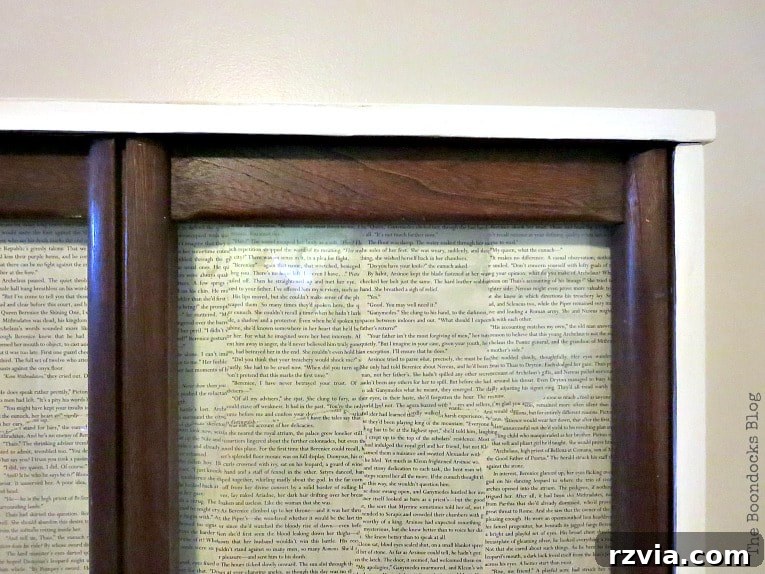
A closer inspection reveals the intricate detail of the decoupage work, carefully applied to the inside surface of the glass doors. This strategic placement not only allowed me to maintain unhindered access to the glass handles for opening and closing the doors but also ensured the delicate paper was protected from daily wear and tear. The result is a unique, textured opaque surface that perfectly conceals the cabinet’s contents while adding a subtle touch of vintage charm.
This mid-century modern china cabinet project, though extensive, was not primarily a labor-intensive undertaking. Its prolonged duration was largely a consequence of my initial indecisiveness and the emotional struggle of navigating unexpected damage to such a beloved heirloom. Ultimately, I believe I achieved a harmonious balance: preserving the cabinet’s inherent integrity and charm while ingeniously concealing its imperfections with a fresh coat of paint. As an added bonus, the strategic use of white paint has undeniably contributed to making the windowless dining room feel significantly larger and brighter, a truly unexpected but welcome outcome.
This very room previously housed these upcycled bookcases, further demonstrating a commitment to thoughtful, sustainable interior design.
In retrospect, I am immensely satisfied with my decision to rescue this cabinet from my childhood, even if my younger self didn’t fully appreciate its allure. The thought of it languishing in a basement, forgotten and unused, would have been truly disheartening. While I may not possess the restoration mastery of seasoned professionals—and perhaps never will—I’ve learned to acknowledge my limitations and find creative, practical solutions. This project has been a powerful reminder that perseverance and adaptability can transform even the most challenging furniture makeovers into deeply rewarding triumphs.
For those who share a passion for mid-century modern china cabinets and other vintage furniture, I highly recommend visiting Iris Abbey. Their blog is an invaluable resource, brimming with insightful information and inspiration for these types of timeless pieces.
Now that this cherished mid-century modern china cabinet has been saved from oblivion, and effectively repurposed, I can confidently say that all the initial procrastination and unexpected detours were absolutely worth it. I desperately needed a functional cabinet to organize all the baking supplies that had taken over my kitchen, and this transformation provided the perfect, stylish solution. What are your thoughts on this revitalized heirloom? Share your opinions!