
Transform Your Home: Easy DIY Tin Can Repurposing Ideas
There’s a special kind of satisfaction that comes from giving new life to old items, isn’t there? I confess, I’m a passionate advocate for repurposing. My home is a testament to this philosophy, brimming with items that have escaped the landfill and found a second, often more beautiful, purpose. From transforming simple paper rolls into charming decorative hearts to upcycling old fabric into fresh chair covers, I simply can’t bear to throw anything away if it holds a whisper of potential. Lately, my collection of tin cans has grown to an impressive, almost overwhelming, size. It’s time to tackle this delightful challenge and transform these humble cans into something truly remarkable before they stage a full-scale takeover!
Repurposing isn’t just a hobby; it’s a sustainable lifestyle choice that allows us to reduce waste, save money, and unleash our creativity. Instead of discarding items, we embrace the opportunity to reinvent them, turning everyday objects into unique pieces of home decor or functional art. This project is a perfect example: a simple tin can, destined for the recycling bin, will be reborn as an elegant and practical vase, proving that beauty and utility can emerge from the most unexpected places. Join me on this creative journey as we transform a discarded tin can into a stunning centerpiece for your home.
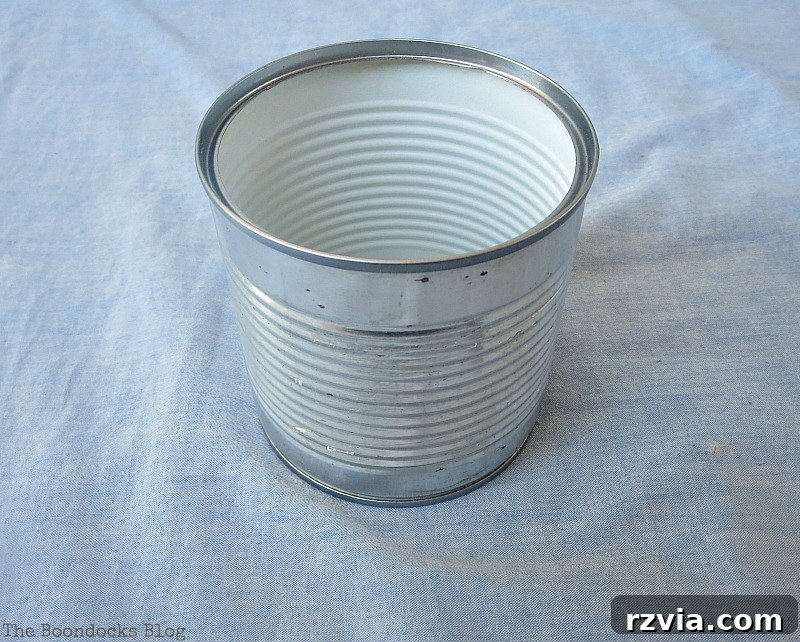
Step 1: The Foundation – Painting Your Tin Can with Chalky Finish
Our repurposing adventure begins with a fresh coat of paint. For this project, I chose DecoArt Chalky Finish paint in “Enchanted,” a beautiful, warm olive tone that instantly brought a touch of rustic elegance to the tin. Before painting, ensure your can is thoroughly clean and dry. A quick wipe-down with rubbing alcohol can help remove any grease or residue, ensuring optimal paint adhesion. I opted for a matte finish, as it perfectly complemented the rugged, earthy aesthetic I was aiming for. The chalky texture adds character and depth, giving the plain metal can an immediate upgrade. This initial layer transforms the can from a utilitarian object into a blank canvas, ready for further embellishment. It’s truly amazing how a simple coat of paint can completely alter the perception of an item, setting the stage for its new identity.
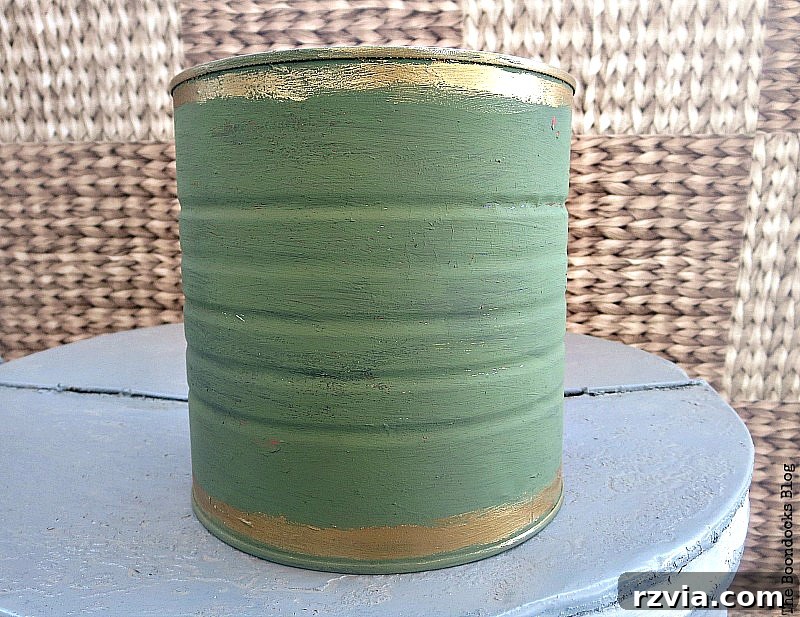
Step 2: Adding a Touch of Glamour with Metallic Lustre
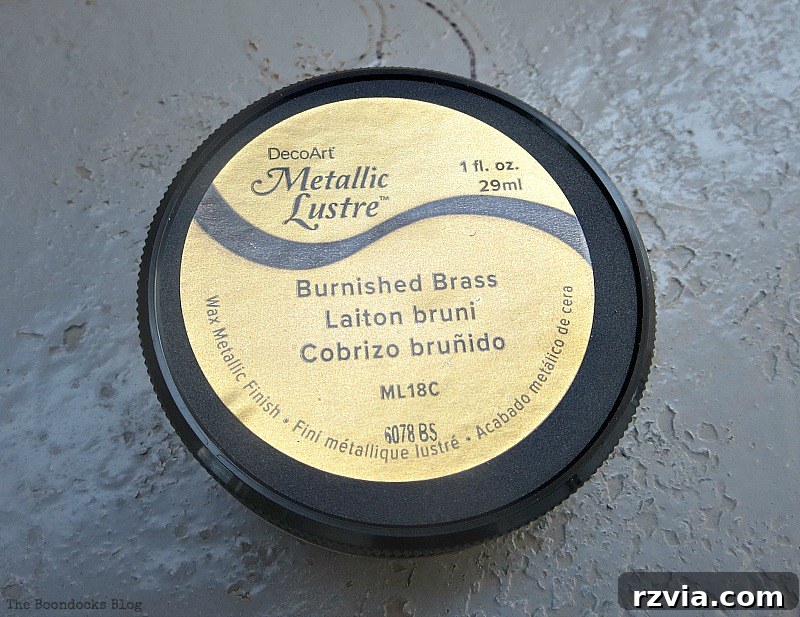
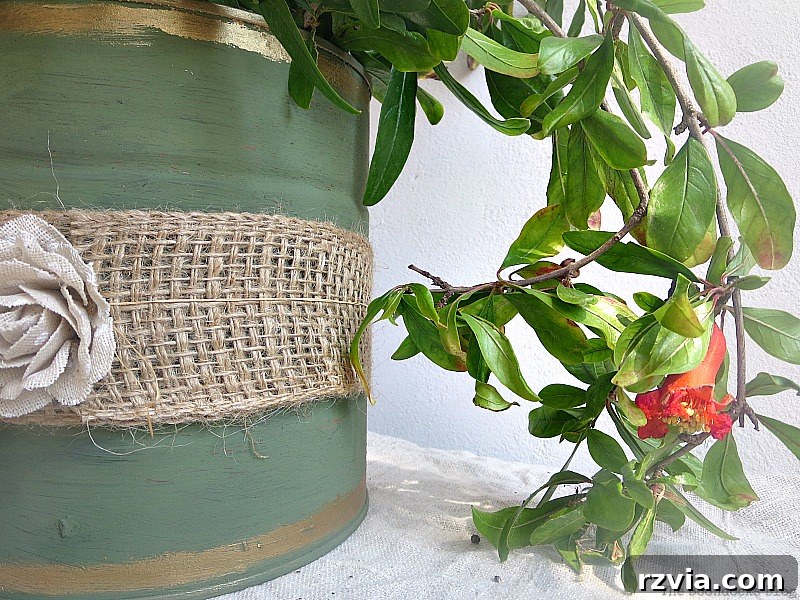
To elevate the design and introduce a subtle shimmer, I turned to DecoArt Metallic Lustre in a gorgeous brass finish. This product is incredibly easy to work with and delivers stunning results. I carefully applied it to create borders around the top and bottom edges of the tin can. The brass tone beautifully complements the olive green, adding a touch of vintage sophistication without overpowering the rustic vibe. One of the best features of this metallic lustre is its quick-drying nature, allowing for rapid progress on the project. The application left a slightly rugged, yet refined, look, contributing to the overall character of our repurposed vase. It’s these small details, like a metallic accent, that can dramatically change the aesthetic of a simple object, making it feel intentional and artful. This step truly brought out the hidden potential of the tin can, moving it further away from its original purpose and closer to a decorative masterpiece.
*You can find these fantastic products via my Amazon Affiliate link below, helping to support more creative content!*
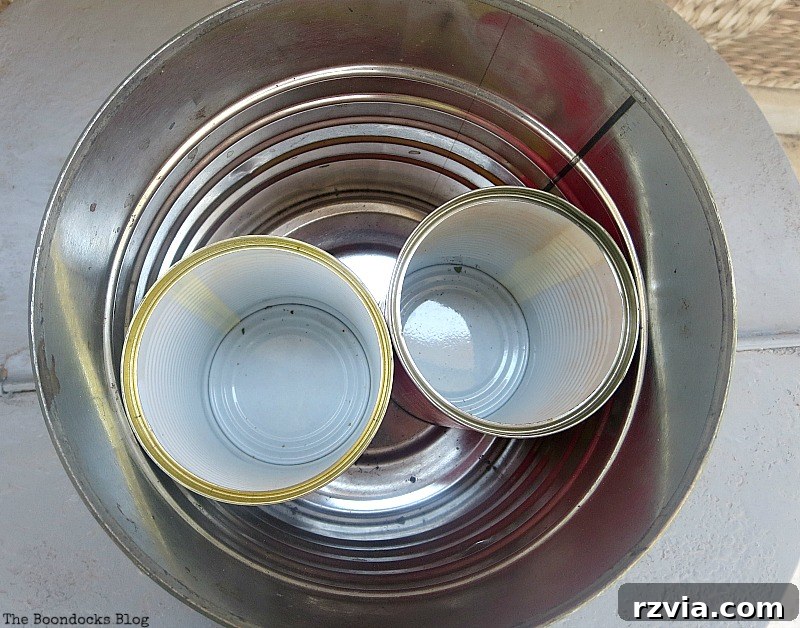
Step 3: Ingenious Compartmentalization for Stability
This particular tin can, originally a coffee container, was quite sizable – approximately 6 inches in diameter. My vision was to fill it with branches, but I knew that without proper support, they would inevitably lean and fall over, creating a messy and unattractive display. This called for a clever, yet simple, solution. My ingenious hack involved placing several smaller tin cans inside the larger one. By arranging these smaller cans strategically, I effectively created four distinct compartments within the vase. This internal structure acts as a stabilizer, holding the branches upright and perfectly spaced, ensuring a beautifully arranged display. This technique is not only practical but also demonstrates how thinking outside the box (or inside the can, in this case!) can solve common decorating dilemmas. It’s a fantastic way to add functionality to larger containers and offers endless possibilities for arranging various types of foliage or even organizing craft supplies.
Step 4: Rustic Charm with Burlap Ribbon
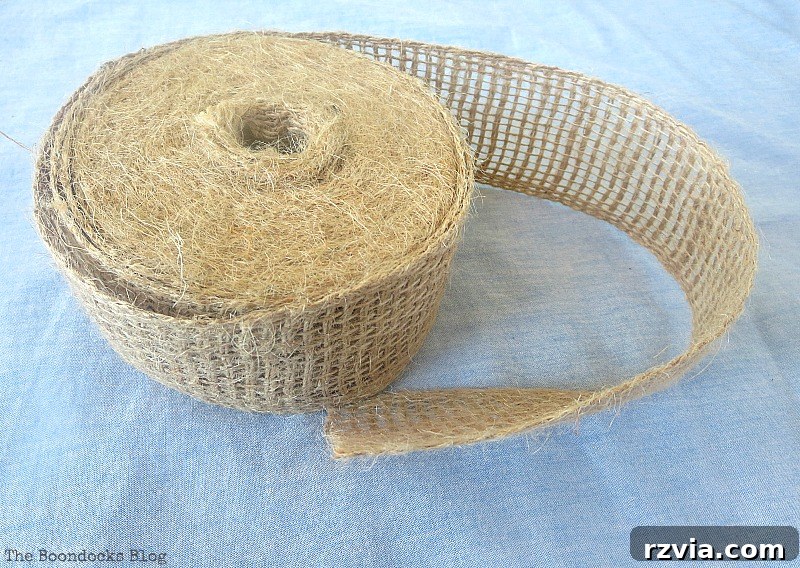
To further enhance the rustic appeal of our repurposed vase, I incorporated a piece of my trusty burlap ribbon. If you’ve followed my blog before, you know I get a lot of mileage out of this versatile material! It previously made an appearance in my crafty bottom project, and its natural texture and earthy tone make it a perfect complement to almost any farmhouse or vintage-inspired decor. I wrapped the burlap around the center of the can, securing it discreetly at the back. The coarse weave of the burlap provides a wonderful tactile contrast to the smooth painted surface and the metallic sheen, adding another layer of visual interest. This simple addition ties all the elements together, giving the vase a cohesive and charming look. Burlap is an inexpensive yet impactful material, making it a staple for many DIY enthusiasts looking to add warmth and character to their projects.
Step 5: Personalizing with Fabric Flowers
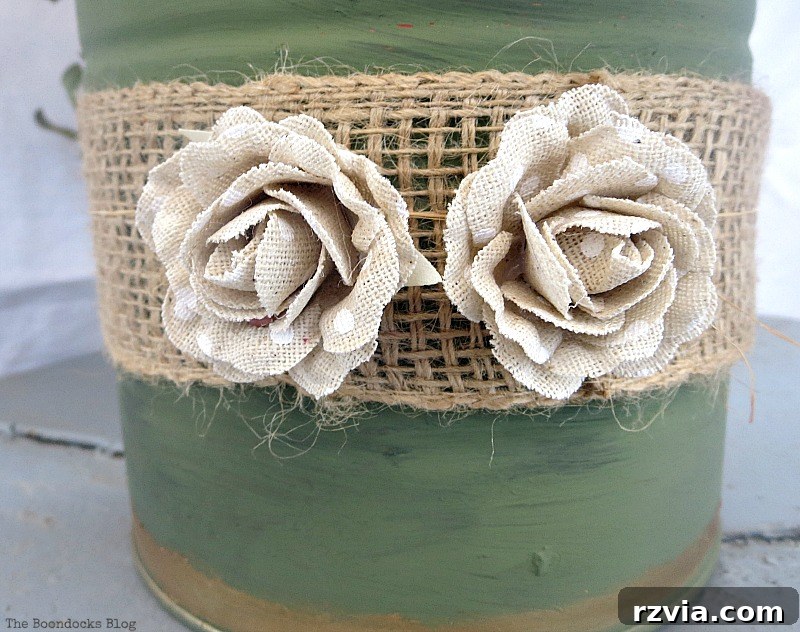
The final decorative touch for our repurposed tin can vase involved adding a few lovely fabric flowers. This is where the beauty of “shopping the house” truly shines. You’d be surprised what hidden gems you can discover when you take a moment to look through your existing craft supplies, forgotten decor pieces, or even old clothing. I found these charming fabric flowers that perfectly matched the color scheme and overall aesthetic I was cultivating. They add a soft, feminine touch, contrasting beautifully with the ruggedness of the paint and the burlap. These flowers were easily attached with a small dab of hot glue, positioned strategically to enhance the visual appeal without overwhelming the design. Personalizing your DIY projects with elements you already own not only saves money but also ensures that each creation truly reflects your unique style and personality. It’s a wonderful way to give new life not just to the tin can, but also to other decorative accents that might otherwise remain unused.
Step 6: Bringing Nature Indoors with Pomegranate Branches
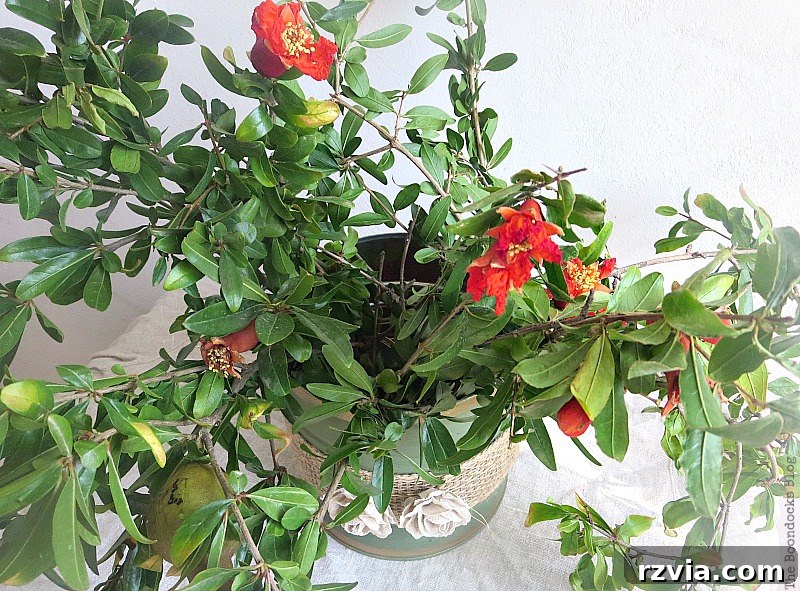
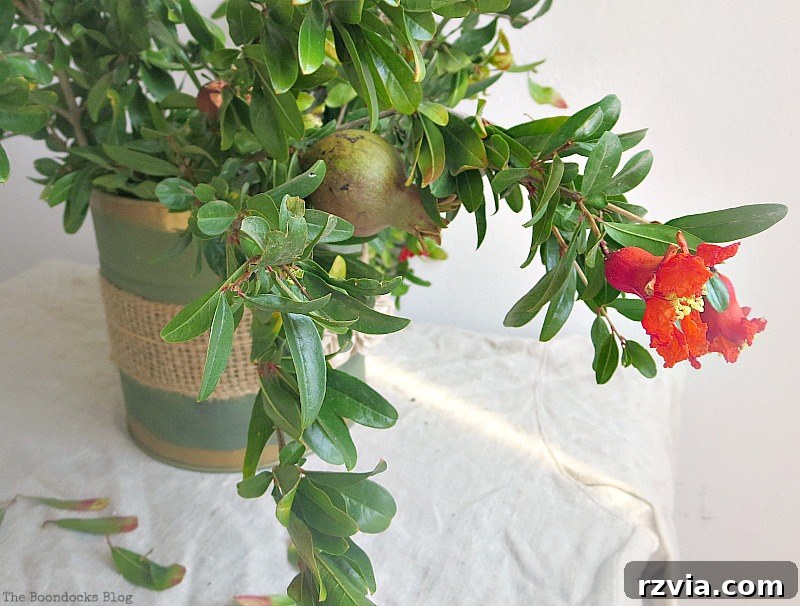
With our beautifully transformed tin can vase ready, it was time to fill it with its intended contents. A recent trip to the farm provided the perfect natural elements: a few elegant branches of pomegranate. The subtle red hues of the ripening pomegranates and the intricate shapes of the branches offer a striking contrast against the olive and brass tones of the vase. Carefully arranging these branches within the compartments created by the smaller cans, I achieved a perfectly balanced and visually appealing display. The internal support system truly proved its worth, keeping each branch upright and preventing them from clustering or toppling over. Bringing natural elements into your home decor is a fantastic way to add warmth, texture, and a sense of organic beauty. Whether it’s fresh flowers, dried grasses, or unique branches like these, natural accents can elevate any space and connect your home to the outdoors.
The Finished Masterpiece: A Functional and Beautiful Upcycled Vase
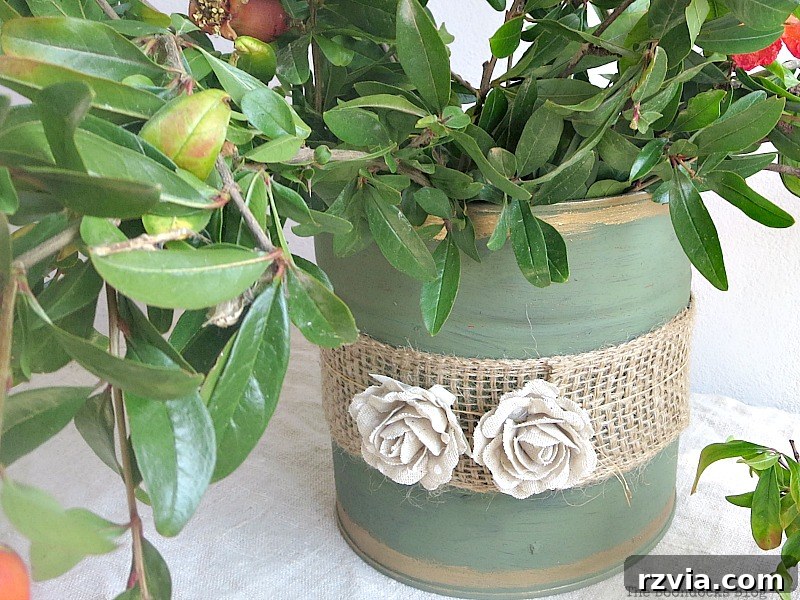
And there you have it – a magnificent, functional vase born from a simple tin can! The smaller cans nested inside truly made all the difference, providing the perfect balance and stability for the delicate pomegranate branches. From this angle, you can appreciate how neatly the branches stand, each in its own section, creating a fuller, more dynamic arrangement. This project is a testament to what I often call “the power of paint” – a simple tool that can instantly elevate and transform the mundane into the magnificent. It was an incredibly easy project, yet its impact on the aesthetic of any room is undeniably significant. This process not only helped me declutter my stash of saved cans but also resulted in a truly unique and beautiful piece of home decor.
Disclosure: The items below are affiliate links and link to Amazon.com. If you purchase any of these products through the links, I receive a small commission, that way I can continue to provide you with lovely content. There is no extra charge to you for purchasing through my affiliate links.
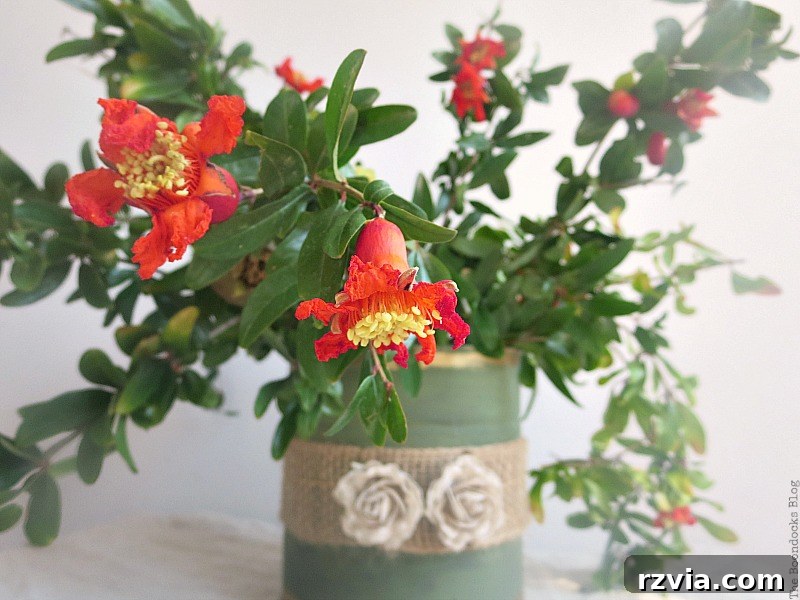
My beautiful pomegranate blooms…
Join the Repurposing Movement: Share Your Ideas!
As you can see, the power of paint and a little creativity can truly transform ordinary objects into extraordinary decor. This easy project with major impact has not only helped me manage my growing collection of tin cans but has also resulted in a charming, one-of-a-kind vase. It’s an eco-friendly and budget-conscious way to add personality and warmth to your home. I’ve shown you how to repurpose those cans instead of letting them clutter your space or simply tossing them into the recycling bin. Now, I’m curious about your habits! Do you save your cans and other household items, constantly looking for new ways to reuse them? Or do you tend to simply toss them in the recycle bin, missing out on the exciting potential they hold? Share your thoughts and any creative repurposing ideas you have in the comments below!
Embracing repurposing is more than just a craft; it’s a mindful approach to consumption and creativity. Each repurposed item tells a story, carrying a history that adds depth and character to your living space. By choosing to upcycle, you’re not just making a decorative item; you’re making a statement about sustainability and the value of handcrafted goods. This tin can vase, with its rustic charm and practical design, is a testament to the endless possibilities that lie within objects often considered trash. Let’s inspire each other to see the potential in everything around us!
If you enjoyed this creative transformation, please share it with your friends on social media, or save it to your favorite Pinterest board for future inspiration! If you’re eager to discover more exciting DIY adventures and repurposing projects, subscribe to my blog and receive my latest content twice a week directly in your mailbox. Let’s continue to explore the endless possibilities of creative reuse together!
You May Also Like These Creative Repurposing Projects:
<< The Colors of the Lake HOME Sweet Inspiration Link Party #11 >>
This blog is for entertainment purposes only; my DIY tutorials are not professional advice. Read my full disclaimer here.
I love it when I get your comments and I will reply to each and every one of them.