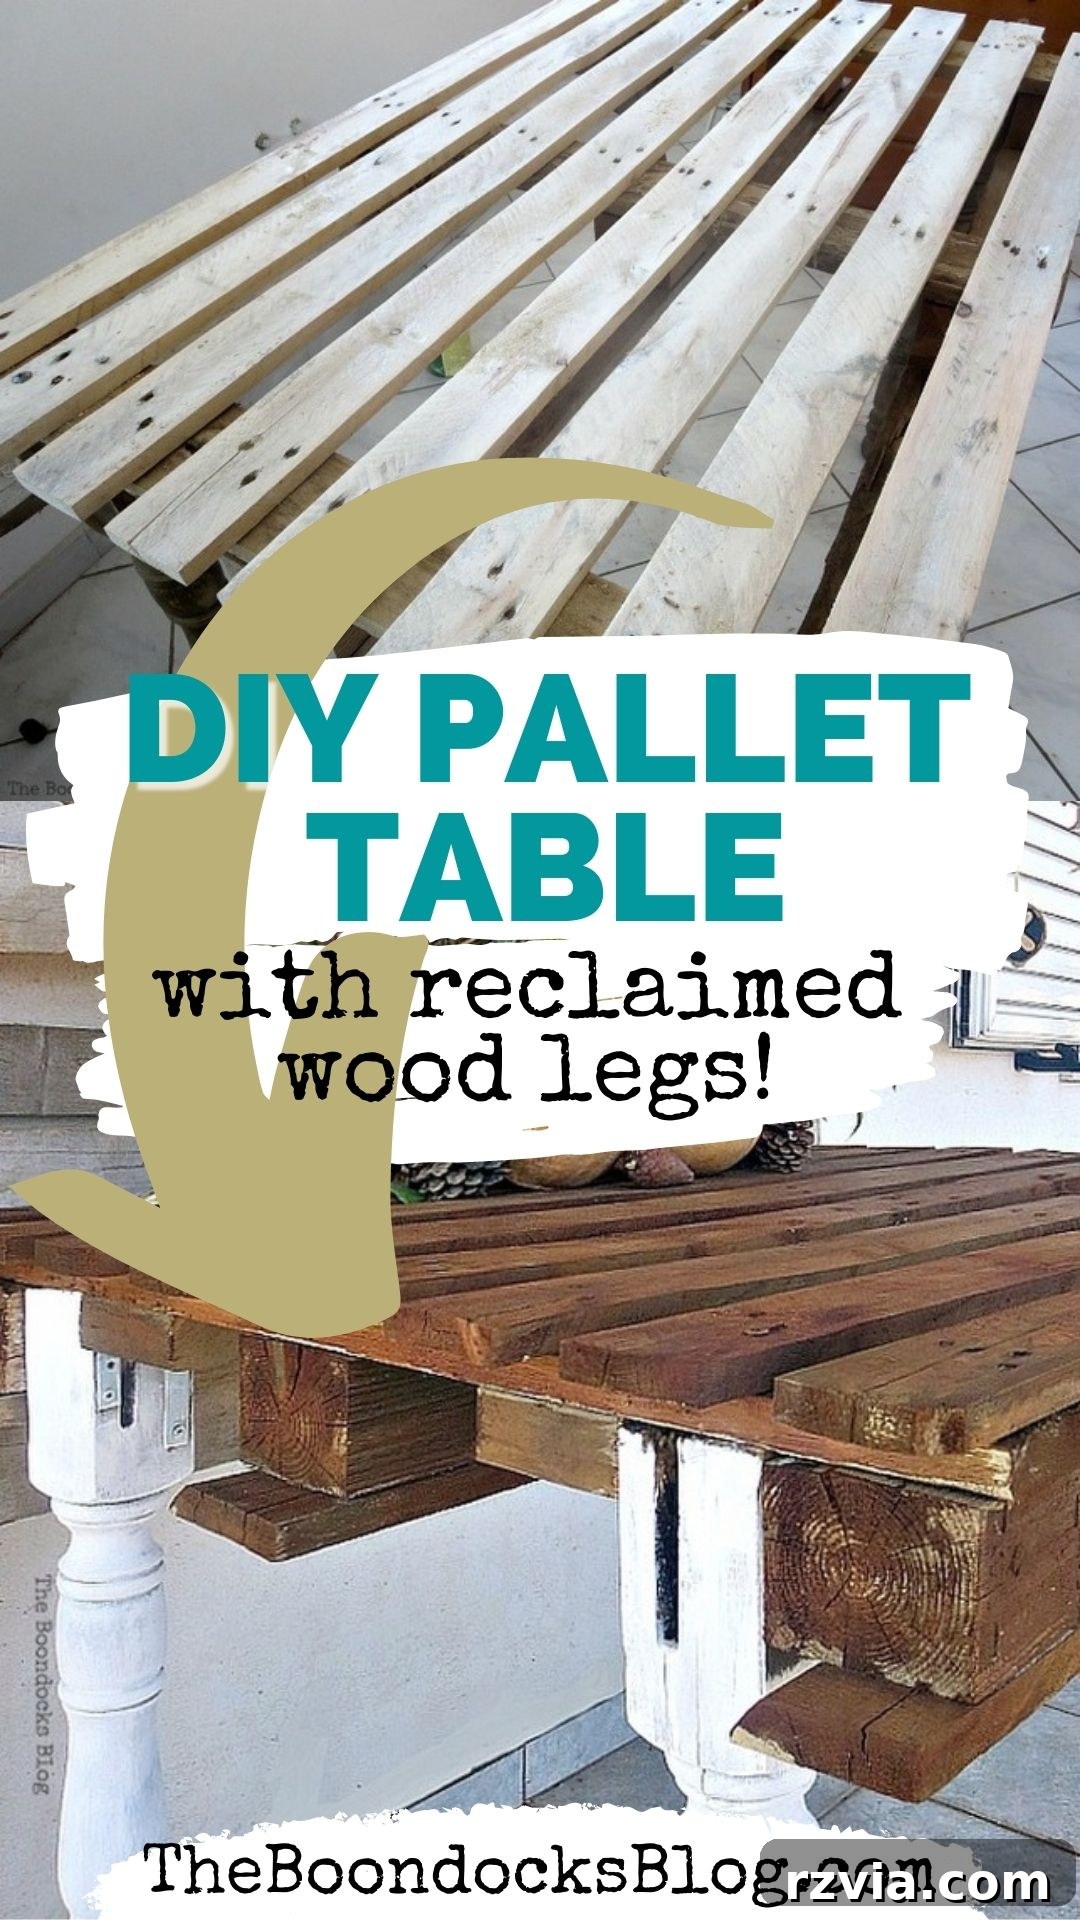
Master the Art of Upcycling: Craft Your Own Rustic DIY Pallet Table
Every piece of discarded wood holds a story, a potential waiting to be unearthed. This is the tale of transformation – a journey that began with four neglected table legs, found abandoned by the roadside, destined for landfill. Mud-caked and worn, these legs were far from perfect, yet their curvaceous forms and rugged character captivated my husband. He saw not just refuse, but the foundation for something extraordinary: a DIY pallet table. Little did we know, this discovery would open a delightful can of worms, challenging our carpentry skills and igniting our passion for upcycling into a truly rewarding project.
The Unlikely Beginning: Rescuing Forgotten Character
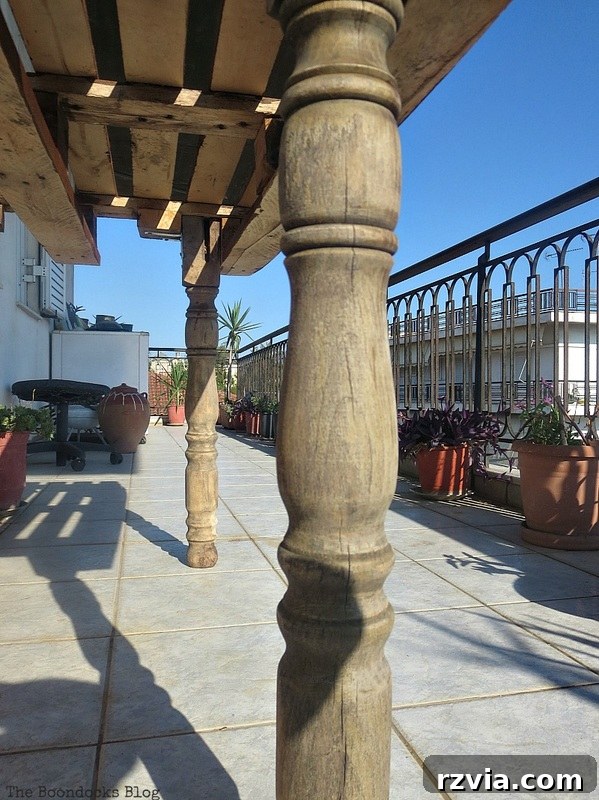
The moment my husband brought home these beauties, they were a sight to behold – or perhaps, a challenge to embrace. Each leg bore the marks of time and neglect: deep cracks spiderwebbed across their surfaces, and in some sections, rot had begun its slow creep. Yet, beneath the grime and damage, their inherent charm shone through. It was their lovely imperfections, their undeniable personality, that he simply couldn’t resist. I suppose my appreciation for salvaged treasures must be rubbing off on him, influencing his eye for potential in the most unexpected places.
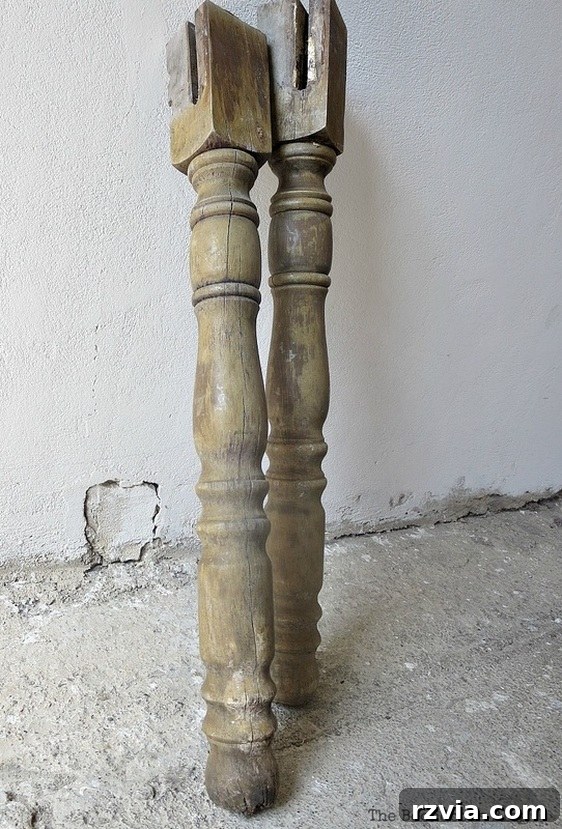
Our philosophy for this project was simple: embrace the character. Instead of aiming for factory-new perfection, we wanted to highlight the legs’ rustic appeal and the story they carried. This approach not only made the restoration process more forgiving but also ensured the final piece would possess a unique, soulful charm that mass-produced furniture simply cannot replicate.
Building the Foundation: Preparing the Pallet Top
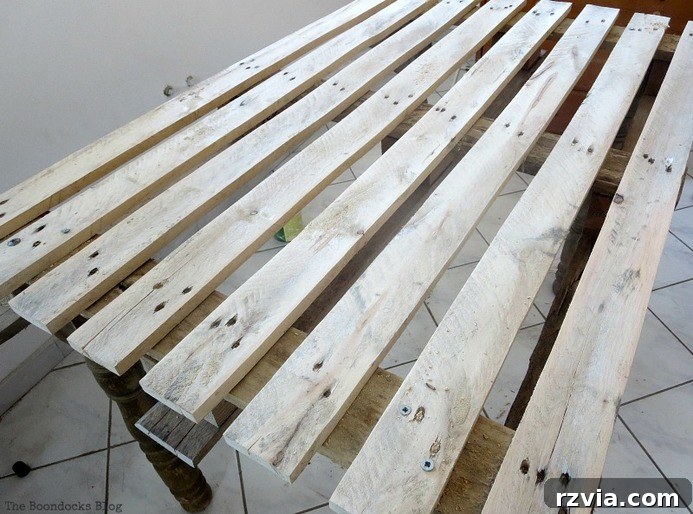
With the characterful legs secured, our next step was to prepare the main surface of our table: a sturdy wooden pallet. Pallets are incredible resources for DIY enthusiasts, offering robust wood that’s often free or inexpensive. However, they usually require a bit of elbow grease to get them ready for their second life. Our chosen pallet, while solid, was rough and grimy, reflecting its previous industrial existence.
The first order of business was a thorough cleaning, followed by extensive sanding. We wanted to smooth out the rough edges, remove splinters, and create an even surface, all while preserving the inherent texture and distressed look that makes pallet wood so appealing. This crucial step ensures the table is not only aesthetically pleasing but also safe and pleasant to use. If you’re inspired by this idea, you might want to explore our collection of 20+ creative DIY pallet projects to make for more inspiration!
The “Drunken Table” Dilemma: Securing Those Stubborn Legs
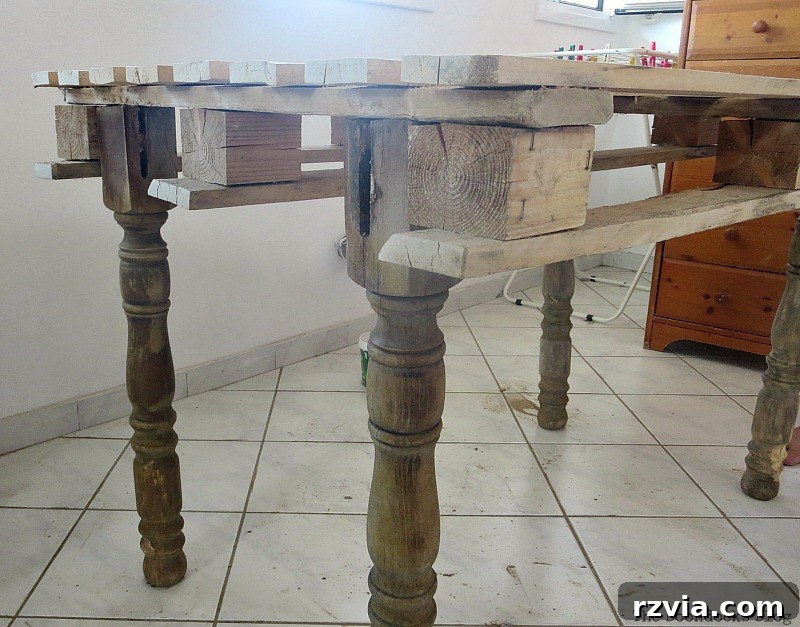
As amateur carpenters, we approach each project with a blend of enthusiasm and a readiness to learn through trial and error. Attaching the salvaged legs to our newly prepared pallet was, initially, more error than trial. We carefully positioned and nailed the legs, envisioning a perfectly stable, rustic table. However, upon completion, our DIY pallet table had a mind of its own – it refused to stand straight! Leaning precariously, it earned itself the affectionate, albeit slightly exasperated, nickname: “the drunken table.” This moment, while frustrating, became a defining part of our table’s unique story.
Ingenuity Strikes: Engineering for Stability
My husband, ever determined, was not about to let our table remain in its perpetually tipsy state. He was resolute in ensuring those legs were perfectly stable. His solution was ingenious: he decided to add a robust piece of wood underneath the pallet top, creating a solid anchor point. Then, using heavy-duty brackets, he secured each leg firmly to this reinforced base. This method would distribute the weight more evenly and provide the structural integrity our initial nailing attempt lacked.
Overcoming Obstacles: The Battle of the Drill Bits
However, no DIY project is without its unexpected detours. This seemingly straightforward solution quickly spiraled into a multi-day saga. The problem? Our drill bits. As we attempted to drive screws through the sturdy brackets and into the wood, we discovered our bits were utterly worn out – dull, useless, and incapable of penetrating the hard wood. What should have been a quick task turned into a frustrating hunt across several hardware stores, searching for the elusive “right” bits. Days passed, marked by thwarted attempts and growing impatience, until we finally found the perfect set that could withstand the task. It’s a testament to the fact that even simple projects can throw curveballs, and perseverance (and the right tools!) are key.
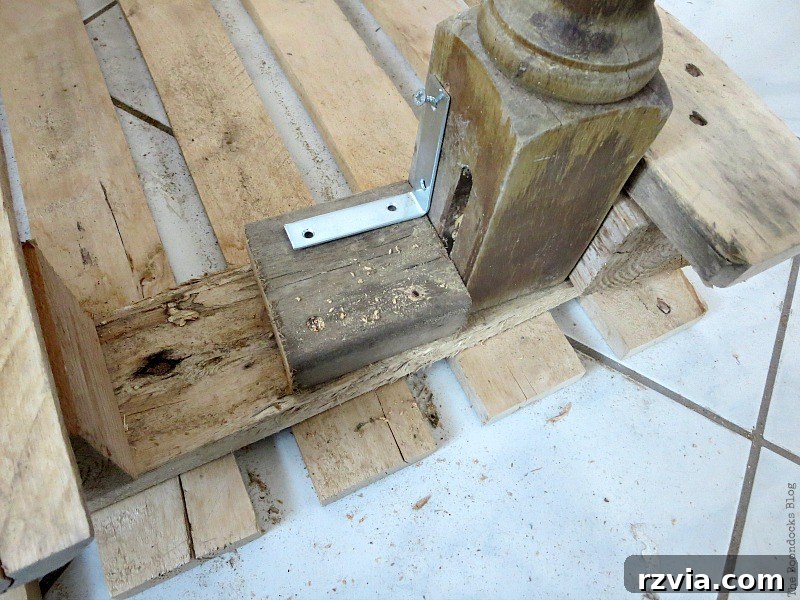
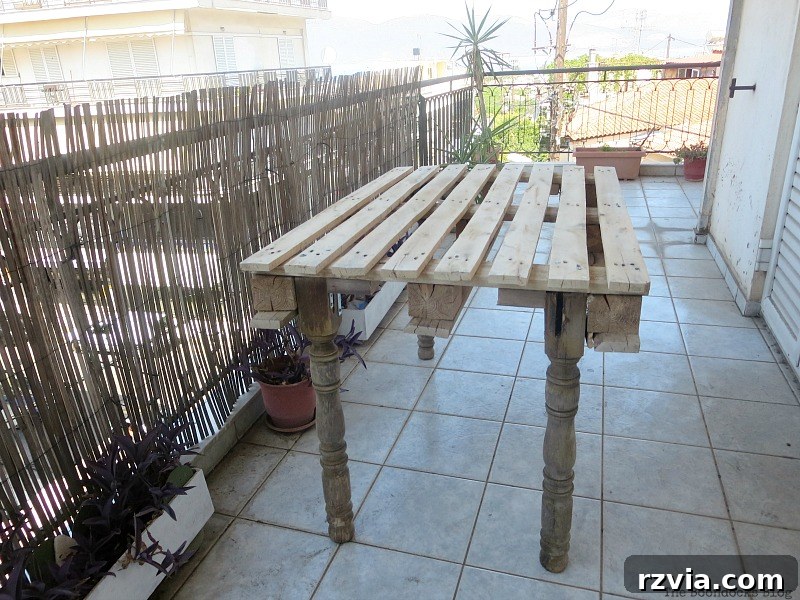
At this juncture, one might reasonably assume our amateur carpentry skills, coupled with the persistent challenges, might have led us to abandon ship – or perhaps, to actually get a little tipsy ourselves in frustration! Yet, our determination paid off. The strategic addition of the wood piece and the robust brackets proved to be a stroke of brilliance. The moment our DIY pallet table stood tall and unwavering, no longer exhibiting its peculiar lean, was a moment of pure triumph. Our “drunken table” had finally found its balance, ready for its next transformation.
Embracing Earthy Tones: Crafting a Natural Wood Stain
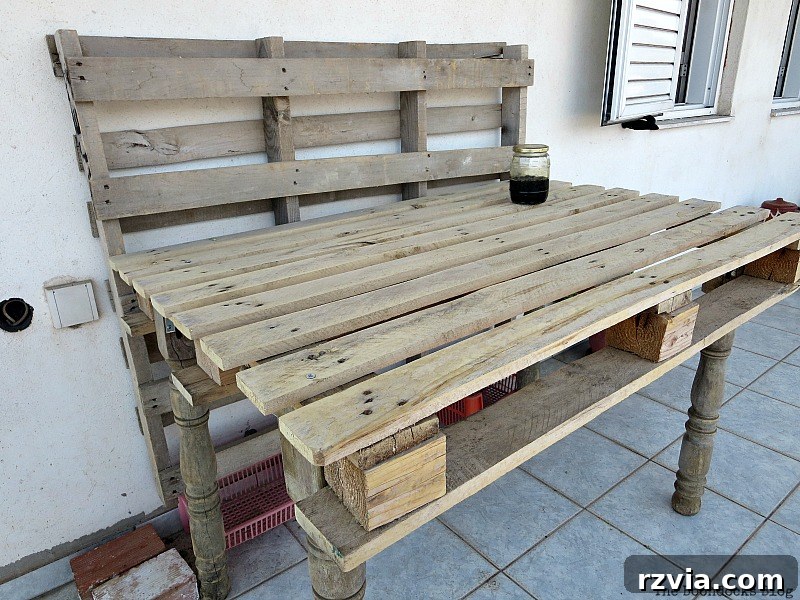
With the structural integrity achieved, the table, while stable, still had a somewhat “blah” appearance to my eye. I envisioned a rich, deep color that would enhance the rustic appeal of the pallet wood, but I wanted to avoid traditional chemical stains. My quest for a more natural approach led me to an inspiring technique I’d seen shared by Marie of The Interior Frugalista. She had developed a fantastic natural wood stain using simple household ingredients: vinegar and steel wool. The idea of an eco-friendly, non-toxic stain that yields beautiful, earthy tones deeply resonated with our upcycling ethos. You can see her original method and stunning results here.
The Boondocks Improvisation: Rustic Nails to the Rescue
Living in the “boondocks,” as we affectionately call our somewhat rural location, often means embracing improvisation. When it came to Marie’s natural stain, I hit a snag: I couldn’t get my hands on the specific #0000 steel wool she recommended. Undeterred, I decided to work with what I had – a coarser grade of steel wool – and introduce a little creative twist. I supplemented the steel wool in the vinegar mixture with a handful of rusty nails. The principle behind this natural stain is a chemical reaction between the acetic acid in the vinegar and the iron in the steel (or rust). Over a few days, this concoction slowly oxidized, transforming into a magical, rich staining solution.
Application and Transformation: Layering the “Giggle Juice”
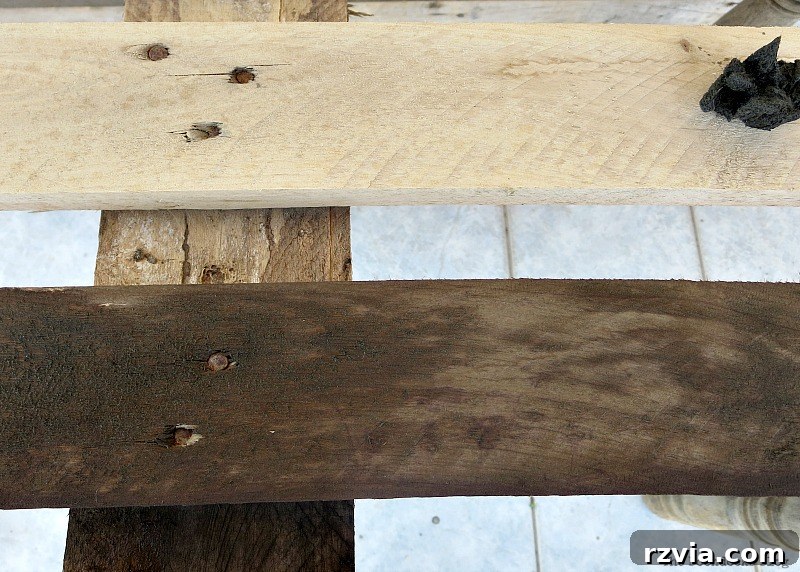
Once the “vinegar cocktail” – or “Giggle Juice,” as Marie charmingly calls it – was ready, I applied it directly from the jar using the steel wool. A quick tip for anyone trying this: definitely wear gloves! It can get a bit messy, but the results are worth it. The transformation was almost immediate, with the wood gradually deepening in color. After just one coat and allowing it to dry completely, the pallet already had a richer, more defined hue.
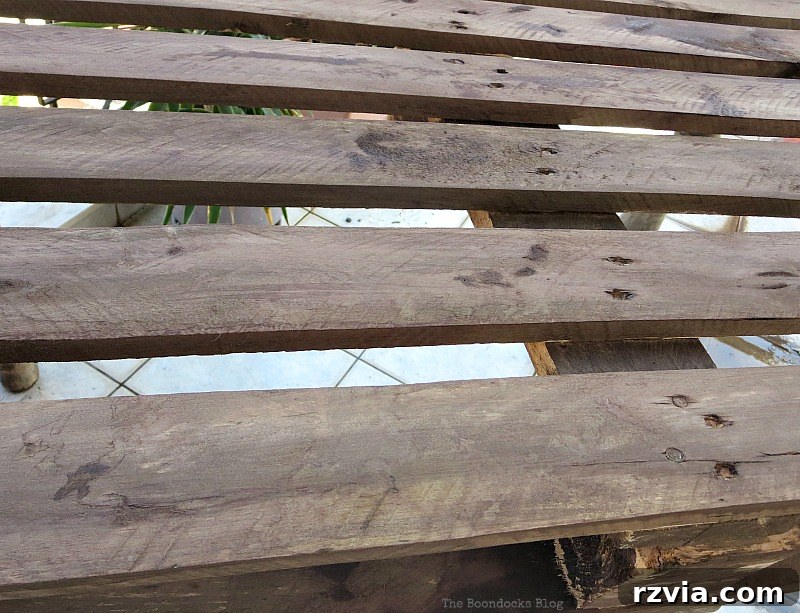
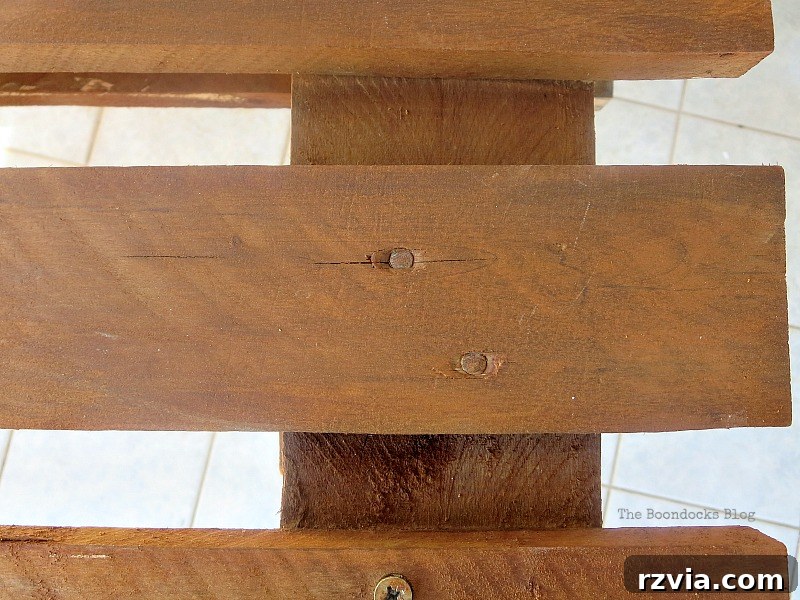
To achieve the desired depth and richness, I applied a total of three coats of this wonderful natural stain. With each application, the wood absorbed more of the solution, revealing increasingly profound and earthy tones. The natural variations in the pallet wood were beautifully accentuated, creating a variegated surface that exuded rustic elegance. I absolutely adore the rich, warm, and authentic character this simple, homemade stain brought to our DIY pallet table.
A Touch of Contrast: Preparing and Painting the Legs
With the pallet top beautifully stained, the next step was to turn our attention back to those character-filled legs. They had been thoroughly sanded earlier in the process, a necessary step to remove loose debris and prepare them for their new finish. This initial sanding also helped to reveal the intricate details and imperfections that we intended to highlight.
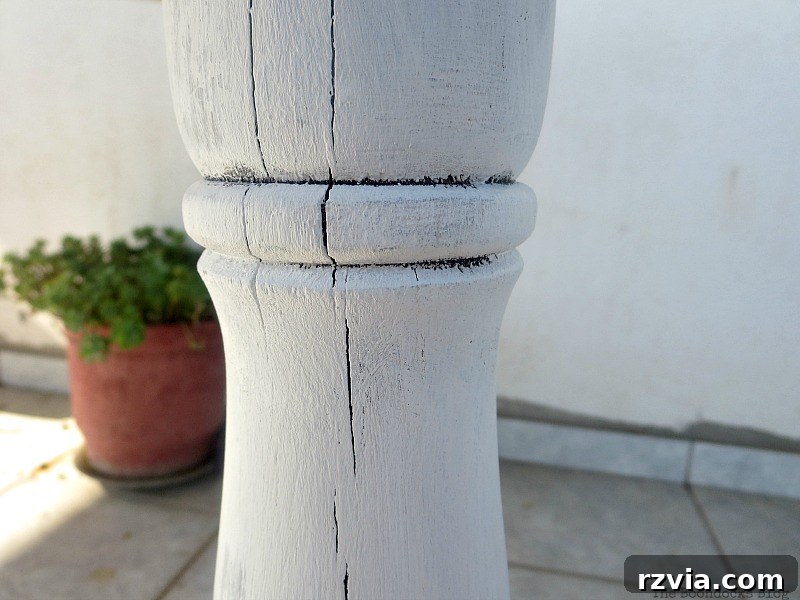
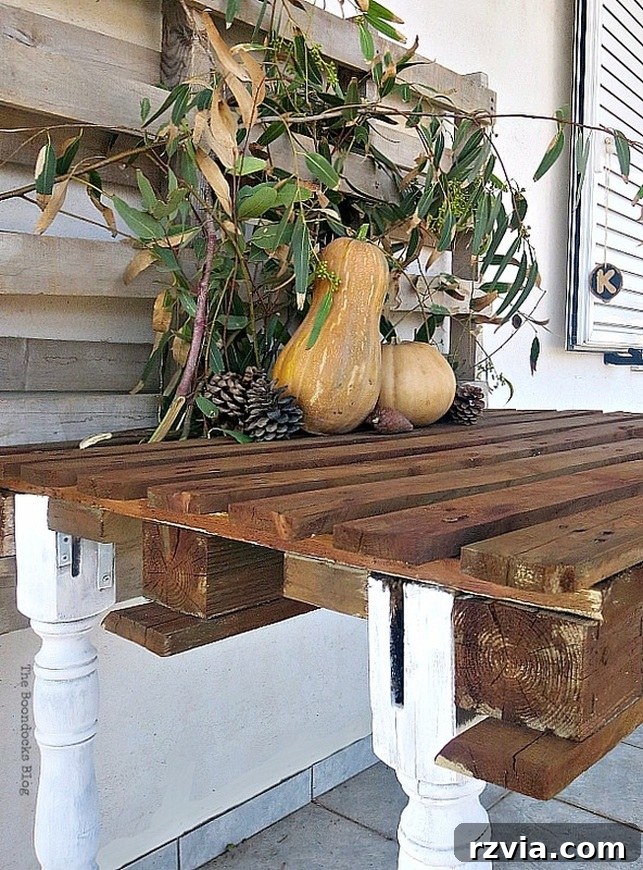
For the legs, I chose a crisp, clean white paint. This decision was deliberate, aiming to create a striking visual contrast with the deep, earthy tones of the stained pallet top. The white paint serves to illuminate the legs’ unique, curvaceous forms and surprisingly, enhances their distressed quality. Even after painting, the beautiful cracks and some of the darker undertones from their original state were allowed to subtly peek through. This artful balance between fresh paint and retained imperfections ensures the legs contribute to the overall reclaimed aesthetic, celebrating their past while embracing their new life as part of our charming DIY pallet table.
Beyond Furniture: A New Life as a Photography Prop
You might be wondering, after all that effort, what grand purpose my now-stable (and no longer “drunken”) table would serve. Its destiny is both practical and picturesque: it has found its perfect home on our balcony, transformed into an outdoor photography surface. The natural light out here is simply unbeatable – soft, consistent, and ideal for capturing beautiful images. There’s something wonderfully liberating about stepping out in my pajamas, camera in hand, to compose a shot with the freshest morning light. This dedicated space has become my informal outdoor studio, offering unparalleled photographic conditions.
Crafting the Perfect Backdrop: Elevating the Scene
To complete my balcony photography setup, I’ve incorporated another pallet, elevating it on two pieces of wood to achieve the perfect height. This second pallet now serves as a rustic, textured backdrop, complementing the table and adding depth to my vignettes. The combination of the DIY pallet table and its matching backdrop creates a cohesive and visually appealing stage for my creative projects, ensuring that every photograph benefits from a natural, warm aesthetic.
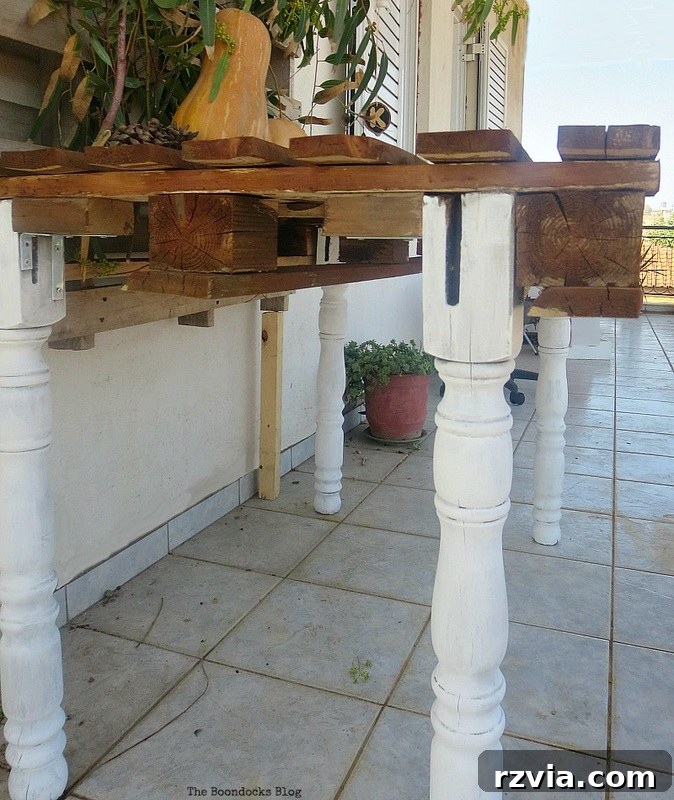
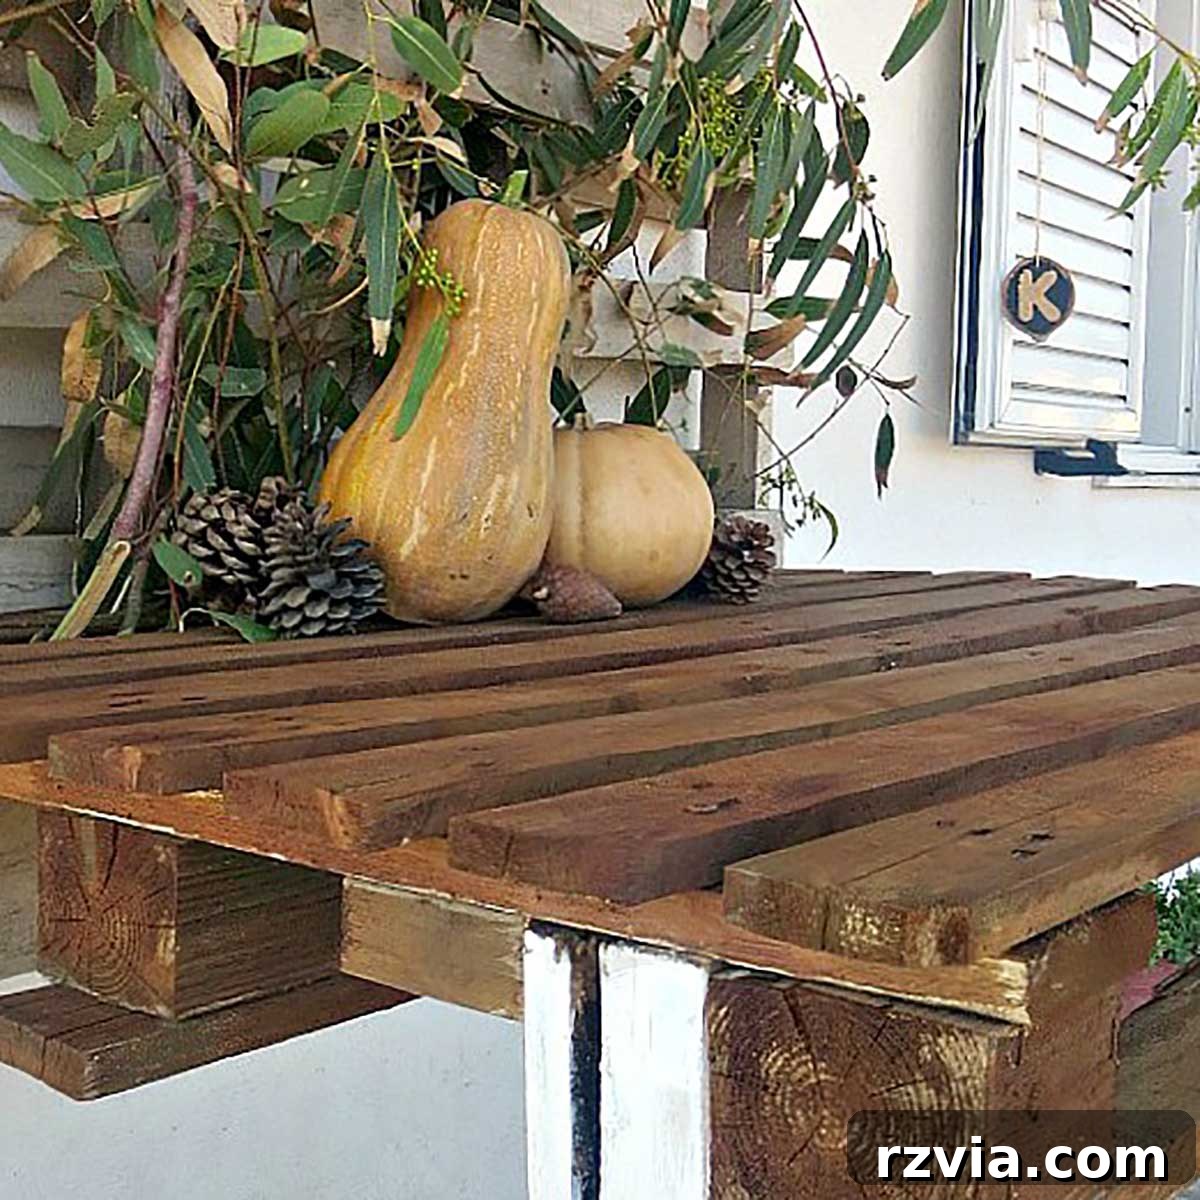
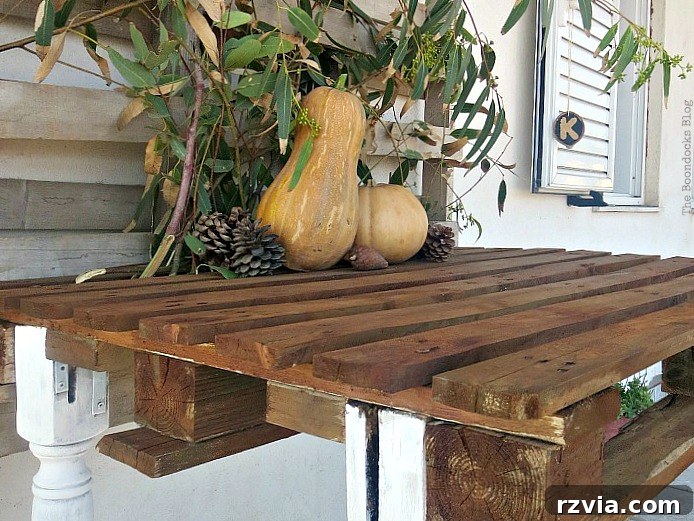
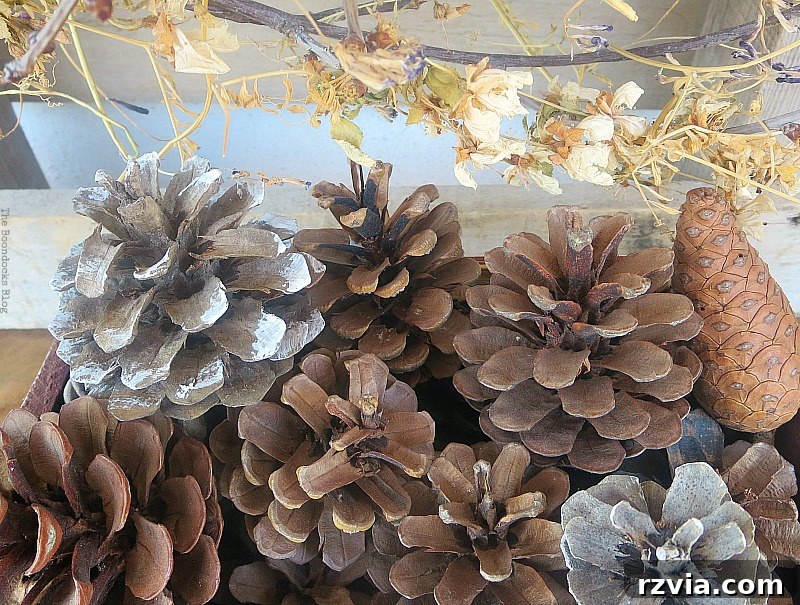
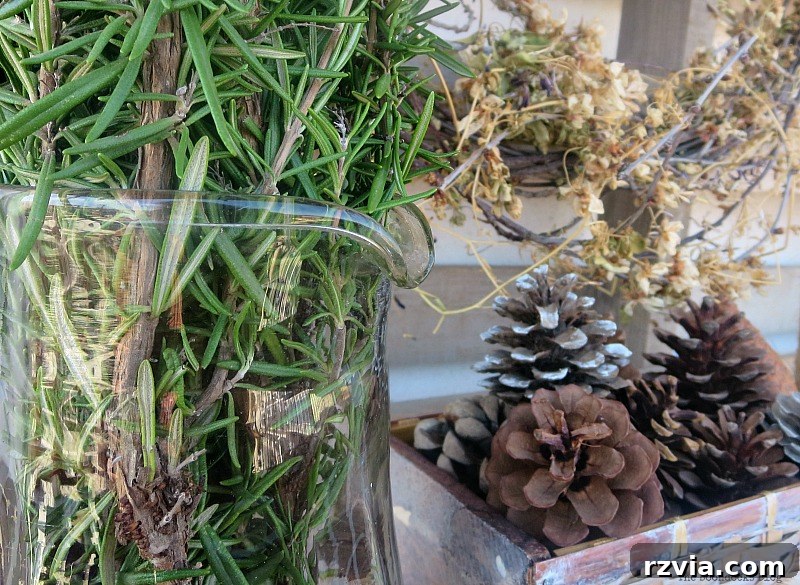
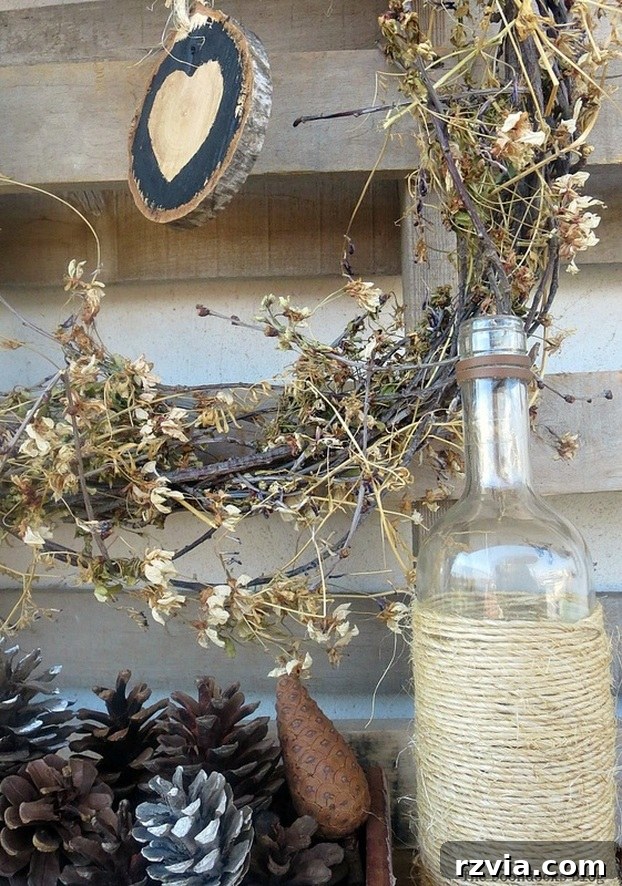
Here, you can see our refurbished DIY pallet table in action, showcasing its capability as a versatile prop. This particular image captures a charming fall vignette, meticulously arranged on the table with the lighter-colored pallet serving as its perfect, complementary backdrop. The combination provides a delightful rustic setting, enhancing the mood and visual appeal of the autumn-themed display.
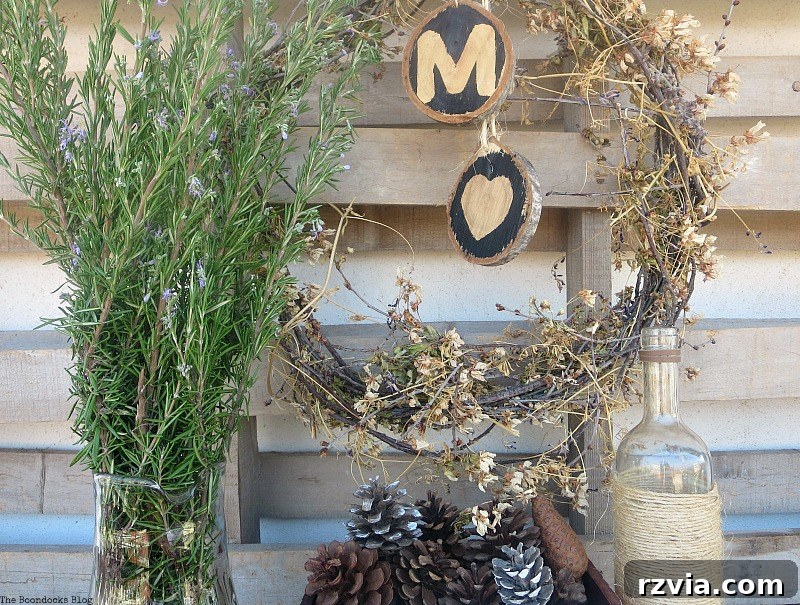
No matter how chilly the weather might become, the quality of natural light on this balcony remains unparalleled. This makes it absolutely essential for me to have this dedicated outdoor space. It’s here that I can consistently capture high-quality photos, allowing the natural radiance to illuminate my subjects and truly bring them to life.
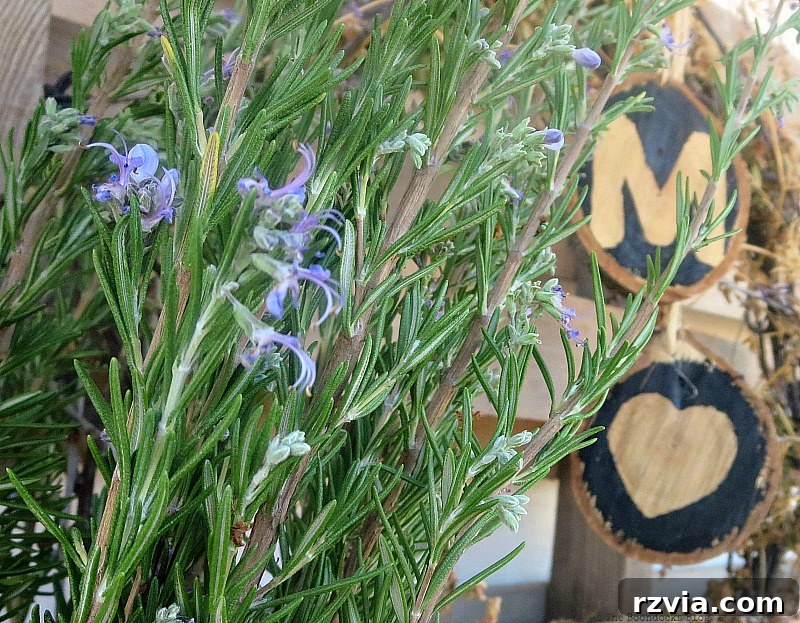
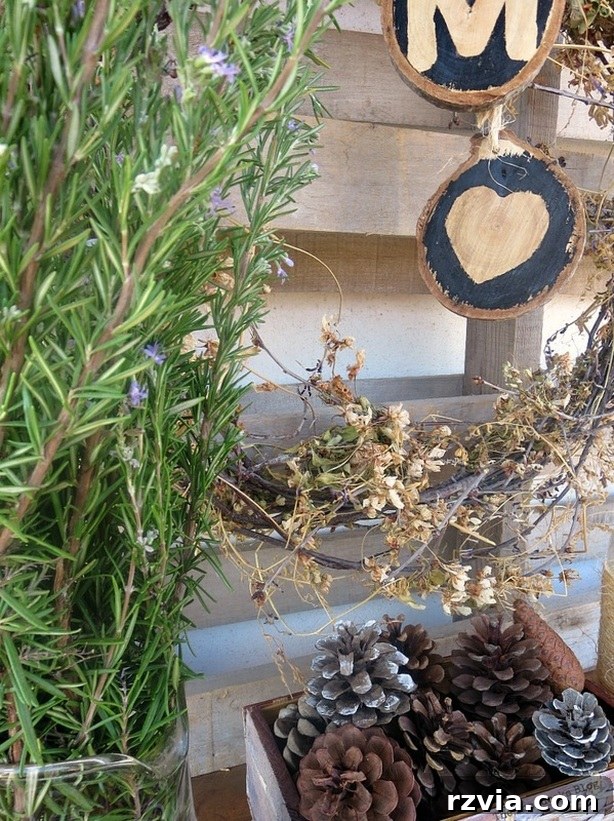
Among my favorite photography props are my repurposed rustic wood slices. Their natural texture and organic shapes make them incredibly versatile. I find myself reaching for them year-round, as they effortlessly complement various themes and add a touch of natural charm to any vignette I create. They are a prime example of how simple, upcycled elements can elevate visual storytelling.
The Enduring Legacy of the Upcycled Pallet Table
And so concludes the engaging tale of our DIY pallet table, fondly remembered (and occasionally still referred to) as “the drunken table.” Its journey from discarded legs and a humble pallet to a cherished, functional piece of furniture was filled with unexpected challenges, moments of creative improvisation, and ultimately, immense satisfaction. Attaching those stubborn legs was indeed a labor of love, requiring more perseverance and ingenuity than anticipated, but the end result was undeniably worth every bit of effort.
A special thanks goes to my friend Marie of The Interior Frugalista, whose brilliant “Giggle Juice” natural wood stain truly transformed the pallet top. The deep, rich, earthy tones achieved with her method perfectly complement the rustic aesthetic we aimed for, making me fall even more in love with our unique creation. This table isn’t just a piece of furniture; it’s a testament to the power of upcycling and the beauty found in giving new life to forgotten items.
Now that our DIY pallet table stands proudly and stably on our balcony, ready for its close-ups, you’ll undoubtedly be seeing much more of it in future posts! We encourage you to embrace the world of pallet furniture creation. Have you ever embarked on a furniture-making journey using pallets? Our DIY pallet couch, for instance, was incredibly easy to build and provides comfortable seating all season long, proving just how versatile these materials can be.
Finally, we’d love to hear your thoughts! Should we continue to refer to our unique creation as “the drunken table,” or do you have a more fitting, perhaps equally charming, name suggestion for it? Share your ideas in the comments below – we’re excited to hear them!