
DIY Chalkboard Wall: Transform Any Space into a Creative Hub
Do you have a wall in your home that feels overlooked, perhaps constantly bearing the marks of daily life? Instead of letting it remain a blank canvas or a source of frustration, imagine transforming it into a dynamic, interactive chalkboard wall! This engaging DIY project is not only incredibly satisfying but also adds a significant dose of personality and functionality to any room. Perfect for families, artists, or anyone looking for a unique organizational tool, a chalkboard wall invites creativity and brings a playful touch to your living space. Discover how to take a forgotten wall and turn it into a captivating focal point that the whole family will adore.
Why a DIY Chalkboard Wall is Your Next Best Home Project
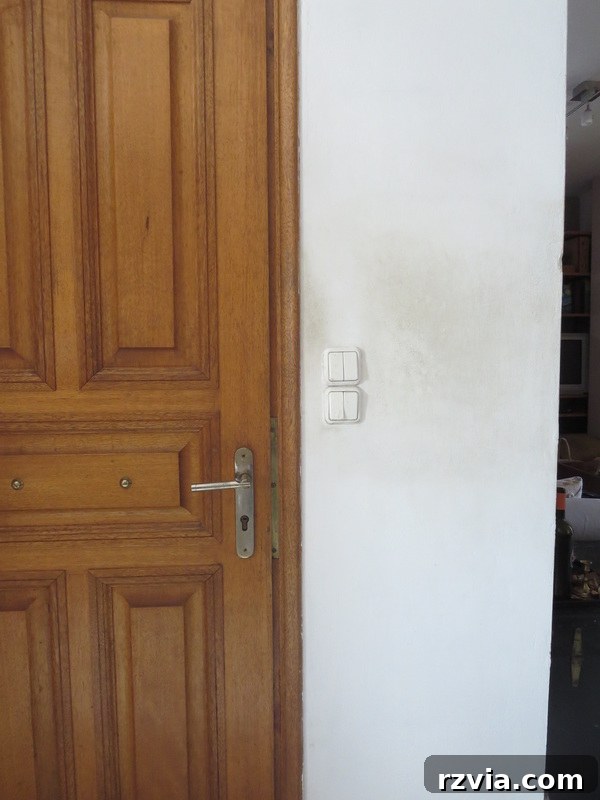
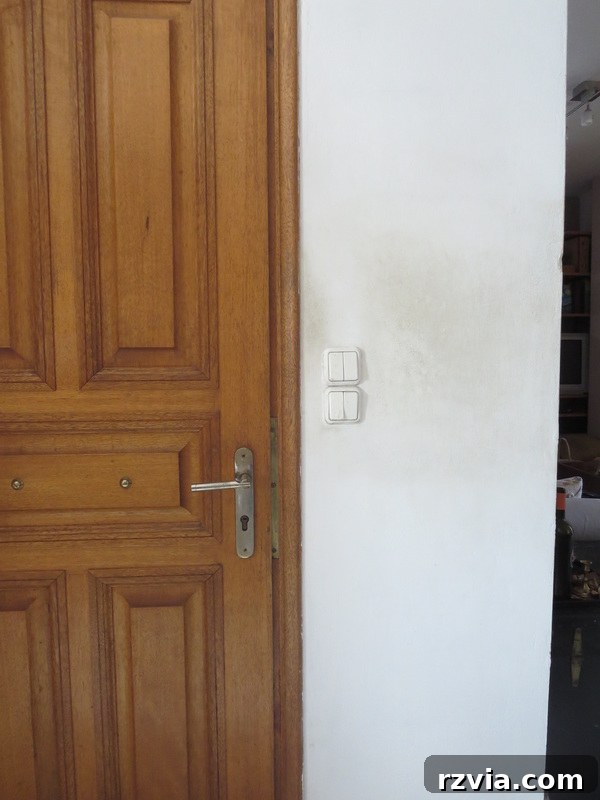
Every home has “that” wall – the one near the entryway, in the kids’ play area, or perhaps in the kitchen, that seems to attract grime and smudges like a magnet. For me, it was the wall right next to my front door. Despite regular cleaning, it always seemed to be covered in not-so-little handprints and mysterious dark marks. It was a constant battle, and frankly, I grew tired of the endless scrubbing and the sight of its perpetually dirty surface.
A DIY chalkboard wall offers an ingenious and stylish solution to common wall woes. Beyond simply covering up imperfections, it turns a problematic area into a feature. Here are just a few compelling reasons why this project is a brilliant idea for any homeowner:
- Unleash Boundless Creativity: Provides an expansive, forgiving canvas for kids to doodle, adults to sketch intricate designs, or anyone to express themselves without fear of damaging permanent surfaces. It fosters artistic exploration in an accessible way.
- Practical Organization Hub: Transform your wall into a giant, customizable planner! Perfect for jotting down grocery lists, daily reminders, family schedules, important appointments, or even inspirational quotes. It becomes a central command station for your household.
- Expertly Hides Imperfections: The rich, matte black finish of chalkboard paint is incredibly forgiving. It expertly conceals minor wall damage, scuffs, and, yes, those stubborn handprints and dirt marks, giving your wall a fresh, uniform look.
- Adds Unique Character & Style: A chalkboard wall is an instant conversation starter and a unique design element that can complement a wide array of interior styles, from rustic farmhouse chic to modern minimalist or eclectic bohemian. It brings personality and an unexpected touch to your decor.
- Fosters Interactive Family Fun: Encourages engagement and communication within the family. Leave encouraging notes, play drawing games, or collaborate on a seasonal mural. It makes a wall an interactive focal point for shared activities and memories.
- Cost-Effective Home Upgrade: Compared to other wall treatments or custom art, creating a chalkboard wall is a relatively inexpensive DIY project that delivers a high impact on your home’s aesthetics and functionality.
Gathering Your Toolkit: Essential Materials
Before diving into the exciting painting process, ensuring you have all the necessary tools and materials on hand is crucial. A little preparation goes a long way in ensuring a smooth, efficient, and successful project, leading to a professional-looking finish you’ll be proud of.
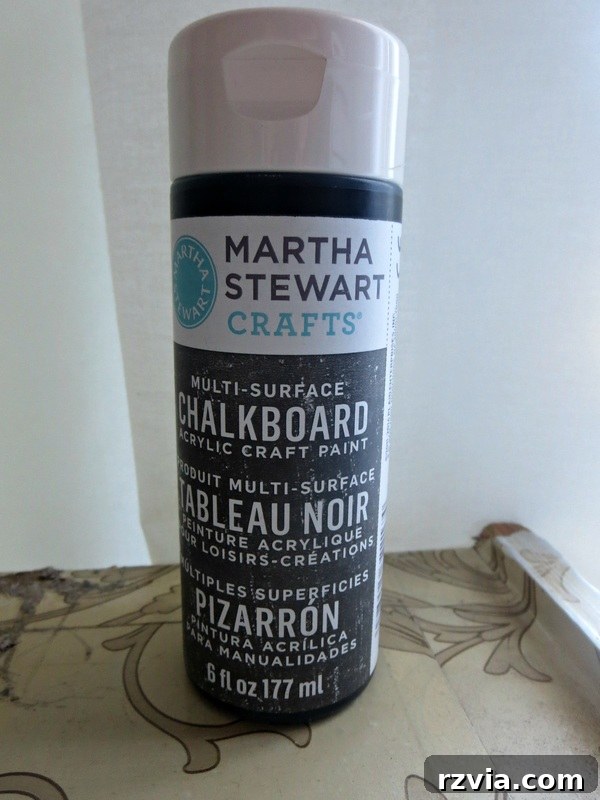
- High-Quality Chalkboard Paint: Opt for a reputable brand of black chalkboard paint. Consider a low-VOC (Volatile Organic Compound) option for better indoor air quality, especially in living spaces.
- Primer (Recommended): A good quality wall primer is essential, particularly if your wall is stained, very dark, or uneven. It provides a consistent base for the chalkboard paint and improves adhesion.
- Painter’s Tape: High-quality painter’s tape is non-negotiable for creating crisp, clean lines and meticulously protecting adjacent walls, trim, and ceilings from paint splatters.
- Paint Rollers and Brushes: Invest in a high-density foam roller for applying chalkboard paint; it helps achieve the smoothest, most streak-free finish. A smaller angled brush will be useful for precise work along edges and in corners.
- Drop Cloths or Plastic Sheeting: Absolutely vital for protecting your floors, furniture, and any nearby surfaces from accidental paint drips and splatters.
- Cleaning Supplies: You’ll need mild all-purpose cleaner, warm water, sponges, and clean rags for thoroughly preparing your wall surface.
- Sanding Sponge or Fine-Grit Sandpaper: Useful for lightly smoothing any rough spots on the wall before painting or for a very light sanding between chalkboard paint coats to ensure a super smooth writing surface (optional).
- Foam Crown Molding: To construct a decorative, raised frame around your chalkboard area, adding an elegant, finished touch.
- Miter Saw (or Miter Box and Hand Saw): Essential for making precise 45-degree angle cuts on the crown molding, ensuring perfect corners for your frame.
- Construction Adhesive or Small Finishing Nails: To securely attach the cut molding pieces to the wall.
- Caulk and Caulk Gun: Necessary for filling any tiny gaps between the molding pieces and the wall, creating a seamless, professional appearance.
- Accent Paint for Molding: Three different complementary colors (e.g., white, grey, and black, or varying shades of a chosen hue) to paint the crown molding, giving it depth and visual interest.
- Chalk: A stick of regular white chalk is needed for the crucial “seasoning” step of your new chalkboard wall.
- Soft, Dry Rag or Eraser: For wiping away chalk dust during the seasoning process and for general maintenance.
The Transformation Journey: A Step-by-Step Guide
Let’s turn that neglected wall into a captivating feature! This detailed guide will walk you through each phase of the project, ensuring a professional and lasting finish that you’ll be proud to display.
Step 1: Meticulous Wall Preparation
The foundation of any exceptional paint job is meticulous preparation. Begin by thoroughly cleaning the entire wall surface that you intend to paint. Use a mild all-purpose cleaner with warm water and a sponge to scrub away all dirt, grease, dust, and especially those persistent handprints. This step is non-negotiable for proper paint adhesion and a smooth finish. Allow the wall to dry completely.
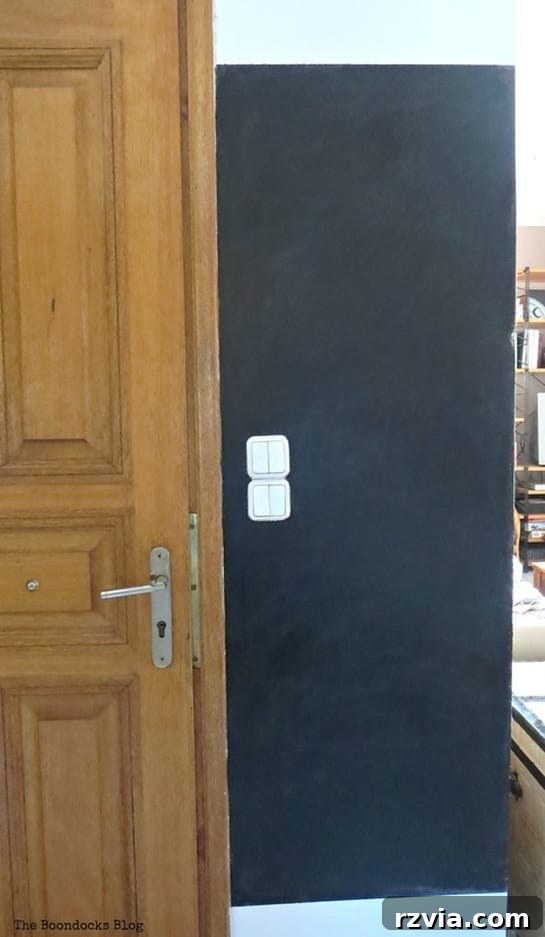
Once dry, meticulously apply painter’s tape to carefully mark off the precise section of the wall you intend to transform into a chalkboard. This creates crisp, clean boundaries and diligently protects adjacent walls, ceilings, and floor trim from paint. I specifically taped off both the top and bottom sections, clearly defining the exact area where my new blackboard would reside. Looking back at the lingering grime around the taped edges in the “before” photos, it’s clear how essential this preliminary cleaning and taping was – I was definitely “seeing black” in my determination to cover and improve that wall!

Step 2: Expert Application of Chalkboard Paint
Now, for the main event – applying the chalkboard paint! Begin by stirring the paint thoroughly to ensure all pigments are evenly distributed. If you opted for a primer (which is highly recommended for optimal results), apply one even coat across your taped-off section and allow it to dry completely according to the manufacturer’s instructions before proceeding with the chalkboard paint.
When applying the actual chalkboard paint, use a high-density foam roller for the smoothest, most professional finish, as it minimizes brush marks and streaks. Apply thin, even coats, ensuring full coverage. Crucially, allow each coat to dry completely – typically 2-4 hours – before applying the next. Patience is absolutely key here! My first coat looked, frankly, horrible – blotchy, uneven, and far from the smooth blackboard surface I envisioned. It can be disheartening at this stage, but trust the process. Chalkboard paint needs multiple, thin coats to achieve that deep, uniform, durable, and functional finish.
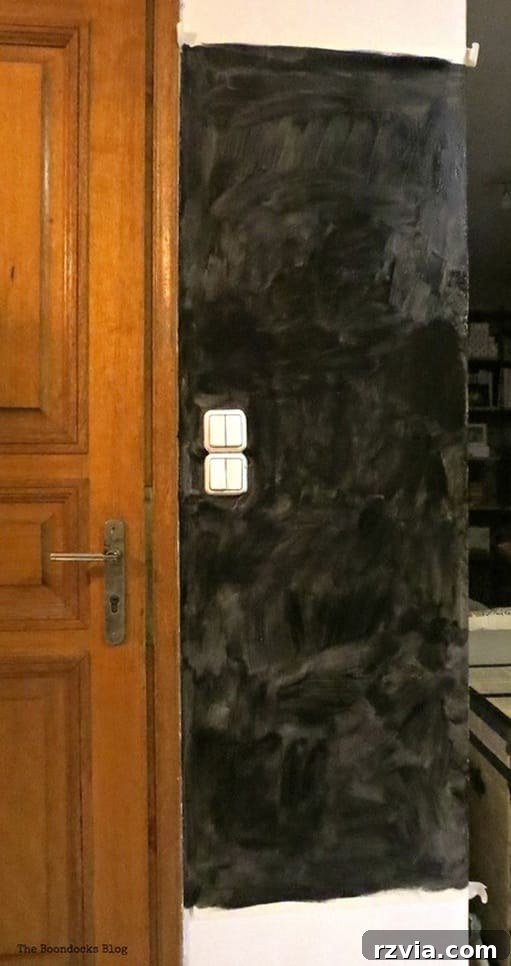
After diligently applying four coats, allowing ample drying time between each, the transformation was remarkable. The wall now boasted a rich, smooth, and incredibly consistent black finish. It truly went from a messy experiment to a promising, elegant canvas, ready for its final touches!
Step 3: Crafting a Stylish Frame with Crown Molding
While a simple black wall is functional, a black wall framed like a sophisticated piece of art is truly exceptional. To elevate the chalkboard’s aesthetic and give it a finished, polished look, I decided to incorporate foam crown moldings. These moldings are wonderfully lightweight, making them easy to cut and install. They provide a classic, refined appearance, much like how traditional crown molding connects walls to ceilings, creating a sense of architectural ambiance. Why not bring that same sense of elevated design to our new chalkboard feature?
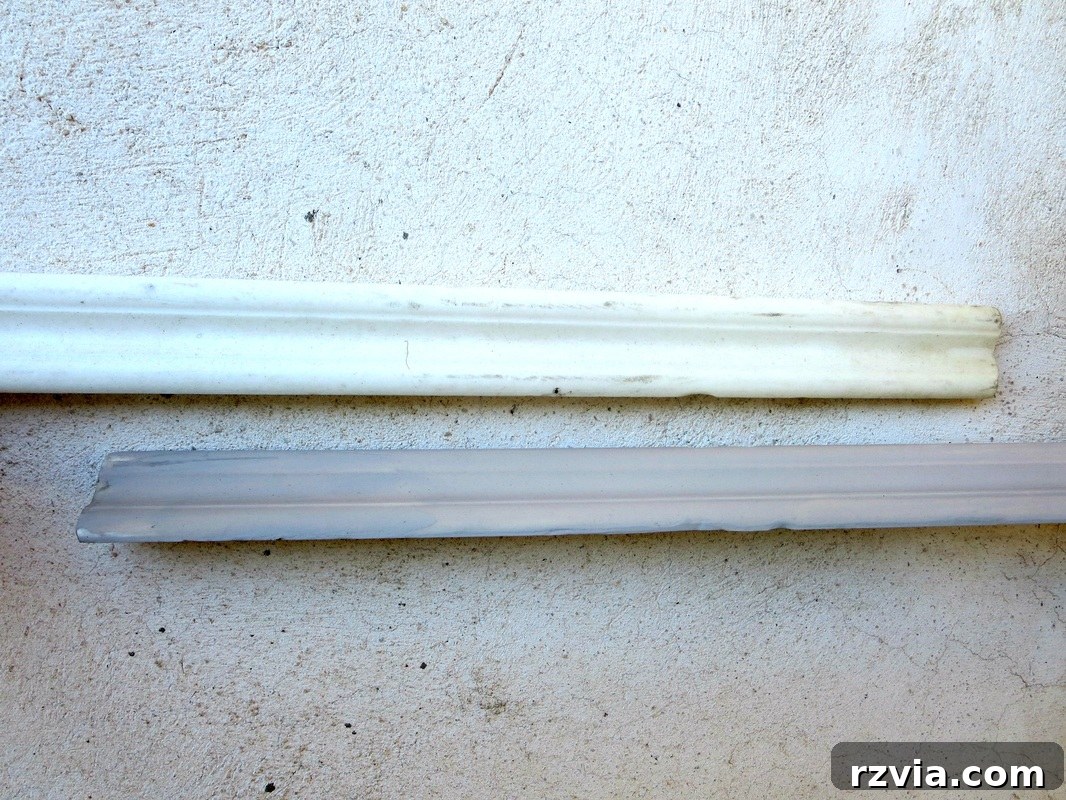
Begin by accurately measuring the perimeter of your freshly painted chalkboard area. Then, carefully cut the foam crown moldings to size, paying meticulous attention to making precise 45-degree miter cuts at each corner. This ensures that the pieces fit together seamlessly, forming perfect, clean joints. You can achieve this precision with a miter saw or, for a more budget-friendly approach, a miter box and hand saw. Once cut, attach the moldings to the wall using a strong construction adhesive or small finishing nails for secure placement. After the molding is installed, fill any tiny gaps or seams with caulk and allow it to dry completely for a truly seamless, integrated look.
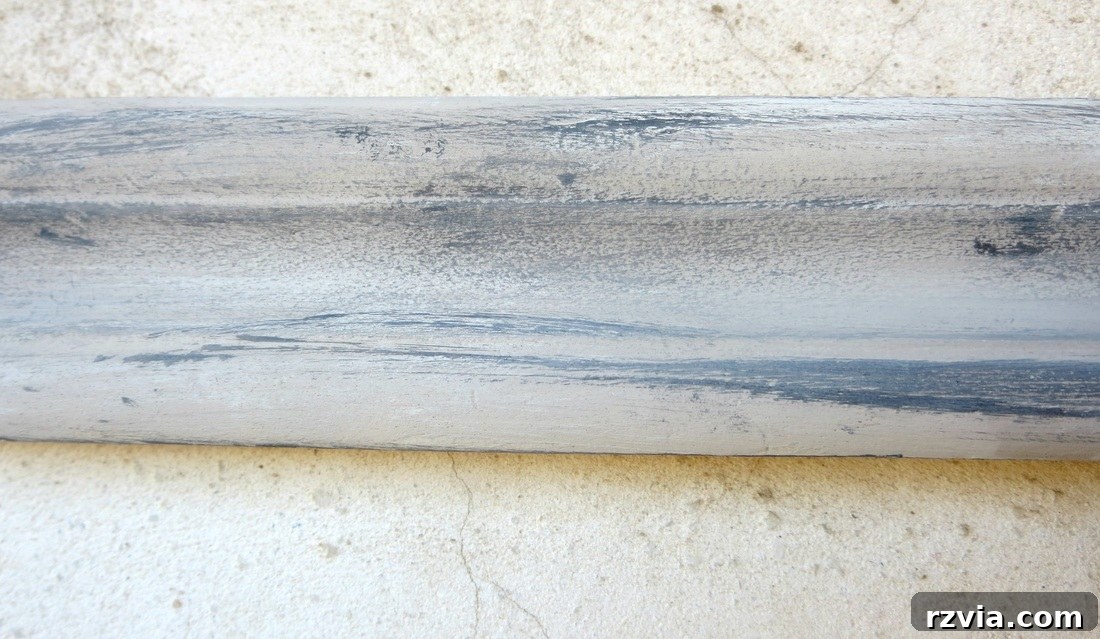
For an added layer of depth and visual intrigue, I decided to paint the crown moldings using three distinct, yet complementary, colors. This layering technique helps the frame truly stand out, creating a sophisticated, multi-dimensional effect that beautifully complements the matte black chalkboard surface. You could choose contrasting colors for a bold statement, or subtle shades of the same hue for a more understated elegance, depending on your desired interior aesthetic.
Step 4: The Crucial Curing and Seasoning Process
With the chalkboard paint applied and the frame meticulously installed, it’s absolutely crucial to allow the chalkboard paint to cure properly. This vital process typically takes anywhere from 24 to 72 hours, depending on the specific paint brand, humidity levels, and environmental conditions. Always refer to your paint can’s label for precise curing times. While resisting the urge to immediately draw on your new, inviting wall is tough, this curing period ensures the paint hardens fully, providing a durable, resilient, and long-lasting surface that will stand up to years of creative use.
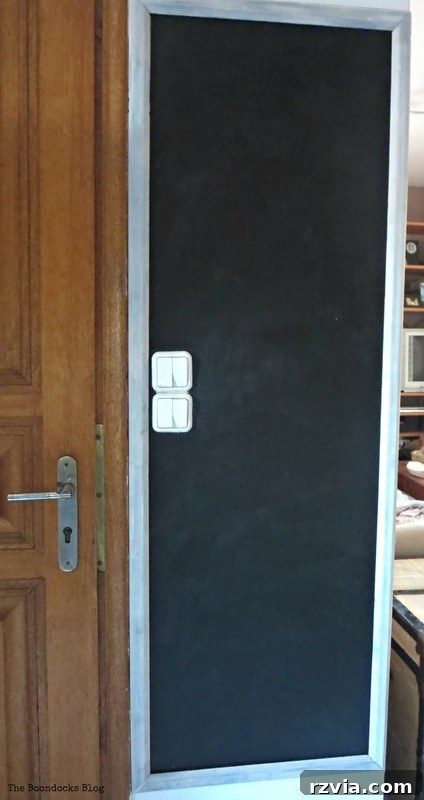
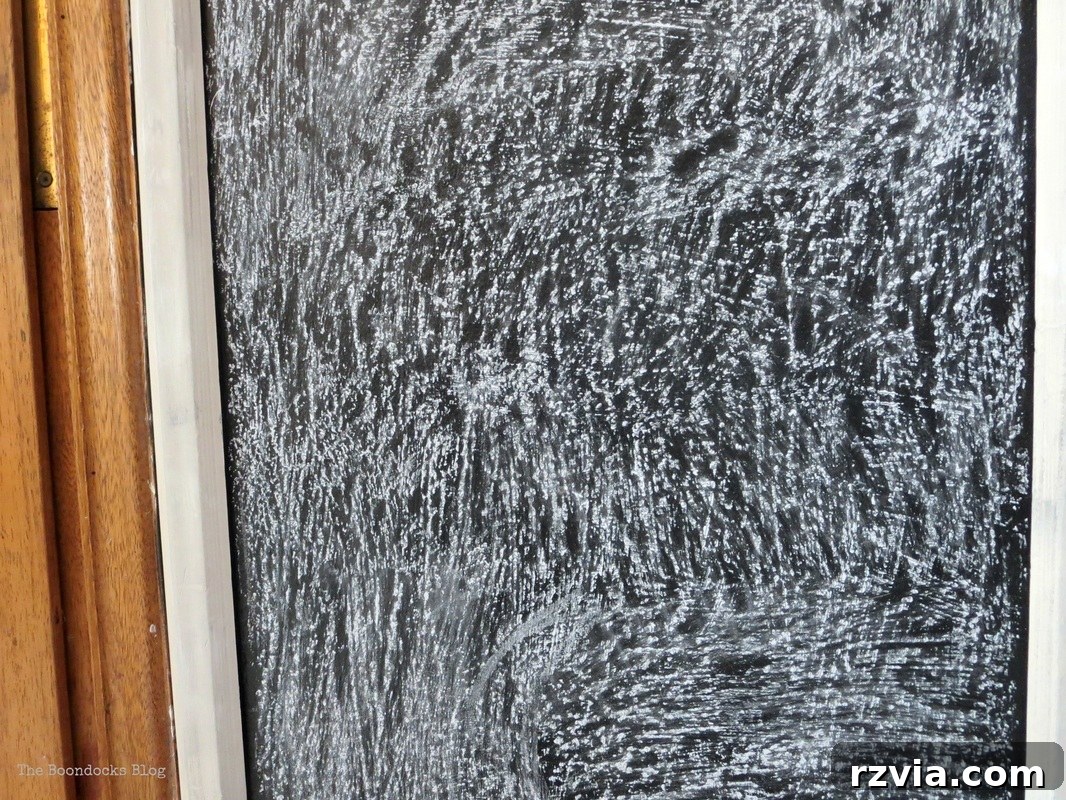
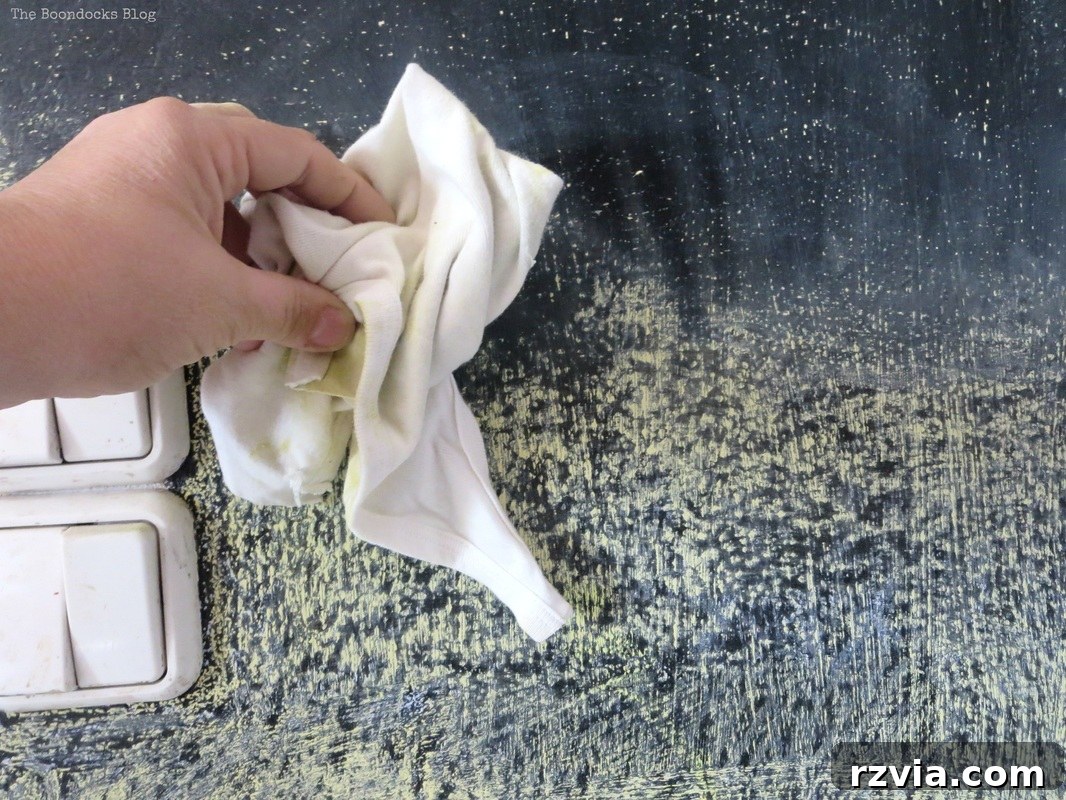
Once the curing time is complete, it’s time to “season” your chalkboard. This vital step is often overlooked but is absolutely essential to prevent “ghosting” – where previous drawings leave faint, permanent marks – and ensures your chalkboard works perfectly from the very first use. To season, take a piece of regular white chalk and, holding it sideways (horizontally), completely cover the entire surface of the chalkboard. Don’t press too hard; the goal is simply to get a fine layer of chalk dust into all the tiny pores of the paint. After you’ve covered the entire surface, use a soft, dry rag or a clean chalkboard eraser to gently wipe away the chalk dust. Your chalkboard is now perfectly seasoned and officially ready for all your creative endeavors!
Enjoy Your New Interactive Wall!
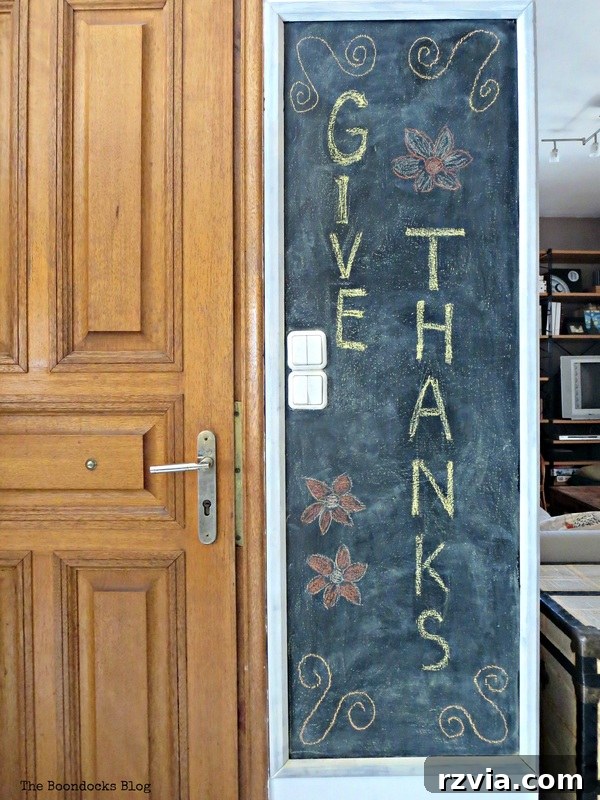
And now, for the most rewarding part – the fun! It’s time to grab a fresh stick of chalk and let your imagination run wild. Whether it’s a heartfelt daily message for the family, a clear weekly meal plan, a dedicated space for your children’s artistic masterpieces, or festive holiday decor, your new DIY chalkboard wall is a versatile, engaging, and ever-evolving addition to your home. Seeing the dramatic before and after truly highlights the incredible transformation achieved.
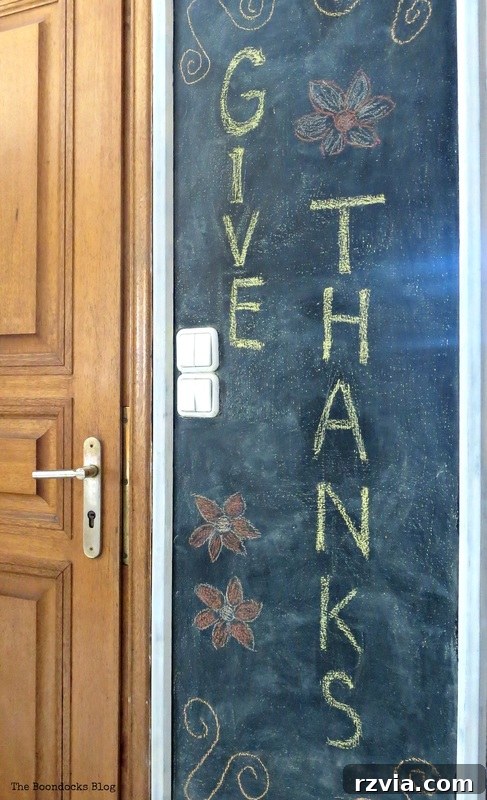
Compare the remarkable transformation from a neglected, dirty surface to a beautiful, functional, and interactive masterpiece. The difference is truly night and day:
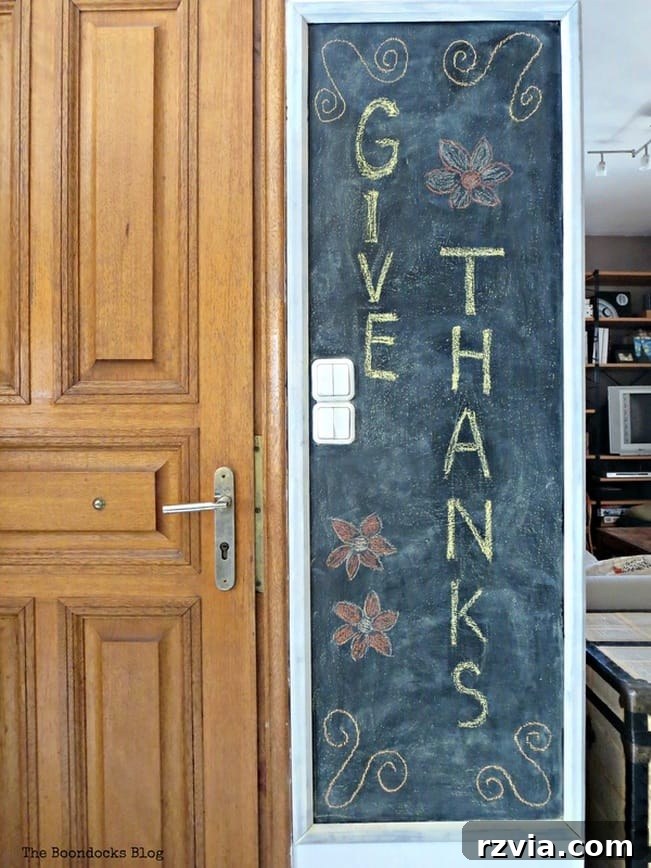
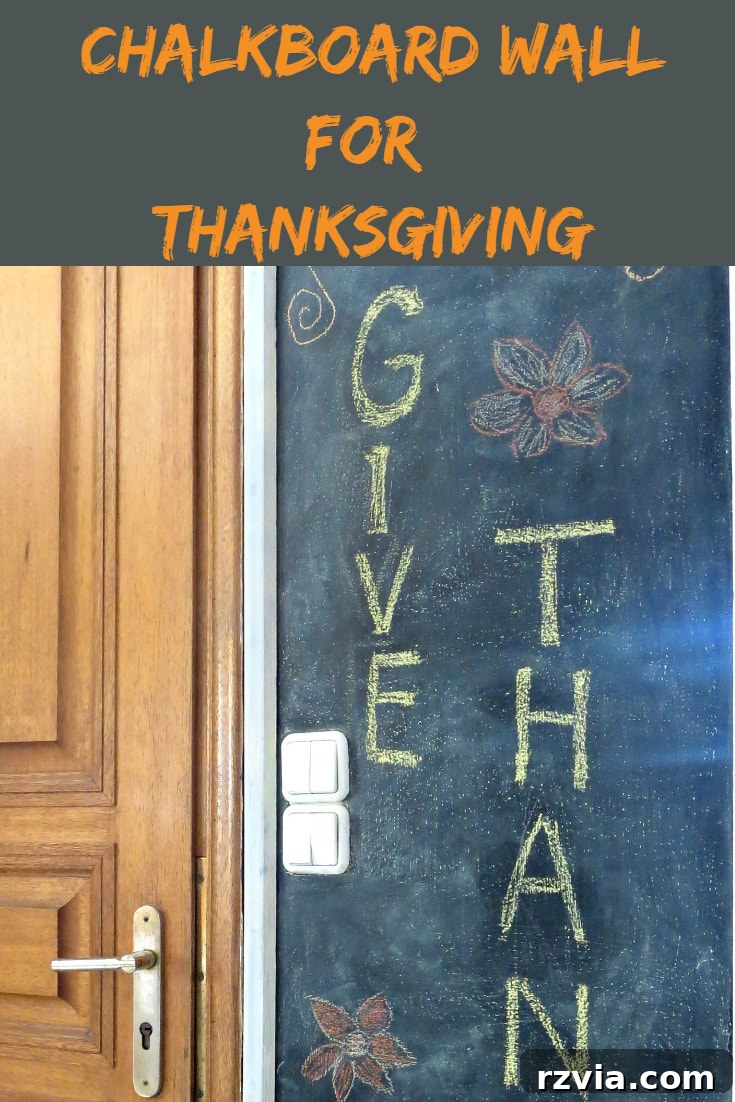
This Thanksgiving, for instance, this wall becomes the perfect backdrop for seasonal greetings, a gratitude list, or even practicing drawing turkeys with the kids. It’s truly the most brilliant and elegant way to conceal a previously grubby, uninspiring wall, turning a frustrating design challenge into a creative triumph. I’m “seeing black” with a huge smile on my face, radiating satisfaction and pride, and I’m confident you will too when you complete your own DIY chalkboard wall!

Tips for a Flawless DIY Chalkboard Wall Project
To ensure your chalkboard wall project goes smoothly and yields the best possible results, keep these expert tips in mind:
- Ensure Excellent Ventilation: Chalkboard paint, like most paints, can have a strong odor. Always ensure good airflow in your work area by opening windows and using fans.
- Invest in Quality Tools: While it might be tempting to cut corners, good quality rollers and brushes make a significant difference in achieving a smooth, streak-free, and professional-looking finish.
- Patience is Your Best Friend: Rushing any stage of the painting, drying, or curing process can compromise the durability and appearance of your chalkboard surface. Strictly follow all manufacturer recommendations.
- Always Test in an Inconspicuous Area: If you’re unsure about paint adherence, color match, or overall technique, test a small, hidden patch of your wall first.
- Clean Your Chalkboard Regularly: For optimal results and to keep your chalkboard pristine, use a slightly damp cloth to wipe it clean. Follow with a dry cloth to prevent water spots. Avoid harsh chemical cleaners as they can damage the surface.
- Consider Magnetic Chalkboard Paint: For even greater functionality, explore magnetic chalkboard paint options. These paints allow you to attach magnets as well, turning your wall into a dynamic bulletin board and drawing surface simultaneously.
- Smoothness is Key: Before painting, ensure your wall is as smooth as possible. Fill any holes or cracks and sand lightly if needed to prevent bumps and textures from showing through the paint.
Maintenance and Long-Term Enjoyment
Maintaining your DIY chalkboard wall is wonderfully straightforward, ensuring it remains a cherished feature in your home for years. For daily erasing, a standard felt chalkboard eraser works perfectly, quickly clearing your canvas for new messages. For a deeper clean, especially after heavy use or to remove stubborn chalk residue, simply wipe the wall down with a slightly damp cloth. Allow it to dry completely before beginning to draw again. If, over time, you notice any faint “ghosting” from previous drawings, you can easily re-season the entire surface with chalk, following the same method described in Step 4. This simple and consistent maintenance routine will ensure your chalkboard wall continues to be a beautiful, highly functional, and ever-evolving source of creativity and organization in your home, continually adapting to your family’s dynamic needs.
Conclusion: Your New Favorite Wall Awaits!
Turning a mundane, dirty wall into a vibrant, interactive DIY chalkboard wall is much more than just a home improvement project; it’s an invitation to boundless creativity, improved organization, and enriching family engagement. This project vividly demonstrates that even the most challenging or overlooked spots in our homes can be completely transformed into something truly special, bringing joy and immense functionality. So, gather your supplies, roll up your sleeves with confidence, and get ready to create a masterpiece that will infuse your space with personality and purpose. Say a final goodbye to dull, dirty walls and a resounding hello to a dynamic canvas of endless possibilities!
You may also like:
- Seeing Red: A Bold Home Decor Project
- Repurposing Pieces of a Table for Unique Decor
- Creative Ideas for Rustic Wood Slices