
Embracing the Coastal Vibe: Our Greek Beach Table Makeover Challenge
Welcome back to another exciting installment of the Int’l Bloggers Club Challenge! This monthly creative endeavor is always a highlight for me. It’s a fantastic opportunity to not only share a piece of my own country and culture but also to delve into the diverse creativity of my fellow international bloggers. In previous months, we’ve explored fascinating themes such as shopping traditions and the beauty of Spring Flowers in Greece. You can always find a comprehensive collection of our past challenges right here.
This month, we’ve decided to tackle a project that truly resonates with our shared passions: furniture makeovers. It’s a topic perfectly aligned with our collective love for home decorating, upcycling, and giving forgotten pieces a new lease on life. For my contribution, I embarked on a mission to rescue an old, unremarkable table from its fate of perpetual boredom, transforming it into what I affectionately call my “Greek Beach Table.” This transformation was more than just a paint job; it was about infusing a piece of furniture with the tranquil, sun-kissed essence of the Greek coastline, right here in my home. Join me as I walk you through the steps of this fulfilling DIY journey.
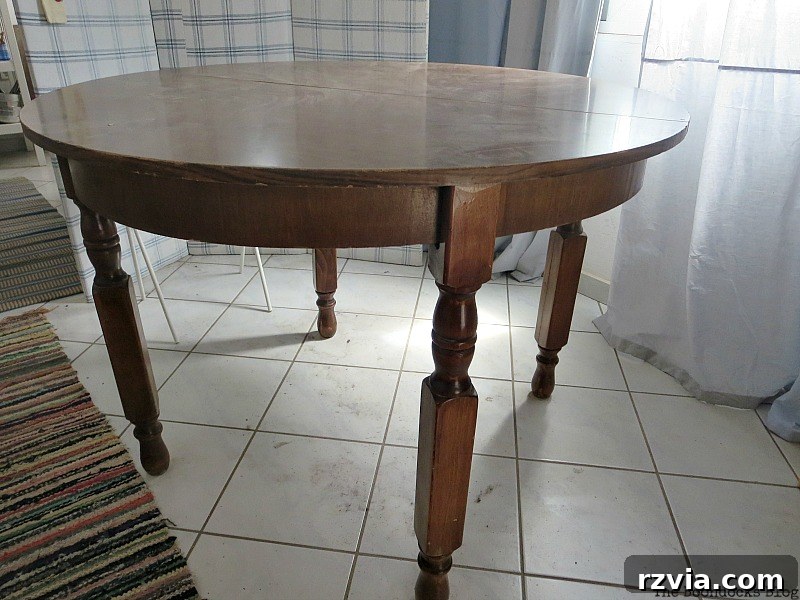
The Humble Beginnings: A Table in Despair
Choosing the right piece for a makeover challenge is key, and for this project, I selected an old table that has been a part of my home for many, many years. To be frank, it had absolutely no charm or character – aside from the constant layer of dust that seemed to cling to it, which, let’s be honest, is a conversation for another blog post entirely!
The table’s construction presented an interesting challenge. While its sturdy legs were made of solid wood, offering a good foundation, the tabletop was crafted from laminate over particle board. Over time, this surface had become dull, scratched, and frankly, quite awful. It was screaming for attention, or perhaps, a complete overhaul. Before diving into the painting process, a thorough cleaning was imperative. I prepared the surface by washing it down diligently with a mixture of vinegar and detergent. This step is crucial, especially when working with laminate, as it removes grime, grease, and any residues that could prevent the paint from adhering properly. A clean surface ensures maximum paint adhesion and a long-lasting finish, setting the stage for the dramatic transformation to come.
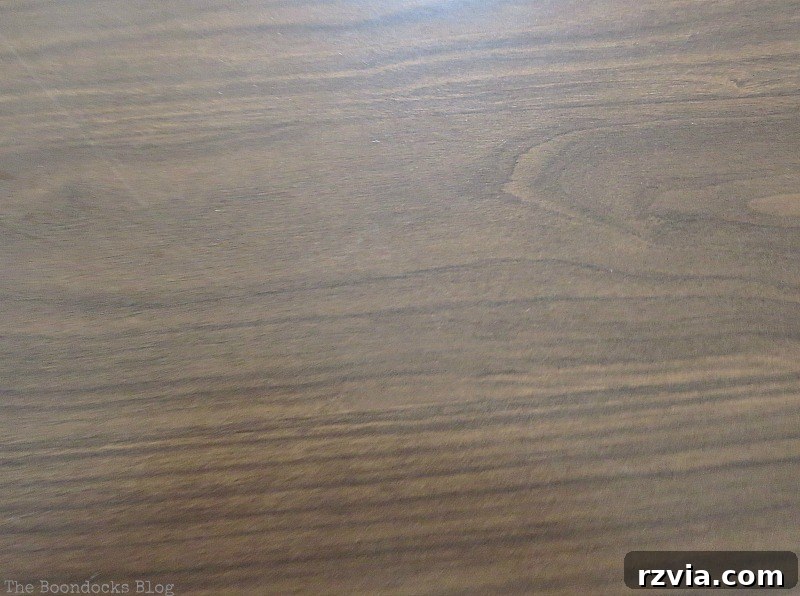
The Magic of Chalk Paint: A No-Sanding Solution
For quite some time, I had been eager to experiment with chalk paint on laminate furniture. This project presented the perfect opportunity to put it to the test. I want to emphasize that I haven’t been compensated in any way for promoting this product; I simply genuinely love it and believe in its effectiveness, which is why I’m thrilled to share my experience with you. One of the greatest advantages of using chalk paint, especially on tricky surfaces like laminate, is its remarkable ability to adhere without the need for extensive sanding or priming. This feature significantly cuts down on preparation time and effort, making it an ideal choice for DIY enthusiasts looking for a straightforward furniture makeover.
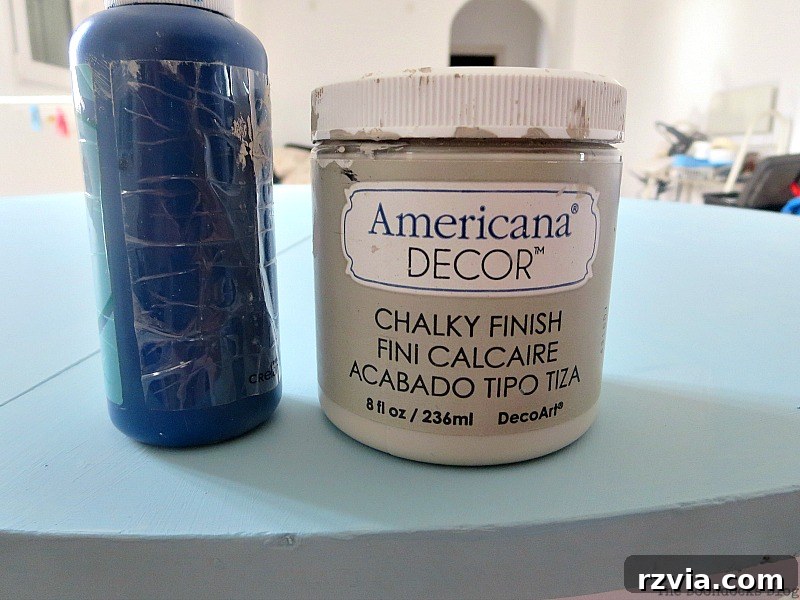
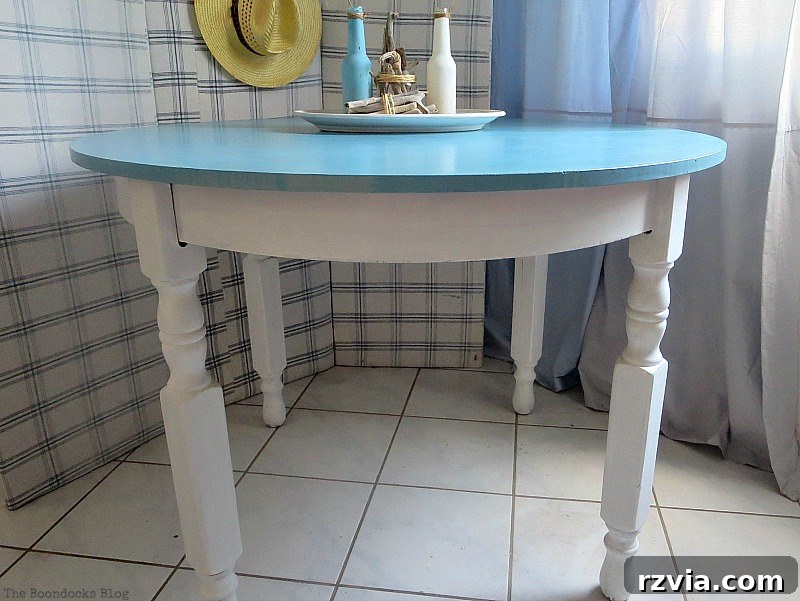
I began by tackling the wooden legs of the table. These received four coats of DecoArt Americana Chalky Finish in “Everlasting”, a crisp, clean white. Applying multiple thin coats is always better than one thick coat, as it ensures a smooth, durable finish and prevents drips. Each coat was allowed to dry thoroughly before the next was applied, building up a beautiful, opaque base. The “Everlasting” white provided a fresh, bright foundation, perfectly contrasting with the vibrant color I envisioned for the tabletop, and truly beginning the transformation of this piece into a coastal-inspired masterpiece.
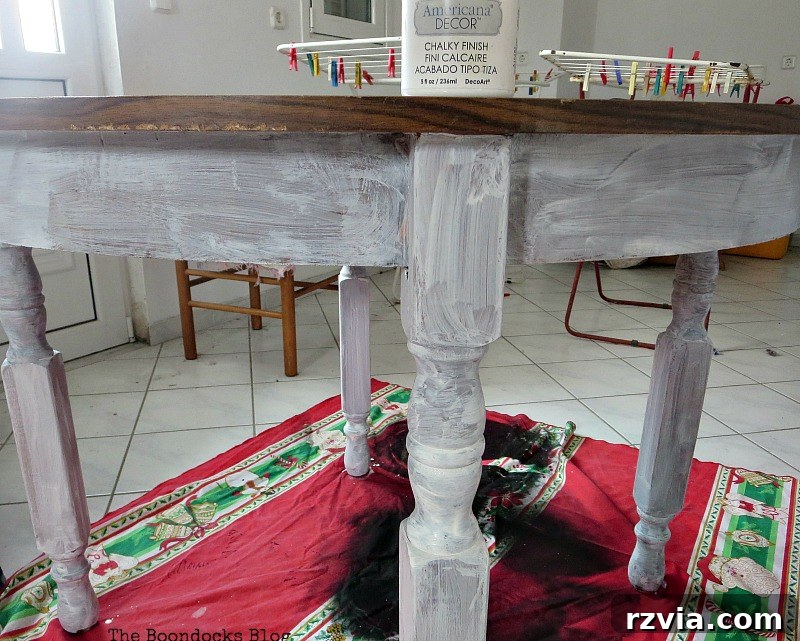
Building the Base: A Primer for the Top
Once the legs were beautifully coated in white, it was time to move on to the tabletop. The painting process for the top followed a similar pattern, albeit with a different initial color. The first coat on the laminate surface was a lovely grey shade of Deco Art Americana Chalky Paint in “Primitive.” This grey served not only as a base layer but effectively acted as a primer, creating an excellent canvas for the subsequent colors. As mentioned earlier, one of the most liberating aspects of using this chalk paint was the complete absence of sanding. This saved a tremendous amount of time and effort, allowing me to focus purely on the creative application of color.
The “Primitive” grey provided a neutral, yet solid foundation, covering the tired laminate perfectly. It demonstrated the superior coverage and adhesion qualities of chalk paint, even on slick surfaces like particle board with a laminate overlay. This initial layer was allowed to dry completely, creating a smooth and even surface ready for the vibrant colors that would truly define the “Greek Beach Table” aesthetic. The ease of this step reinforced my appreciation for chalk paint, making this furniture makeover project far more enjoyable and less intimidating than traditional painting methods might have been.
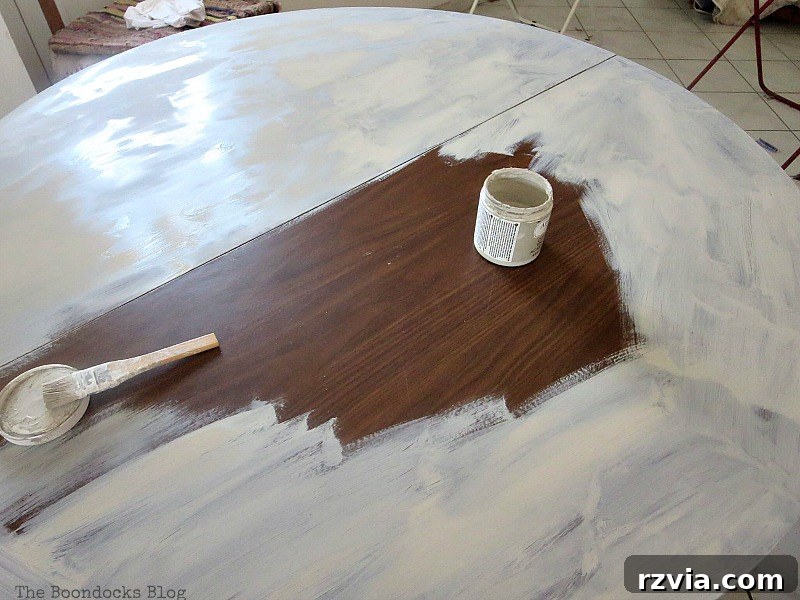
Infusing the Aegean: Crafting the Perfect Blue
When it came time to apply the subsequent coats to the tabletop, I decided to take a slightly different approach, truly embracing the spirit of the Int’l Bloggers Club Challenge. I wanted this piece to prominently feature something characteristic of Greece, and what could be more iconic than the brilliant blues of the Aegean Sea and the cycladic architecture? Therefore, I decided to paint the tabletop a stunning shade of blue, specially mixed to capture that authentic Greek essence.
To achieve the desired hue, I incorporated an acrylic blue paint into my chalky paint base. This allowed me to custom-blend the color, giving me full control over its depth and vibrancy. With each stroke, the table began to shed its old, drab identity and take on a new, refreshing coastal persona. The initial blue coats created a beautiful, soft blue, reminiscent of the sky on a clear day above the Greek islands. The layering technique was deliberate, as I aimed to build up the color gradually, allowing it to develop richness and complexity. This careful blending and application are what truly give the table its unique, handcrafted character.
Deepening the Hue and Sealing the Beauty
My vision for the “Greek Beach Table” called for an even deeper, more intense blue, mirroring the profound depths of the Aegean Sea. So, for the third and fourth coats on the tabletop, I incrementally added more acrylic blue to my chalk paint mixture. This gradual layering allowed the color to develop a rich, captivating depth, transitioning from a lighter, sky-like blue to a more profound, oceanic tone. The process was quite meditative, watching the color evolve and the character of the table emerge with each applied layer. The multiple thin coats not only contributed to the depth of color but also ensured a robust and even finish, free from brushstrokes or imperfections.
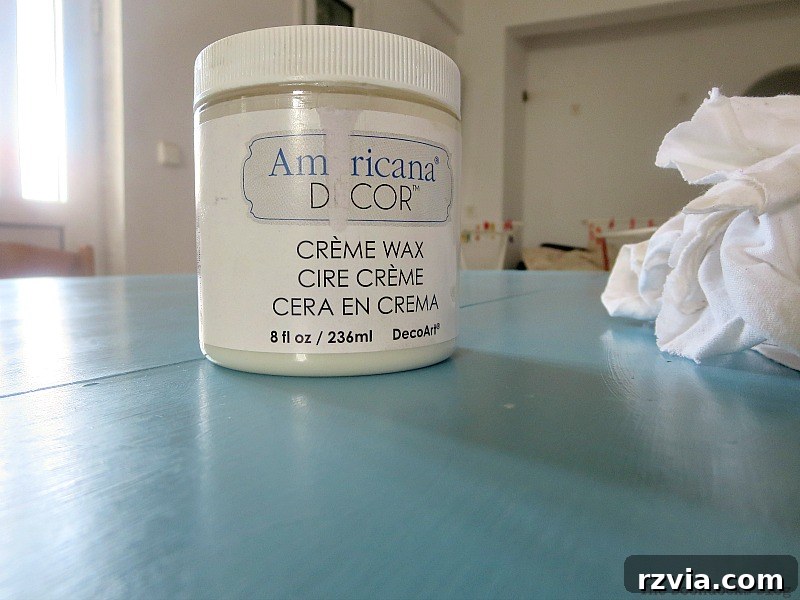
Once the desired blue was achieved and fully dry, it was time to seal this beautiful new finish. For this crucial step, I used the Americana Decor Creme Wax. Applying the wax is incredibly straightforward: you simply brush it on, allow it to dry for approximately a minute, and then buff it gently with a soft cloth. This waxing process not only protects the chalk paint from daily wear and tear but also imparts a subtle, silky sheen, enhancing the depth of the blue color. What I truly appreciated throughout this entire transformation was the consistent absence of sanding. From start to finish, this project was a testament to the ease and effectiveness of chalk paint, proving that even a tired, laminate-over-particle-board table can be revitalized into a stunning, durable piece without the messy and time-consuming task of sanding. This effortless approach truly made the makeover an enjoyable experience.
The Grand Reveal: My Transformed Greek Beach Table
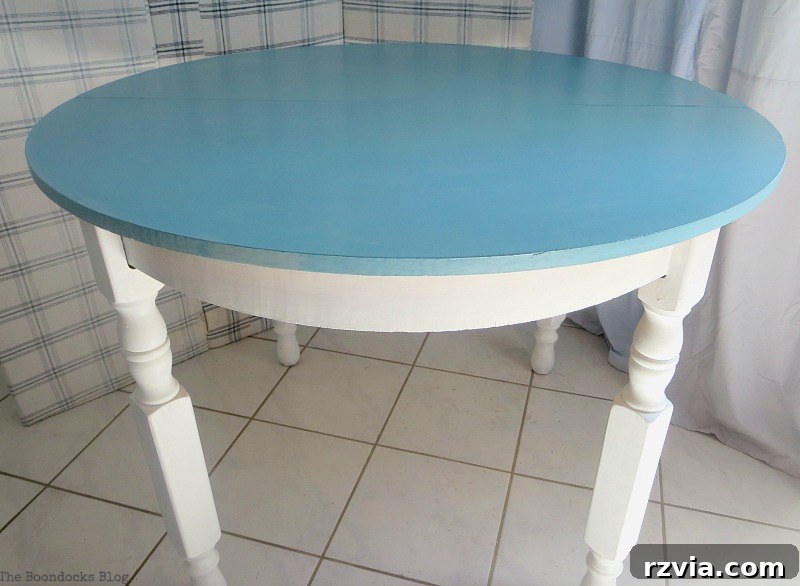
And so, my once unattractive table has undergone a remarkable metamorphosis! What was once a forgotten, dust-collecting piece of furniture now stands proudly as my “Greek Beach Table,” radiating a vibrant, coastal charm. The transformation is genuinely striking, proving that with a little imagination and the right materials, any old item can be given a glorious new life. The crisp white legs provide a beautiful contrast to the deep, inviting blue of the tabletop, reminiscent of whitewashed Greek houses against the azure sea.
Styling the Coastal Dream: A Beachy Vignette
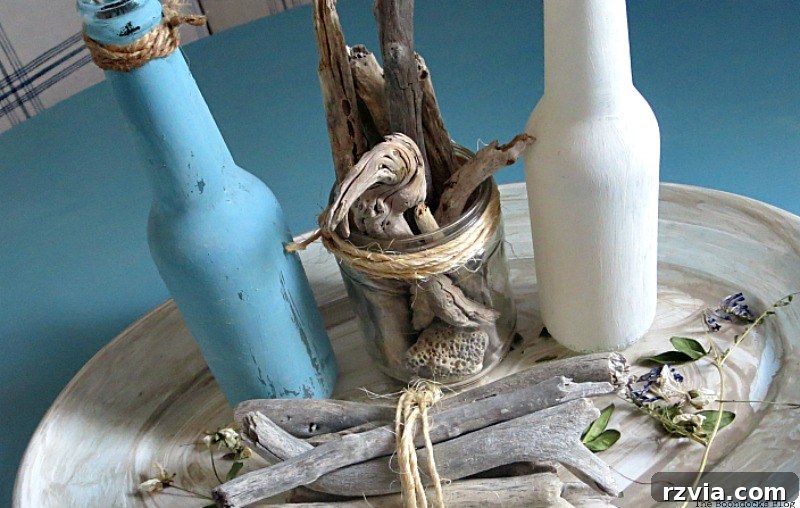
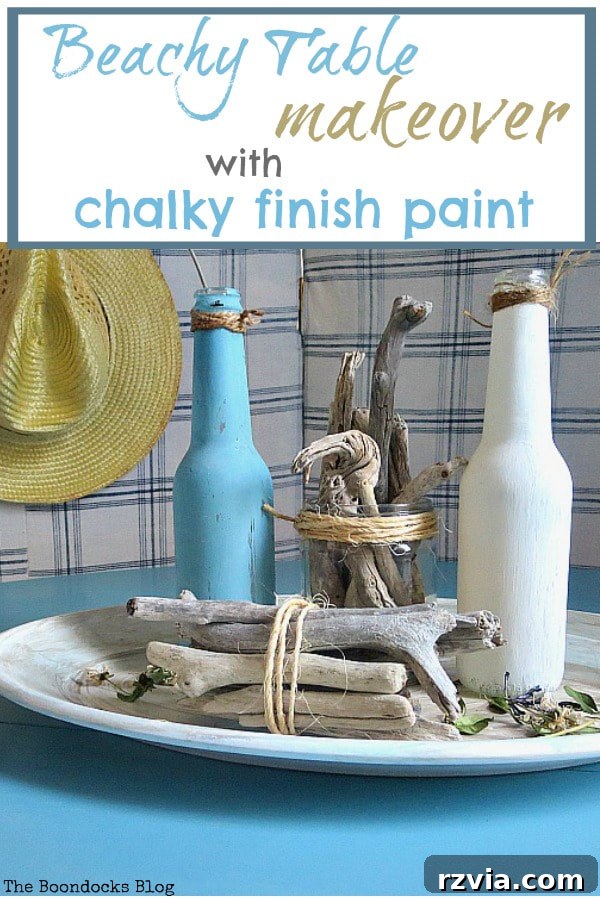
To further enhance the beachy vibe I was striving for, I decided to create a charming vignette right on the newly transformed table. I took a few leftover bottles and gave them a fresh coat of the same chalky paint, tying them perfectly into the table’s aesthetic. These painted bottles, varying in height and shape, instantly added a touch of rustic elegance. But the true stars of my coastal display are the pieces of driftwood I love to collect from the beach.
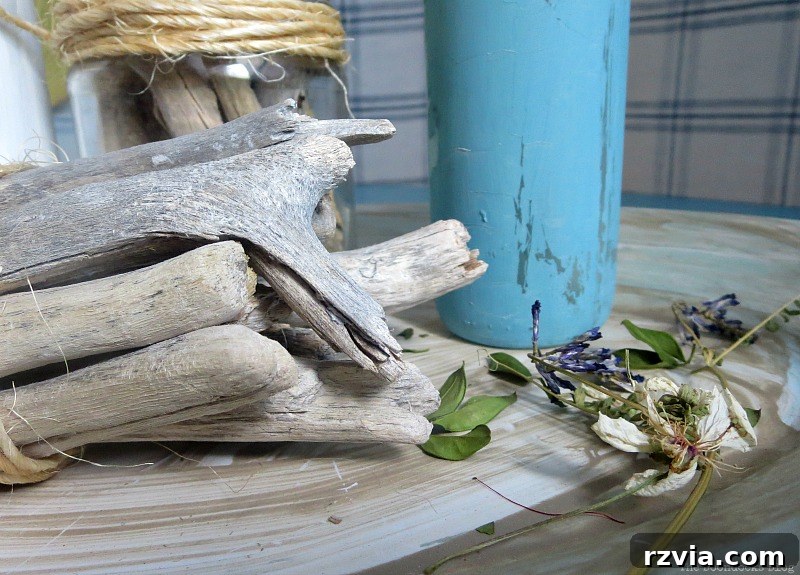
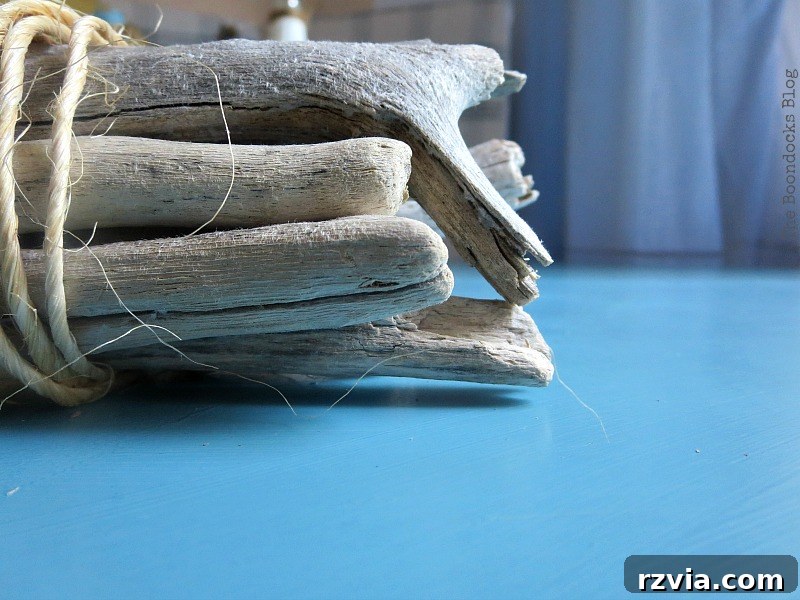
Collecting driftwood is a simple pleasure of mine; these natural treasures, shaped by the sea, bring an undeniable organic beauty and sense of tranquility to any space. Arranging these elements together—the painted bottles, the weathered driftwood, and the deep blue table—created a cohesive and serene “beach house” atmosphere. This little setup not only complements the table but also tells a story of sun, sand, and the calming influence of the ocean. It’s amazing how these small details can pull an entire look together, transforming a room with a truly personalized touch. This vignette is a simple yet effective way to bring the laid-back, natural beauty of the Greek seaside into my home, perfectly embodying the spirit of the Greek Beach Table makeover.
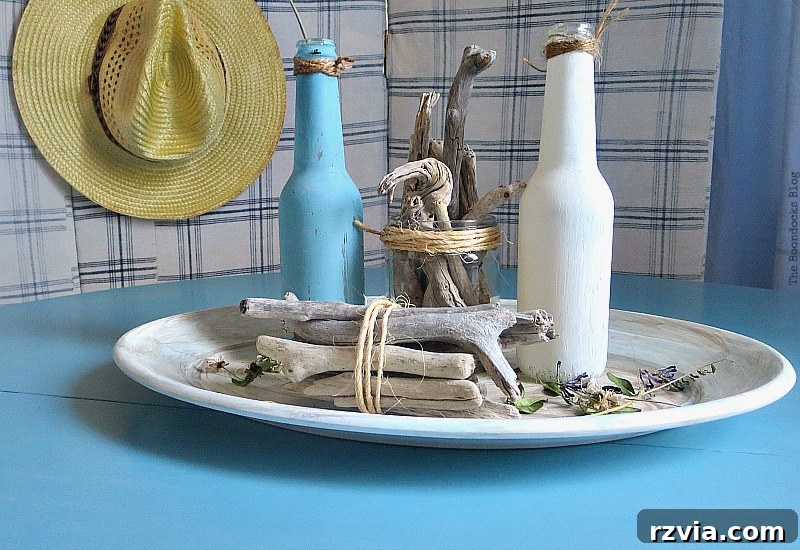
My passion for decorating with natural elements extends beyond just this table. I thoroughly enjoy collecting driftwood from the local beaches and incorporating these unique, ocean-tumbled pieces into various decor schemes around my house. Each piece tells a story, and together they create a cohesive, rustic, and effortlessly chic style. This approach to decorating not only personalizes my space but also connects my home with the natural beauty of the outdoors.
After all the painting and waxing was complete, I allowed the table to cure for about a week. This crucial curing period ensures that the paint and wax fully harden and bond to the surface, making the finish incredibly durable and resilient. Now, it truly is as hard as nails, ready to withstand daily use without a scratch. This patience pays off, guaranteeing that the beautiful finish will last for years to come, protecting all my hard work and creativity. It’s a small wait for a lasting reward, ensuring this Greek Beach Table remains a beloved and functional piece in my home.
Beyond the Table: Future Plans and Companion Pieces
And so, my “Greek Beach Table” project is officially complete, transformed from an eyesore into a beloved piece of coastal-inspired furniture. But the creative wheels never stop turning! I’ve already started brainstorming more ideas for this little beauty, contemplating how to further enhance its charm and utility. Stay tuned, because the journey with this table, and perhaps its surroundings, is far from over!
In fact, since completing this table, I’ve expanded the coastal theme in my home by adding complementary ombre beachy chairs. These chairs were designed to perfectly match the serene aesthetic of the table, creating a cohesive and inviting dining or living space with a distinct seaside feel. You can check out their transformation here and see how they contribute to the overall relaxed, beach-inspired atmosphere I’ve cultivated. Creating a unified look through coordinated furniture makeovers truly elevates the entire room, making it a testament to the power of DIY home decor.
Your Turn: Share Your Furniture Makeover Stories!
I truly hope you enjoyed this journey of transforming an old, tired table into a vibrant “Greek Beach Table.” I believe I achieved my aim: to renew a dull piece of furniture and infuse it with a distinctive Greek flavor. Now, I’d love to hear from you! How do you breathe new life into a tired piece of furniture? What are your favorite techniques or go-to materials for furniture makeovers? Share your tips and tricks in the comments below!
And now, the moment you’ve been waiting for! It’s time to explore the incredible creativity of my friends from the Int’l Bloggers Club. This month, they’ve also undertaken their own furniture transformation challenges, and I guarantee you’ll find inspiring ideas and stunning makeovers. Simply click on the photos below to visit their blogs and see what amazing pieces of furniture they have transformed for this month’s challenge. Get ready to be inspired by a diverse range of styles and techniques from around the world!
This blog is for entertainment purposes only; my DIY tutorials are not professional advice. Read my full disclaimer here.
I love it when I get your comments and I will reply to each and every one of them.