
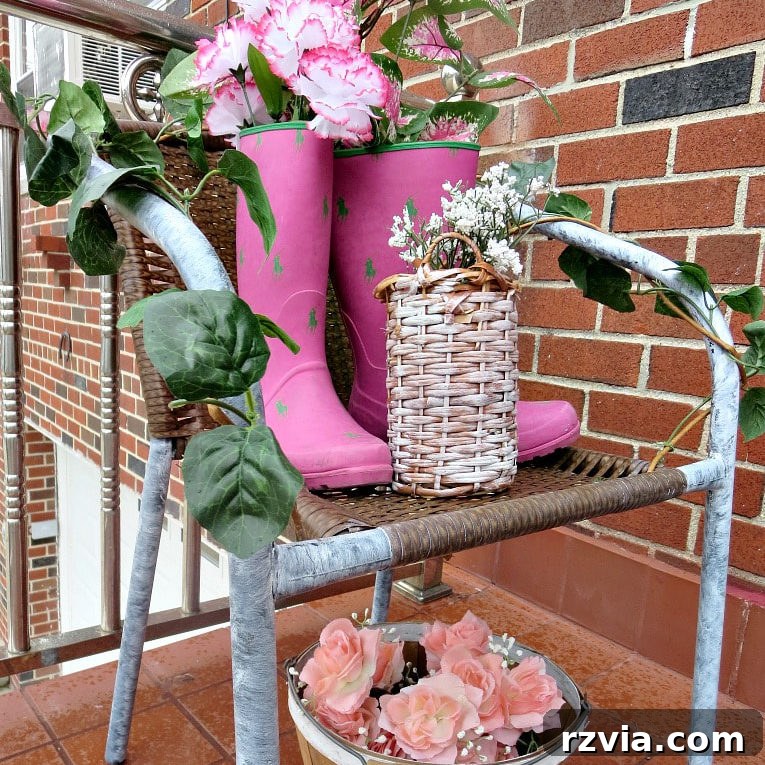
Discover the joy of transforming old, forgotten items into beautiful, functional pieces for your home. This guide shares a brilliant, budget-friendly idea for repurposing a torn rattan chair, giving it a vibrant new purpose as a charming and welcoming outdoor vignette. Learn how to craft unique decor that enhances your home’s curb appeal without breaking the bank, celebrating creativity and sustainability in one delightful project.
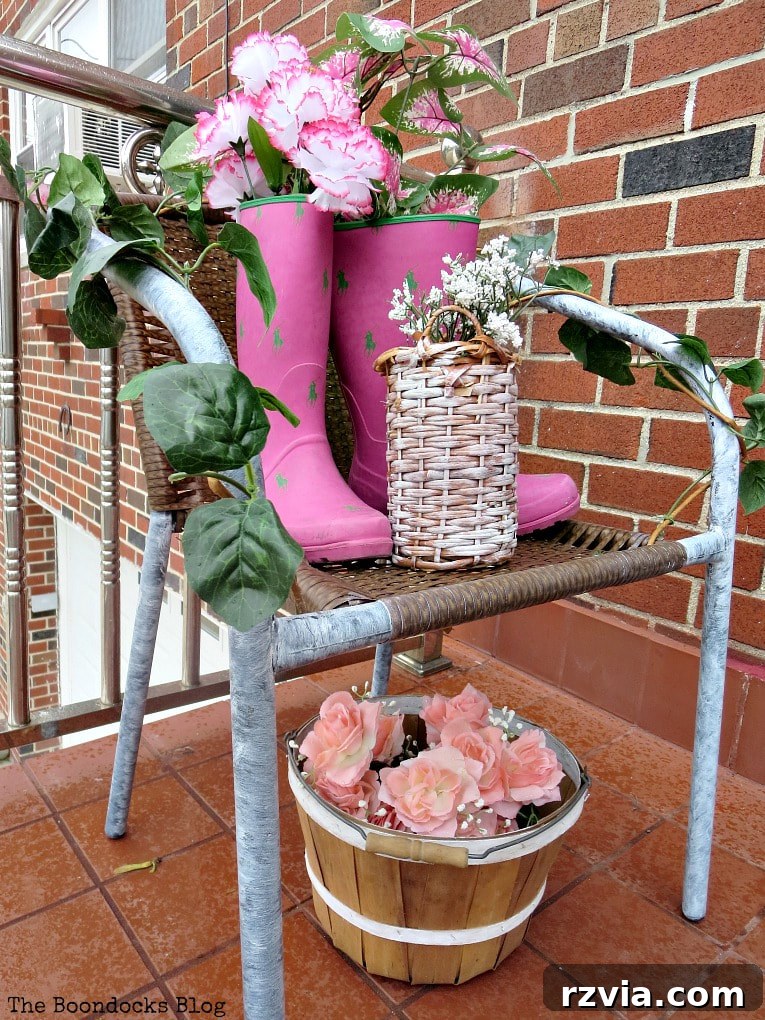
Transform Your Outdoor Space: Repurposing a Broken Rattan Chair into a Charming Front Porch Vignette
Every home has those overlooked corners or neglected items that, with a little imagination and elbow grease, can be transformed into something truly special. For us, it was a tiny, somewhat forlorn space right next to our front door – a sort of mini-porch, or rather, just an entry landing. It always felt bare, lacking personality, and certainly not contributing to the kind of inviting curb appeal we desired.
The solution, as often happens in the world of DIY and upcycling, presented itself in the form of a discarded treasure: a torn and weary rattan chair. Instead of consigning it to the landfill, I saw an opportunity. The vision? To breathe new life into this broken piece of furniture, turning it into a captivating outdoor decor piece that would greet guests with warmth and charm. The best part? This entire project promised to be incredibly budget-friendly, proving that repurposing patio furniture can be both rewarding and economical.
The Inspiration Behind the Transformation: Giving New Life to Old Rattan
The concept of upcycling isn’t just about saving money; it’s about sustainable living, creativity, and adding a unique, personal touch to your surroundings. A rattan chair, even one with a damaged seat, offers an ideal foundation for such a project. Its natural texture and classic design make it versatile, ready to be reinvented. The challenge was to move beyond simply repairing it and instead, to reimagine its function entirely.
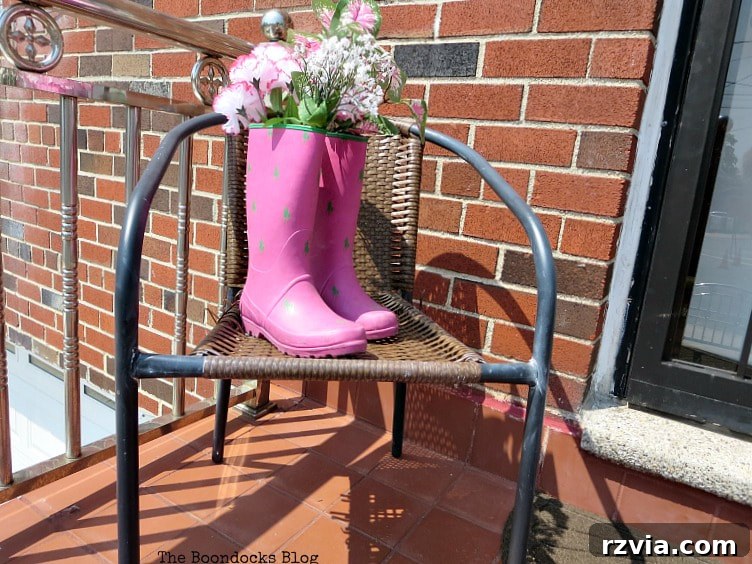
My initial idea for filling the empty spot by the door was ambitious, if a little rough around the edges. I had a pair of old rubber boots stashed away in the foyer, patiently waiting for a creative spark. Boots, as many DIY enthusiasts know, are fantastic for upcycling projects, often turning into whimsical planters or decorative accents. So, I dragged the broken rattan chair outside, stuffed a generous amount of faux flowers into the boots, and optimistically declared it “done.”
The reality, however, was a stark contrast to my vision. The moment I stepped back, all I could utter was a resounding “Nope!” It was, to put it mildly, an eyesore. Every time I approached the front door, I found myself wincing. The combination of the dark, unadorned chair frame and the rubber boots filled with flowers just didn’t work. It felt disjointed, lacked cohesion, and certainly didn’t evoke the welcoming feeling I was aiming for. It was clear I needed to go back to the drawing board.
Essential Materials for Your Rattan Chair Repurposing Project
Disclosure: This post contains affiliate links for your shopping convenience. If you purchase any of these products through the links, we receive a small commission at no extra charge to you. You can find our full disclosure here.
Gathering the right materials is the first step towards a successful DIY project. For this particular rattan chair transformation, most items were either already on hand or easily sourced, keeping the budget firmly in check. Here’s what you’ll need:
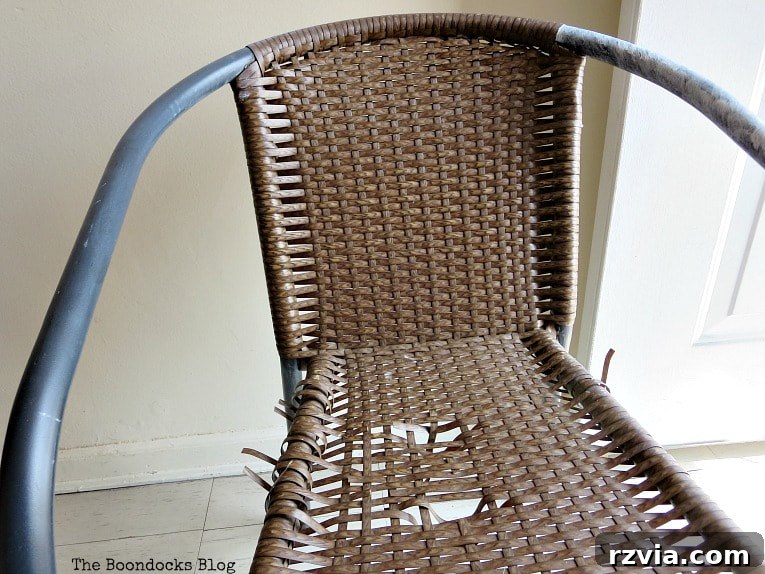
- A rattan chair with a tear in the seat: The star of our project! Look for one with a sturdy frame, even if the seating is damaged. This makes it perfect for a non-seating display.
- White acrylic paint: Essential for brightening the chair’s frame and other elements, creating a cohesive, fresh look.
- Paint brush: A good quality brush will ensure even application and smooth finishes.
- A pair of rubber boots: Found treasures from around the house, these will serve as quirky, charming planters.
- An old wicker wine bottle holder: Another fantastic item to repurpose, adding texture and height to our vignette.
- Faux flowers and vine: For a low-maintenance, year-round display of color and greenery. Choose varieties that complement your desired aesthetic.
- Old basket: Perfect for adding another layer of visual interest and filling any empty spaces at the base of the chair.
These materials, particularly the rattan chair, boots, wine holder, and basket, are prime examples of items that can often be found at thrift stores, flea markets, or even in your own basement or garage. This makes the project not only eco-friendly but also incredibly light on the wallet.
Step-by-Step Guide: How to Repurpose Patio Furniture into a Stunning Vignette
Having learned from my initial misstep, I embarked on a more thoughtful transformation. The key was to create a cohesive look that felt intentional and inviting. Here’s how the torn rattan chair was given its stylish second act:
1. Revitalizing the Chair’s Frame: A Fresh Coat of White
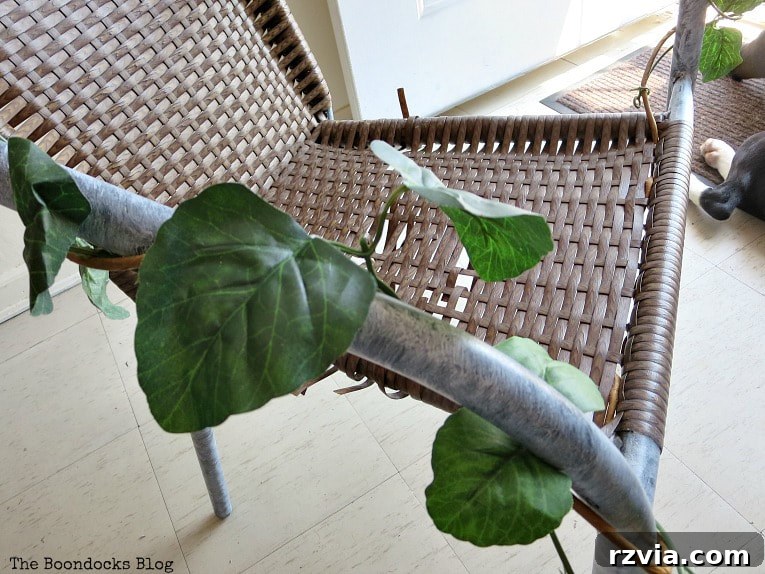
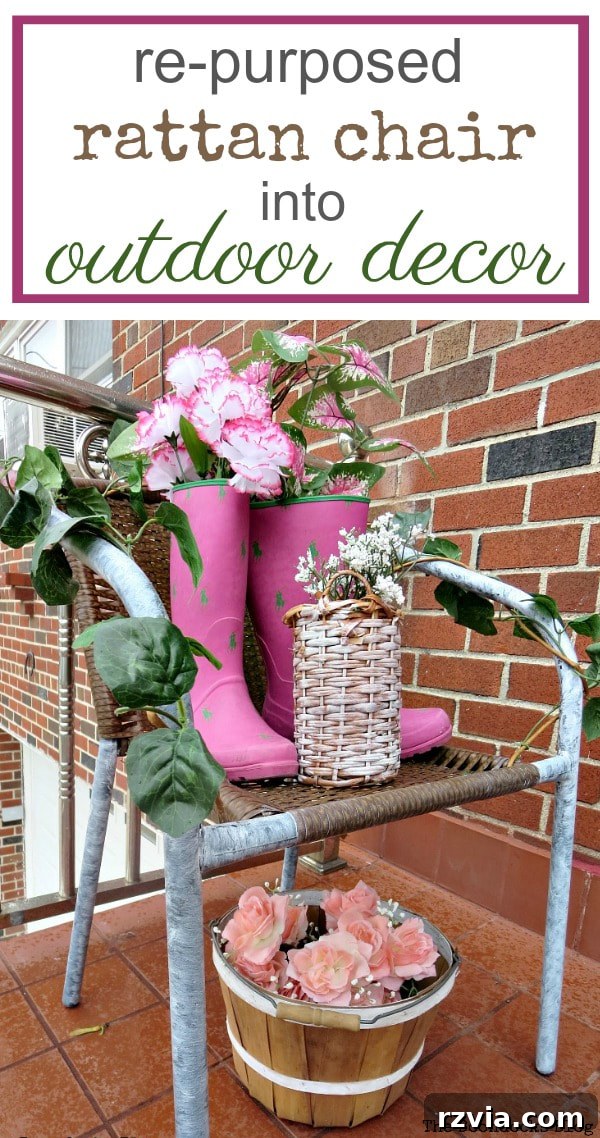
The dark, somber frame of the rattan chair was a significant part of the problem with the first attempt. It absorbed light and made the boots and flowers feel out of place. To remedy this, I decided on a classic and universally appealing solution: white paint. Using a dry brushing technique with white acrylic paint, I meticulously applied a fresh coat to the chair’s frame. Dry brushing creates a beautiful, distressed look, allowing some of the original texture to show through while dramatically brightening the overall appearance.
The transformation was immediate. The white frame instantly opened up the piece, making it much softer and easier on the eyes. It provided a clean canvas that would allow the decorative elements to truly pop. As I worked, my new puppy, the best Mother’s Day gift ever, happily kept me company, his curious paws occasionally making an appearance in the frame – a charming reminder of everyday moments.
2. Adding Organic Flow with Faux Vines
Once the paint was dry, the next step was to soften the lines of the chair and integrate it more naturally into an outdoor setting. I wrapped a length of faux vine around the newly painted frame. This simple addition provided a touch of organic greenery, adding texture and a sense of lushness. It also helped to visually connect the various elements of the vignette, creating a more harmonious display.
3. Embracing the “Rule of Threes” with a Wicker Accent
Design principles are incredibly helpful in creating visually appealing arrangements. One such principle is the “Rule of Threes,” which suggests that objects arranged in odd numbers are more appealing, memorable, and effective. With the chair and boots as two elements, I realized I needed a third. A quick scavenger hunt around the house led me to an old wicker wine bottle holder, a relic from a long-consumed bottle of wine. It was perfect!
To ensure it blended seamlessly with the freshened chair, I gave the wicker holder a casual coat of white paint as well. This unified color palette of white and natural tones was beginning to take shape, creating a light, airy, and cohesive look. The wicker added another layer of texture and a touch of rustic elegance.
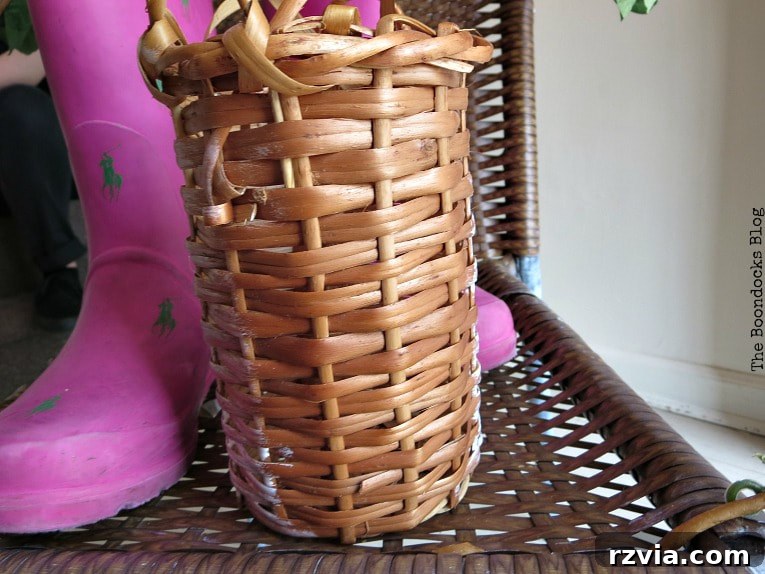
With the boots, the painted chair, and the wicker holder, the vignette was starting to come together. The blend of pinks, whites, and subtle browns was a vast improvement over the initial attempt. It was proof that a bit of paint and a clear design vision can make all the difference.
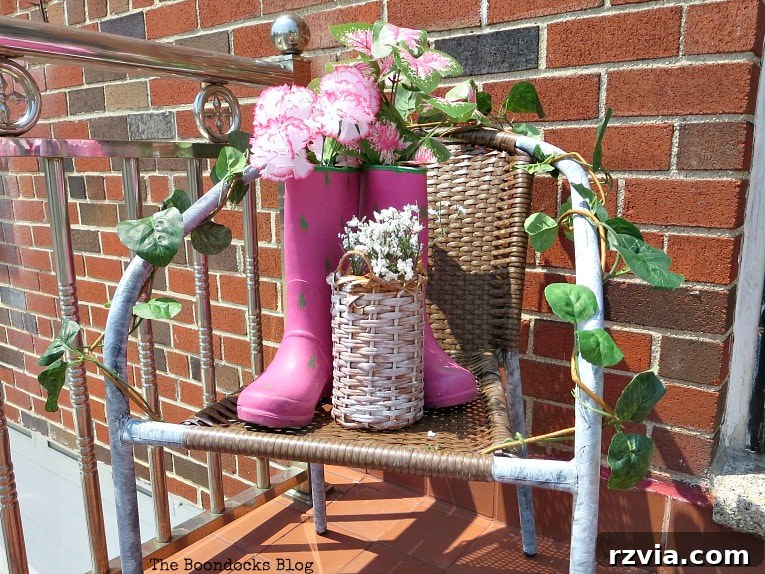
While the faux flowers in the boots provided cheerful color, I harbored a secret hope that one day I might convince my dad to let me add a real plant or two, taking the vignette to an even more organic level. For now, the faux arrangement offered hassle-free beauty.
4. Addressing the “Empty Foot” and the Final Touch
Despite the progress, something still felt amiss. The base of the chair, around its “feet,” appeared a bit bare, creating a visual gap. What could I add to ground the display and complete the look?

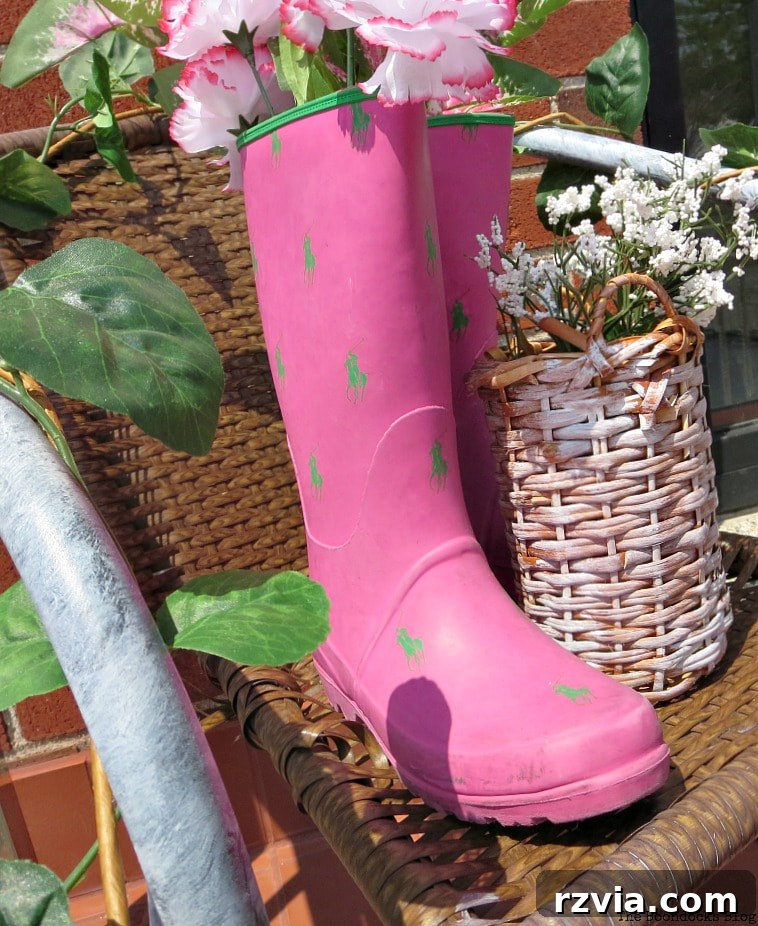
As luck would have it, a trip to the basement yielded the perfect solution: a sturdy old basket, previously overflowing with miscellaneous hardware. Its structure and size were ideal. I promptly confiscated it and brought it upstairs. To integrate it fully into the existing aesthetic, I painted the horizontal strips of the basket white, giving it a subtle pop of pizzazz and tying it into the white theme. Then, I plunked in another bunch of faux flowers – yes, also rescued from the basement – providing a final burst of color and filling that previously empty space beautifully.
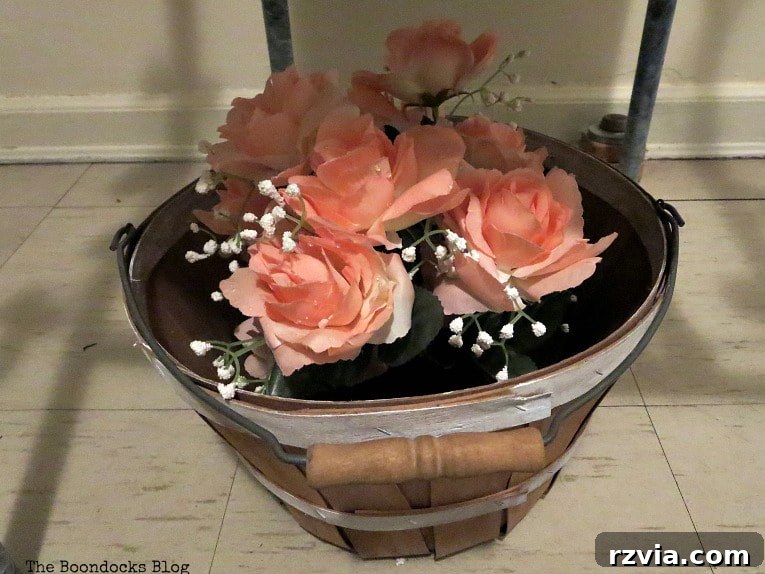
Just as I finished, the heavens opened up, and it began to rain with an intensity that suggested it might never stop. It was a classic DIY moment – project complete, but photos impossible! I had to wait. The next day didn’t bring sunshine, but it did offer a brief lull in the rain. Seizing the opportunity, I dashed outside and quickly snapped a few photos of the completed project, wet ground and all.
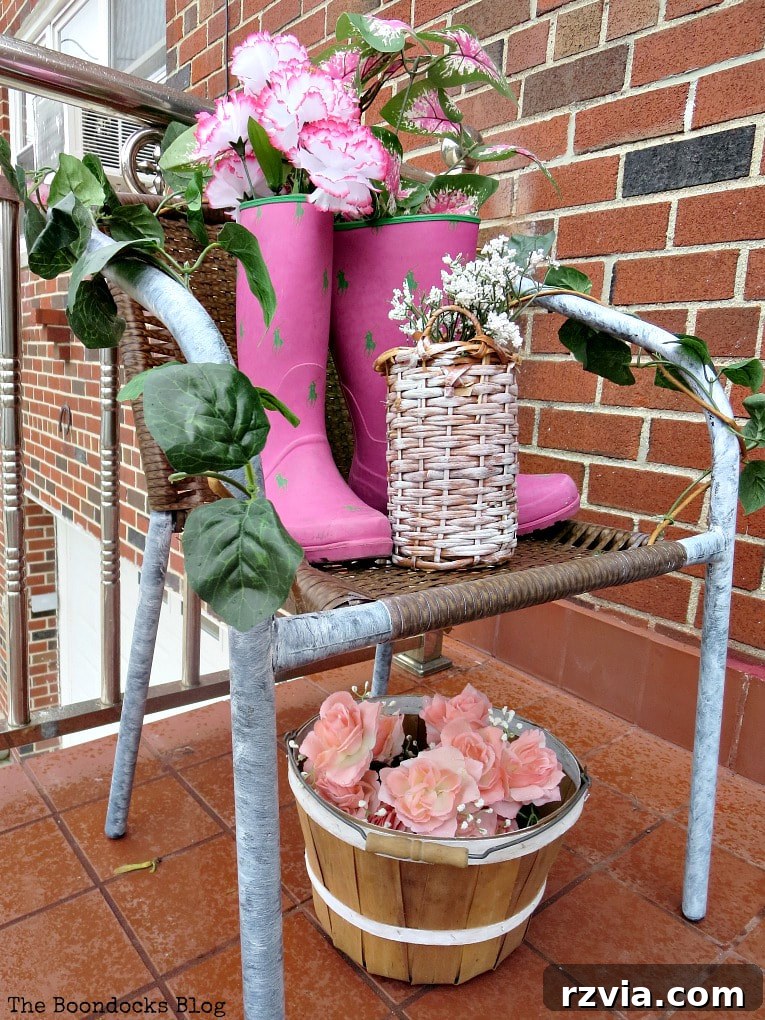
The last-minute addition of the basket made a significant difference, adding depth and balance to the entire display. It just goes to show that sometimes, the best solutions emerge when you’re forced to adapt and get creative.
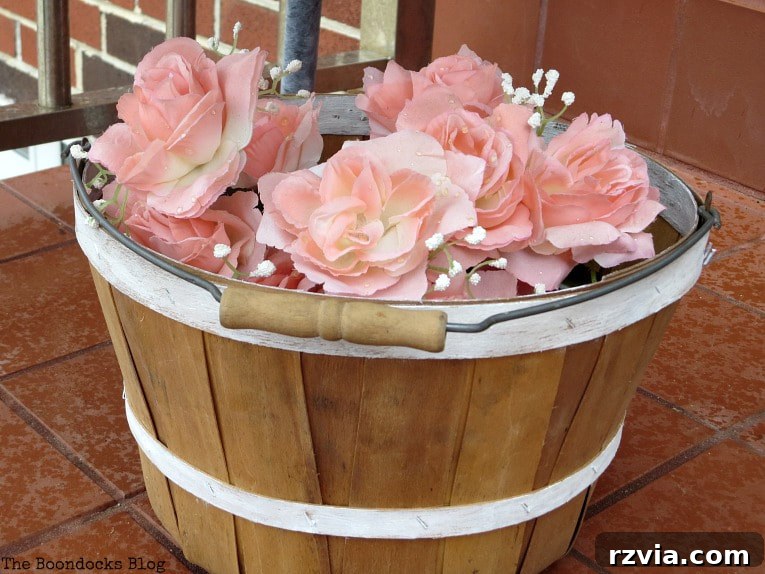
That brief window in the rain was crucial; without it, this post might not have existed! It’s a testament to the unpredictable nature of DIY projects and the necessity of sometimes just “flying by the seat of your pants” to get things done.
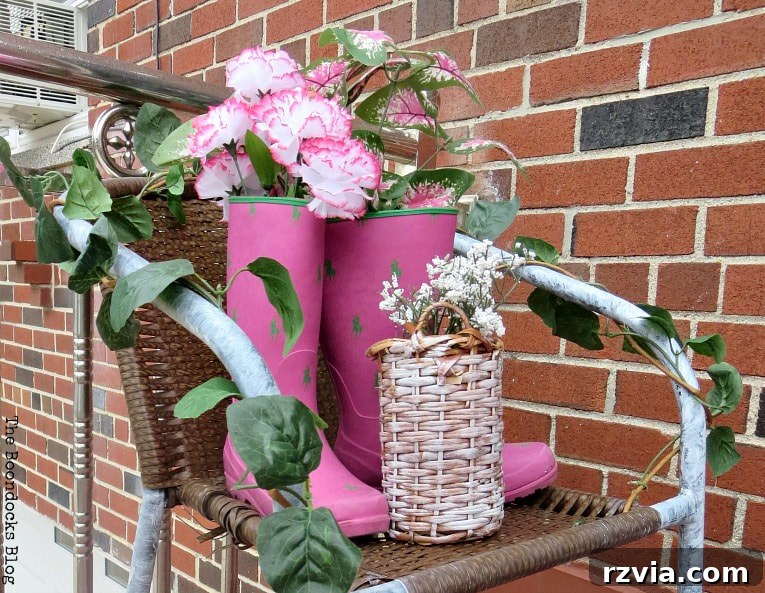
In the end, I was able to repurpose not only that “useless” torn rattan chair but also give new life to the rubber boots, the wicker bottle holder, and the basement basket. Despite the weather challenges, the outcome was a delightful success – a truly budget-friendly, unique, and charming addition to our front entry. This project highlights the immense satisfaction of transforming forgotten objects into functional and beautiful decor.
If you’re looking for more creative inspiration, you simply must see this bright pink upcycled patio chair idea by Sustain My Craft Habit! It’s another fantastic example of how discarded items can become show-stopping pieces.
What creative ways have you found to decorate your front porch or entryway? Share your ideas in the comments below!

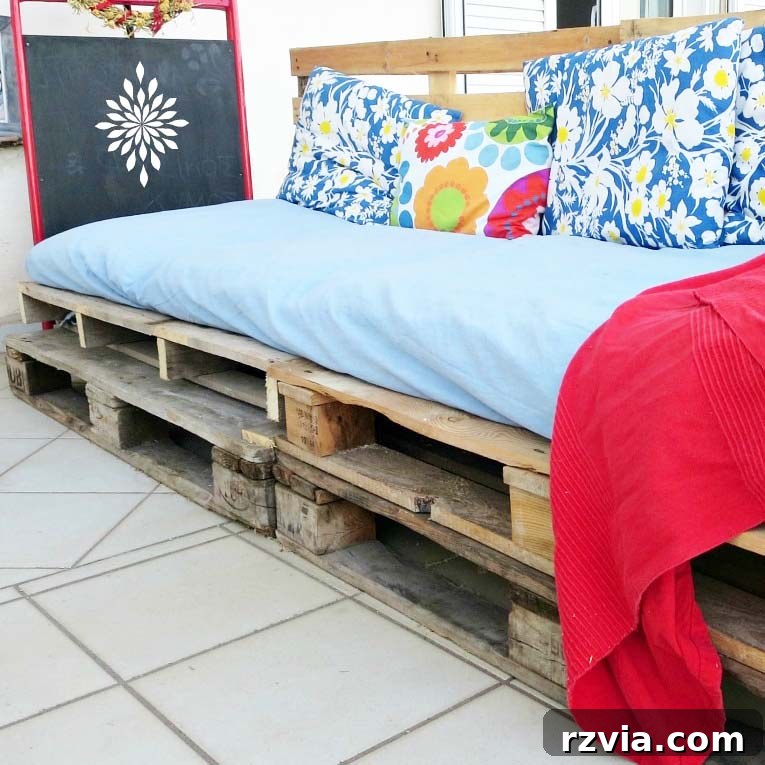
Additional Outdoor Decor Ideas You’ll Love:
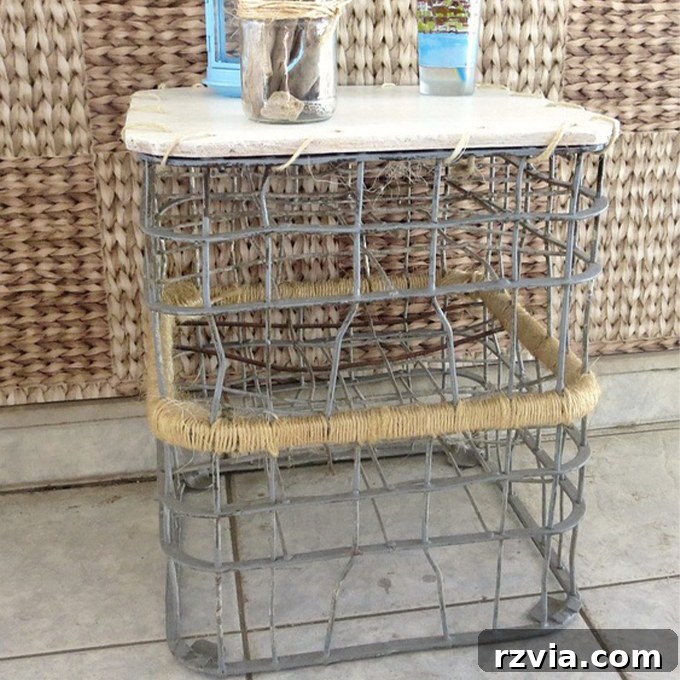
If you’re inspired by creative transformations and budget-friendly decor, consider subscribing to my blog to get more adventures delivered right to your inbox. You can find the subscription form in the sidebar and at the top of the page. Rest assured, your email address will always remain confidential and never shared with any third party.
This blog content is provided for entertainment purposes only; the DIY tutorials shared here are not intended as professional advice. Always exercise caution and consult with professionals when undertaking projects that may require specific expertise or safety measures. You can read our full disclaimer here.
I truly value your comments and feedback, and I make every effort to reply to each one. To ensure your comment can be published, please avoid including hyperlinks within your message. Thank you for being a part of our creative community!