
Transforming Clutter: DIY Back to School Hanging Organizer from an IKEA Hack
As the “back to school” season approaches for many, and lingers just a month away for others, the need for organized spaces becomes paramount. While summer relaxation is tempting, ensuring our children’s rooms are tidy and their school essentials are in order can significantly ease the transition back into academic routines. With this practical goal in mind, I’ve collaborated with some wonderful blogger friends to bring you a collection of creative and fun ideas to help you prepare for the upcoming school year. Today, my contribution focuses on a brilliant repurposing project: crafting a stylish and functional hanging organizer specifically designed for back-to-school needs.
Unveiling the IKEA Indor: A Repurposing Story
Every creative project often begins with an overlooked item, and for this DIY, that item was an IKEA Indor remote control pocket. My husband had brought it home some time ago, but it never quite found its purpose in our living space. Designed to drape over the armrests of a sofa, its functionality was limited in our home, as our sofa simply didn’t accommodate such an accessory. Instead of letting it gather dust, I saw an opportunity for transformation. Why let a perfectly good item go to waste when it could serve a completely new and essential function? I decided to give this humble remote control pocket a new life, destined for my older daughter’s room as a chic and practical back-to-school hanging organizer.
The beauty of repurposing lies in its ability to spark creativity and promote sustainability. It challenges us to look beyond an object’s intended use and imagine its potential. This IKEA Indor, originally designed for living room tidiness, was about to embark on a journey to become a vital part of a student’s organized haven, proving that with a little imagination, even the most unexpected items can find a renewed purpose.
Cohesive Style: Integrating the Organizer into a Black and White Aesthetic
The chosen destination for this revamped organizer was my older daughter’s bedroom. This room underwent a delightful spruce-up last year, featuring fresh paint and various stylistic changes that transformed it into a personalized sanctuary. If you’re curious, you can see a full tour of her “blue room” here. The overarching design philosophy for her space revolves around a sophisticated black and white palette, which extends to prominent features like her bookcase.
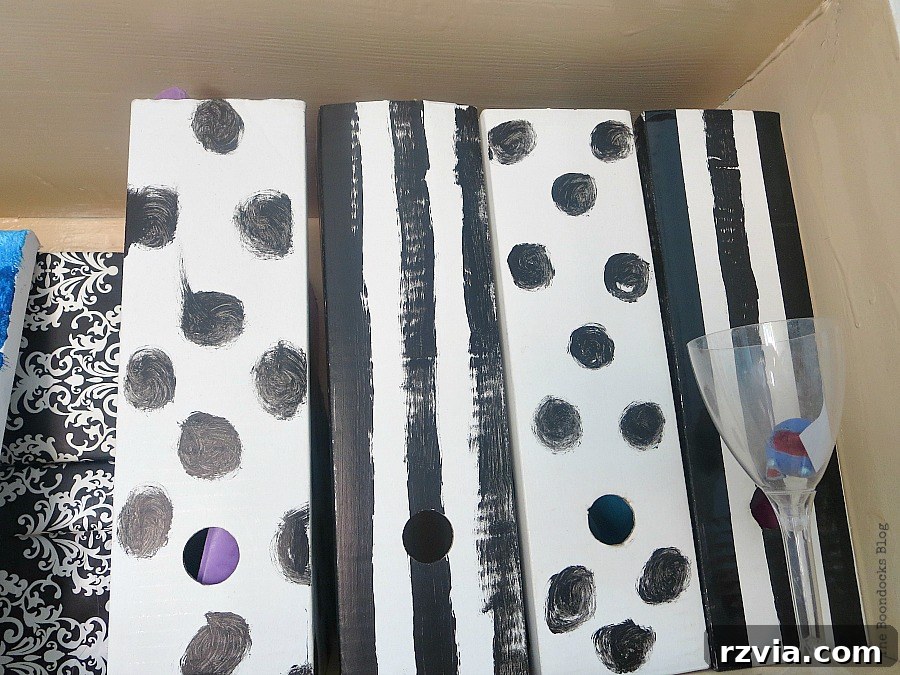
My vision for the hanging organizer was clear: it needed to seamlessly integrate with this existing decor. It wasn’t just about functionality; it was about enhancing the room’s aesthetic. To achieve this, I drew inspiration from other elements I had previously customized, such as the magazine files on her bookcase. These files, also transformed with black and white patterns, set a precedent for the organizer’s new look. The goal was to create a cohesive and harmonious environment where every piece, including our newly repurposed item, contributed to the room’s elegant and organized feel.
From Beige to Brilliant: A Fresh Coat of Paint
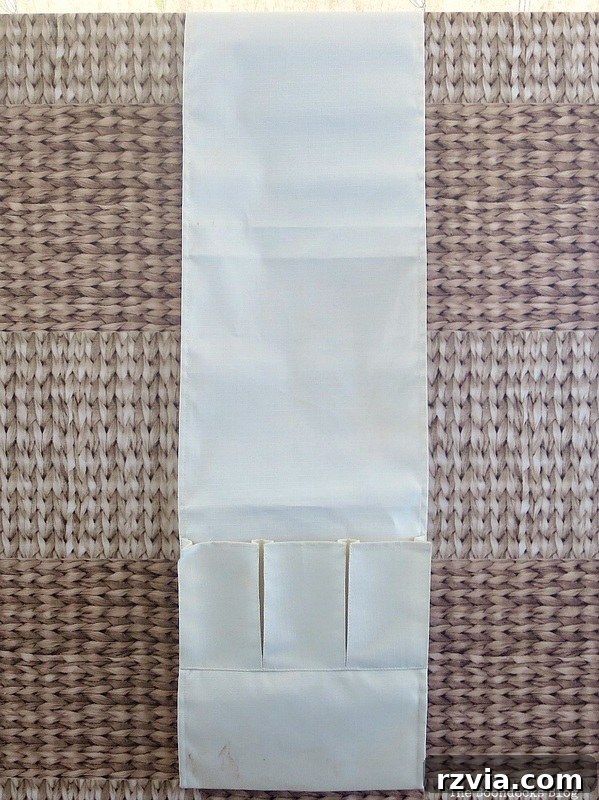
Before its transformation, the remote control pocket was, to put it mildly, an unsightly beige. This drab color was a stark contrast to the vibrant black and white theme we were cultivating in my daughter’s room. Clearly, it wouldn’t do. The first and most crucial step in its makeover was to give it a complete color overhaul.
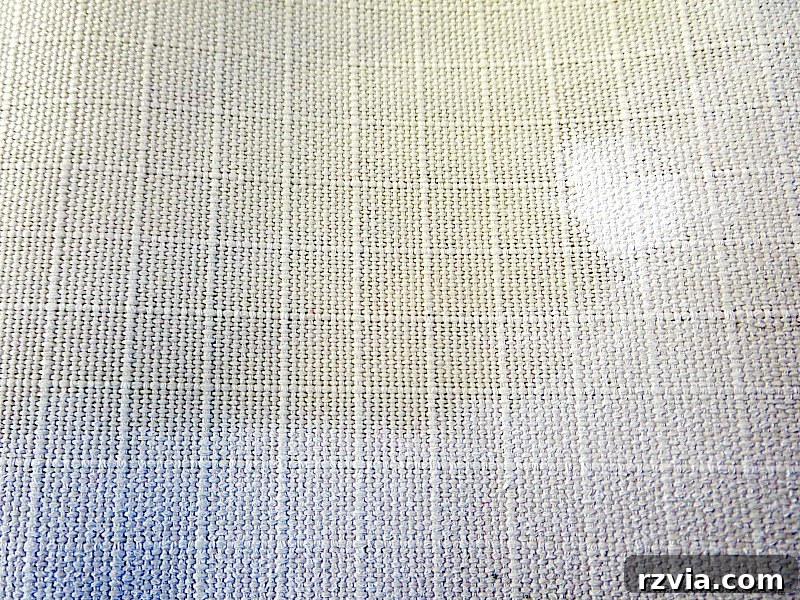
Armed with a bottle of white acrylic paint, I began the process. Acrylic paint is an excellent choice for DIY projects like this due to its quick drying time, versatility, and ease of application on various surfaces. I didn’t hold back; I literally slathered the paint onto the fabric, ensuring every inch of the beige was completely covered. The goal was full, opaque coverage to create a clean, crisp base for the subsequent design elements. Applying the paint generously ensured that the original color was thoroughly masked, allowing the new black and white aesthetic to truly shine. This simple step alone dramatically altered the item’s appearance, moving it from forgotten utility to a canvas brimming with potential.
Pattern Play: Creating a Coordinated Design
With the base coat dry and pristine, it was time to infuse the organizer with personality and integrate it further into the room’s existing decor. My inspiration came directly from the previously painted magazine files on the bookcase, which featured a striking combination of black dots and stripes. To create a truly cohesive look, I decided to replicate this charming pattern onto the newly painted remote control pocket.
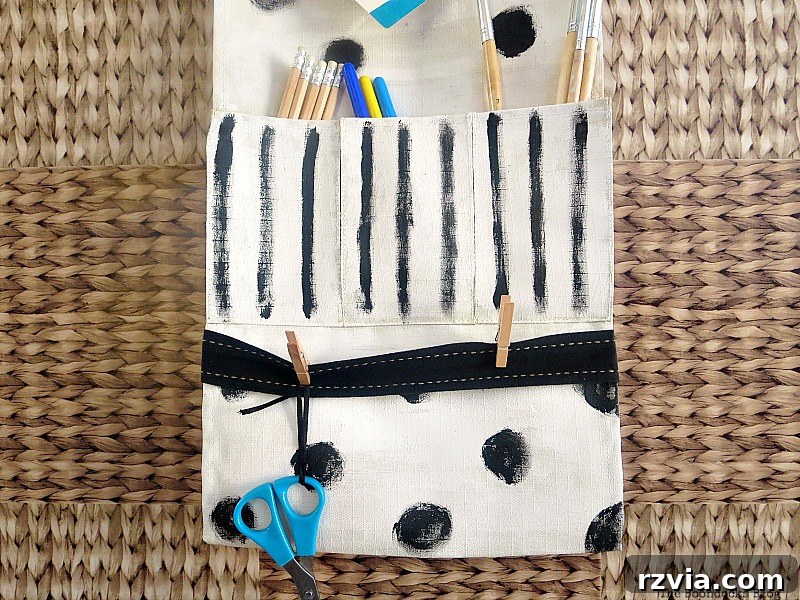
Using black acrylic paint and a steady hand, I carefully added black dots and stripes across the entire surface of the organizer. This process was not just about applying paint; it was about echoing the design language of the room. The stripes offered a sense of structure and modernity, while the polka dots added a playful yet sophisticated touch. For those attempting a similar project, using painter’s tape can help achieve crisp, clean lines for stripes, and the end of a paintbrush handle or a round sponge dabber can create perfectly circular dots. However, a freehand approach can also lend a unique, handcrafted charm. The interplay of these simple yet effective patterns brought the organizer to life, making it a natural extension of the room’s thoughtfully designed black and white theme.
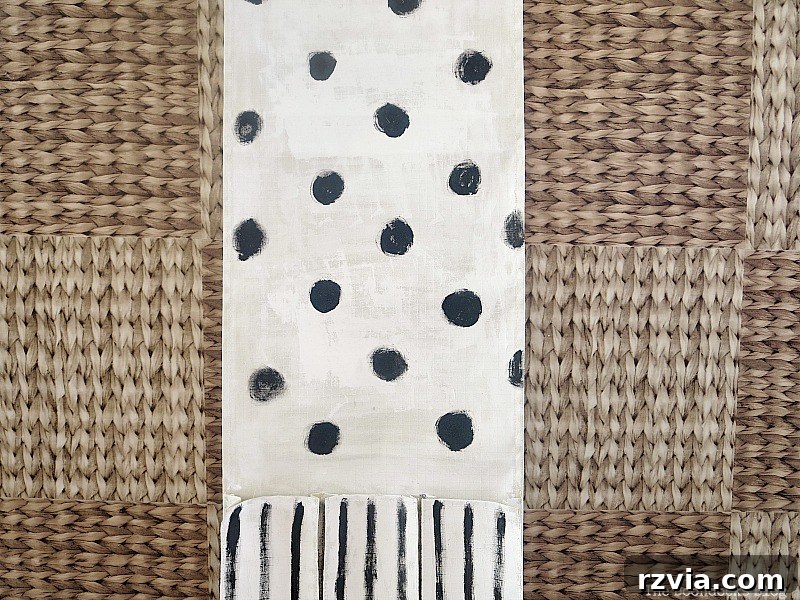
Strategic Accents: Ribbons for Structure, Clothespins for Flexibility
Once the paint and patterns were dry, the next step was to add functional and decorative accents that would truly transform the item into a versatile hanging organizer. I chose a sleek black ribbon, which perfectly complemented the black and white design I had just created. This ribbon wasn’t just for aesthetics; it served a crucial purpose in enhancing the organizer’s functionality.
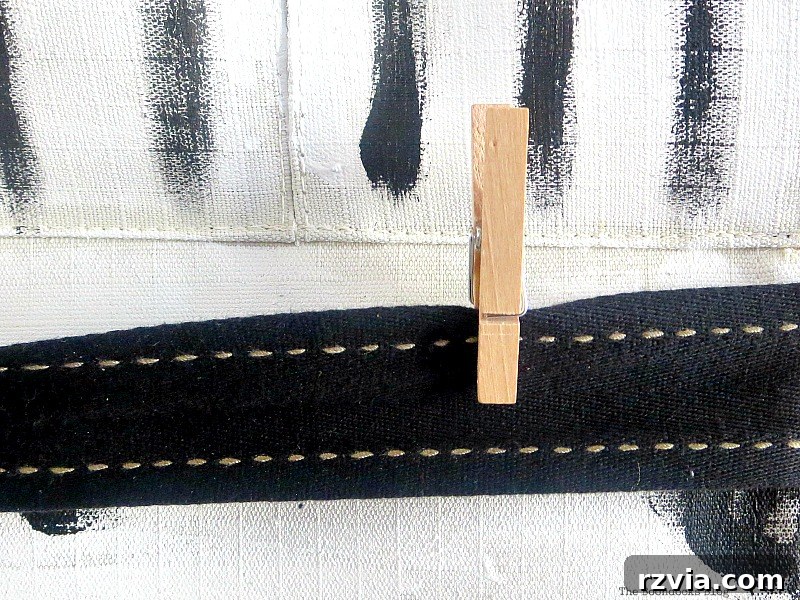
I attached the black ribbon at various strategic points across the organizer. Depending on the material, you could use fabric glue, a hot glue gun, or even sew it on for extra durability. The ribbon created horizontal lines that broke up the pattern, adding another layer of visual interest. More importantly, these ribbons served as perfect anchors for the final, charming touch: mini clothespins. These small, versatile clips can be easily attached to the ribbon, providing endless possibilities for customization. They offer a simple yet effective way to display photos, important notes, school schedules, inspiring quotes, or even small reminders. This combination of ribbon and clothespins not only completed the aesthetic but also ensured the organizer was highly adaptable to my daughter’s evolving needs throughout the school year.
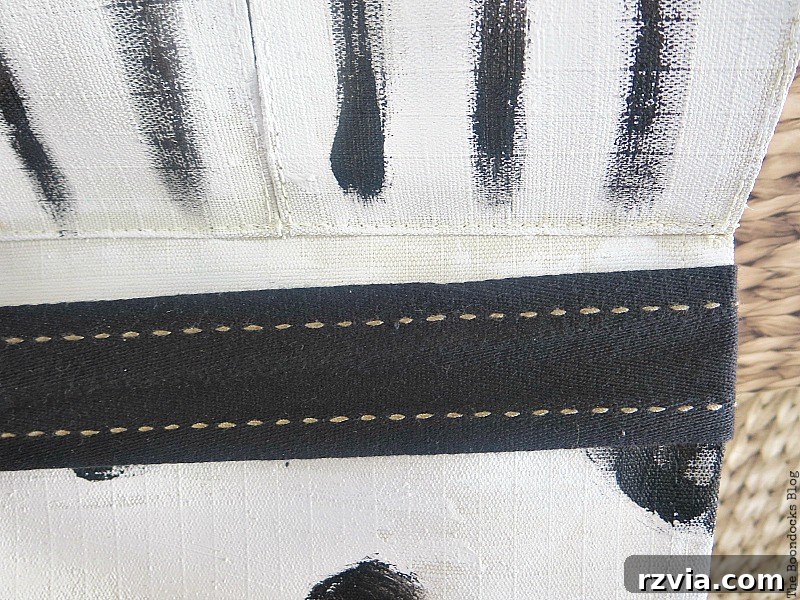
And lastly, to complete this innovative back-to-school organizer, I finished it off with those delightful mini clothespins. They’re not just cute; they’re incredibly practical for keeping track of all sorts of papers and memories.
Showcasing Style: A Personalized Hub for School Essentials
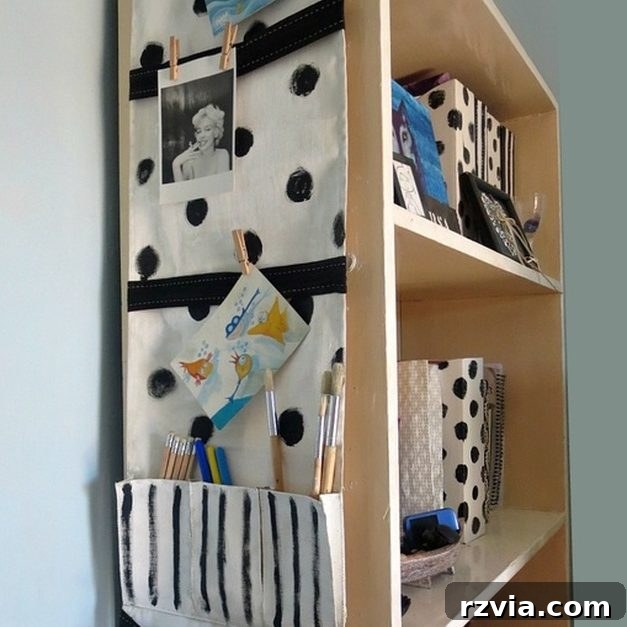
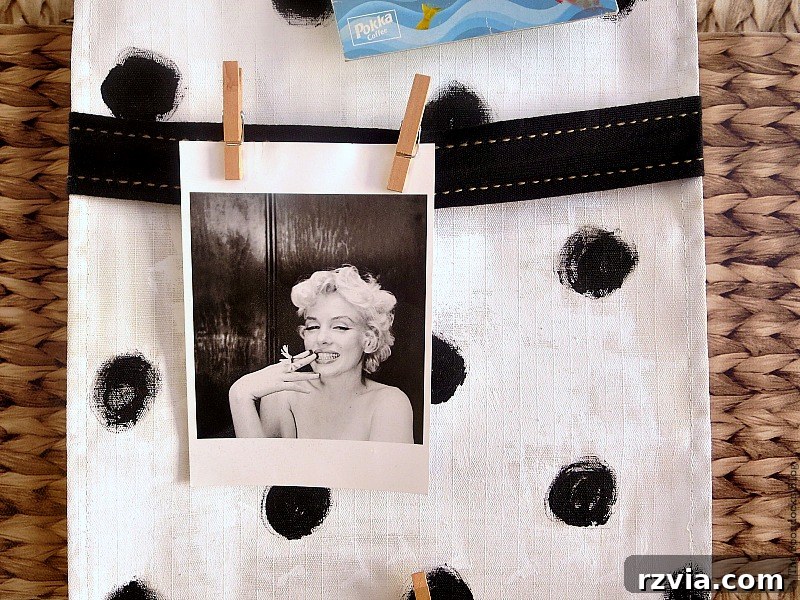
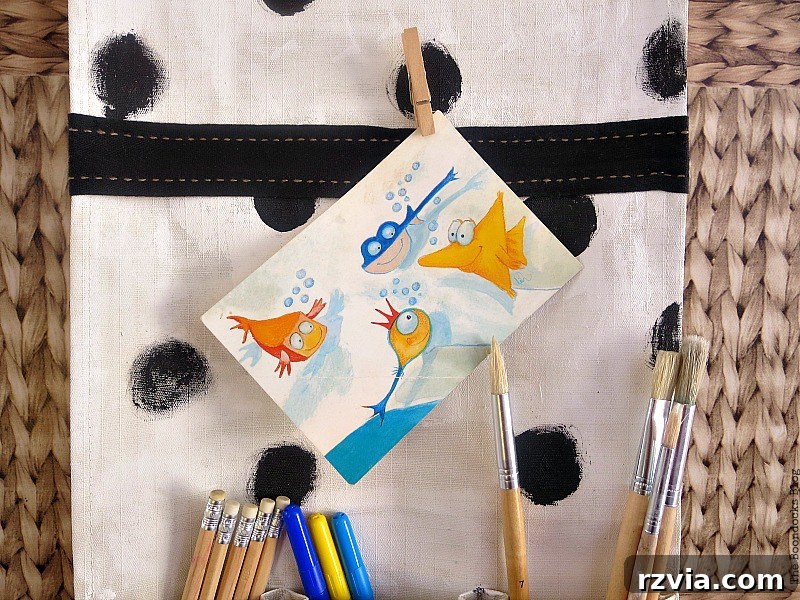
With all the decorative and functional elements in place, the hanging organizer was complete and ready to be put to use. To truly bring it to life and personalize it for my daughter, I added some of her favorite things. This included cherished photos, small mementos, and other inspiring bits and pieces that reflect her personality and interests. The beauty of the mini clothespins is their incredible versatility; they allow for quick and easy changes. This means that as the school year progresses, she can effortlessly swap out her displays – perhaps adding her weekly school program, an important calendar, inspirational quotes, or even artwork. This adaptability ensures the organizer remains relevant and engaging, evolving with her academic and personal journey. It’s not just a storage solution; it’s a dynamic display board that helps her stay motivated and organized.
This dynamic aspect is precisely why I adore these mini clothespins. They offer unparalleled flexibility, allowing for the constant refresh of displayed items without any fuss. It’s perfect for a student who might want to update their organizational aids or personal inspirations regularly.
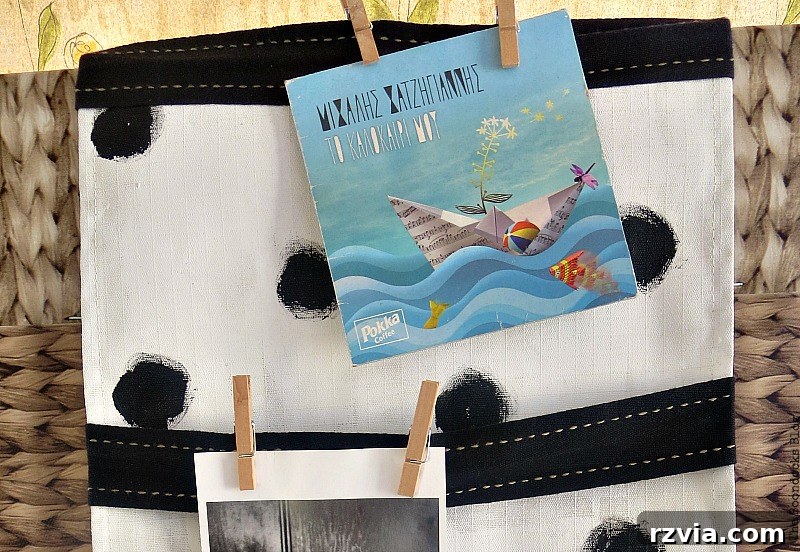
As you can see from the carefully selected images, my daughter is quite a devoted fan of Marilyn Monroe. This organizer perfectly captures her adoration, making the space uniquely hers.
Seamless Integration: Hanging the Organizer Safely
Choosing the right spot for the organizer was key to its functionality and aesthetic appeal. I decided to place it on the side of her bookcase, a prime location that’s easily accessible and visible from her desk area. This placement allows her to quickly grab supplies or check her schedule, keeping everything within arm’s reach while she’s studying or working on projects.
Now, seeing it in its rightful place, you can truly appreciate how beautifully it matches the black and white magazine files and other elements in the room. The color coordination is impeccable, creating a harmonious and aesthetically pleasing study environment – precisely how she likes it. Every piece feels intentional and contributes to an overall sense of order and style.
In hindsight, I also added a sturdy cord to the top of the organizer and securely hung it on a nail. This wasn’t just for placement but primarily for safety and stability, ensuring it wouldn’t accidentally fall. The IKEA Indor is actually quite robust, featuring a steel rod inside its top edge, which helps it maintain its shape and provides a solid foundation for hanging. This internal structure, combined with the added cord, guarantees that the organizer remains firmly in place, even when filled with various school supplies. Safety always comes first, especially in a child’s room.
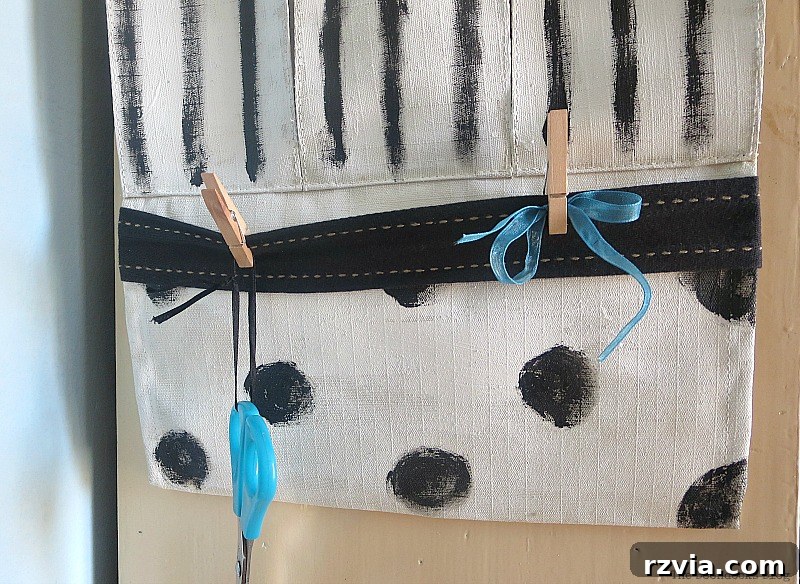
The addition of the cord on top and securing it with a nail was a thoughtful, late-stage improvement. It ensures the organizer stays put, leveraging the internal steel rod that gives the IKEA Indor its form. It’s all about practical solutions for a tidy and safe space.
More Than Just School: Versatile Storage Solutions
As you all know, nothing goes to waste in my home; I’m always seeking creative ways to repurpose even the most seemingly useless items. This project is a prime example of that philosophy: transforming a simple remote control pocket into an elegant and incredibly useful back-to-school hanging organizer. I think it looks absolutely fantastic now, perfectly complementing the room’s aesthetic and providing much-needed organization. It’s an easy, budget-friendly repurpose that can genuinely help students, from elementary schoolers to young adults, get ready and stay organized for the coming academic year.
But the utility of this organizer doesn’t stop at school supplies. In fact, now that I think about it, it would make an excellent craft organizer as well! Imagine all the paintbrushes, markers, scissors, and small supplies neatly tucked away but easily accessible. What do you think? Should I consider “borrowing” it from her room for my own creative endeavors? The possibilities truly are endless for this versatile storage solution.
Below is a curated list of my talented blogging friends who are joining me in this exciting back-to-school blog hop. Each of them brings a unique perspective and an array of fun, practical ideas to help you conquer the back-to-school rush. Be sure to visit their blogs for more inspiring projects and tips!
If you’ve enjoyed this DIY transformation, please consider sharing it with your friends or saving it to your favorite Pinterest board. Your support helps spread creative inspiration! For more adventures in repurposing and home decor, subscribe to my blog and receive fresh content twice a week directly in your inbox.
One Mama’s Daily Drama
Sew Crafty Crochet
Dazzle While Frazzled
We also invite you to share your own back-to-school or education-themed craft projects on social media. Use the hashtag #EduCrafty or tag one of our profiles. We’ll be delighted to re-share as many as we can to inspire our growing community!
Disclosure: The items below are affiliate links and link to Amazon.com. If you purchase any of these products through the links provided, I receive a small commission. This helps me continue to provide you with engaging and lovely content. Please note, there is no extra charge to you for purchasing through my affiliate links.
You may also like:
<< Doors and a Sorta Blogoversary HOME Sweet Inspiration Link Party #20 >>
This blog is for entertainment purposes only; my DIY tutorials are not professional advice. Read my full disclaimer here.
I absolutely love hearing from you! Please feel free to leave your comments below, and I promise to reply to each and every one of them. Your feedback and thoughts are always welcome!