
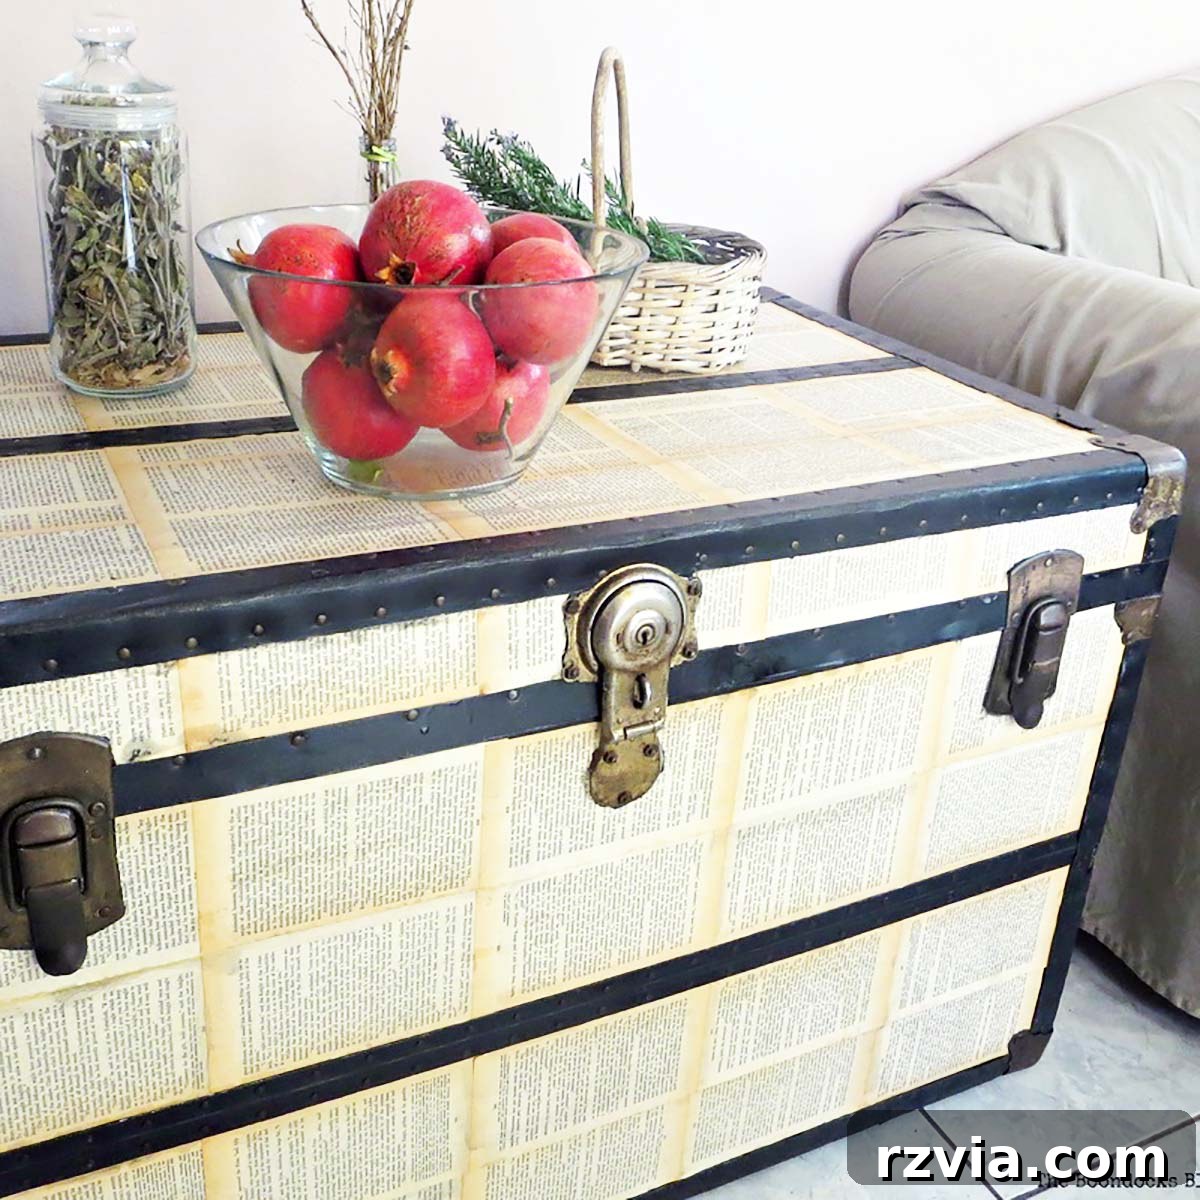
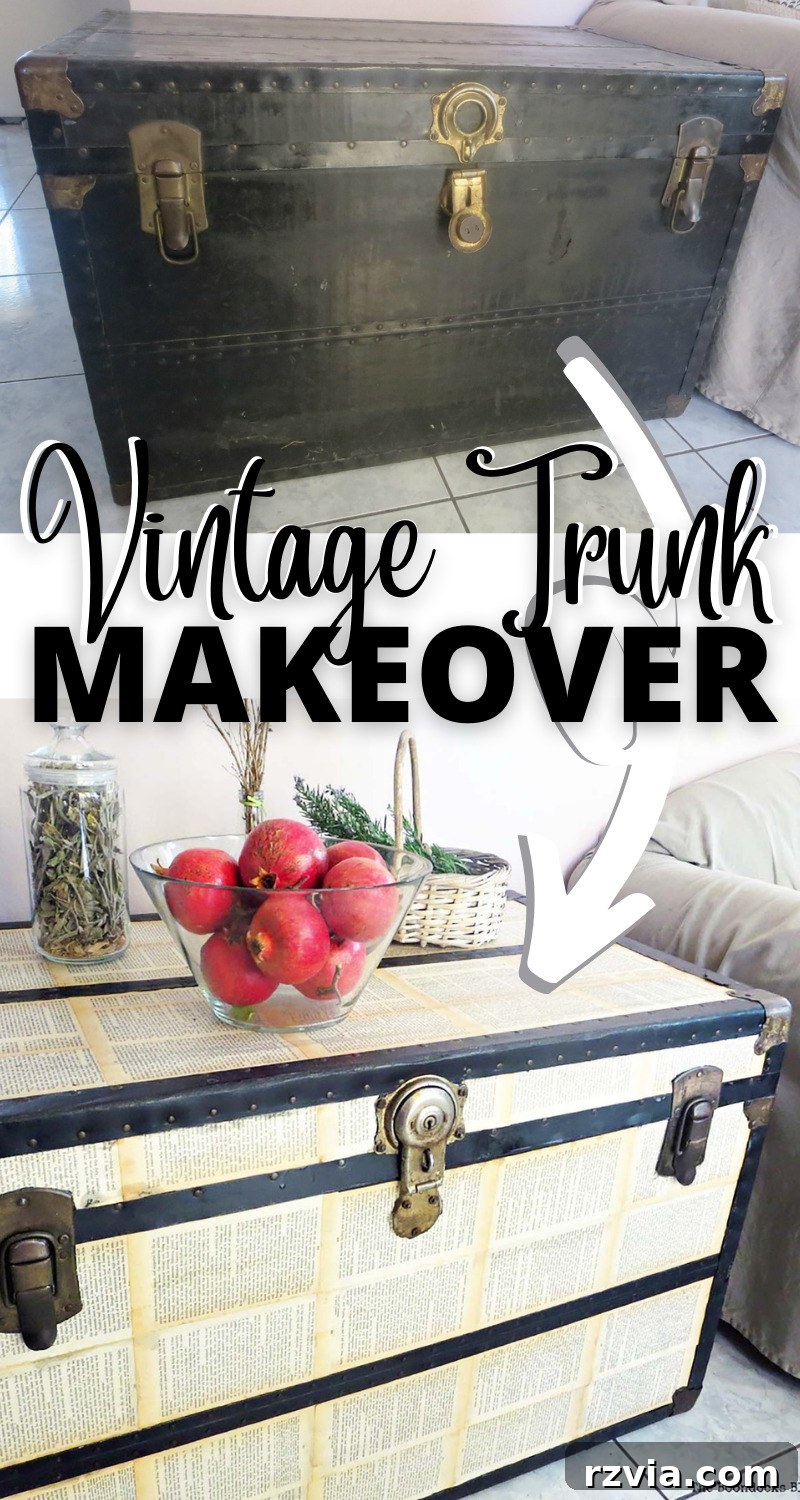
Welcome to a journey of transformation, where forgotten relics are reborn into cherished household treasures. Today, we’re delving into the captivating world of DIY furniture makeovers with a project that breathed new life into an old metal trunk. Once a neglected, unassuming piece, it has been meticulously reimagined using vintage papers and the art of decoupage, emerging as a stunning and highly functional side table for a modern living space. This isn’t just a makeover; it’s a revival, blending history with contemporary charm, and offering a unique narrative to any room it graces.
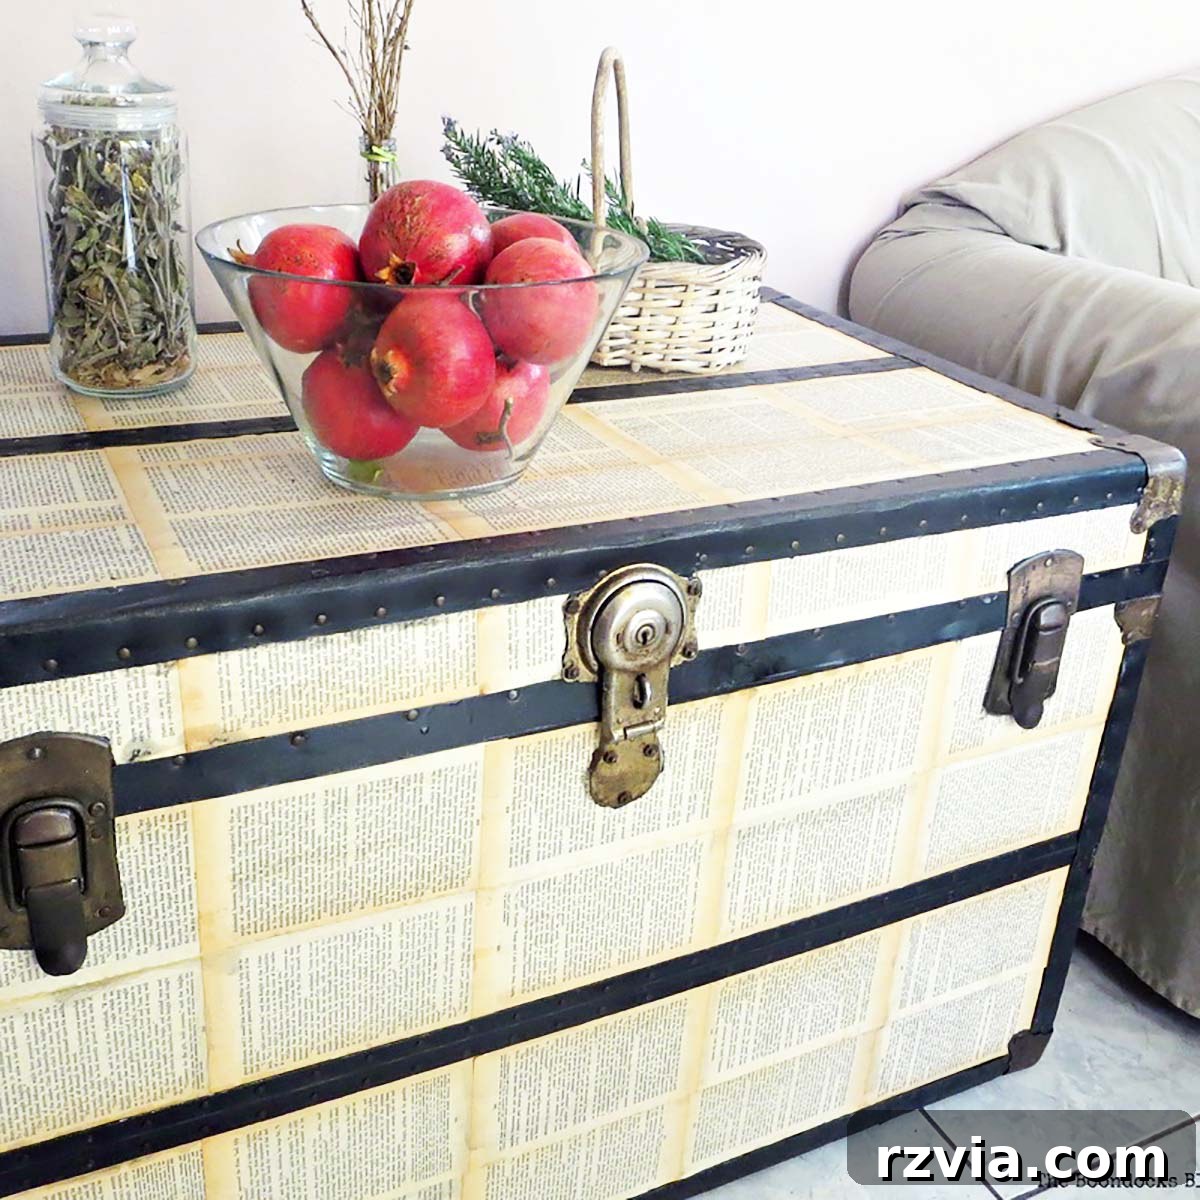
DIY Vintage Metal Trunk Makeover: A Journey Through Time
Every piece of vintage furniture holds a story, and this metal-covered trunk is no exception. Its journey began many, many years ago in the bustling heart of New York. From there, it embarked on a remarkable transatlantic voyage, crossing oceans to find its new home in the sun-drenched landscapes of Greece. Throughout its long and storied existence, this trunk served as a faithful keeper of precious belongings, witnessing countless memories unfold.
For decades, it cradled a myriad of beautiful things – from delicate curtains and a vibrant multitude of fabrics to soft pillowcases and other domestic essentials. Yet, perhaps its most poignant role was as a repository for a cherished tradition: a dowry. In an age where such concepts have become rare, this trunk preserved the tangible hopes and dreams of a young woman’s future. It was filled with exquisite lace doilies, intricate needlepoint works, and other lovingly handmade objects, all crafted by my mother a lifetime ago. Each stitch and thread held a piece of her heart, making this trunk a true family heirloom.
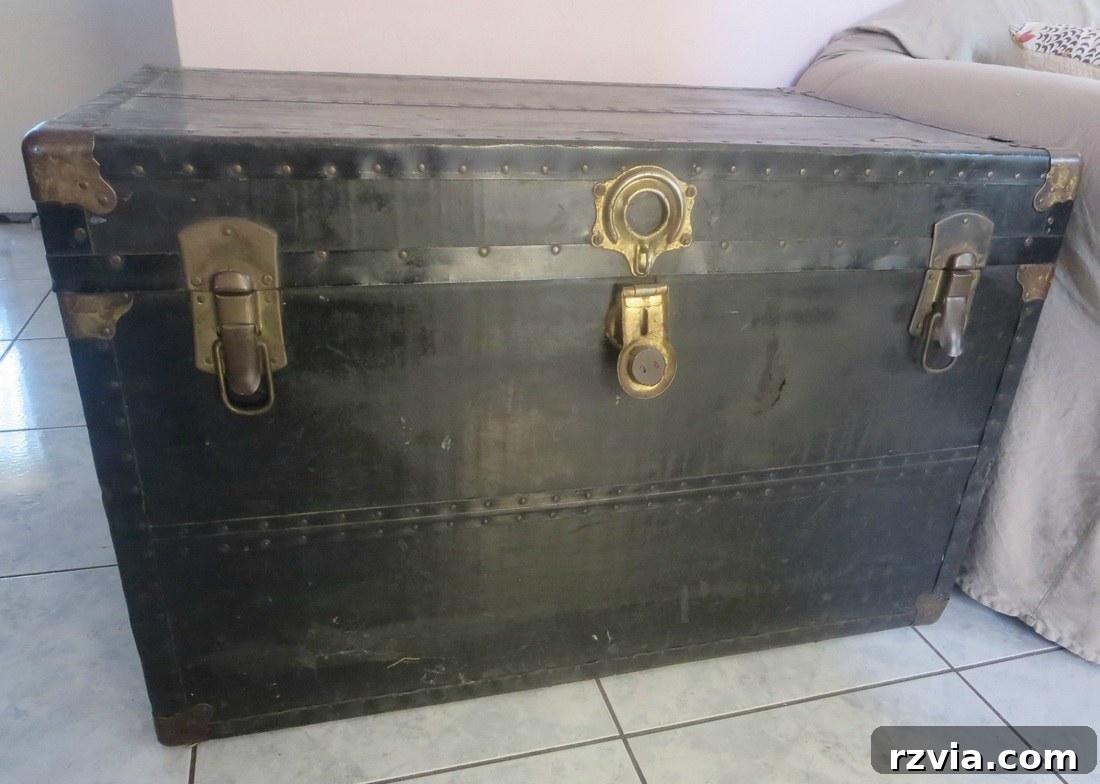
As time wore on, the once-proud metal-covered trunk began to show its age. It was old, no longer aligned with contemporary fashion trends, and certainly in dire need of repair – or at the very least, a creative disguise. Its surfaces were scuffed, its corners dented, and its overall appearance spoke of neglect rather than nostalgic charm. It sat, a silent testament to bygone eras, waiting for someone to see its hidden potential.
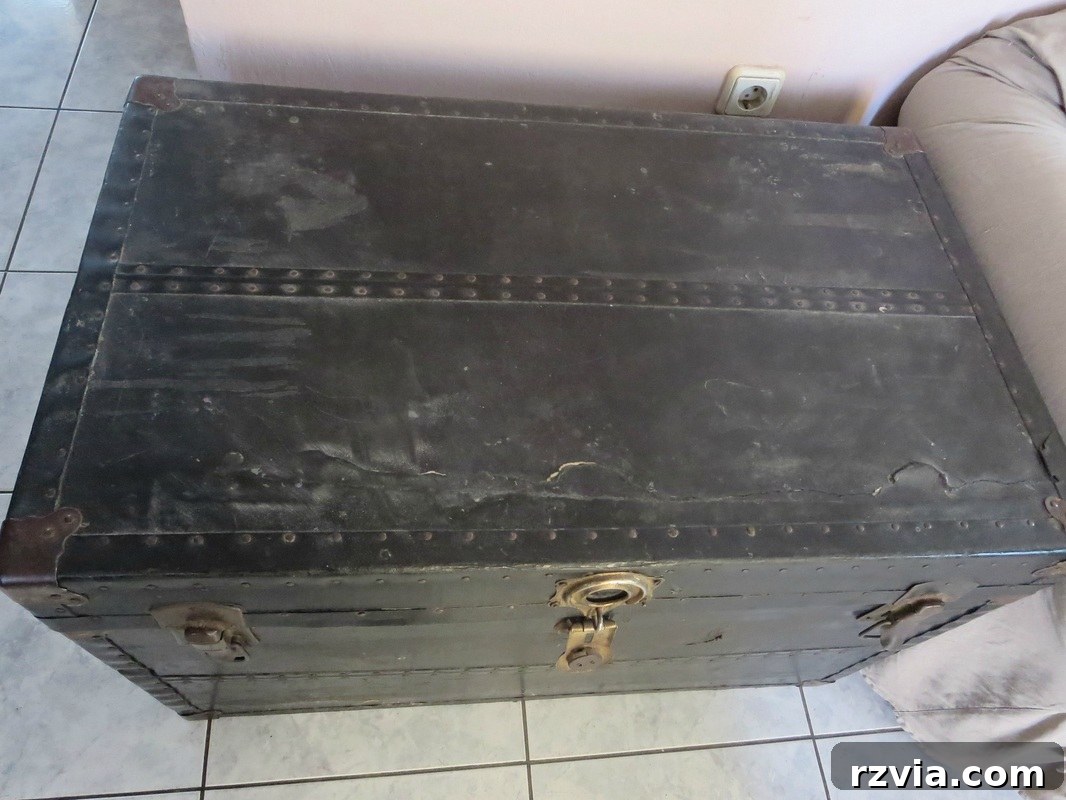
It was this vision of potential, coupled with a deep appreciation for its history, that spurred me to embark on this DIY old trunk makeover. Armed with just a few carefully selected supplies and a boundless amount of imagination, I set out to transform this timeworn relic into a functional and beautiful piece that would continue to tell its story for generations to come. The goal was not merely to fix it, but to celebrate its past while giving it a vibrant future as a decorative and useful accent in our home.
Essential Supplies for Your Vintage Trunk Makeover
Transforming an antique trunk into a stunning piece of home decor doesn’t require an overwhelming array of materials. The beauty of decoupage lies in its simplicity and the ability to breathe new life into old items with relatively few tools. Here’s a detailed list of what I used for this metal trunk makeover, ensuring both durability and a charming vintage aesthetic:
Disclosure: This post contains affiliate links for your shopping convenience. If you purchase any of these products through the links, we receive a small commission at no extra charge to you. You can find our full disclosure here. We only recommend products we trust and use ourselves.
- Mod Podge Water-based Sealer, Glue & Finish: This all-in-one decoupage medium is indispensable. It acts as both an adhesive for the paper and a protective topcoat, sealing your design and providing a durable finish. Opt for a matte or satin finish depending on your desired look.
- Sharp Scissors: Essential for precise cutting of your chosen papers. A good quality pair will ensure clean edges and prevent tearing, which is crucial when working with delicate vintage pages.
- Retractable Utility Knife: Perfect for trimming paper around intricate metalwork, hinges, and edges for a professional, seamless finish. Always use a cutting mat underneath to protect your work surface.
- Vintage Book Pages or Decorative Paper: I used pages from an old book, but you can purchase aged-look decorative paper if you don’t have access to old books. The key is to find paper that complements the vintage aesthetic you’re aiming for.
- Clear Varnish or Polycrylic: This final protective layer is crucial for sealing in the decoupage pages, protecting them from moisture, wear, and tear, and ensuring the longevity of your makeover.
For the longest time, the fate of this old trunk remained a mystery to me. I simply didn’t know how to approach its transformation. Then, serendipity intervened. One day, I chanced upon an equally old book, its pages yellowed with age, its cover hinting at forgotten tales. It was Sir Walter Scott’s “Ivanhoe,” a classic steeped in tales of chivalry, honor, and bygone eras.

It couldn’t have been a mere coincidence, I thought. A book celebrating chivalry, honor, and historical romance seemed destined to cover a trunk that itself had held treasures from an age when such virtues were still paramount. The concept of chivalry, in its essence, mirrored the sentimental value and historical richness embedded within the trunk’s very fabric, having once housed my mother’s dowry. This unexpected discovery provided the perfect thematic inspiration, adding an extra layer of meaning and charm to the entire DIY project.
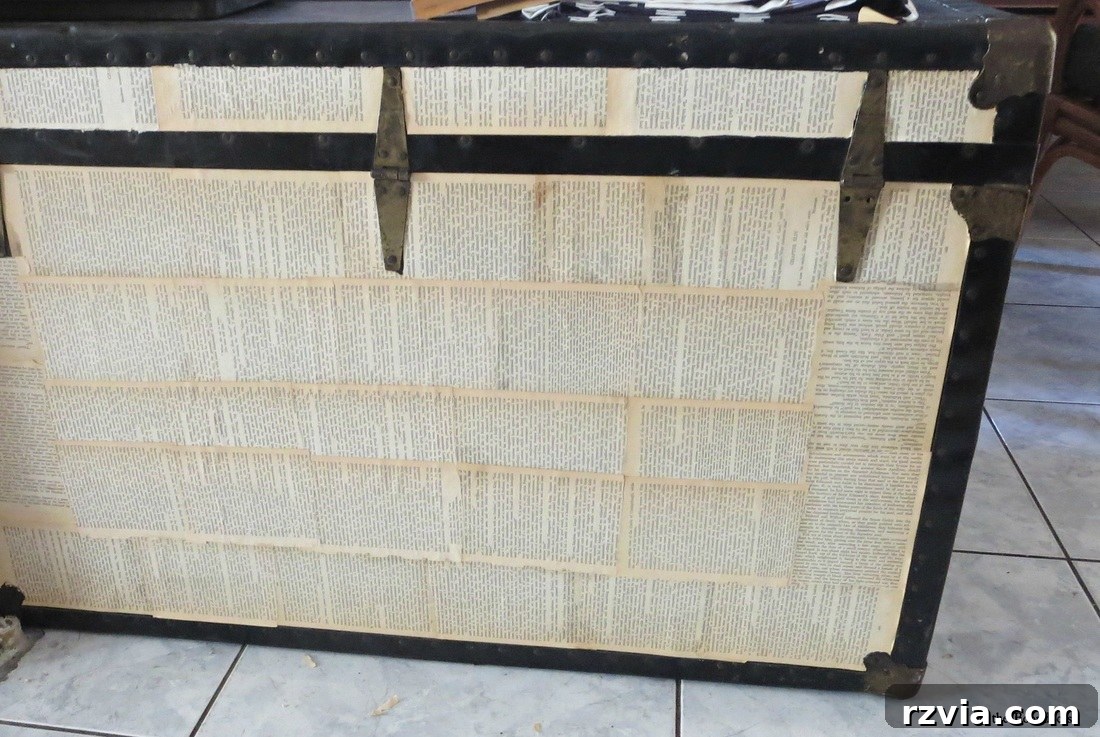
The How-To: Decoupaging Your Metal Trunk
The decoupage process, while seemingly intricate, is quite straightforward and incredibly rewarding. Here’s a step-by-step guide to transforming your own vintage trunk:
- Preparation is Key: Begin by thoroughly cleaning your trunk. Wipe down all surfaces with a damp cloth to remove any dust, dirt, or grime. For metal surfaces, a degreaser might be necessary to ensure optimal adhesion. Allow the trunk to dry completely. If there are any loose pieces or sharp edges, address them before proceeding.
- Tear or Cut Your Pages: Carefully tear or cut the pages from your chosen book. The size and shape are entirely up to your aesthetic preference. For a mosaic-like effect, tearing creates softer edges, while cutting provides a more structured appearance. I opted for larger sections to showcase the text.
- Applying the First Layer of Mod Podge: Using a brush or sponge applicator, apply a thin, even layer of Mod Podge directly onto a section of the trunk’s surface where you wish to place the first page. Ensure the area is slightly larger than the page you’re about to apply.
- Positioning the Pages: Carefully lay a book page onto the wet Mod Podge. Smooth it down gently with your fingers, a brayer, or a soft cloth, working from the center outwards to eliminate any air bubbles or wrinkles. This step is crucial for a flawless finish.
- Sealing the Page: Once the page is flat and smooth, apply another thin layer of Mod Podge over the top of the page. This seals the paper and begins the layering process. Don’t worry if it looks cloudy; Mod Podge dries clear.
- Repeat and Overlap: Continue this process, overlapping pages slightly to create a cohesive, continuous design. Pay close attention to the edges and corners, ensuring every part of the trunk’s non-metallic surface is covered. The beauty of this technique is that imperfections add to the rustic, aged charm.
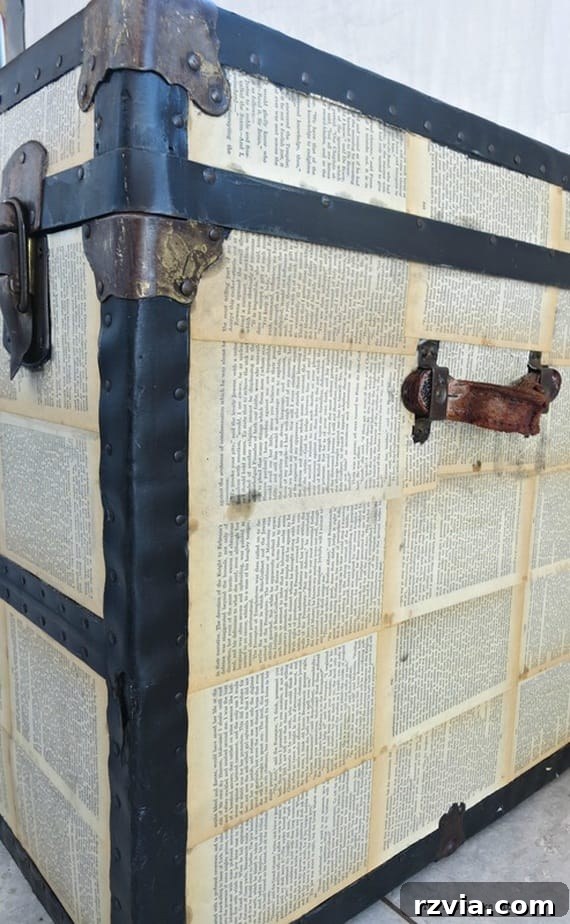
- Working Around Metal Elements: This is where your utility knife comes in handy. As you approach the trunk’s metalwork – the straps, hinges, and latches – apply the paper over these areas. Once the paper is adhered and smoothed, carefully use your utility knife to precisely cut around the metal edges. This creates a clean, professional finish that highlights the original character of the trunk. Take your time with this step for the best results.
- Allow for Drying: Once all pages are applied, let the Mod Podge dry completely. This can take several hours, or even overnight, depending on humidity levels. Avoid rushing this step to prevent smudges or tears.
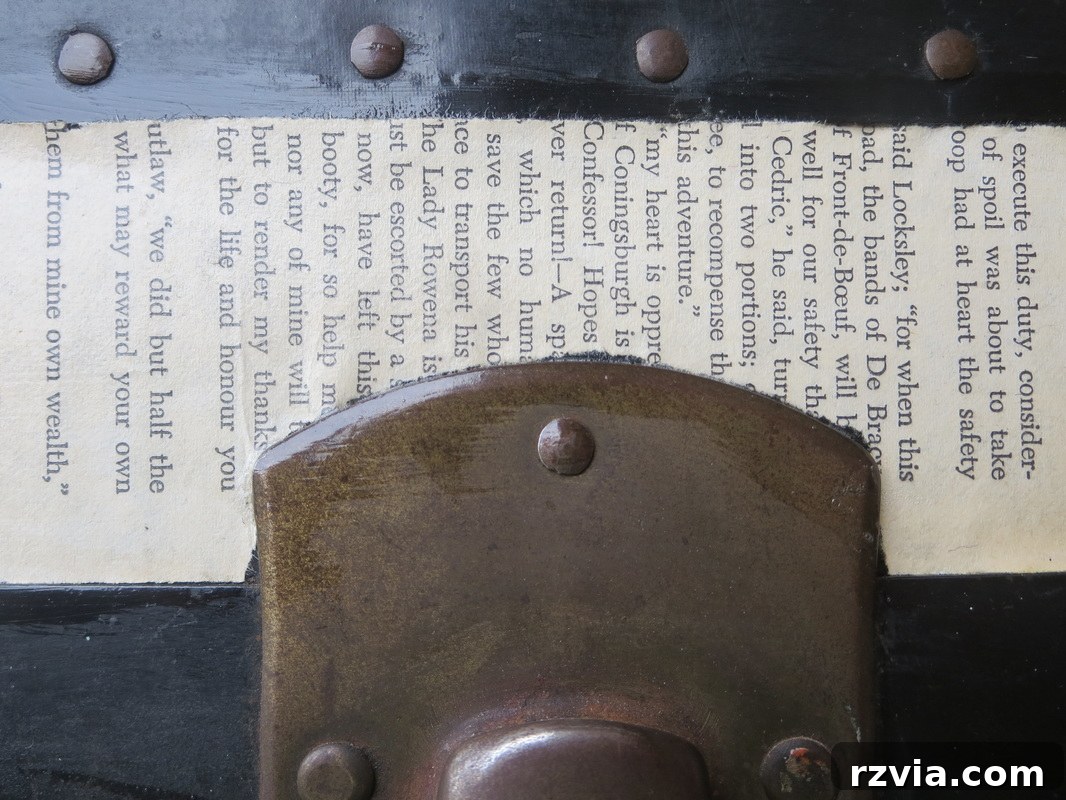
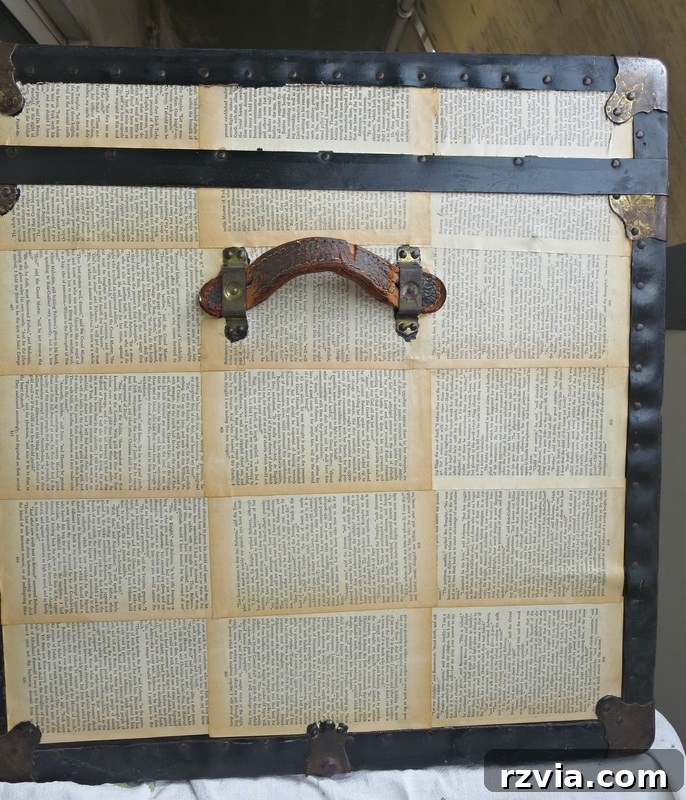
Simply covering the trunk with book pages wasn’t enough to achieve the depth of character I envisioned. I wanted it to look even older, imbued with a rich, antique patina that spoke of centuries rather than decades. To accomplish this, I decided to apply a walnut-tinted varnish. At the time, I was in Greece, so the specific product might differ, but you can achieve a similar effect with Minwax Polyshades in Antique Walnut or a similar wood stain/varnish combination product. The goal is to subtly deepen the tone of the paper and create an aged glow. Ideally, if you start with naturally yellowed pages, the effect is even more authentic from the start.
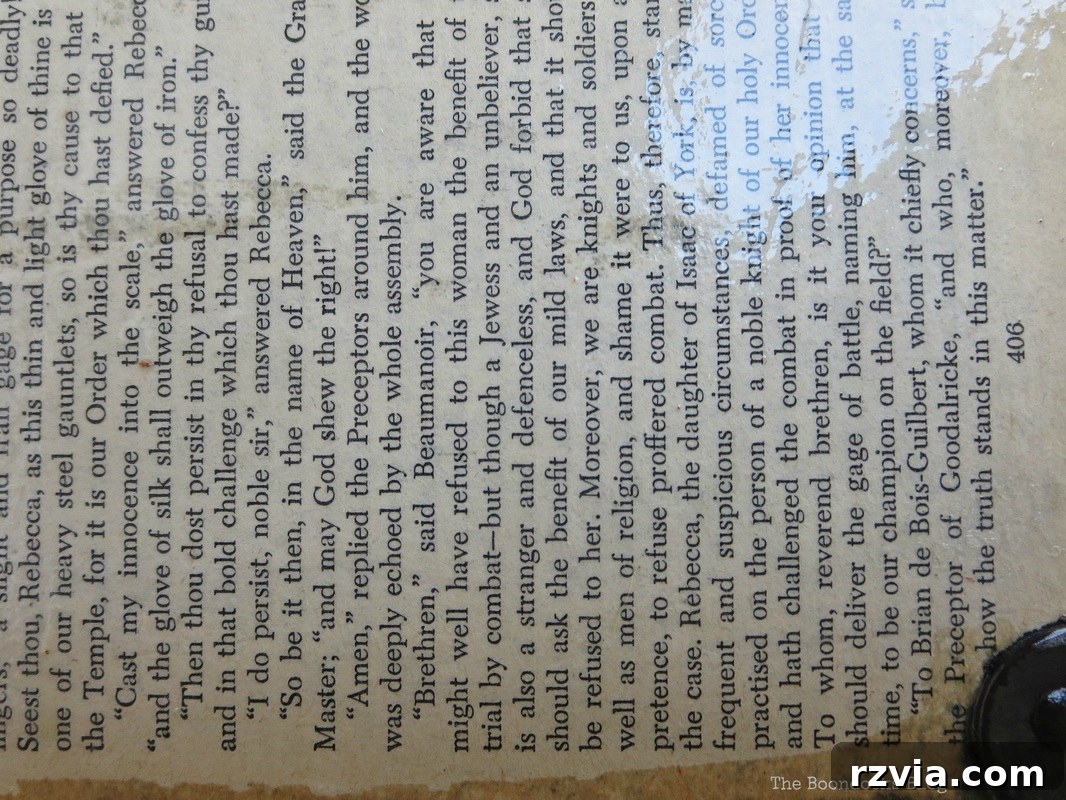
The metal handles and other hardware also received a gentle brushing of the tinted varnish. This wasn’t merely about aesthetics; it was about integrating the metal elements into the aged narrative of the trunk. The varnish created a beautiful, subtle patina, enhancing the existing character of the metalwork without obscuring it. This thoughtful detail adds to the overall vintage authenticity and coherence of the piece, making it look genuinely antique rather than merely refurbished.
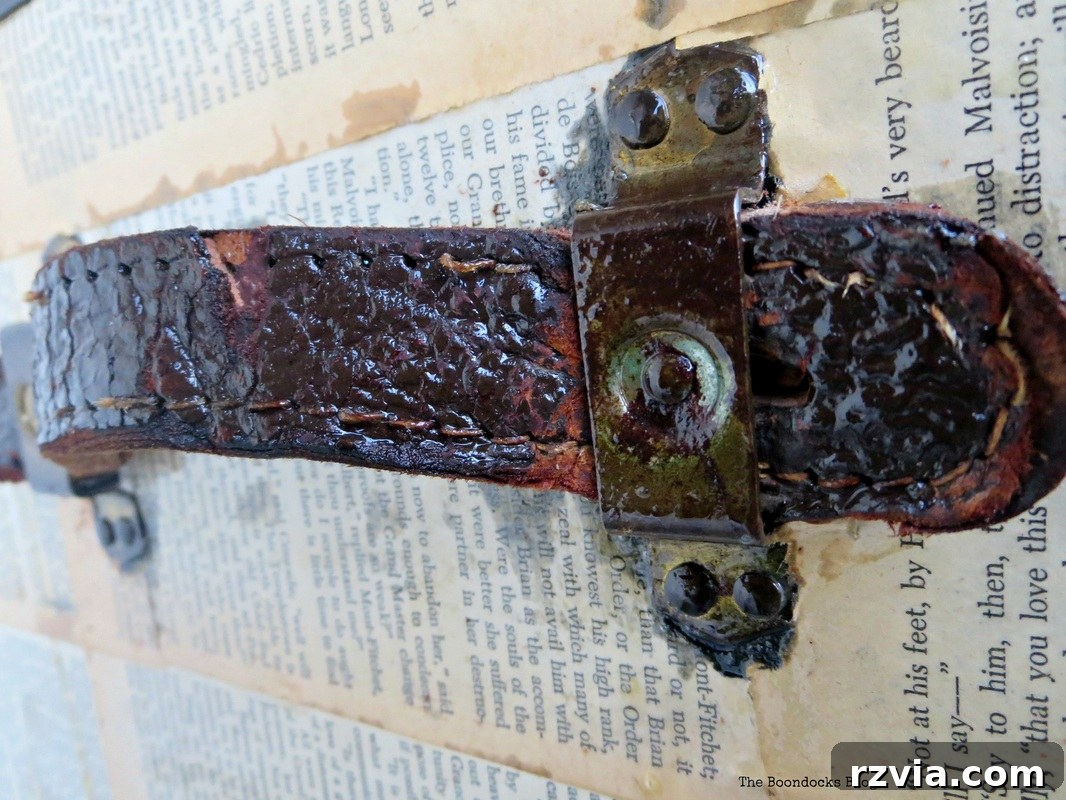
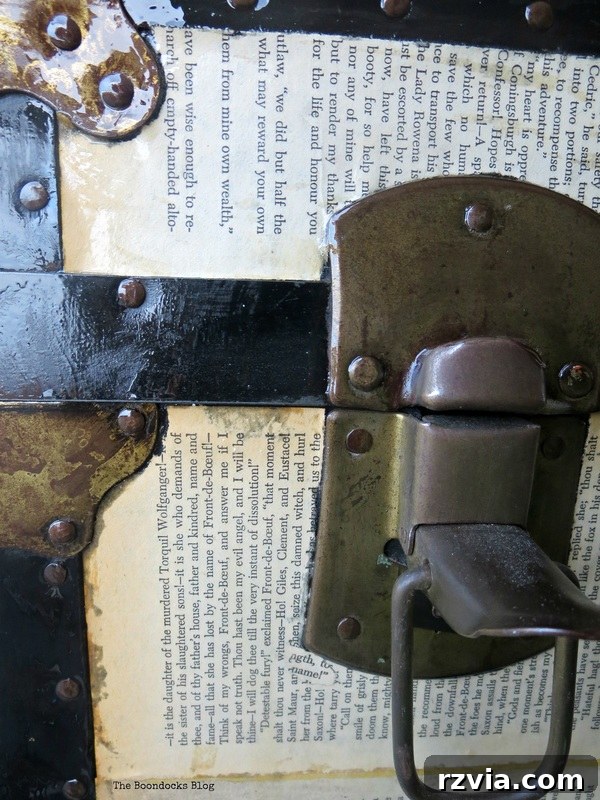
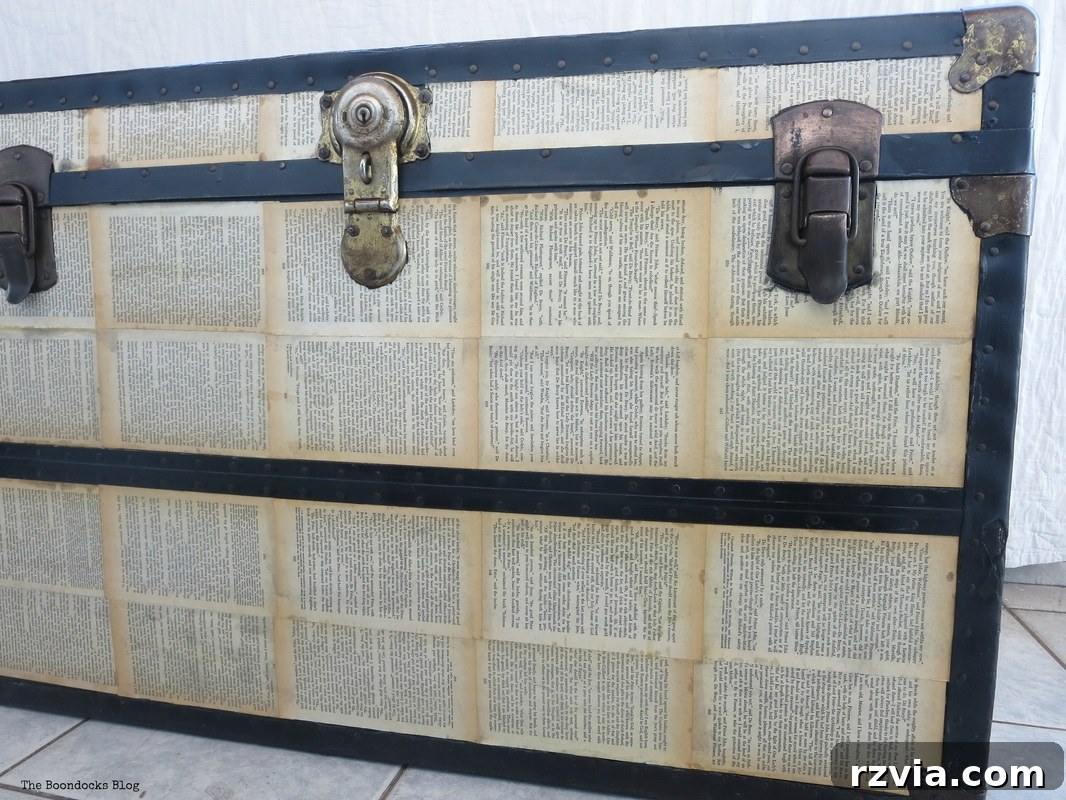
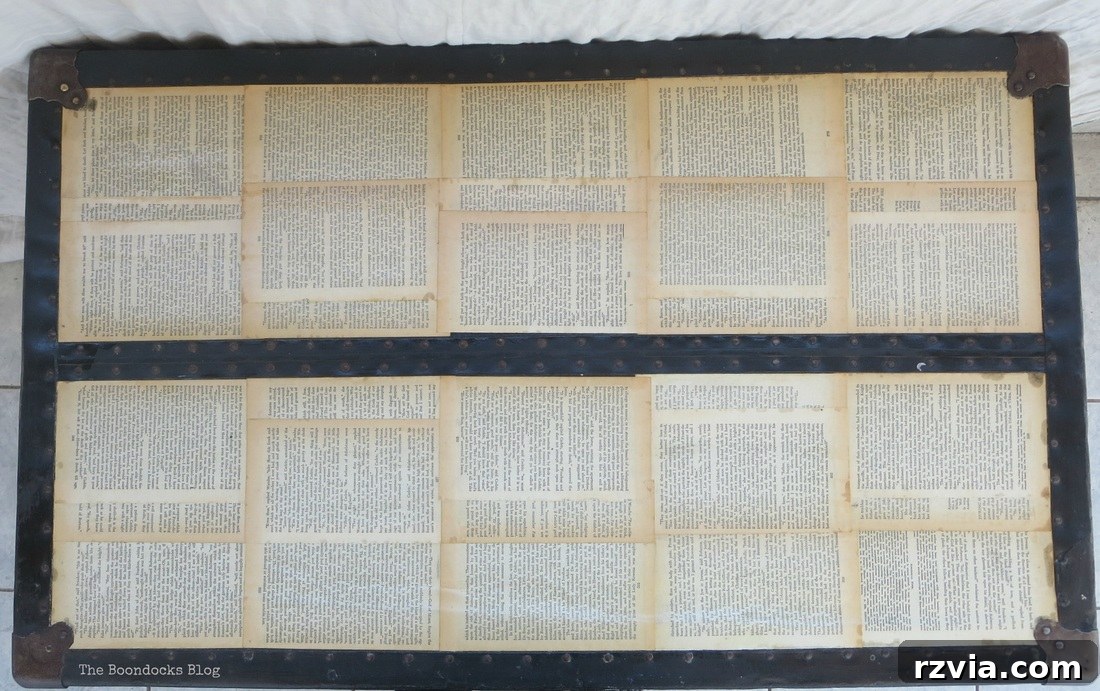
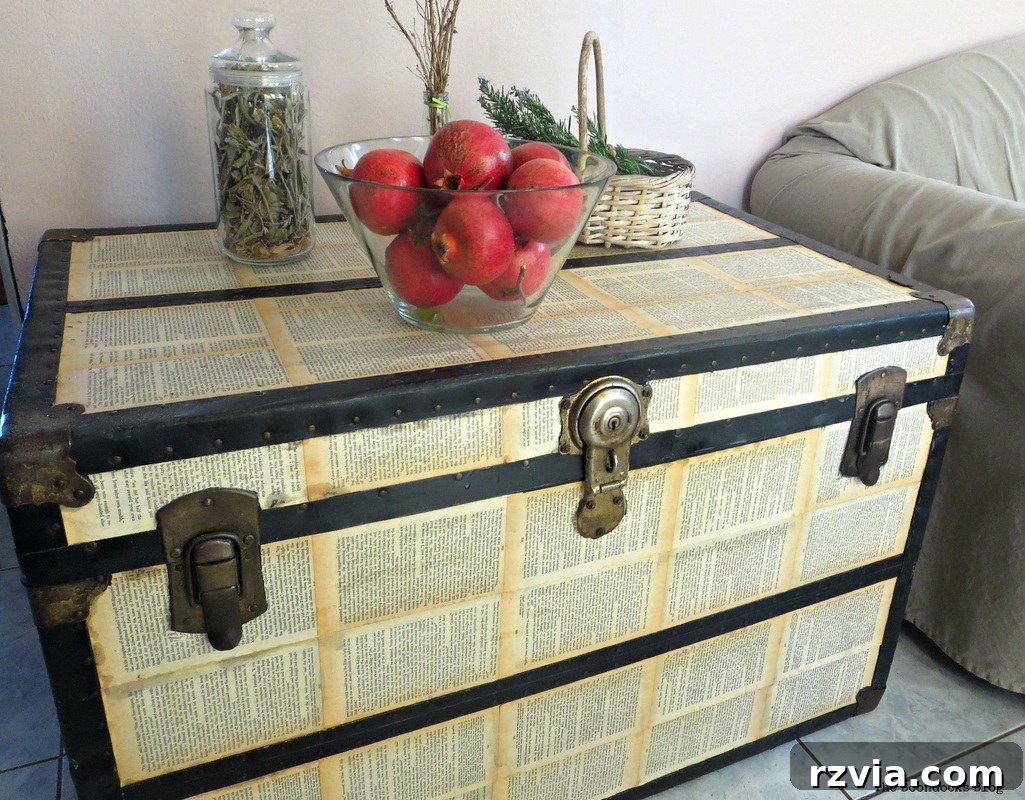
And here it is, the completed project with the final protective varnish coat. The varnish not only adds a layer of durability, but it truly brings the entire aesthetic together, making the book pages look even more antique and weathered. It deepened their golden hue, enhancing their delicate script and creating a seamless, time-worn texture across the entire surface. The transformation is complete, from a forgotten piece to a functional work of art that holds immense personal value.
Beyond the Surface: The Heart of the Trunk
More than just a beautiful piece of decor, this vintage trunk holds a profound sentimental value. It’s not simply a storage unit; it’s a repository of cherished memories and a tribute to a remarkable woman. Inside, I keep what I affectionately refer to as my mother’s treasures – a collection of items she left to me 35 years ago when I tragically lost her. Each item within this “chivalrous trunk” tells a part of her story, making it an irreplaceable part of my home and heart.
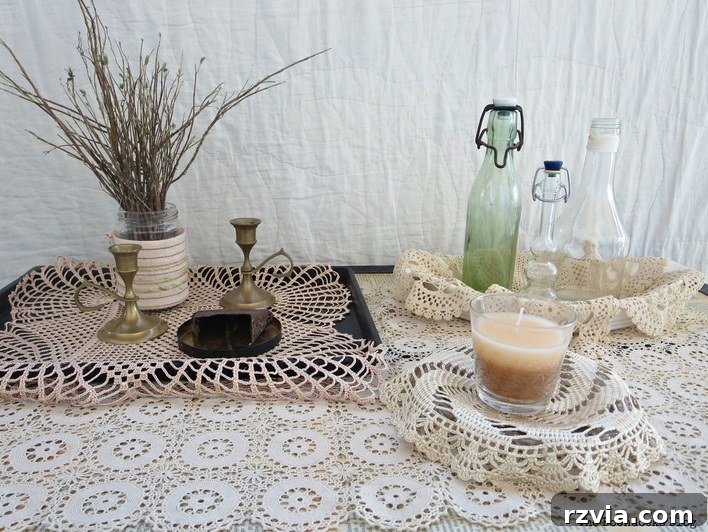
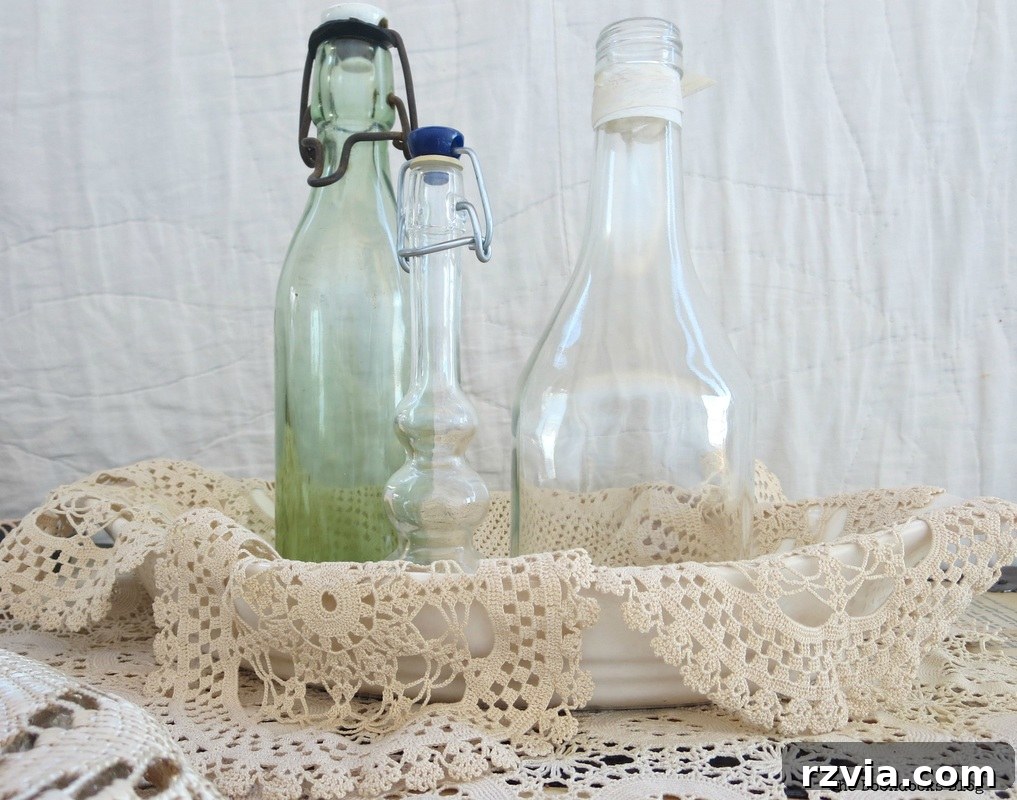
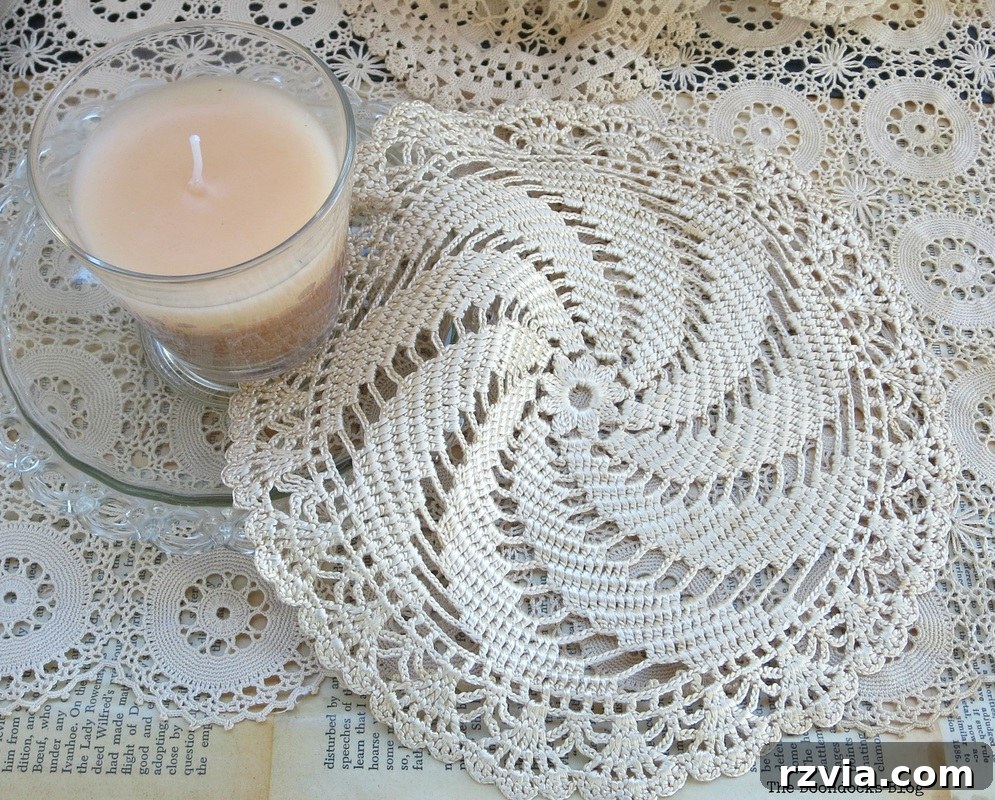
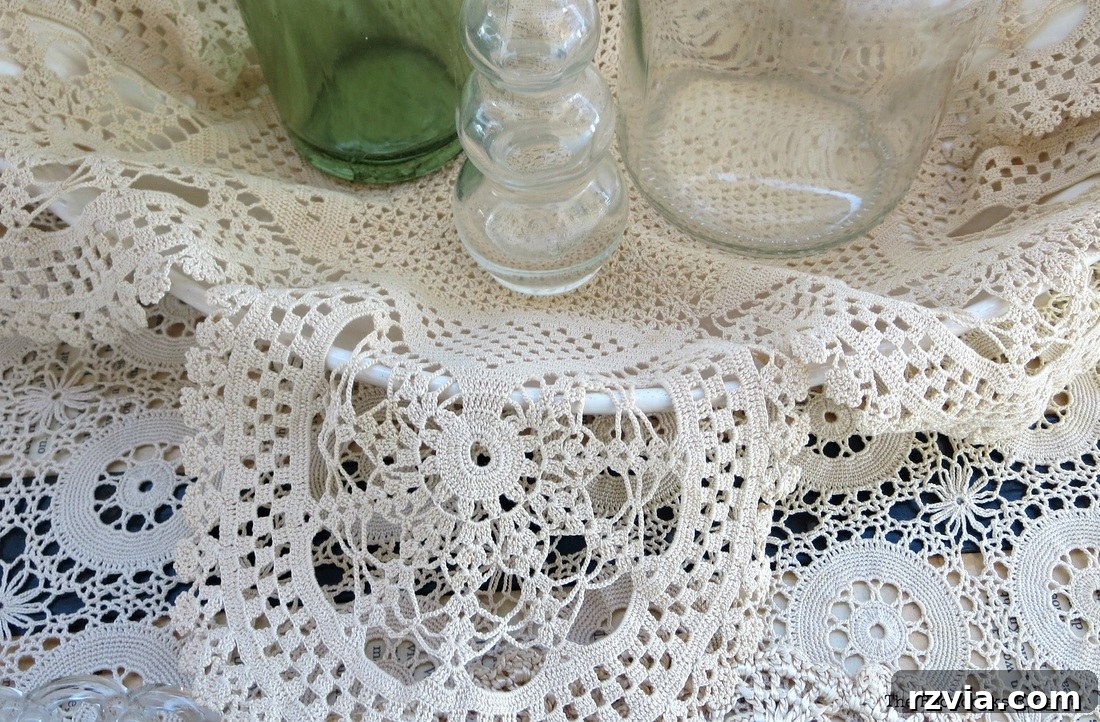
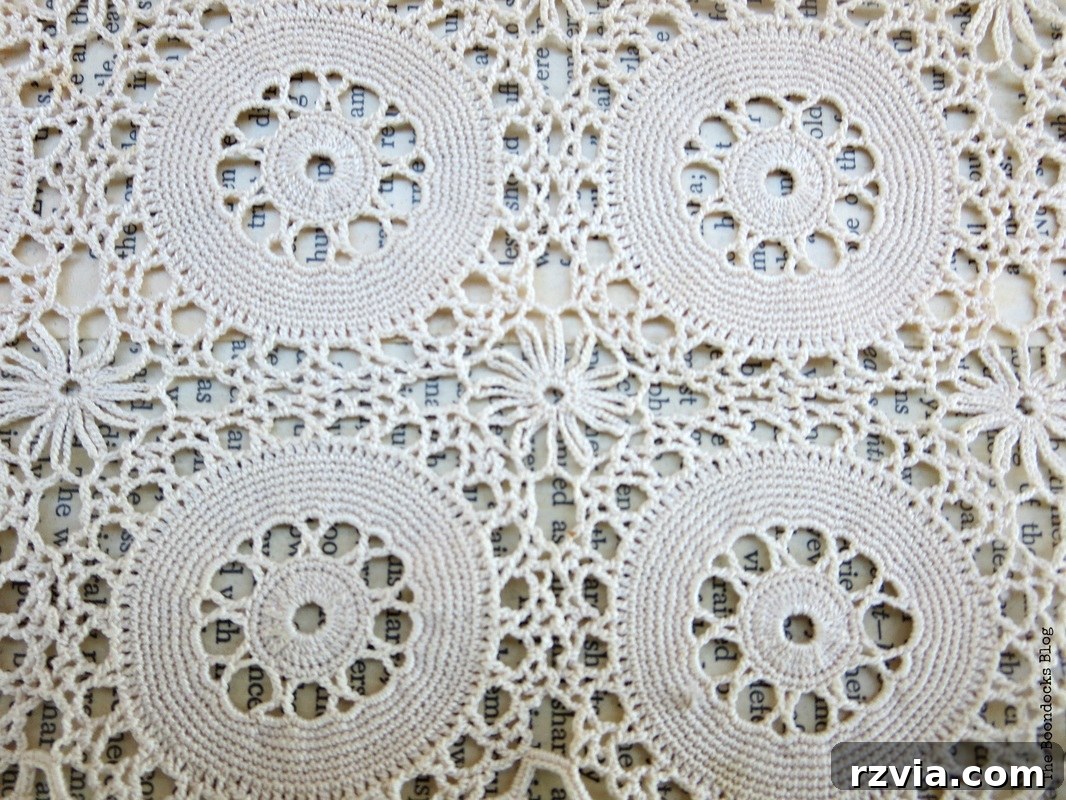
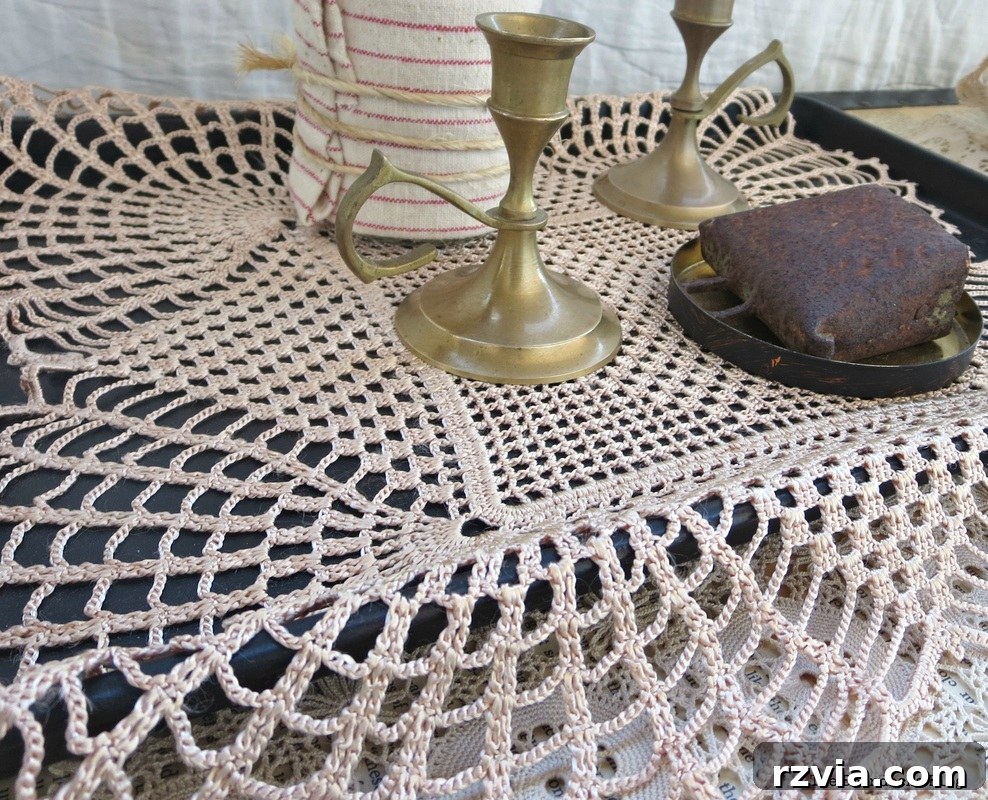
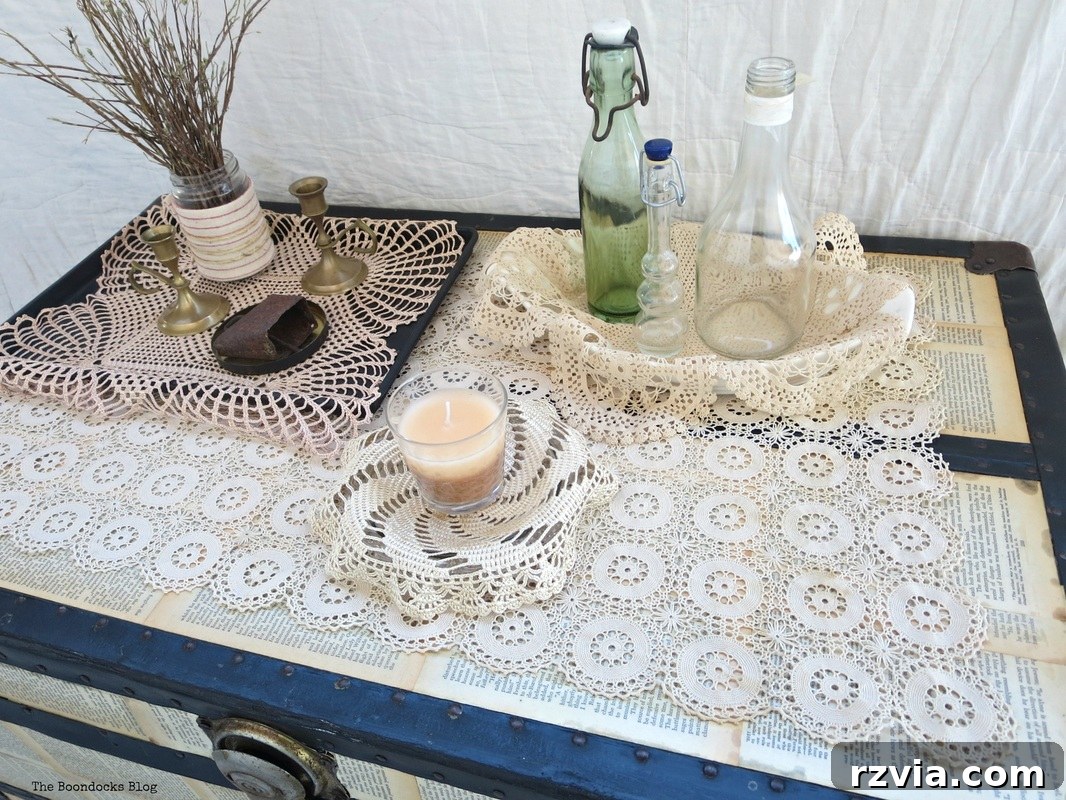
This entire vintage trunk makeover is not just a DIY project; it’s a profound way of honoring my mother, an exceptional lady whose spirit and creativity continue to inspire me. Only a “chivalrous trunk,” steeped in history and adorned with timeless tales, could adequately hold the treasures and legacy of such a remarkable woman. It stands as a testament to the enduring power of love, memory, and the beauty of handcrafted items.
Thank you for bearing with me today and taking a walk through my past, as we explored the transformation of this special piece. May it inspire you to find the hidden stories in your own vintage finds and give them a beautiful new chapter.

If you liked this detailed guide on revitalizing an antique trunk, please share it with your friends or save it on Pinterest for future inspiration. For more creative DIY projects and heartfelt stories delivered directly to your inbox, subscribe to our blog and join our community of crafters and vintage lovers. Your next adventure in home decor awaits!