
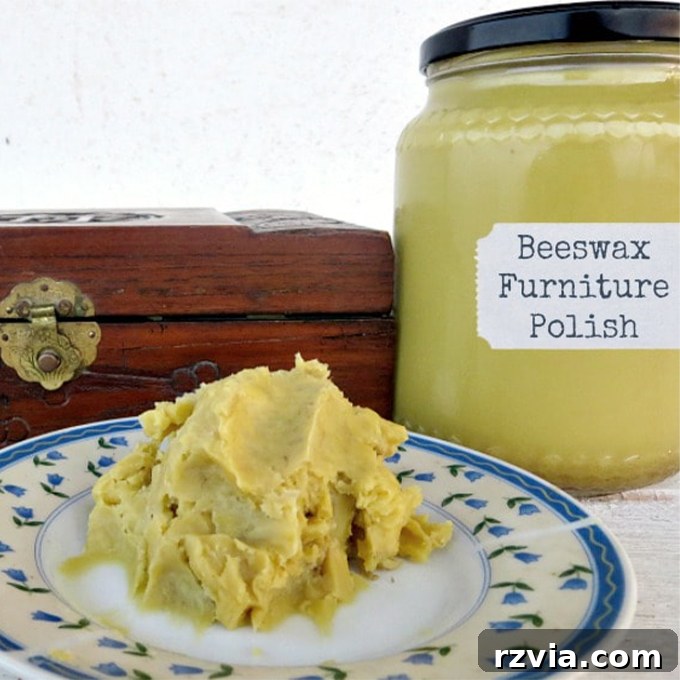
Transforming an old, tired piece of furniture into a cherished item is incredibly rewarding, and for me, painting it is the quickest route to achieving that transformation. Not only does a fresh coat of paint offer an instant facelift, but it also cleverly conceals any minor imperfections, breathing new life into forgotten treasures. While there are many ways to seal and protect painted furniture, I’ve found a deep appreciation for beeswax. Its natural properties and the beautiful finish it imparts are unparalleled. In fact, I’m so fond of it that I decided to make my own, a process that’s surprisingly straightforward and far more accessible than you might imagine.
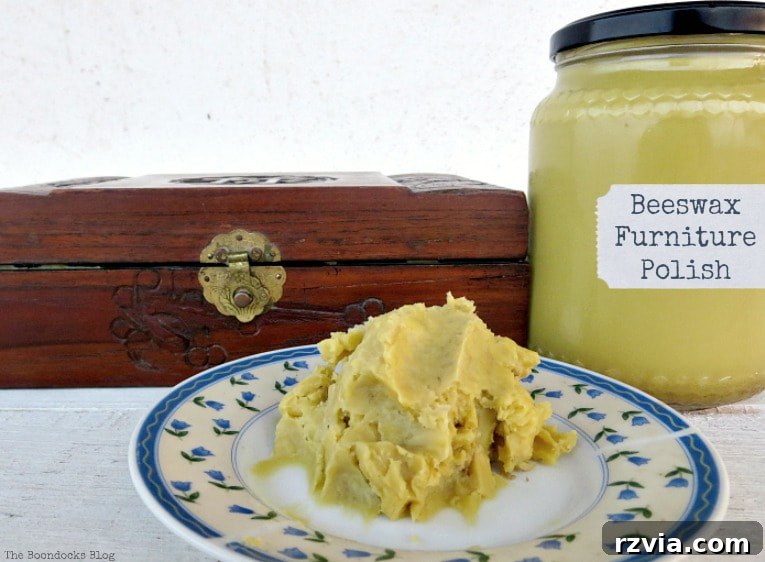
The Journey to Homemade: Discovering the Power of DIY Furniture Wax
When I first embarked on my blogging adventure, the world of furniture painting and upcycling was entirely new to me. I was eager to learn, but also faced the common challenge of finding the right materials. My initial foray into furniture painting quickly introduced me to chalk paint, a versatile medium known for its matte finish and excellent adhesion. However, a crucial lesson I soon learned was the necessity of sealing chalk paint to protect its finish and ensure its longevity. Beeswax emerged as the most recommended sealant, praised for its natural properties and beautiful matte sheen.
Living in what I affectionately call “the boondocks,” access to specialized crafting supplies, including chalk paint itself, was limited. This geographical constraint often meant making long trips to larger cities for supplies. During one such trip, I decided to price commercial beeswax furniture polish. The cost was quite steep – around 12 Euros for a mere 500 grams, which translated to about $15 at the time. As a beginner, unsure of how much I’d use or even if I’d master the application, this price felt prohibitive and well beyond my budget. It sparked a realization: there had to be a more affordable, sustainable, and perhaps even more satisfying way to achieve the same result.
This led me down the path of DIY. I scoured the internet for recipes, eager to concoct my own furniture polish. While I can’t recall the exact source of the recipe that became my go-to, the outcome was transformative. By making my own beeswax furniture polish, I discovered a solution that cost roughly half the price for almost double the quantity of wax. This wasn’t just about saving money; it was about empowering myself with the knowledge to create a high-quality product from natural ingredients, right in my own home. This simple, two-ingredient recipe has since become a staple in my furniture upcycling projects, offering a beautiful, durable finish that I’m proud to use and share.
Why Choose Homemade Beeswax Furniture Polish?
Before diving into the “how-to,” it’s worth understanding the myriad benefits of opting for a homemade beeswax furniture polish over commercial alternatives. This natural sealant offers advantages that go beyond just cost savings, enhancing both the beauty and longevity of your furniture while being kind to your home and the environment.
- Natural & Non-Toxic: Unlike many commercial polishes that contain synthetic chemicals and strong fumes, homemade beeswax polish is made from pure, natural ingredients. This makes it a safer choice for your home, especially if you have children or pets, and contributes to better indoor air quality.
- Deep Nourishment & Protection: Beeswax naturally conditions wood, preventing it from drying out and cracking. Combined with a carrier oil like olive oil, it deeply penetrates the wood fibers, nourishing them from within. It creates a breathable, protective barrier that repels moisture and dust, safeguarding your furniture from everyday wear and tear.
- Enhances Natural Beauty: Beeswax doesn’t just protect; it also enhances. It brings out the natural warmth and grain of wood, imparting a soft, subtle sheen that feels luxurious to the touch. It’s perfect for achieving that coveted buttery smooth finish on chalk-painted pieces, enriching their depth and character.
- Eco-Friendly & Sustainable: By making your own polish, you reduce reliance on single-use plastic containers and minimize exposure to harsh chemicals. Beeswax is a renewable resource, and supporting its use contributes to sustainable practices, making it a truly green choice for furniture care.
- Cost-Effective: As I discovered, crafting your own polish is significantly more economical than purchasing high-end commercial waxes. The initial investment in beeswax and olive oil is minimal, yielding a generous amount of polish that will last for many projects.
- Pleasant Scent: The natural, subtle honey scent of beeswax is incredibly appealing. You can also customize it with essential oils for an added aromatic experience, transforming furniture polishing into a delightful sensory task.
The Essential Ingredients: Simplicity at Its Best
Disclosure: This post contains affiliate links for your shopping convenience. If you purchase any of these products through the links, we receive a small commission at no extra charge to you. You can find our full disclosure here.
The beauty of this homemade beeswax furniture polish lies in its incredible simplicity. You only need two primary ingredients, both readily available and natural.
- One part beeswax
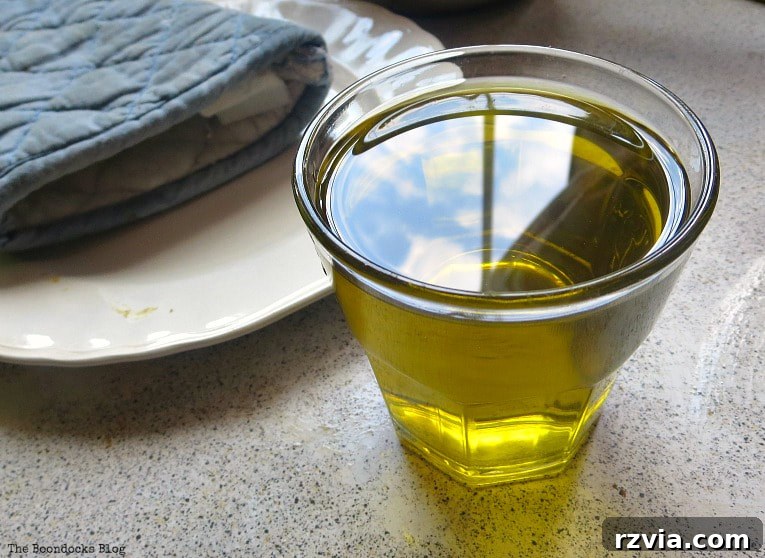
- Two parts olive oil
Selecting Your Beeswax
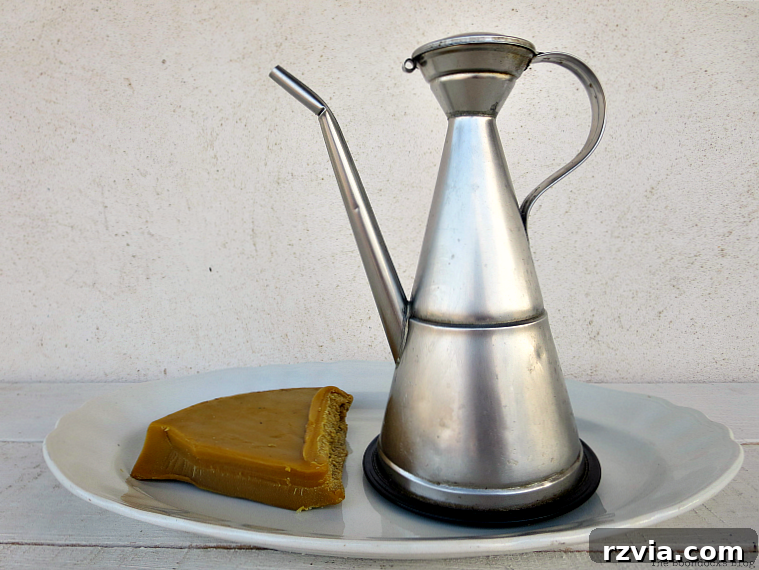
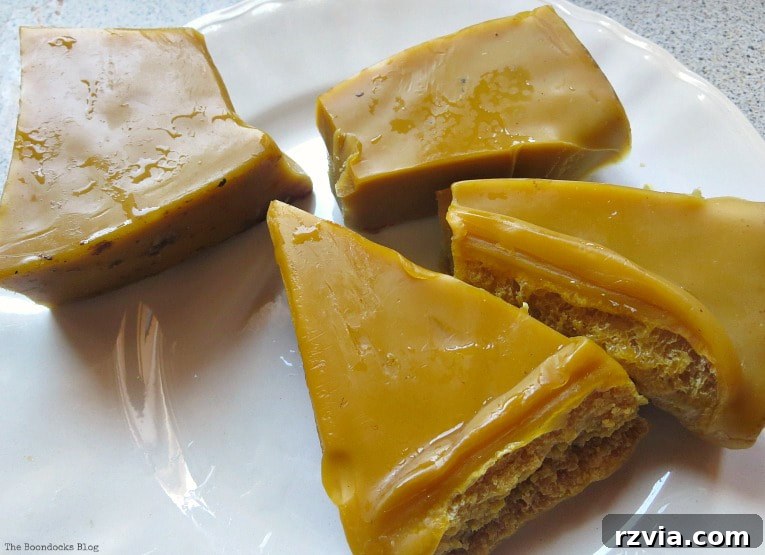
For the beeswax, you can often find it in pellet form, which is incredibly convenient as it melts much faster than solid blocks. If you have access to a local beekeeper, purchasing beeswax directly is a wonderful way to support local agriculture and ensure you’re getting a pure product. Otherwise, craft stores or online retailers are excellent sources. Ensure you choose pure beeswax, as some candle waxes might contain additives not suitable for furniture.
Choosing Your Olive Oil
When it comes to the olive oil, quality is important, but you don’t necessarily need your finest extra virgin olive oil. A standard, good quality olive oil will work perfectly. I often use olive oil from my own farm, which adds a personal touch, but any extra virgin olive oil you have on hand will suffice. For those looking for alternatives, mineral oil is a common substitute, known for its stability and non-yellowing properties. Other options include jojoba oil, which is very stable, or even walnut oil, though always be mindful of potential nut allergies if using the latter. The 1:2 ratio of beeswax to olive oil provides a perfect balance, creating a polish that is firm enough to handle but soft enough to apply smoothly and penetrate the wood effectively.
Step-by-Step Guide: Crafting Your Own Beeswax Furniture Polish
Making your own beeswax furniture polish is a delightful and straightforward process. Follow these simple steps to create a batch of natural, nourishing wax that will bring your furniture to life.
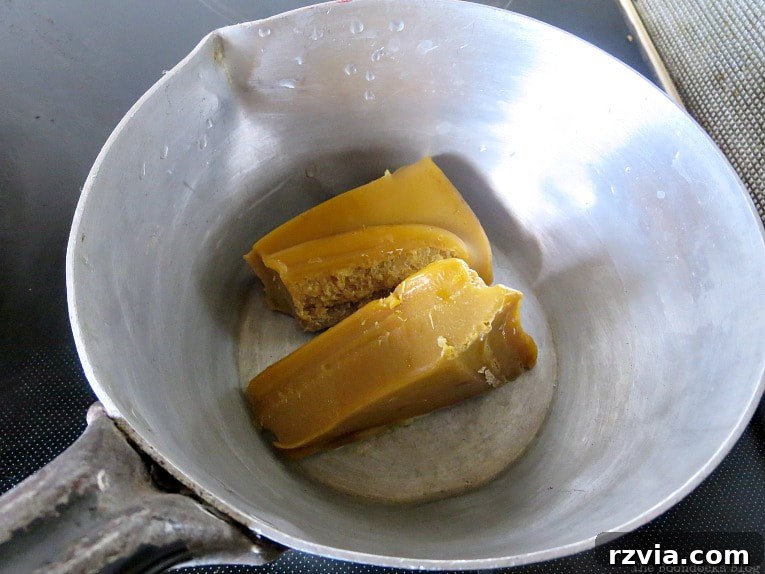
- Prepare Your Beeswax: If you are using a solid block of beeswax, you’ll need to chop or grate it into smaller pieces. This increases the surface area, helping it to melt more quickly and evenly. Beeswax pellets, on the other hand, are already in an ideal form for melting.
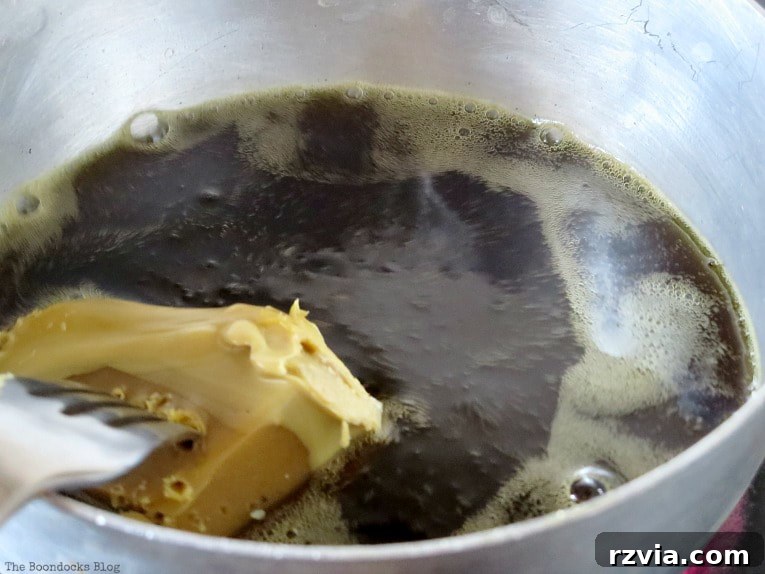
- Melt the Beeswax: Place your beeswax into a heat-safe pot. For safety and best results, I highly recommend using a double boiler method. This involves placing the pot with the beeswax inside a larger pot filled with a few inches of water, then heating the larger pot. The gentle, indirect heat of a double boiler prevents the wax from overheating and reduces the risk of scorching or fire. If you don’t have a double boiler, you can melt the wax directly in a pot over low to medium-low heat, but you must monitor it constantly and stir frequently to prevent burning.
- Ensure Complete Melting: Continue heating and stirring the beeswax until it has completely melted into a clear, golden liquid. This may take some time, so be patient.
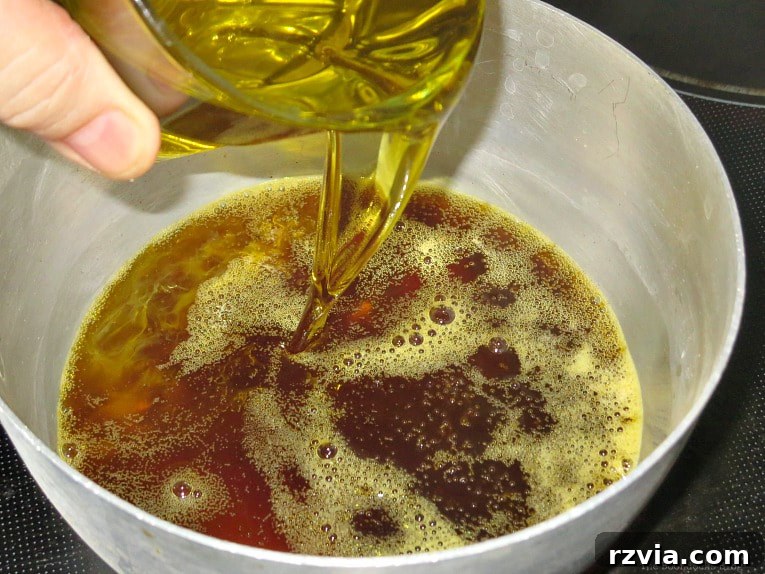
- Add Your Chosen Oil: Once the beeswax is fully melted, carefully add your olive oil (or chosen alternative) to the pot. Stir the mixture thoroughly to ensure the oil is fully incorporated with the melted beeswax. Remove the pot from the heat immediately after mixing.
- Customize with Essential Oils (Optional): At this point, while the mixture is still liquid and warm, you have the option to add a few drops of your favorite essential oils. This is a fantastic way to customize the scent of your polish. Popular choices include lemon for a fresh, clean aroma, lavender for a calming effect, or cedarwood for a more woody, protective scent. Start with a small amount (5-10 drops per cup of mixture) and adjust to your preference.
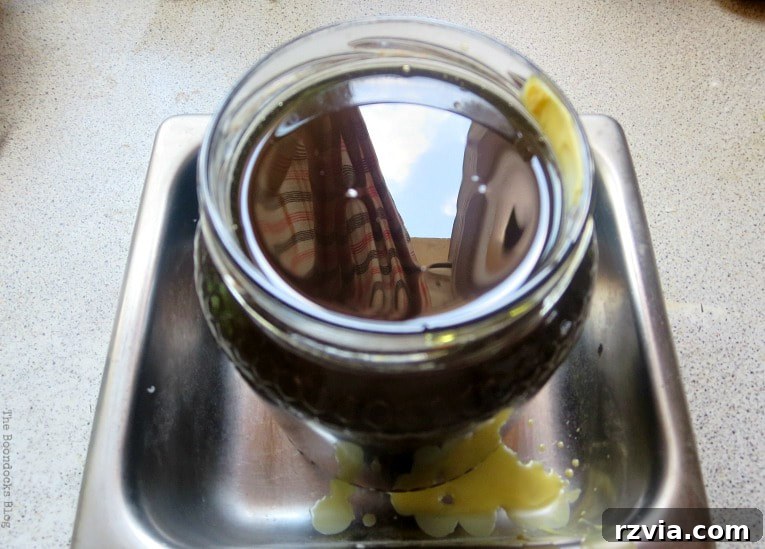
- Pour into Containers: Carefully pour the hot liquid polish into your chosen containers. Wide-mouth glass jars, small tins, or repurposed containers with tight-fitting lids work perfectly for storage. Exercise extreme caution during this step, as the mixture will be very hot. Any spilled wax can dry almost instantaneously, so handle with care.
- Allow to Solidify: Let the poured wax cool and solidify at room temperature. Depending on the size of your container and the ambient temperature, this usually takes about half an hour to an hour. You’ll notice it transform from a clear liquid to a creamy, solid wax.
And just like that, you now have a jar of beautifully homemade beeswax furniture polish, ready to revive and protect your cherished furniture pieces!
Mastering the Application: How to Use Beeswax Furniture Polish for a Flawless Finish
Once your homemade beeswax furniture polish has solidified, you’re ready to experience its transformative power. Applying it correctly is key to achieving that desirable soft sheen and providing lasting protection. Follow these steps for best results:
- Prepare Your Surface: Before applying the wax, ensure your furniture piece is clean and dry. If you’ve just painted it, allow the paint to fully cure according to the manufacturer’s instructions. A clean, dust-free surface ensures proper adhesion and a smooth finish.
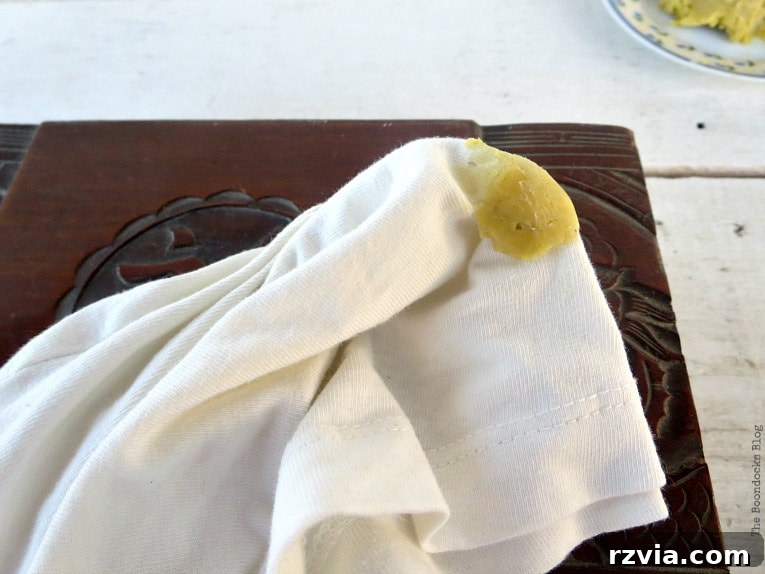
- Apply a Thin Layer: Using a clean, lint-free cotton cloth (an old t-shirt or cloth diaper works wonderfully), scoop a small amount of the beeswax polish. Work the wax into the wood surface using gentle, circular motions, going with the grain. The key is to apply a very thin, even coat. A little goes a long way, and over-application can lead to a sticky finish.
- Allow to Penetrate: Let the wax sit on the surface for a few minutes. This allows the natural oils to penetrate the wood and the beeswax to start bonding with the finish. The exact time can vary depending on humidity and temperature, but typically 5-10 minutes is sufficient.
- Buff for Brilliance: After the short waiting period, take a fresh, clean, lint-free cloth. Using firm, circular motions, begin to buff the surface. This step is crucial for removing any excess wax and activating the polish to create a beautiful, soft sheen. Keep buffing until you achieve your desired level of luster, transitioning from a dull appearance to a rich, smooth finish. You’ll literally feel the surface become incredibly soft and buttery beneath your cloth.
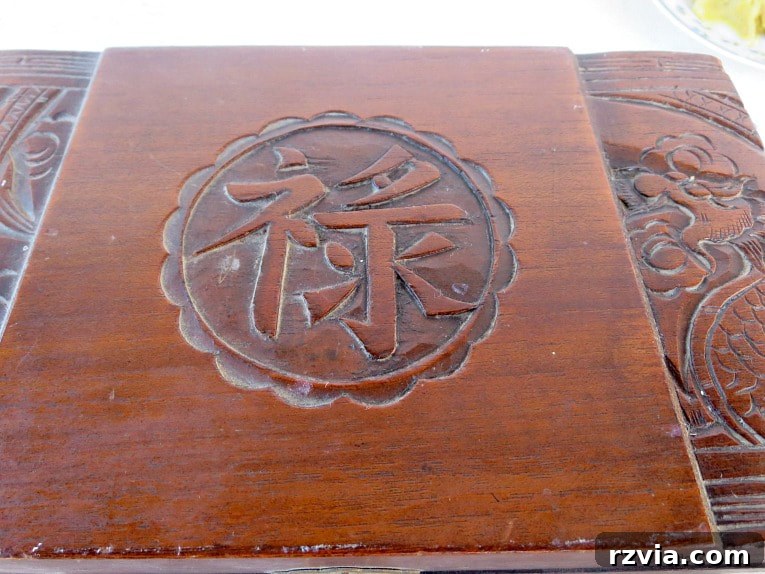
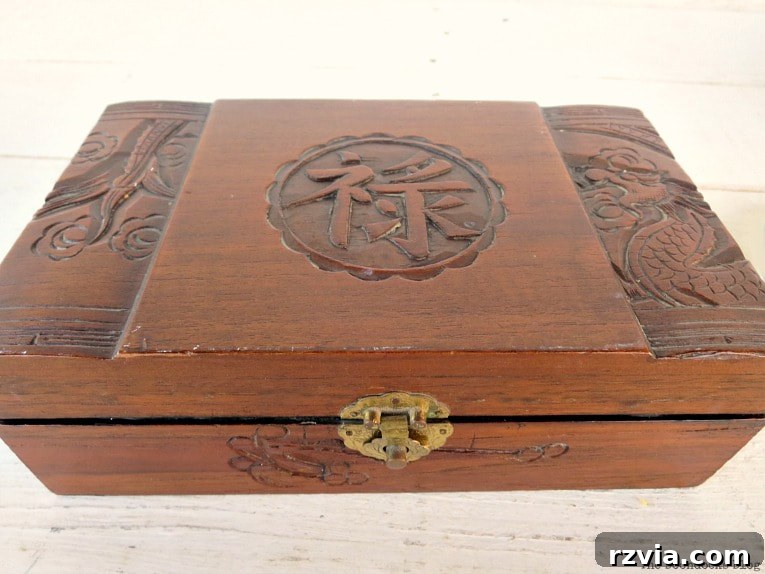
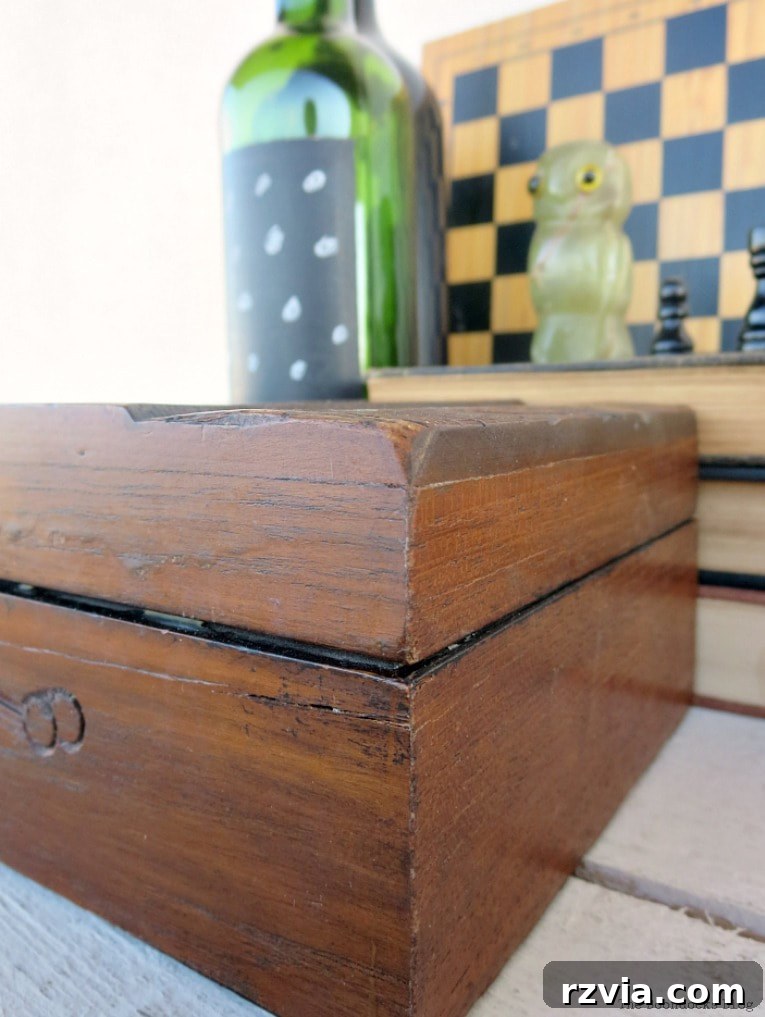
As you can clearly see in the image above, the difference between the un-waxed left side and the beautifully waxed right side is remarkable. The waxed section exhibits a deeper color, a more refined texture, and a subtle, natural glow that enhances the wood’s character. Rest assured, if you get some of this natural polish on your hands during application, there’s no need to worry. Made from wholesome, natural ingredients, it’s actually quite good for your skin, leaving them feeling soft and moisturized.
Maintenance and Considerations for Waxed Furniture
There’s truly nothing quite like the soft, buttery smooth finish that homemade beeswax polish imparts. It provides a natural, inviting feel that synthetic sealants often miss. However, it’s important to understand its characteristics for optimal use:
- Reapplication: As a natural, softer sealant, beeswax polish isn’t permanent. For consistent protection and to maintain that beautiful sheen, it typically needs to be reapplied about once a year, or whenever you notice the finish dulling or feeling less protective.
- High-Traffic Areas: A key consideration is that beeswax polish, while wonderful, is generally not recommended for high-traffic items, such as your kitchen table or desk. These surfaces endure frequent use, spills, and cleaning, which can cause the wax to wear down quickly or even become slightly sticky over time. For such pieces, a more durable, hard-wearing topcoat like a polycrylic might be a better choice.
- Cleaning Waxed Surfaces: To clean waxed furniture, simply wipe it down with a lightly damp cloth. Avoid harsh chemical cleaners, as these can strip away the wax layer and damage the finish.
The Versatility of Homemade Beeswax Polish: Beyond Chalk Paint
While this homemade beeswax polish is an absolute marvel for sealing chalk paint, locking in its matte beauty and providing a protective layer, its utility extends far beyond. It’s a truly versatile product for many types of furniture and finishes.
- Raw or Unpainted Wood: On raw wood, the polish deeply nourishes and protects, bringing out the natural grain and adding a subtle luster without obscuring the wood’s inherent character. It’s an excellent choice for wooden bowls, cutting boards (if food-safe oils are used), or any unsealed wooden item you wish to protect and enhance.
- Stained Wood: For furniture with a wood stain, beeswax polish can refresh the finish, adding depth and a protective layer. It helps to keep the stained surface looking vibrant and well-maintained.
- Other Painted Surfaces: While designed primarily for chalk paint, I’ve successfully used it on other painted surfaces, including pieces finished with milk paint or even acrylic paints, to add a protective sheen and a lovely tactile finish.
- Unexpected Uses – Metal! Believe it or not, I’ve even experimented with using this polish on metal surfaces that were previously painted with chalk paint. For instance, in a vintage suitcase makeover where I applied chalk paint to the metal hardware, a layer of beeswax polish provided a wonderful, soft sheen and an added layer of protection.
My first project using this homemade concoction was a unique table crafted from a stool and a drawer. The beeswax polish brought out the character of its components beautifully. I also revived an ancient tray that had been painted in black, giving it a rich, protective finish that truly enhanced its antique charm.
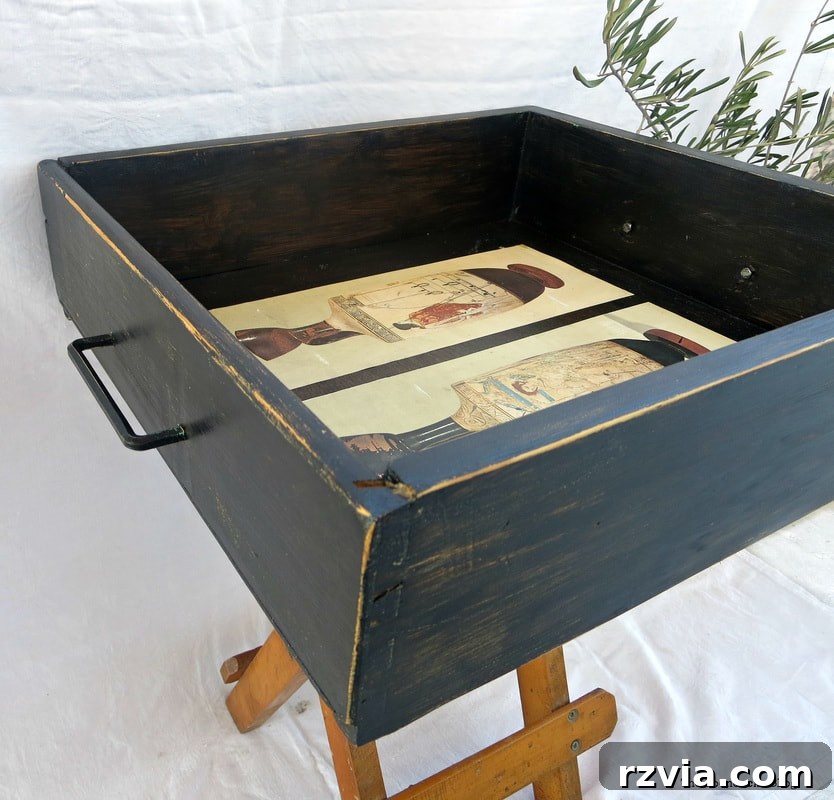
The beauty of this polish is its adaptability. It breathes new life into painted pieces and provides gentle, effective care for unpainted wood, sealing and enhancing surfaces with its natural glow.
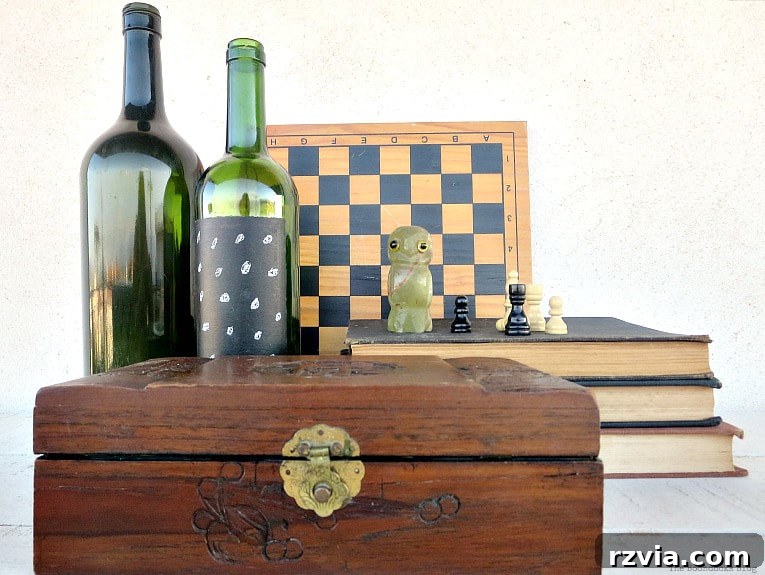
Especially for chalk-painted wood, it’s an indispensable final step, offering both protection and a beautiful, authentic finish that complements the paint’s unique texture.
Embrace the Eco-Friendly and Economical Choice
Beyond the aesthetic appeal and ease of application, making your own beeswax furniture polish offers significant advantages that align with a more conscious lifestyle. It’s not just good for your pocketbook, saving you money on expensive commercial products; it’s also incredibly beneficial for your skin, thanks to its natural, gentle ingredients. Furthermore, it’s an inherently green choice, contributing positively to our earth. By choosing natural beeswax and olive oil, you reduce your chemical footprint and support sustainable practices. There are truly no compelling reasons not to give this fantastic recipe for homemade beeswax furniture polish a try.
I wholeheartedly encourage you to embark on this simple DIY project. Experience the satisfaction of creating your own high-quality furniture polish and the joy of seeing your furniture transformed with a natural, lustrous finish. Give it a try and let me know what you think of the results! And if you’ve already discovered the magic of homemade beeswax polish, please share your own recipes and tips in the comments below. Let’s inspire each other to embrace natural solutions for our homes.

<< Sweet Inspiration Link Party #69 HOME Kefalonia in Brown >>