
Revitalize Your Bedroom: A Complete DIY Makeover for an Old Wooden Bed Frame
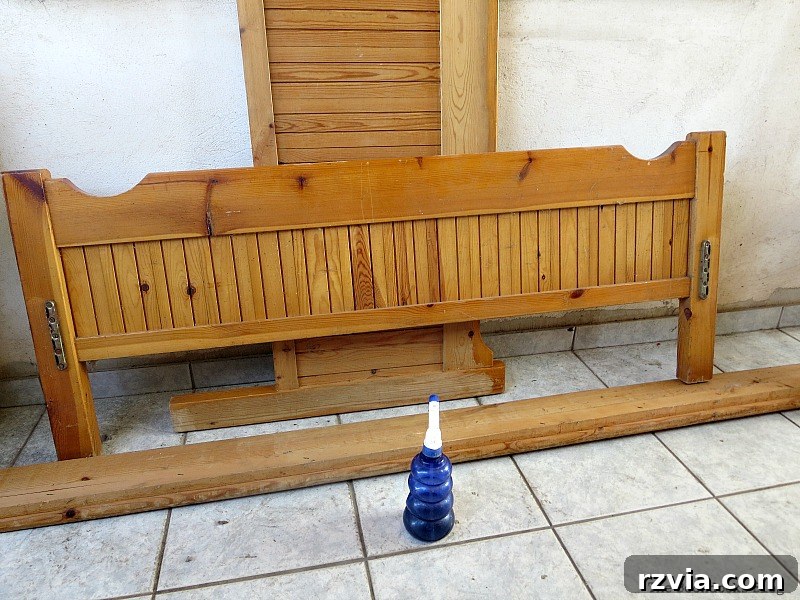
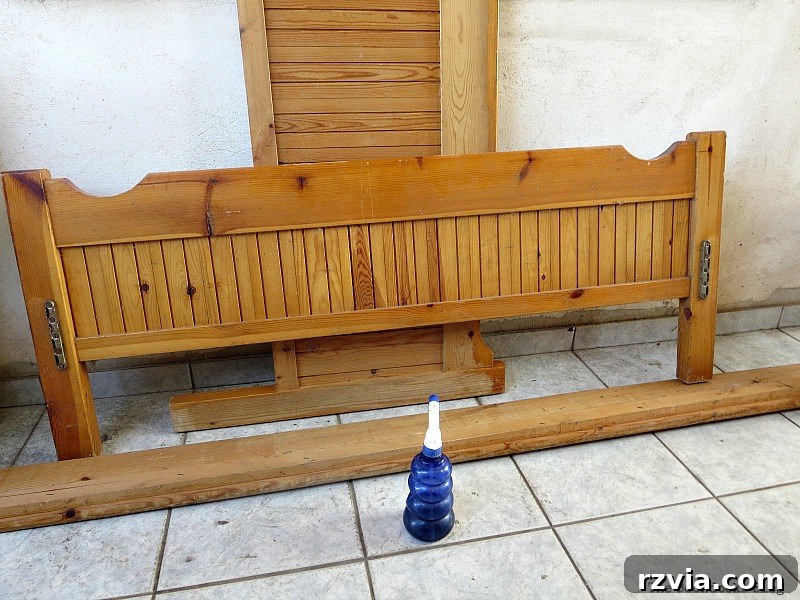
Every home has its hidden treasures, and for me, it’s often found tucked away in the basement. This time, the star of my latest DIY project was an old wooden bed frame, patiently waiting for its second act. It’s a wonderful size – slightly smaller than a full, but more spacious than a twin – and though its current state might remind you of those regrettable orange-varnish trends of yesteryear, its potential was undeniable. You know that dated, too-much-orange look we all love to hate? It was time for a dramatic transformation!
A few months prior, I embarked on a dresser makeover that turned out beautifully. It was an antique Ikea pine dresser, roughly 25 years old, which I lovingly painted a soft, calming green. The results were so pleasing that I decided the bed frame deserved a similar fate, creating a perfectly coordinated bedroom set. Today, I’m thrilled to guide you through the process of giving an old wooden bed frame a stunning, modern makeover, proving that with a little creativity and effort, dated furniture can find new life.
The Transformation Begins: Choosing the Right Paint
To kickstart this ambitious project, I opted for Americana Decor Chalky Finish Paint in “Enchanted” from DecoArt. Chalk paint is a game-changer for furniture makeovers, especially when dealing with pieces that have stubborn, old finishes. Its primary advantage? No sanding required beforehand! This saves a tremendous amount of time and effort, making the project accessible even for beginner DIY enthusiasts.
Before application, it’s crucial to give the paint can a thorough shake. This ensures that all the pigments and binders are perfectly mixed, resulting in a smooth, consistent application and optimal coverage. With chalk paint, consistency is key to achieving that flawless finish. My goal was to completely erase that prevalent orange hue, and with just two coats of “Enchanted,” the transformation was already remarkable. The initial orange was completely obscured, replaced by a beautiful, muted green.
Disclosure: I received product compensation for this post. However, all opinions expressed here are genuinely my own. I only endorse products that I personally love and would confidently recommend to my audience. This post also contains affiliate links for your convenience, should you wish to purchase these fantastic products.
Navigating Challenges: The Art of Color Matching and Mixing
As I progressed with the painting, a common DIYer’s fear began to creep in: running out of my cherished paint! This realization prompted a quick, creative solution. Rather than halting the project, I decided to extend my supply by mixing in some plain white acrylic paint. My hope was that this concoction would not only stretch the “Enchanted” further but also allow for subtle variations in color, adding depth to the final finish.
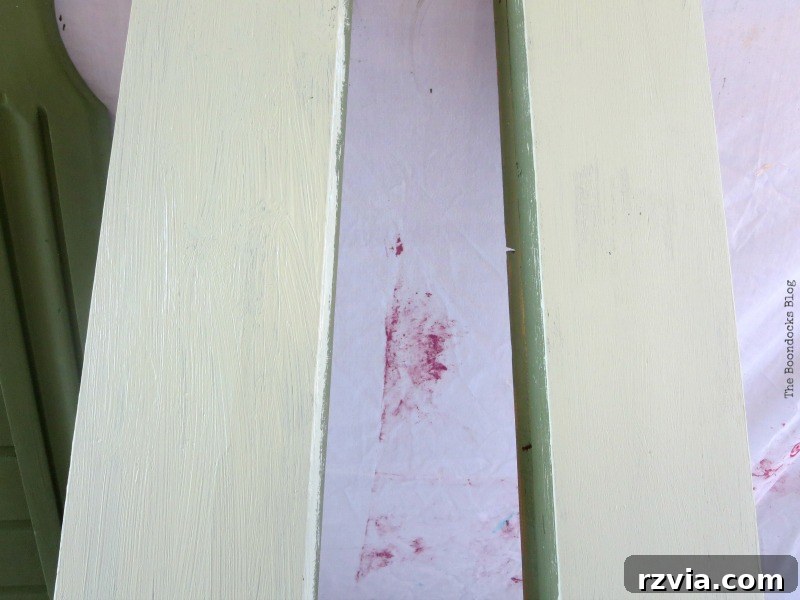
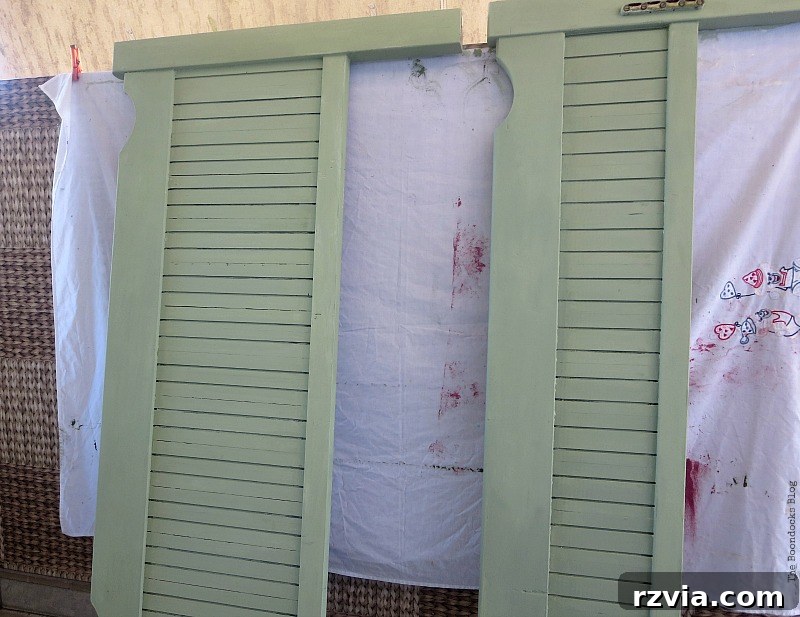
This image captures the bed frame after its third coat of paint. Notice the even coverage, achieved without any preliminary sanding. This is truly the magic of chalky finish paint – it adheres beautifully to most surfaces, even those coated in old varnish, without the laborious prep work. The mixed paint created a slightly lighter, softer shade of green, which added another dimension to the project, preparing it for the distressing phase.
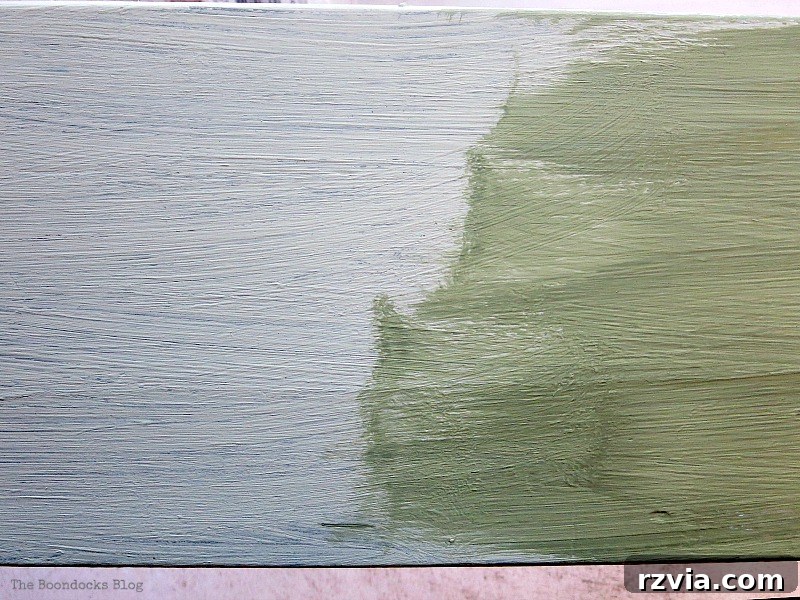
The ultimate goal was to ensure the bed frame perfectly complemented the previously made-over dresser. This meant meticulously playing with my paint mixture to achieve a harmonious color match. After careful adjustments and layering, the final coat was applied. This stage was critical, as it would form the primary color exposed in the distressed areas, working in concert with the underlying lighter greens.
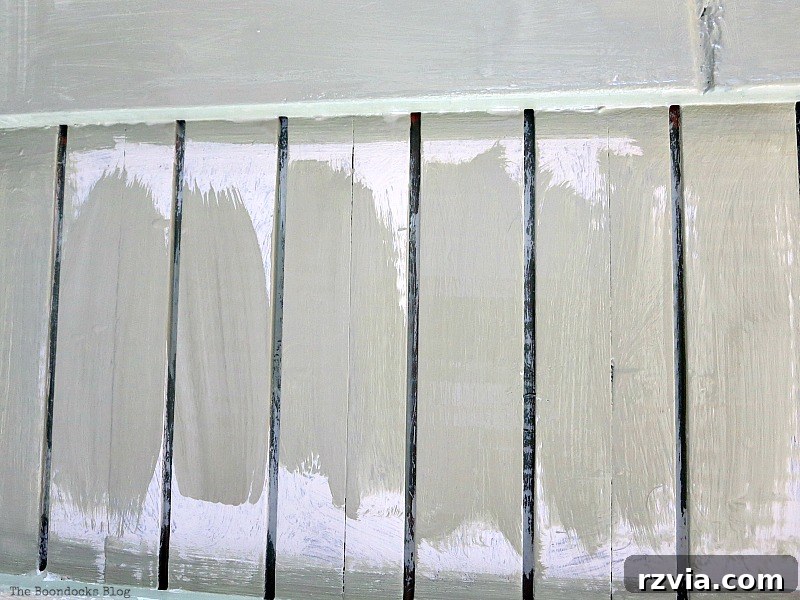
And what a relief it was to finish, because, as luck would have it, I used up every last drop of paint! It was a close call, but the determination to create a coordinated bedroom set pushed me to make every brushstroke count. The end result of the painting phase was a beautifully unified green, laying the groundwork for the next exciting step.
Embracing Imperfection: The Art of Distressing
With the paint dry, it was time to move on to the distressing. My aim was to replicate the charming, worn look I had achieved on the dresser, creating a cohesive antique aesthetic. This meant I couldn’t entirely escape sanding after all! While chalk paint saves you from initial prep sanding, distressing involves strategically sanding back layers of paint to reveal the underlying colors or the original wood. This technique adds character, age, and a unique story to each piece.
What I avoided at the beginning, I certainly paid for now! Distressing, especially by hand, can be quite a workout. My right hand was definitely feeling the effort by the end, a testament to the labor of love involved in transforming furniture. But the physical exertion was a small price to pay for the desired outcome.
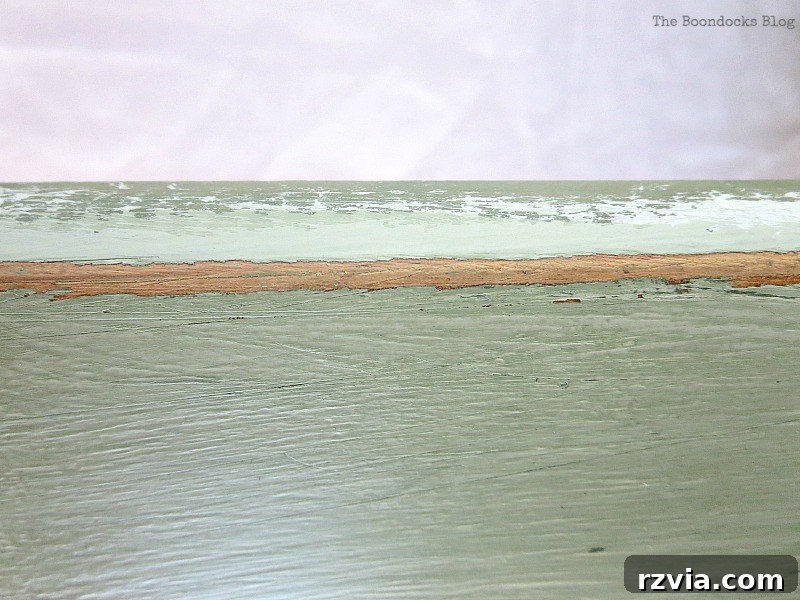
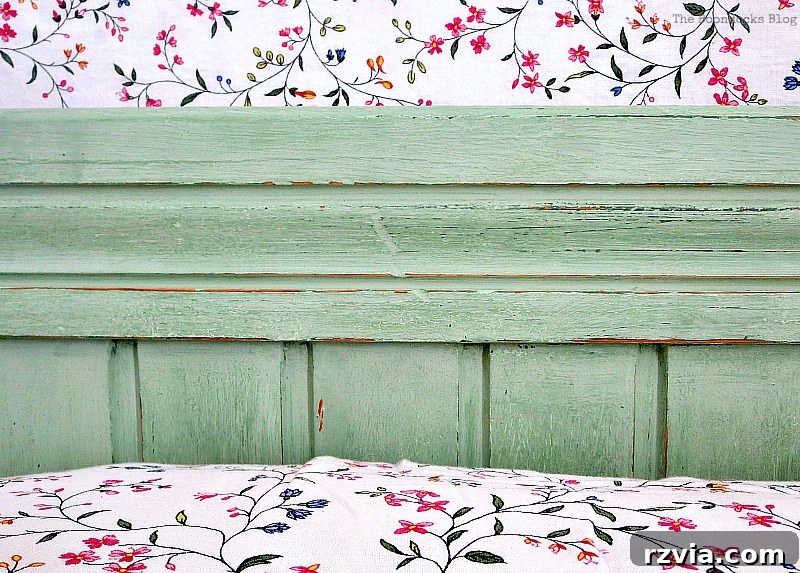
The true beauty of distressing this bed frame lay in the reveal of a lighter shade of green beneath the final topcoat. Because I had layered different shades of green during the painting process, the distressing allowed these subtle variations to peek through, creating an incredible sense of depth and history. It’s this interplay of colors that elevates a painted piece from merely “newly painted” to a truly “aged and character-filled” masterpiece.
The Final Touch: Sealing with Wax
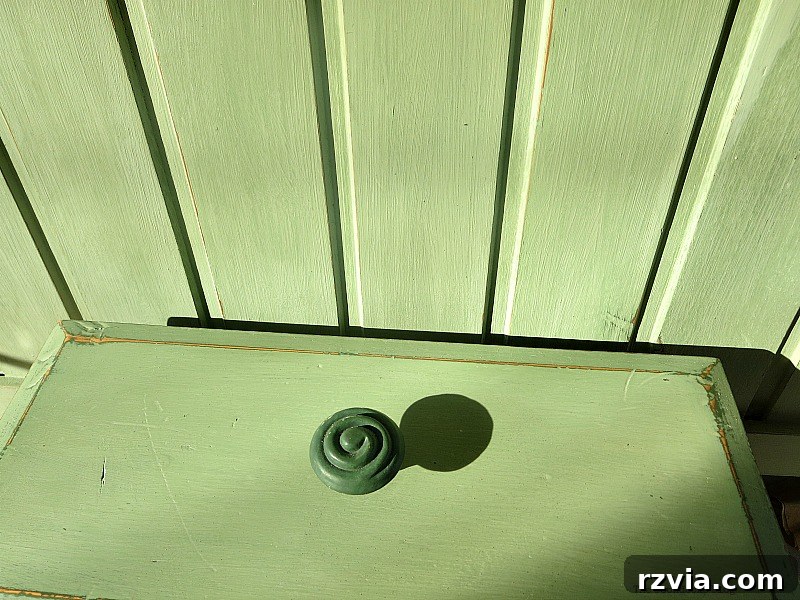
To protect the newly painted and distressed surface and to deepen its hue, the final step was to apply Americana Decor Cream Wax. Wax acts as a sealant, enhancing the durability of the chalk paint and providing a subtle sheen. It also has the wonderful effect of slightly darkening the paint color, enriching the overall look and making the distressed details pop even more.
The photo below vividly illustrates how the wax transforms the color. While it appears intense here due to the sunlight hitting it directly, you can see how perfectly I managed to match the color with the dresser. The wax brings out the full richness of the green and locks in all the hard work, ensuring the bed frame will stand the test of time, both aesthetically and structurally.
The Grand Reveal: A Harmonious Bedroom Set
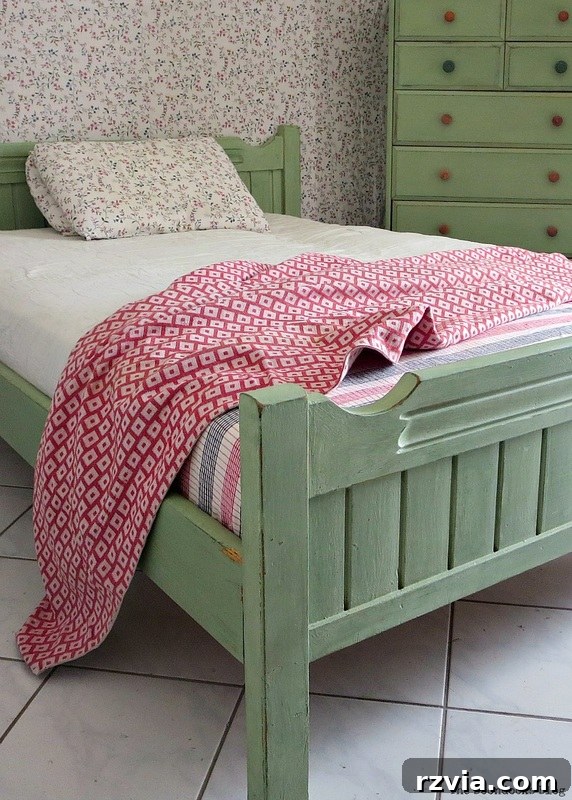
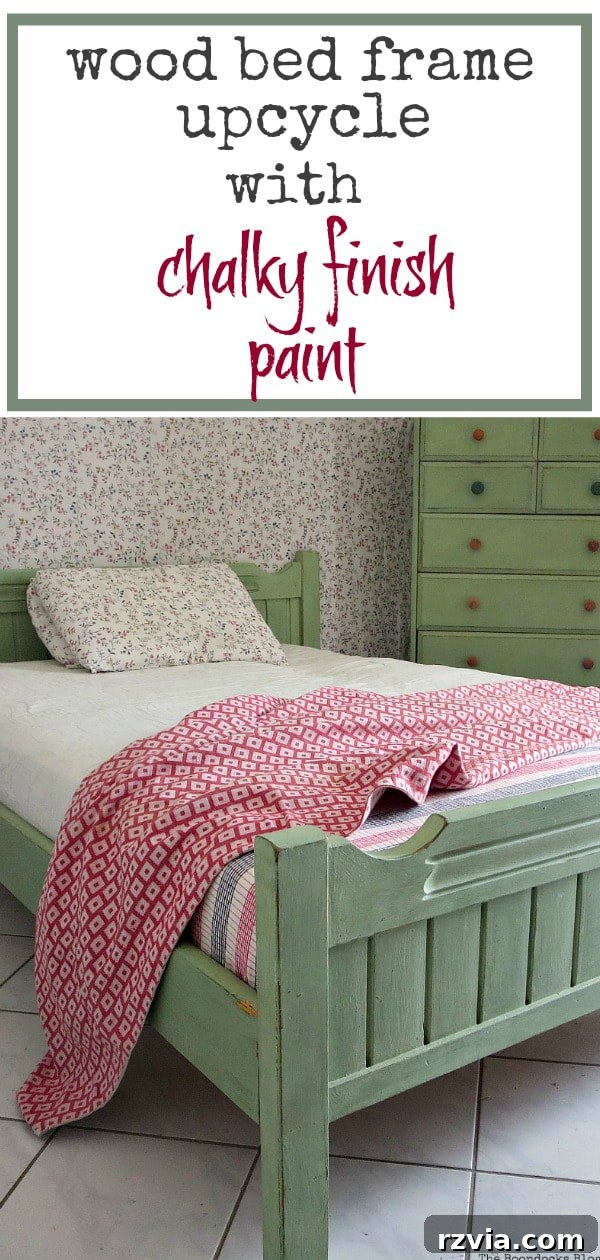
And here it is! The magnificent bed frame standing proudly next to its counterpart, the dresser. The coordination is everything I had hoped for. The soft green hues, the beautifully distressed details, and the overall vintage charm now flow seamlessly, creating a serene and inviting bedroom aesthetic. This isn’t just a bed frame and a dresser; it’s a testament to the power of DIY and the beauty of upcycling.
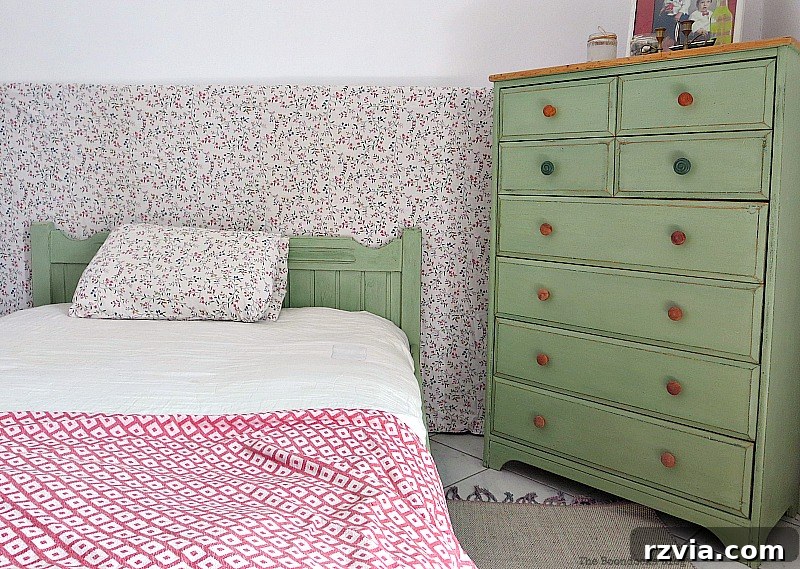
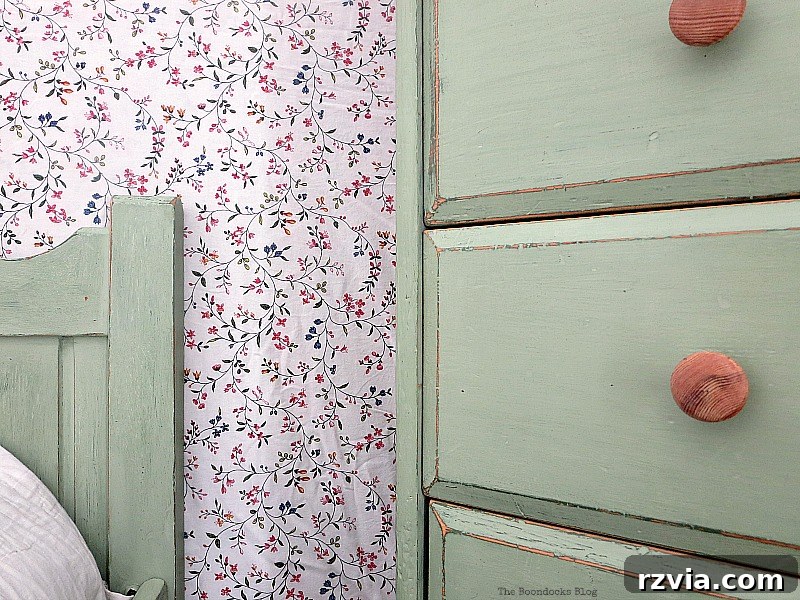
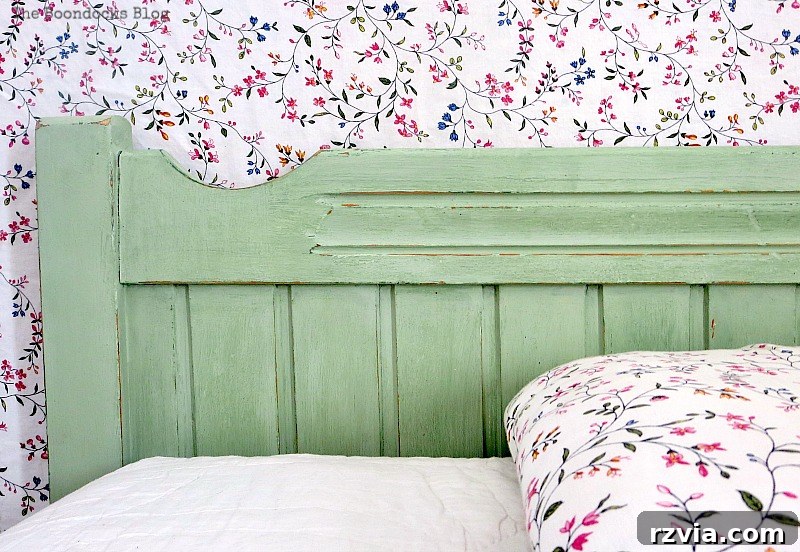
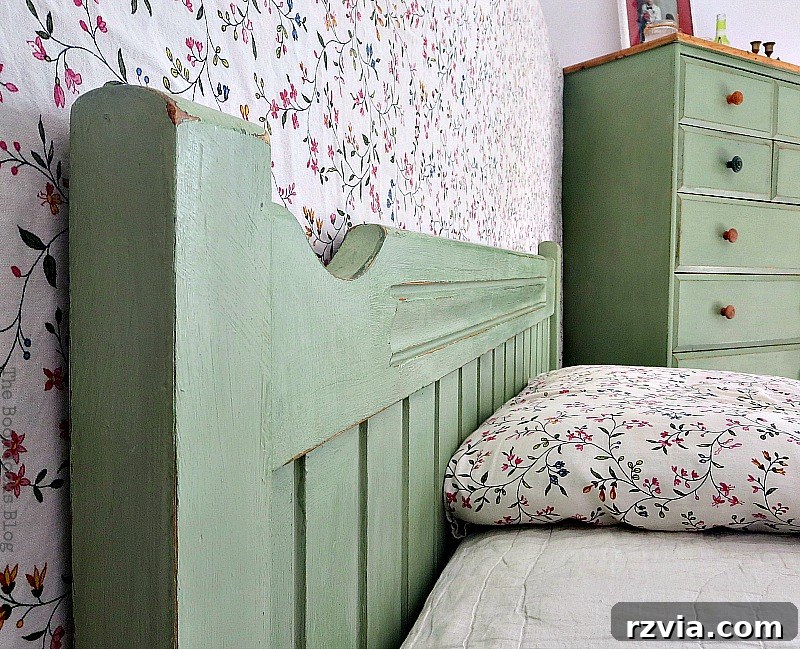
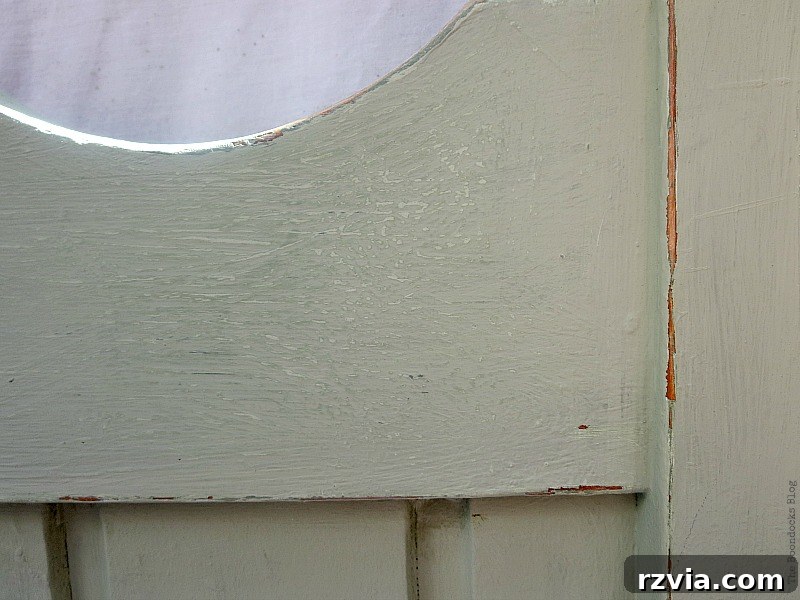
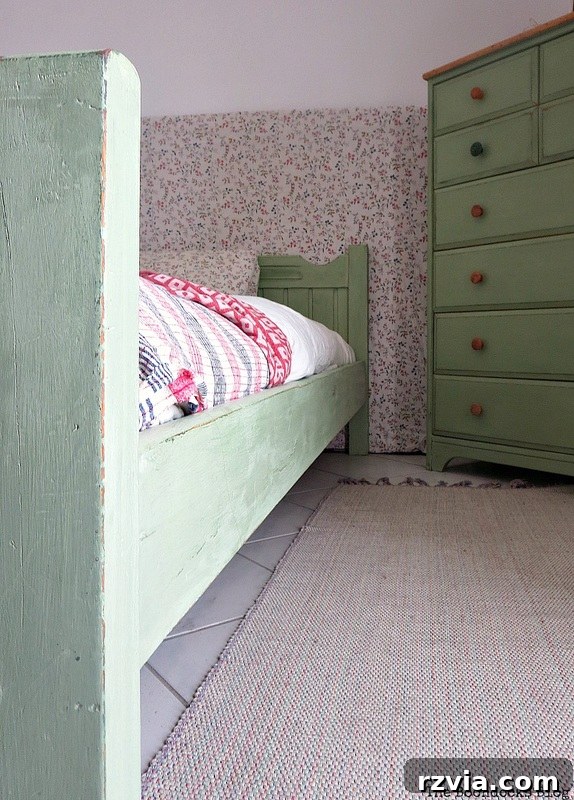
Looking closely, you can truly appreciate the subtle aging and the delicate scratches that give this piece its authentic, vintage feel. The secret to its rich appearance lies in the layering: four distinct colors are subtly visible on the bed frame, providing an incredible depth that a single, flat color simply couldn’t achieve. Without these layers and the distressing technique, it would indeed be just a plain, perhaps even boring, green bed. It’s the multi-tonal effect that truly brings it to life.
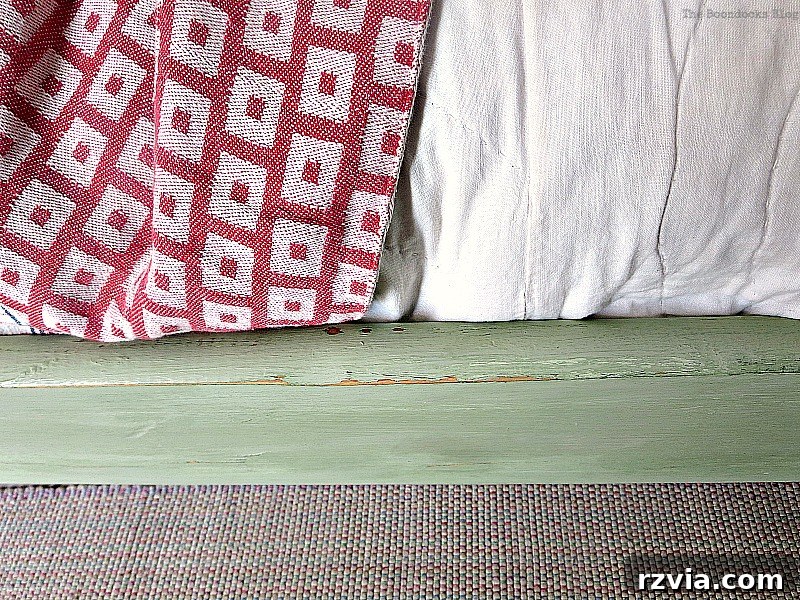
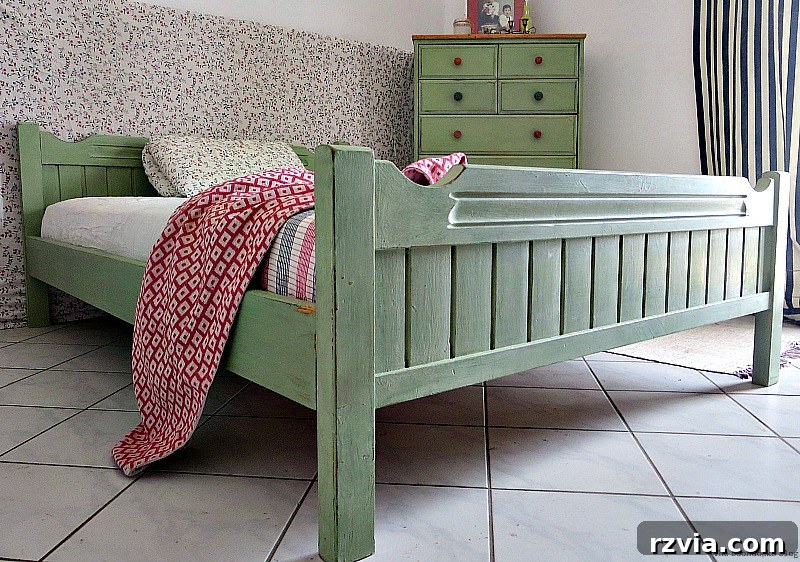
Here’s a broader shot of the entire bed frame. You might notice a slight difference in color perception compared to the dresser in some lighting conditions; this is often due to how natural light interacts with the distressed surface and paint layers. Sunlight can emphasize certain tones, but in person, the harmony between the two pieces is undeniable, creating a perfectly matched bedroom sanctuary.

Final Thoughts on Your DIY Journey
It was a truly exciting, albeit slightly anxious, journey. Between the dwindling paint supply and the meticulous quest for the perfect color match, there were moments of doubt. And yes, my hand still aches a bit from all that distressing! But I can say with absolute certainty that every ounce of effort and temporary discomfort was immensely worthwhile. This project wasn’t just about painting a bed frame; it was about transforming a forgotten piece of furniture into a cherished part of my home, reflecting personal style and creativity.
By following these steps, you too can successfully makeover an old wooden bed frame, breathing new life into a piece that might otherwise be discarded. I’ve just shown you how simple it can be to turn a basement find into a “brand new” bedroom set! The satisfaction of creating something beautiful and functional from scratch is unparalleled. Now, it makes me wonder, what forgotten treasures will I uncover in my basement next? Perhaps a new mattress to complete this inviting space? The possibilities with DIY are truly endless!
Why Choose DIY Furniture Makeovers?
Engaging in DIY furniture makeovers offers numerous benefits beyond just saving money. It allows for complete customization, ensuring your furniture perfectly matches your home decor and personal taste. Upcycling old pieces is also an eco-friendly choice, reducing waste and giving items a second life instead of contributing to landfills. Each project becomes a unique expression of your creativity and a piece of functional art with a story.
Essential Tools & Materials Checklist for Your Bed Frame Makeover:
- Old Wooden Bed Frame (or similar furniture piece)
- Americana Decor Chalky Finish Paint (e.g., “Enchanted” or a color of your choice)
- White Acrylic Paint (for custom mixing, if desired)
- Paint Brushes (good quality for smooth application)
- Stirring Sticks (for thorough mixing)
- Fine-Grit Sandpaper (for distressing)
- Americana Decor Cream Wax (for sealing and protection)
- Soft Cloths (for wax application and buffing)
- Drop Cloths or old sheets (to protect your workspace)
- Gloves (optional, but recommended for clean hands)
Ready to start your own furniture transformation? Gather your supplies and unleash your inner artist!
Related Posts: