
From Pink Blunder to Chic Order: A DIY Desk Organizer Refresh
A few weeks ago, I proudly shared my new desk organizer project for my daughter’s workspace. It was a functional solution designed to bring order to the chaos of pencils, markers, and various school supplies. You might remember that initial lovely creation, a step towards a more organized academic environment. However, as is often the case with creative projects, sometimes a small detail can spark a whole new wave of inspiration – or, in my case, a nagging desire for aesthetic perfection.
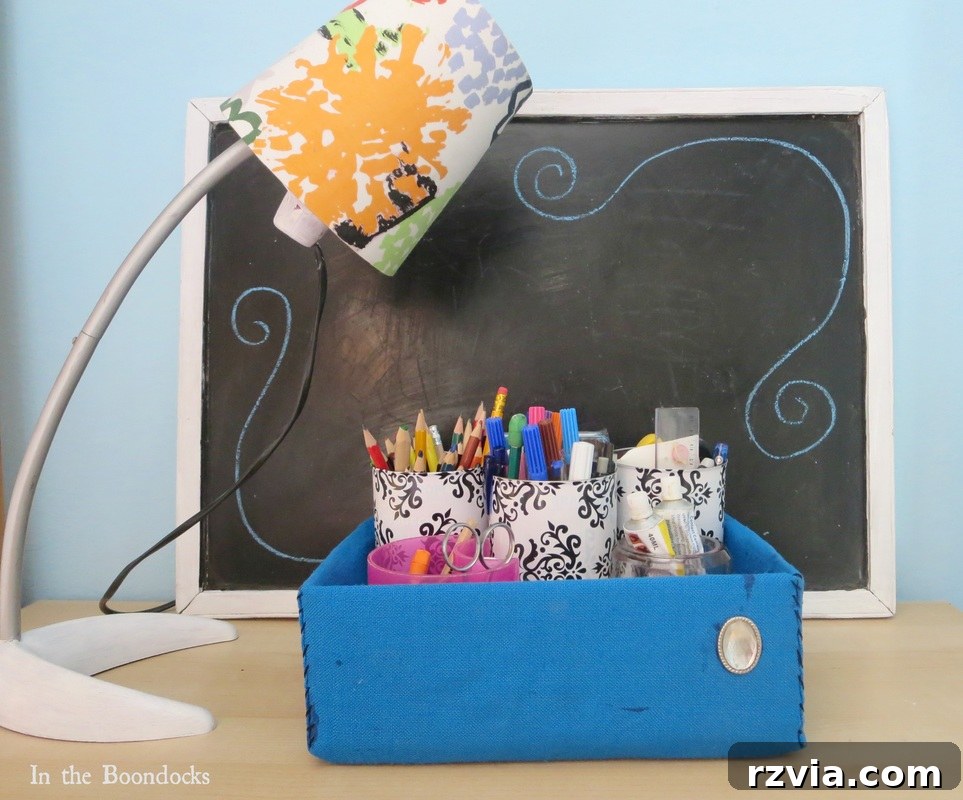
The Pink Predicament: When an Organizer Becomes an Eyesore
While the original organizer was undoubtedly practical, there was one element that consistently bothered me: a vibrant pink container. You know that feeling when a seemingly insignificant detail gets stuck in your mind, gnawing at you until you simply have to fix it? That’s exactly what happened here. The pink container, despite its utility, just didn’t align with the overall aesthetic I envisioned for a serene and focused workspace. It felt out of place, a visual disruption in an otherwise calming setup. It became clear that for me to truly feel at ease and satisfied with the desk’s organization, that particular splash of pink simply had to go.
Achieving a harmonious and visually appealing workspace is crucial, not just for aesthetics but also for productivity and peace of mind. A cluttered or visually jarring environment can be surprisingly distracting, even subconsciously. My aim was to create a space that felt calm, inspiring, and perfectly coordinated, allowing my daughter to focus on her tasks without any visual “noise.” The pink container, while bright and cheerful, was creating that very noise for me. It wasn’t just about color preference; it was about achieving a cohesive design that spoke to a sense of order and sophistication, even in a child’s study area. This subtle change promised to elevate the entire feel of the desk, making it a truly inviting spot for creativity and learning.
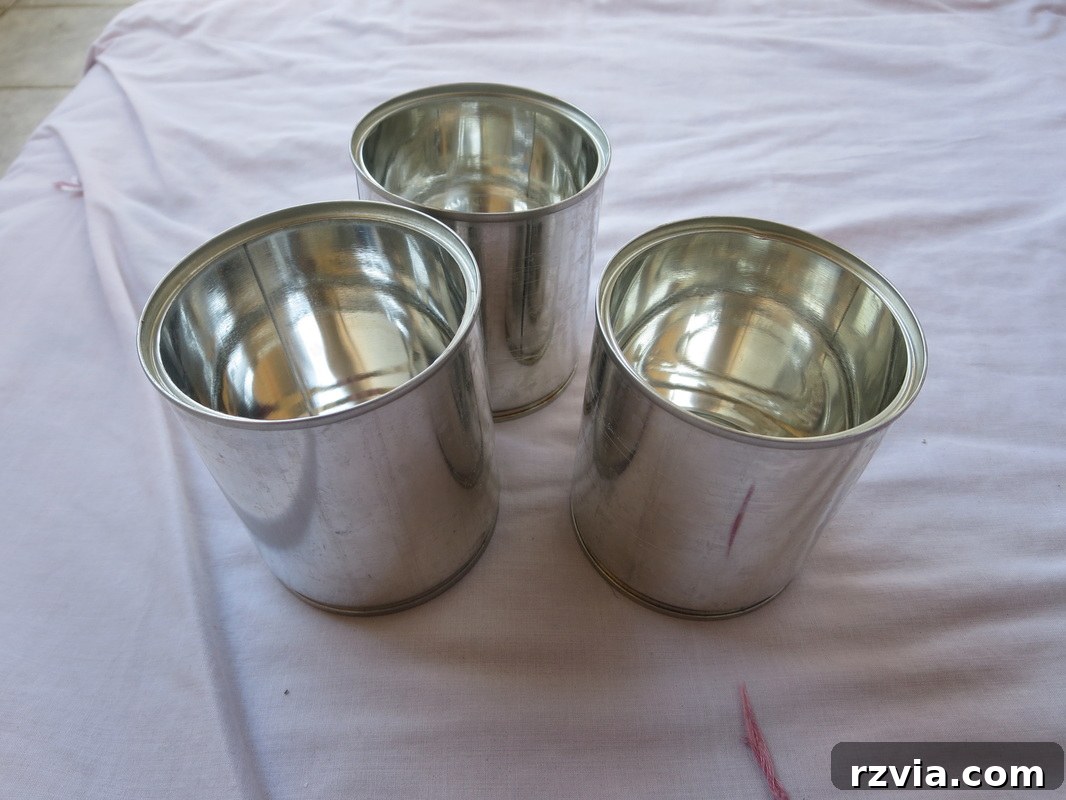
Introducing the Upcycled Solution: Tin Cans to the Rescue!
Enter these unassuming heroes: a collection of clean, empty tin cans. Finding replacements that were both functional and aesthetically pleasing was my next mission. I wanted something that offered a slightly different height profile, and these tin cans fit the bill perfectly; they are notably shorter than the original containers, which allows for easier access to smaller items and a cleaner sightline across the desk. This subtle change in height also contributes to a less cluttered appearance, making the desk feel more expansive and open.
Choosing to upcycle tin cans is not only a fantastic way to give new life to everyday items but also an incredibly budget-friendly approach to home organization. Instead of purchasing new containers, I was able to repurpose materials that would otherwise end up in recycling (or worse, landfill). This commitment to sustainable crafting adds another layer of satisfaction to the project. These versatile cans provide a sturdy and uniform base, making them ideal candidates for a creative transformation. The beauty of upcycling is that it encourages creativity and resourcefulness, proving that stunning results don’t always require expensive materials. It’s a wonderful way to add character and a personal touch to any space while being mindful of environmental impact.
The Magic of Contact Paper: Dressing Up Your Organizers
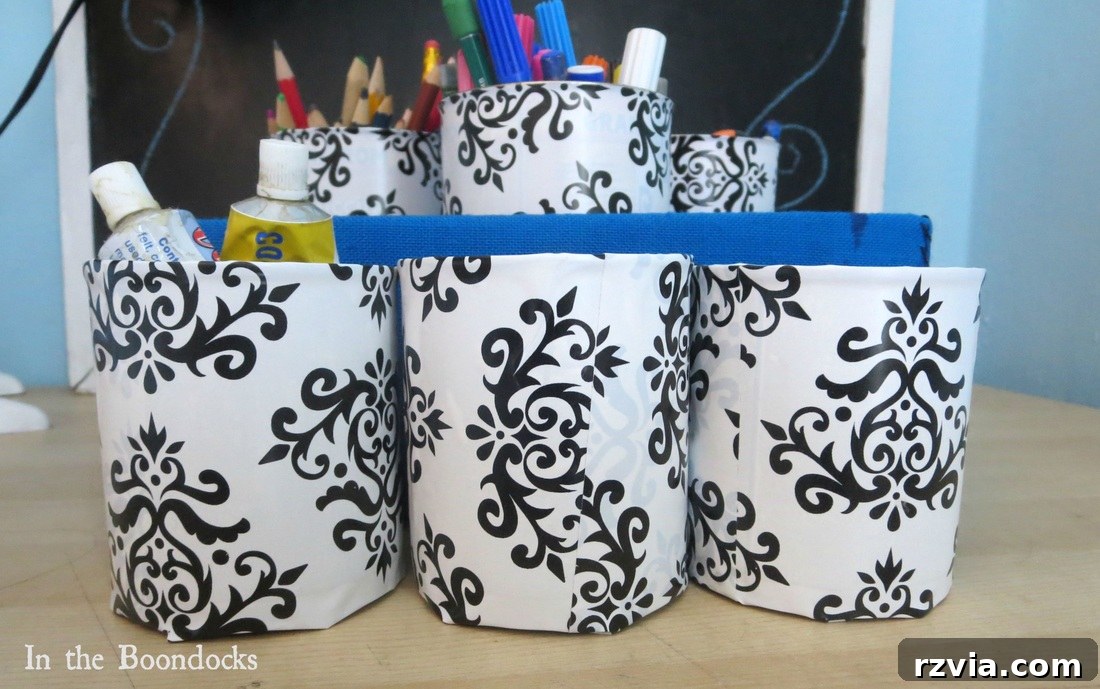
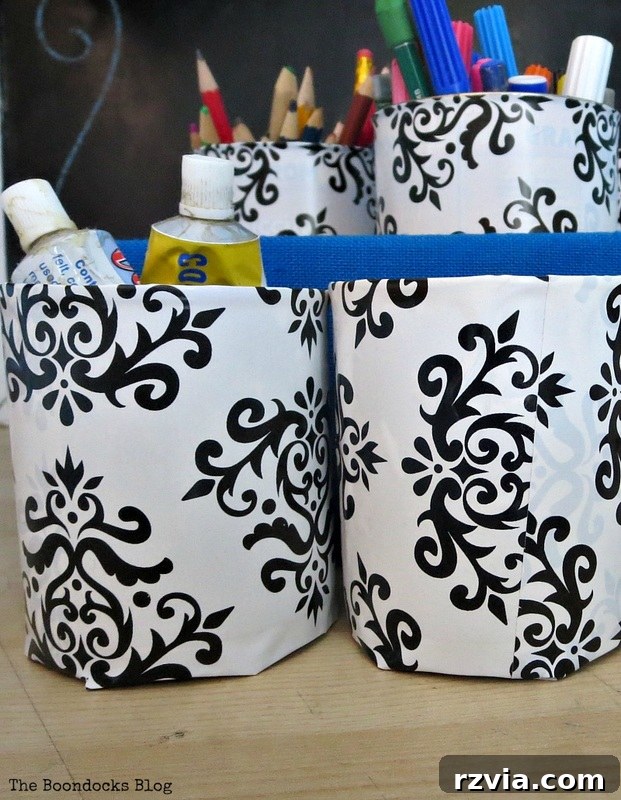
Now for the fun part: transforming these plain tin cans into stylish desk accessories! The secret weapon for this makeover was contact paper. I chose a classic black and white pattern, a timeless choice that offers both sophistication and versatility. This pattern provides a neutral yet interesting backdrop, allowing the colorful contents – like my daughter’s collection of vibrant markers and pens – to truly pop without creating a visual riot. The geometric simplicity of the black and white design integrates seamlessly with almost any decor style, ensuring the organizer remains chic for years to come.
Applying contact paper is a straightforward process that yields incredibly professional-looking results. First, ensure your cans are impeccably clean and dry to ensure proper adhesion. Measure and cut your contact paper, leaving a slight overlap for a seamless and secure finish. Carefully peel off the backing, slowly adhering the paper to the can, smoothing out any bubbles or wrinkles as you go with a flat tool, a credit card, or even your hand. The key is patience and a steady hand to achieve a smooth, wrinkle-free surface that looks store-bought. The beauty of contact paper is its adhesive backing, making it a quick and mess-free way to update surfaces and add personalized flair to any object. It’s an inexpensive material that can dramatically alter the look and feel of a DIY project, offering endless possibilities for patterns, textures, and creative expression. This simple step elevates the humble tin can into a bespoke piece of desk decor.
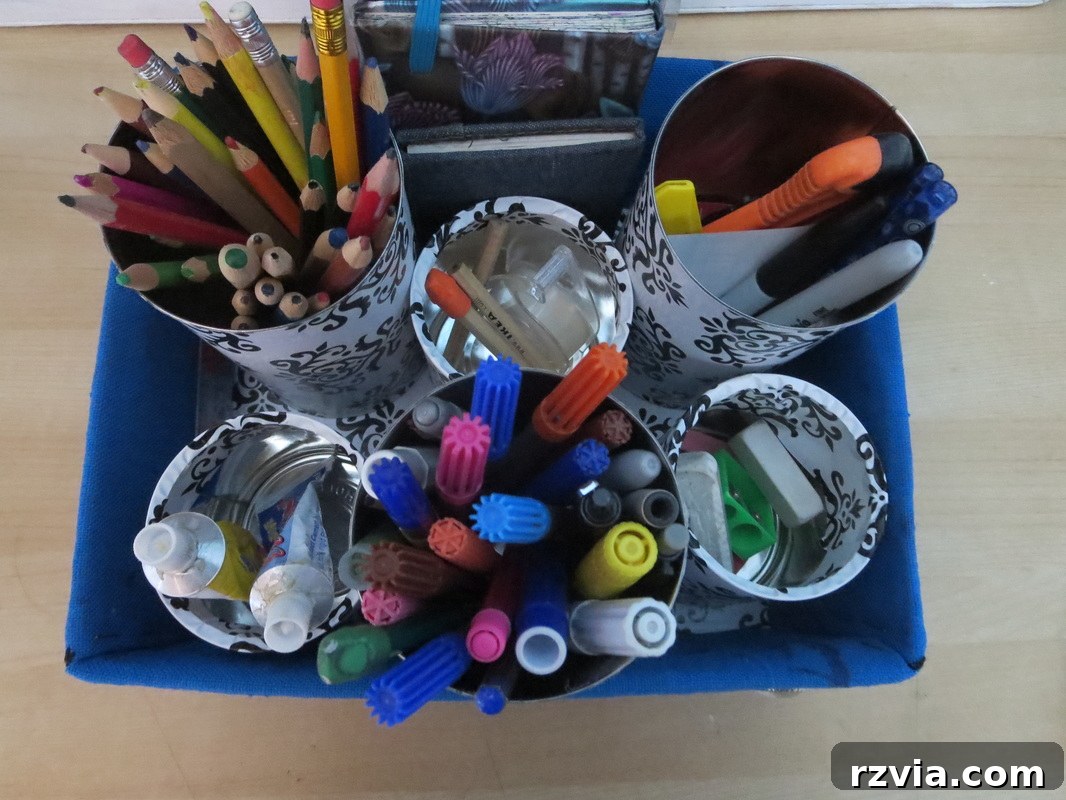
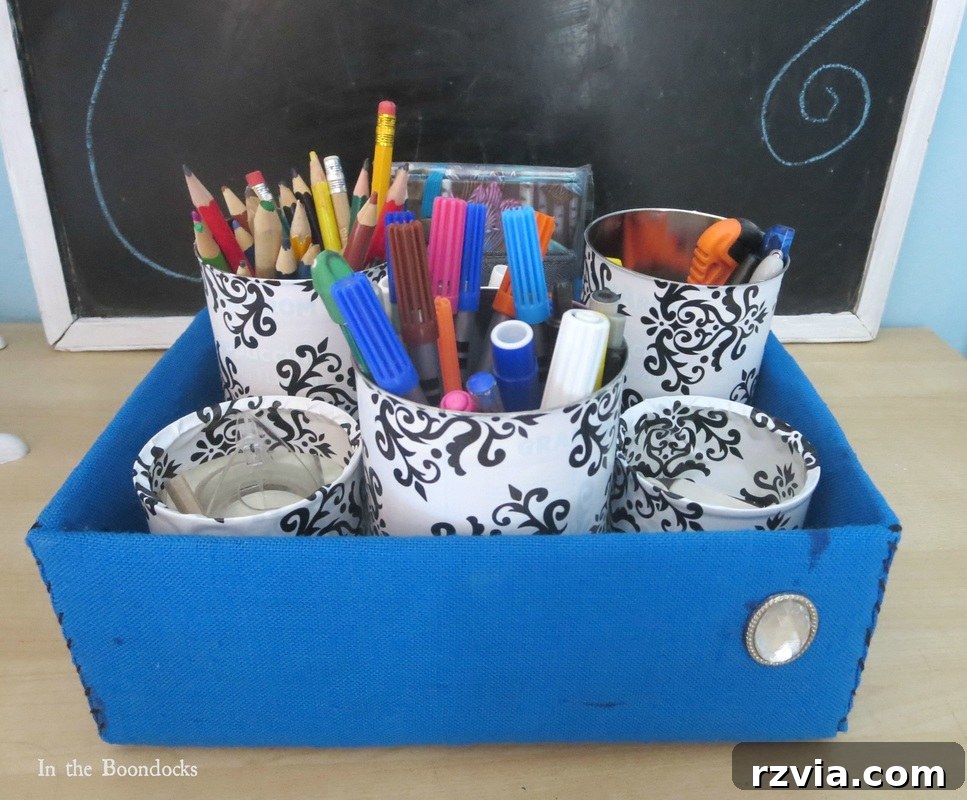
Don’t they look absolutely gorgeous? The transformation is quite striking and immediately elevates the entire aesthetic of the desk space! There’s already so much inherent color from the markers, pencils, and other stationery items that a neutral, monochromatic pattern for the organizer containers creates a perfect balance. The black and white contact paper provides a clean, elegant foundation, allowing the functional items to be the focal point without overwhelming the eye. This strategic choice helps to maintain an organized and visually appealing aesthetic, proving that sometimes less is truly more when it comes to decorative elements in a functional space. It’s a testament to how a simple pattern can bring sophistication and order, making the vibrant school supplies stand out in a pleasing way rather than contribute to visual clutter.
The Big Reveal: Before & After Desk Organization
Let’s take a moment to truly appreciate the significant impact of these small, thoughtful changes. Sometimes, a “before and after” comparison is the most powerful way to illustrate the dramatic difference a well-executed DIY project can make in a personal space. It highlights not just the aesthetic improvement but also the sense of renewed purpose and harmony.
Before: The Pink Container Era
Below is a snapshot of the desk with the previous organizer. While undeniably functional and bright, the prominent pink element stood out, creating a distinct visual presence that I personally felt detracted from the overall desired aesthetic of calm and coordinated order. It was a useful item, but it didn’t fully integrate with the desired visual flow of the study area, a minor discord in an otherwise functional setup.
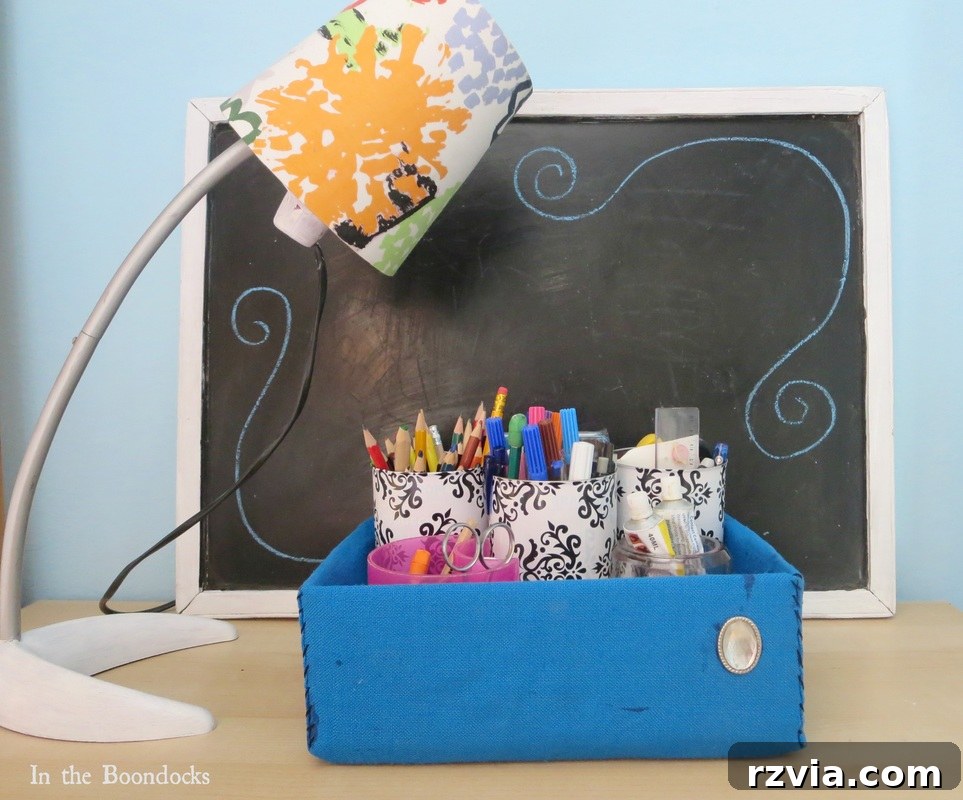
After: Chic & Harmonized Workspace
And here we have the revamped version! The transition to the black and white upcycled tin cans creates an immediate sense of cohesion and understated elegance. The desk now feels more deliberate, more put-together, and undoubtedly more visually appealing. The items stored within are easily accessible, and the entire setup exudes a calm efficiency, making it a more inviting place for focus and creativity. This transformation proves that thoughtful design doesn’t always require a complete overhaul; sometimes, it’s the carefully chosen details that make the most profound difference in creating a space you truly love.
The Joy of Small Tweaks and Endless Possibilities
And so, I can finally rest easy once again, knowing that the “offending” pink container has been gracefully banished from the room, replaced by a solution that brings me genuine aesthetic pleasure. It’s these seemingly small tweaks and personal touches that truly make a space feel like home and bring immense satisfaction to a DIY enthusiast. The ability to identify a minor flaw and transform it into something that sparks joy is a rewarding aspect of crafting and home improvement. This project serves as a wonderful reminder that organization can and should be both functional and beautiful, reflecting personal style.
However, as one project concludes, another often emerges. Looking around the now-harmonized desk, my eyes inevitably drifted to the lampshade, with its myriad of colors. It’s almost as if it’s having an identity crisis in this newly serene environment! So, it appears I’m already charting my next creative endeavor, contemplating how to bring that lampshade into aesthetic alignment with the rest of the room. The journey of perfecting a space is never truly over, and that’s precisely where the fun lies. Each small project builds upon the last, creating a deeply personalized and cherished environment. Stay tuned for more adventures in transforming everyday items into functional works of art and achieving complete home harmony!
If this desk organizer transformation has inspired you, please consider sharing it with your friends or saving it to your favorite boards on Pinterest. Spreading the joy of DIY and upcycling helps others discover creative, budget-friendly ways to enhance their living spaces. For more frequent updates, creative projects, and home decor inspiration delivered directly to your inbox twice a week, I invite you to subscribe to my blog. Join our growing community of fellow DIY enthusiasts and let’s explore the endless possibilities of crafting and home improvement together!
Disclosure: The items mentioned or linked below may be affiliate links to Amazon.com. If you choose to purchase any of these products through the provided links, I may receive a small commission. This commission helps support my blog and allows me to continue providing valuable and creative content to you, at no additional cost to your purchase. Your support is greatly appreciated and enables me to keep sharing new and exciting DIY ideas!
Related Posts & More DIY Inspiration
<< Six Month Blogoversary HOME The Story of a Dresser >>
This blog is intended for entertainment purposes only; my DIY tutorials and advice are not professional. Please read my full disclaimer here for more information regarding content and liability.
I truly appreciate and love receiving your comments and feedback on my posts. I make an effort to reply to each and every one of them, as your engagement makes this creative journey even more enjoyable and interactive. Feel free to share your thoughts, questions, or your own DIY experiences – I look forward to hearing from you!