
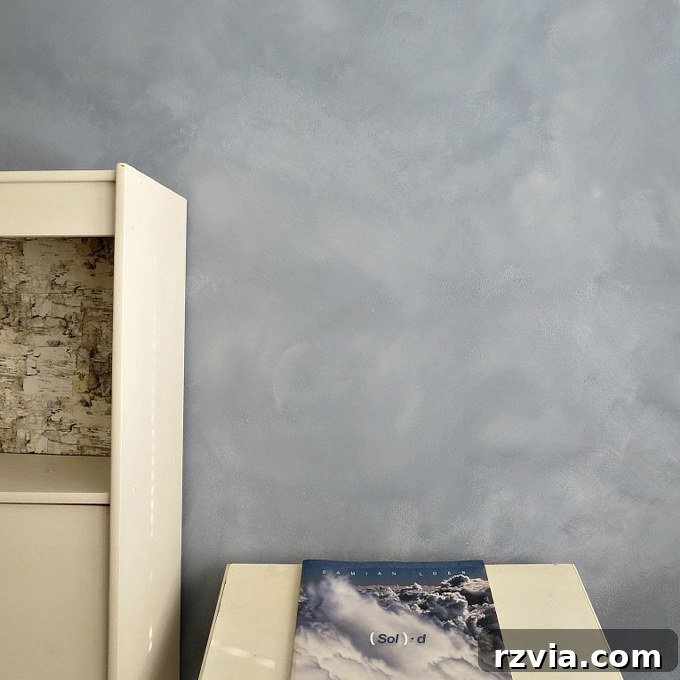
Transform Your Walls: A Dreamy Guide to Painting Cloud Effects with Milk Paint
Are you looking to infuse a touch of serene artistry into your living space? Imagine gazing upon an accent wall that evokes the peaceful beauty of a cloudy sky, right within your home. This guide will walk you through the surprisingly simple yet utterly captivating process of painting stunning cloud effects on your walls using a sponge, paint brushes, and the unique qualities of milk paint. As the seasons change and inspire fresh interior updates, I embarked on a creative journey to transform a forgotten wall into a breathtaking focal point, and I’m thrilled to share every step with you.
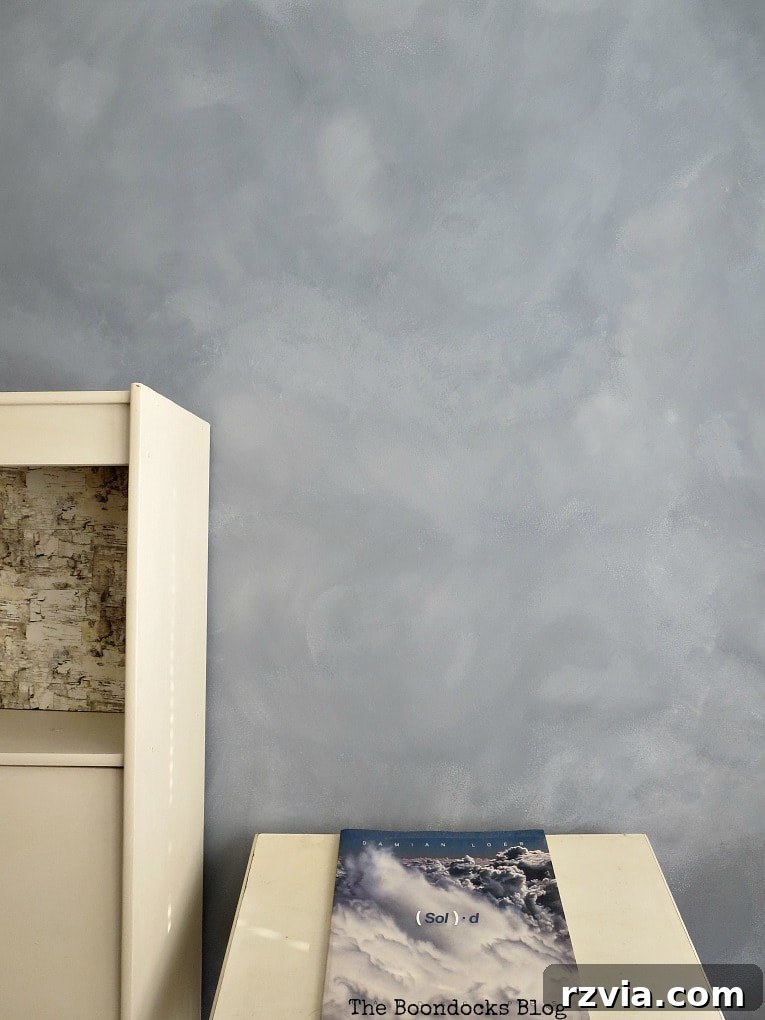
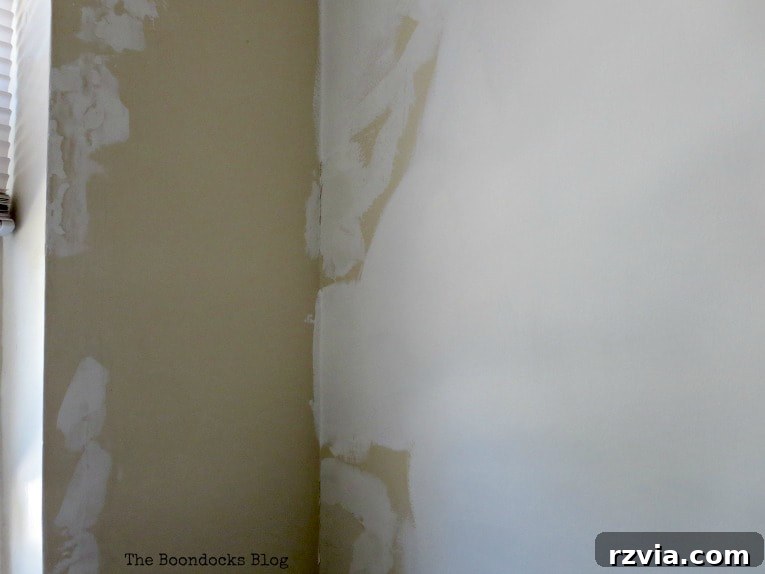
My home, like many, occasionally suffers from neglected spots, and one particular wall was a testament to mismatched paint and an overall tired appearance. As you can see from the ‘before’ picture below, it desperately needed a refresh. Today, I’m excited to unveil a special project: a comprehensive tutorial on how to paint mesmerizing cloud effects with a sponge, elevating your accent wall from drab to truly magnificent. While the word “magnificent” might sound like an overstatement, I assure you, for my living room wall, it’s a perfectly fitting description.
Disclosure: This post was created in collaboration with a product compensation. Rest assured, all opinions expressed here are entirely my own. I exclusively recommend products that I genuinely love and believe will benefit my readers.
My living room, a rectangular space open on one side and facing the sofa, presented the perfect canvas. Initially, I considered a simple white coat, but then I stumbled upon this captivating post from Pat of The Wood Spa. Her dreamy ombre wall tutorial, complete with a helpful video, instantly smitten me. I was so profoundly inspired that I launched into the project without a moment’s hesitation. The exciting twist? Instead of conventional paint, I opted for Old Fashioned Milk Paint, specifically their Safepaint version designed for walls. Honestly, I wasn’t entirely sure what to expect, but I was feeling wonderfully adventurous – definitely stepping out of my comfort zone!
Disclosure: This post contains affiliate links for your shopping convenience. Should you choose to purchase any of these products through the provided links, we may receive a small commission at no additional cost to you. You can review our comprehensive disclosure policy here.
Essential Materials for Your Cloud Accent Wall Project
Embarking on this creative journey requires a few key supplies. Here’s what I gathered to achieve my stunning cloudy accent wall:
- Old Fashioned Milk Paint Safepaint Version in Slate: This will serve as your primary base color, a beautiful foundation for the clouds.
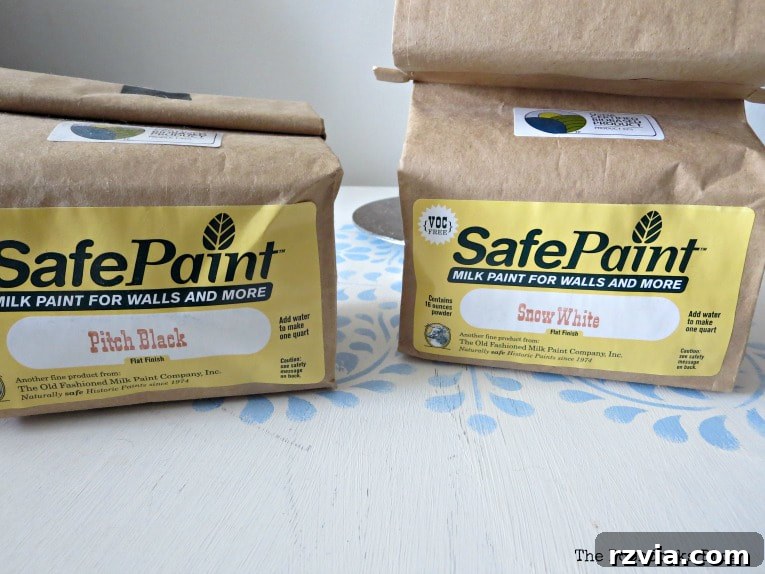
- Old Fashioned Milk Paint Safepaint Version in Snow White: Crucial for creating lighter cloud formations and blending effects.
- Old Fashioned Milk Paint Safepaint Version in Pitch Black: A small amount is needed to deepen the Slate color for darker, more dramatic cloud tones.
- Three Quality Brushes for Painting: Having multiple brushes allows for quick transitions between paint shades without constant washing.
- One Dedicated Brush for Feathering/Blending: A dry, soft-bristled brush is essential for seamlessly merging colors and creating that ethereal, cloud-like softness.
- A Reliable Sponge: A natural sea sponge or a synthetic sponge with an irregular texture works best for dabbing and blending the cloud shapes.
- Assorted Plastic Containers: Yogurt containers or similar small plastic tubs are perfect for mixing different shades of paint.
- Drop Cloths/Tarps: To protect your flooring and furniture from paint splatters.
- Painter’s Tape: For crisp edges around trim, ceiling, and adjacent walls.
- Stirring Sticks: For thoroughly mixing your milk paint.
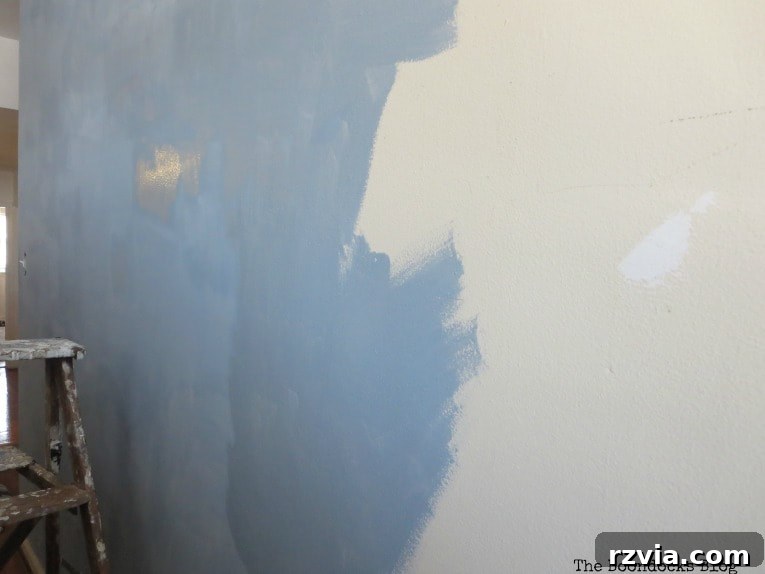
Below, you can see the application of the first coat. As anticipated, while it looked good, it didn’t provide complete coverage, which is typical for initial coats of milk paint. The color you see here is Old Fashioned Milk Paint in Slate – a shade I’ve also successfully used when repainting the top of my beloved vintage TV cabinet.
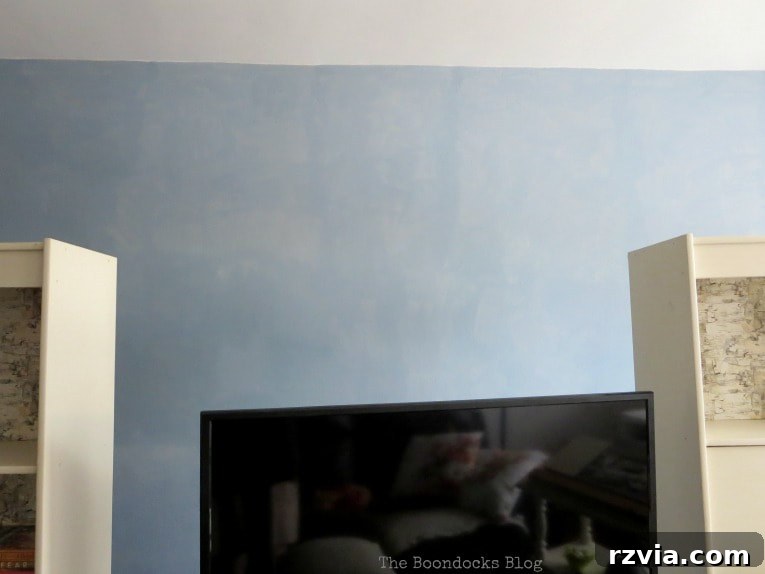
Mastering the Art: How to Paint Clouds with a Sponge and Milk Paint
Working with Old Fashioned Milk Paint is a unique experience. Unlike conventional liquid paints, it comes in a finely milled powder form, offering exceptional versatility and an authentic, historical finish. The preparation is straightforward but crucial for achieving the best results.
Preparing Your Milk Paint for Optimal Cloud Effects
To prepare your milk paint, simply mix the powder with an equal part of water. I typically prefer mixing it in clean jars and shaking vigorously until thoroughly combined. Alternatively, a paint mixer attachment for a drill can ensure a perfectly smooth consistency. Once mixed, it’s essential to let the paint rest for approximately 15 minutes. During this time, the pigments fully dissolve, and the paint develops a slightly frothy texture, indicating it’s ready for application. This resting period is key to its smooth flow and even coverage.
Pro Tip for Storage: Only mix as much paint as you anticipate using for your session. Mixed milk paint has a limited shelf life; it will typically go bad after a few days at room temperature. To extend its usability, I often store any leftover mixed paint in the refrigerator, where it can last for up to a week. The powdered form, however, boasts an indefinite shelf life when stored in a sealed jar in a cool, dry place, making it incredibly convenient for future projects.
Laying the Foundation: Your First Coat
Once your milk paint is prepared, apply the first base coat evenly across your accent wall. This layer provides the underlying color and ensures good adhesion for the subsequent cloud effects. Don’t worry if it looks a bit thin initially; milk paint often requires multiple thin coats for full depth of color. I allowed this base coat to dry completely overnight, ensuring a solid foundation for the artistic layers to come.
Crafting Your Cloud Hues: Mixing Shades
With the base coat dry, it was time to introduce the magic – the beloved cloudy effect. To achieve the dynamic depth of a natural sky, I mixed two distinct batches of blue paint, building on the Slate base:
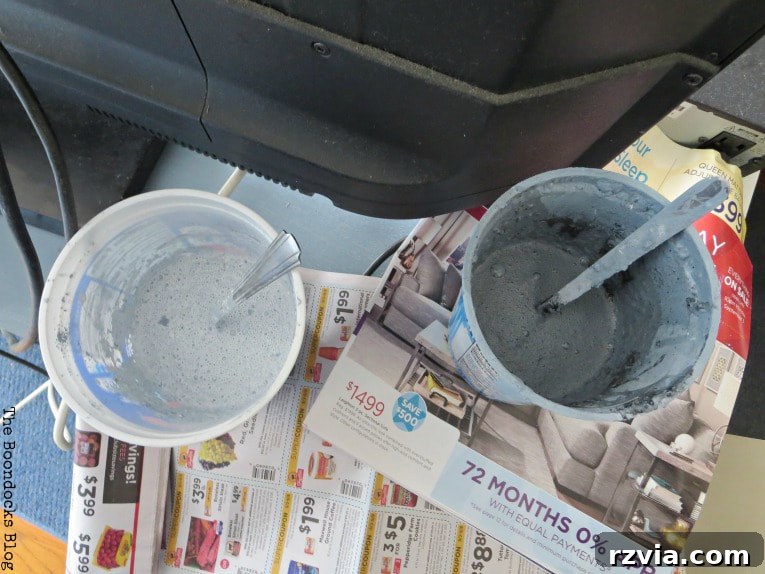
- Darker Blue Shade: I added a small, measured amount of Pitch Black milk paint to a portion of the original Slate color. This created a richer, deeper blue, perfect for the shadowy undersides of clouds.
- Lighter Blue Shade: For contrast, I blended Snow White milk paint generously into another portion of the original Slate. This resulted in a soft, ethereal light blue, ideal for highlighting the brighter parts of the clouds.
These two customized shades, carefully contained in separate plastic containers, would form the core of my cloudy palette.
At this juncture, I confess, a momentary wave of panic swept over me. This was new territory! I quickly consulted with my talented blogger friend, Thea of That Sweet Tea Life, who had successfully created a similarly beautiful cloudy wall. Her reassurance and tips reignited my confidence, and it was back to work!
Applying the Cloud Effect: A Step-by-Step Dance of Color and Texture
The key to a convincing cloud effect lies in working quickly and intuitively. I mentally divided the wall into horizontal sections, roughly four feet in height. Within each section, I followed these steps:
- Apply the Darker Shade: Using one of my painting brushes, I painted an irregular swatch of the darker blue color. Think of it as the base of a cloud formation, about two feet in height and length, ensuring soft, undefined edges rather than sharp lines. This provides the necessary depth.
- Introduce the Lighter Shade: Immediately after, while the darker paint was still wet, I dabbed and brushed a bit of the lighter blue color directly on top of and around the darker swatch. This creates an initial interplay of light and shadow, characteristic of clouds.
- Blend with a Dry Brush: This is where the magic truly happens. With a clean, dry feathering brush, I gently went over the newly applied paint, smoothing out the edges and blending the two colors seamlessly. The goal isn’t to mix them thoroughly but to soften the transitions, allowing the colors to melt into each other. Work in a gentle, circular, or irregular motion to mimic the organic flow of clouds.
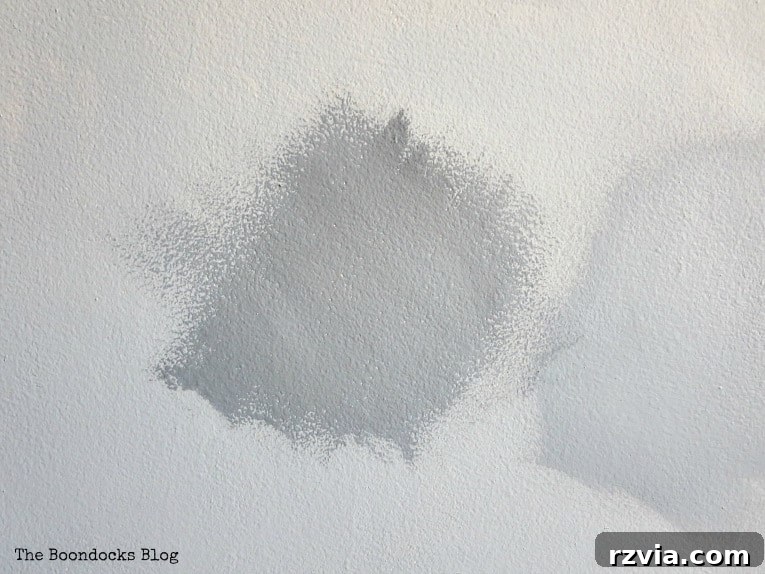
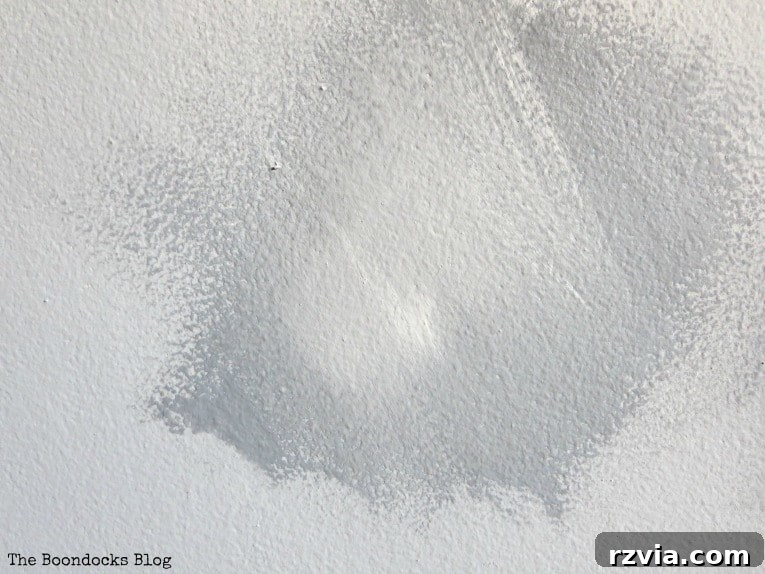
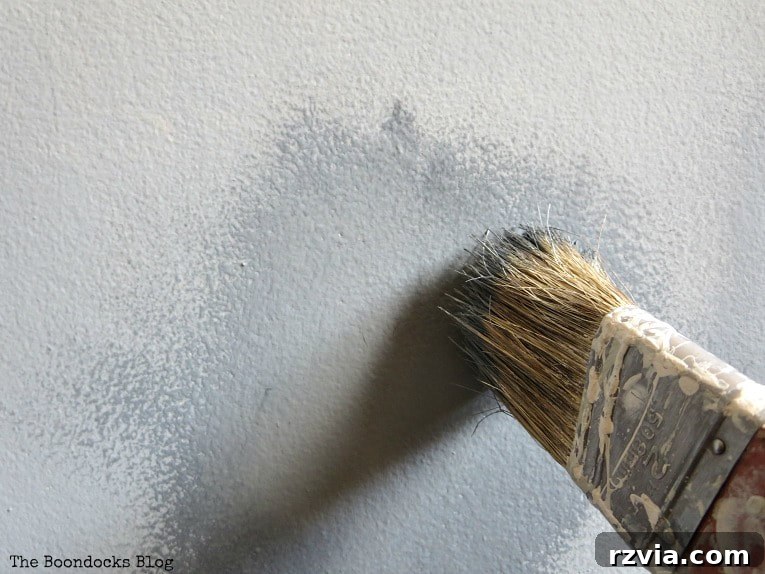
This process demands speed because milk paint dries relatively quickly. Working in sections ensures you can blend the colors while they are still wet and workable. If, however, the paint begins to dry before you’ve achieved your desired blend, don’t despair! A slightly wet sponge can come to your rescue. Gently dab and swirl the damp sponge over the semi-dry paint, and it will help reactivate and blend the colors beautifully, preserving that soft, cloudy aesthetic.

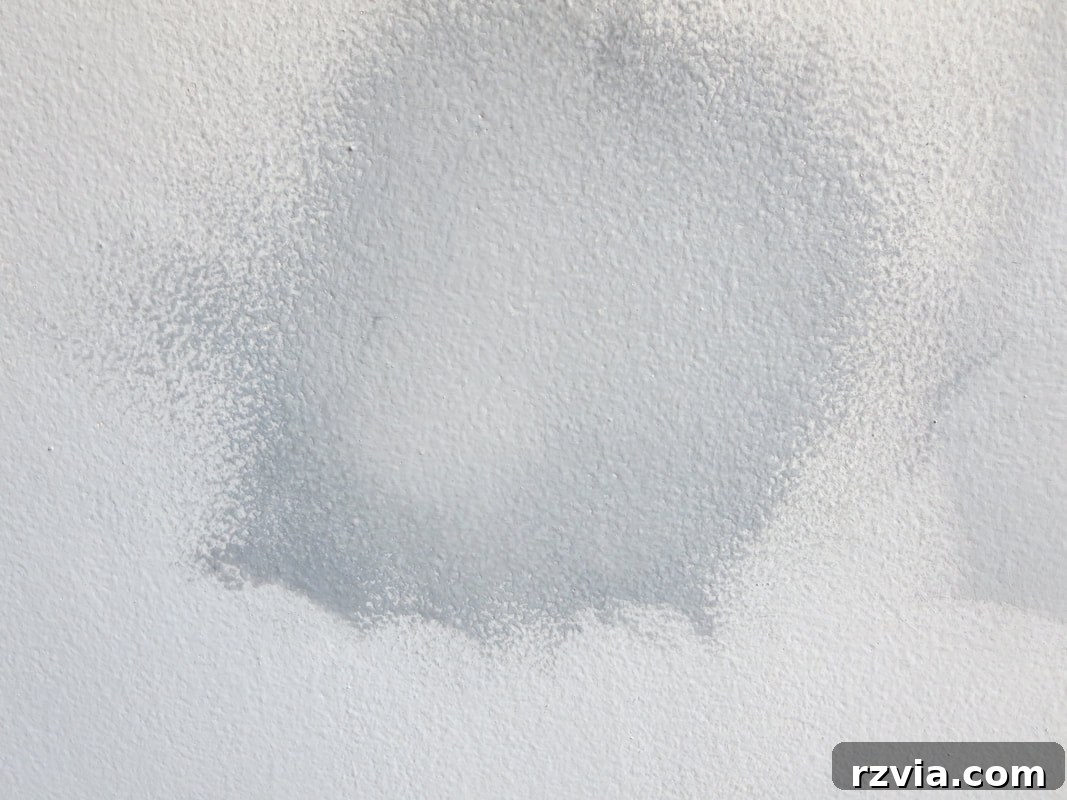
Here’s a glimpse of how one completed section looked, showcasing the harmonious blend of the two paint shades, mimicking the organic forms of clouds.
Adjusting and Perfecting Your Cloudscape
I continued this process, working my way across and then up the wall. As I neared the top, I realized that the overall effect was becoming a bit too dark and moody for my liking. It’s crucial to step back frequently and assess your progress. Painting is an iterative process, and adjustments are part of the creative journey.
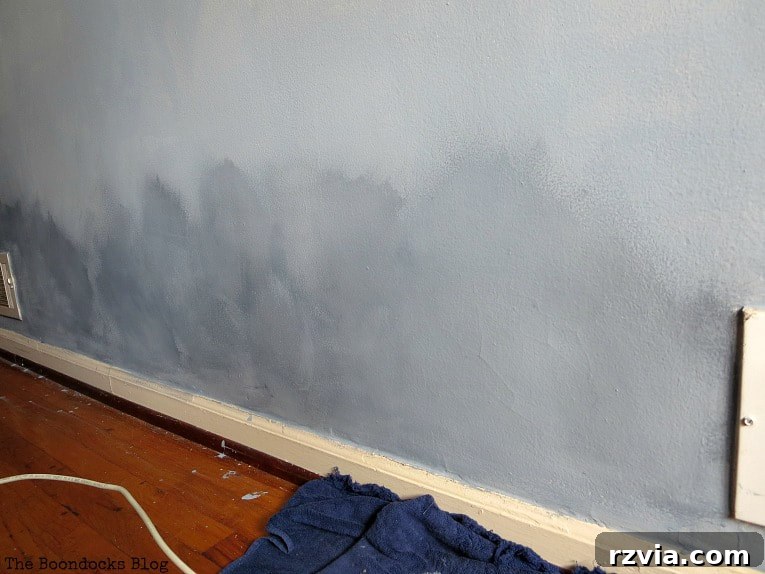
To remedy the excessive darkness, I mixed a third, intermediate color – a perfect balance between the light and dark shades. I applied this as a new base coat in the problematic areas, then reapplied the darker and lighter shades on top, carefully varying their distribution to create a more dynamic and less uniform cloudscape. This adaptability is one of the beautiful aspects of DIY painting; you’re free to experiment until you achieve the vision in your mind.
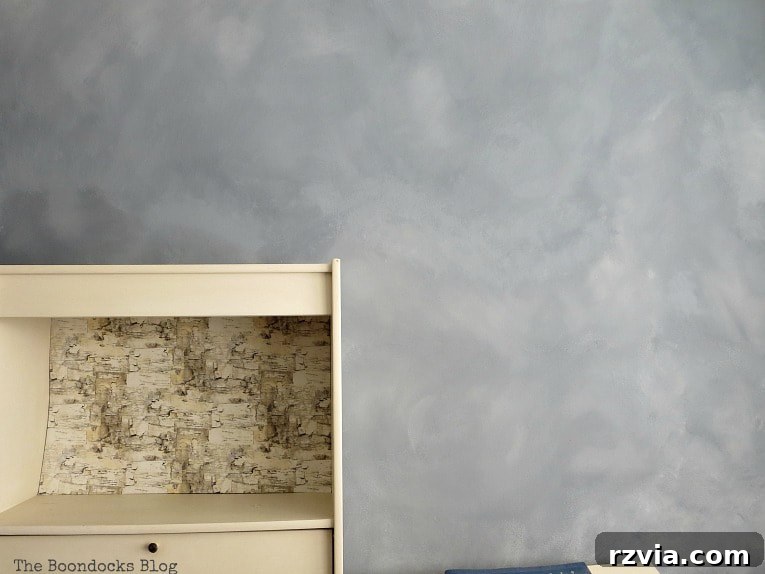
Once the main cloud formations were complete, I went back for meticulous touch-ups. This involved refining cloud shapes that didn’t quite look right or softening any harsh edges that had inadvertently formed. After all, I certainly didn’t want any inadvertently “obscene” shapes gracing our living room walls! There’s no rigid science to this part; it’s all about trusting your artistic eye and going with what visually appeals to you. Embrace the imperfections, as they often contribute to the natural, organic feel of clouds.
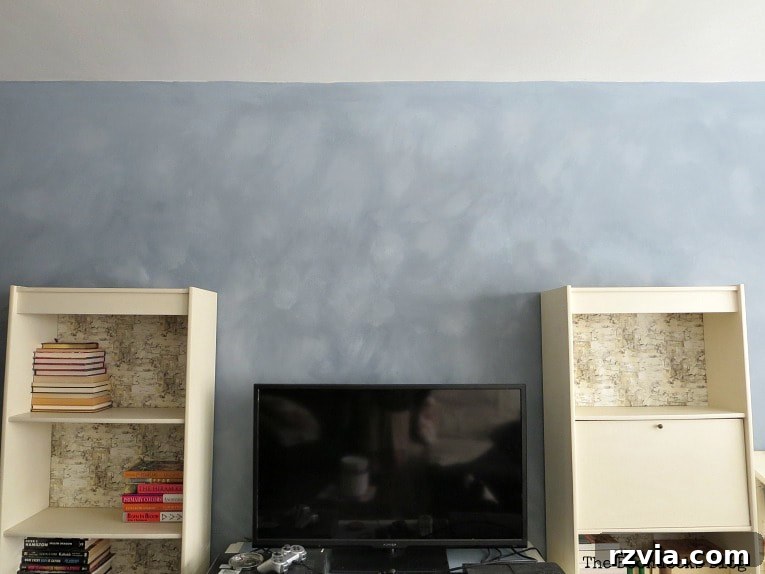
Project Timeline and Personal Reflections
The entire project took me two full days. The first day was dedicated to applying the base coat, which I allowed to dry thoroughly overnight. One of the fantastic advantages of milk paint is its rapid drying time and its eco-friendly nature – it’s virtually odorless, which makes indoor painting a much more pleasant experience! The second day was then spent meticulously creating the actual cloud effect, layer by layer, shade by shade.
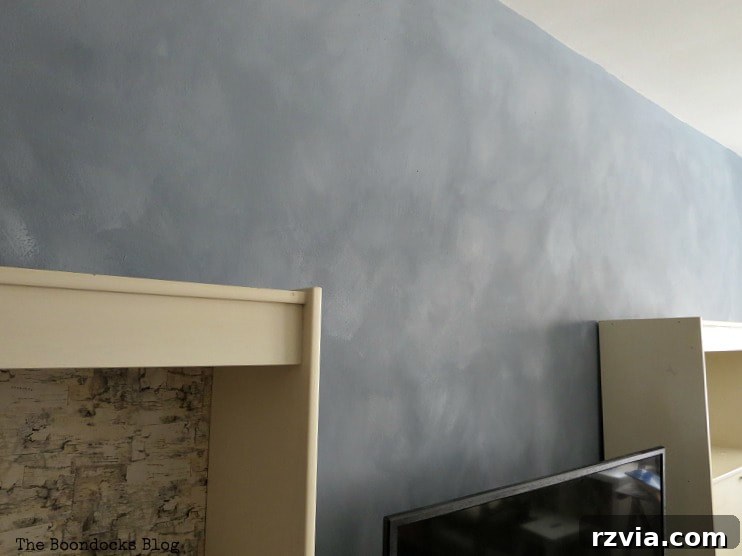
Imagine me, perched precariously on a ladder, attempting to juggle three containers of paint, each with a brush submerged within, all while keeping track of a dry blending brush! It was, at times, a comical and frustrating ballet of paint and brushes. Even my usually boisterous dog seemed to sense the intensity of the moment, behaving exceptionally well and staying out of my way. Despite the physical exertion – I was genuinely sore for days after – the effort was undeniably worth it.
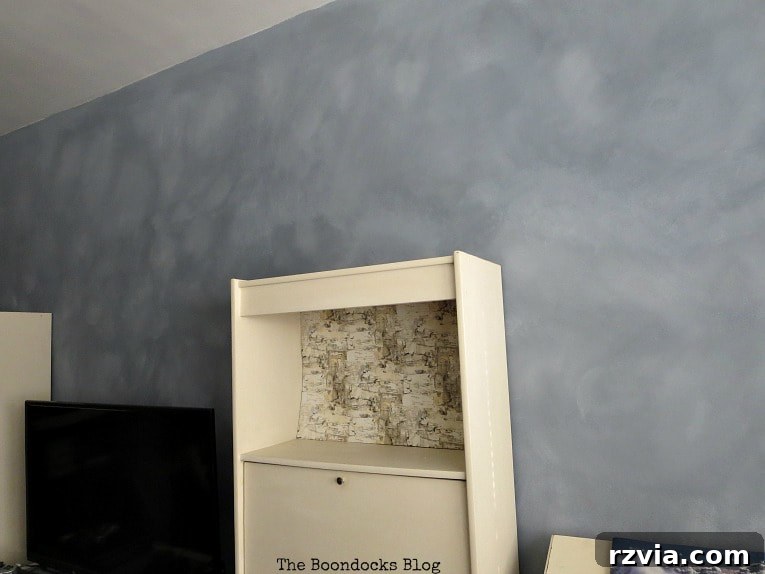
The Stunning Result and Its Transformative Impact
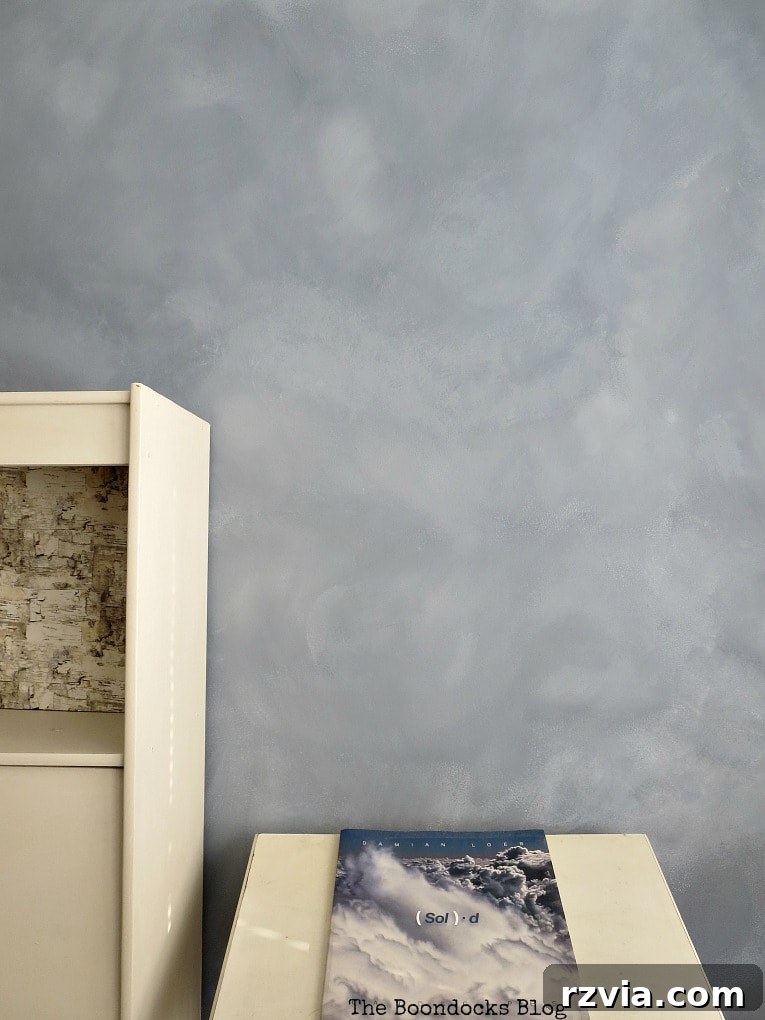
I am utterly over the moon with how this project turned out. The room now feels significantly larger, which is a delightful paradox considering the use of a darker color palette. I’m absolutely loving the dramatic flair this wall brings to the living room. The milk paint itself is a joy to work with; its beautiful hue applies easily and provides excellent coverage. Any minor mistakes were effortlessly corrected by simply painting over them. While the photographs capture much of its beauty, the color in person is even more vibrantly blue than the images convey.
And did I mention it looks absolutely magnificent? Just look at how effortless it was to paint these dreamy clouds using a simple sponge and the incredible versatility of milk paint!
Your Input Needed! A Decor Dilemma
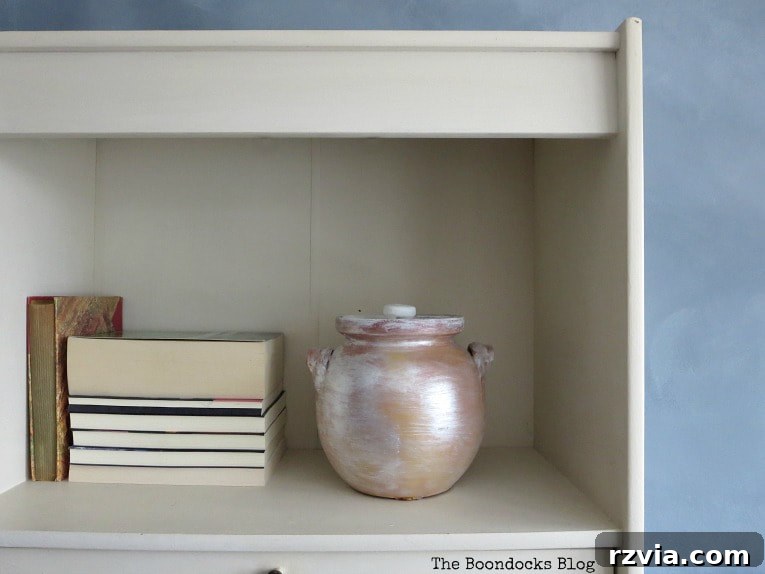
Now, I need your keen eye and valuable opinion! I have these charming upcycled bookcases positioned in front of the newly painted wall. My burning question to you is: should I retain the birch wrapping paper as the background, adding a subtle touch of nature?
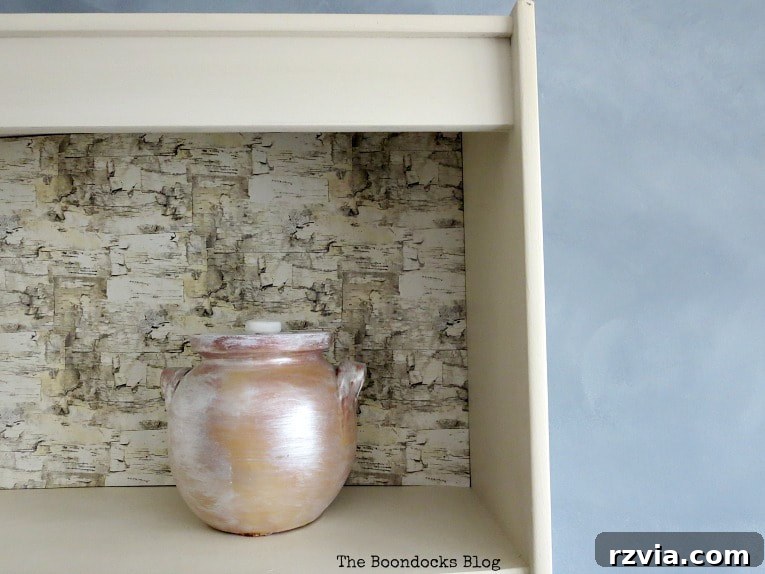
Or would removing them create a cleaner, more minimalist look that allows the cloud wall to truly shine? Please share your thoughts and advice in the comments section below – I truly value your insights!
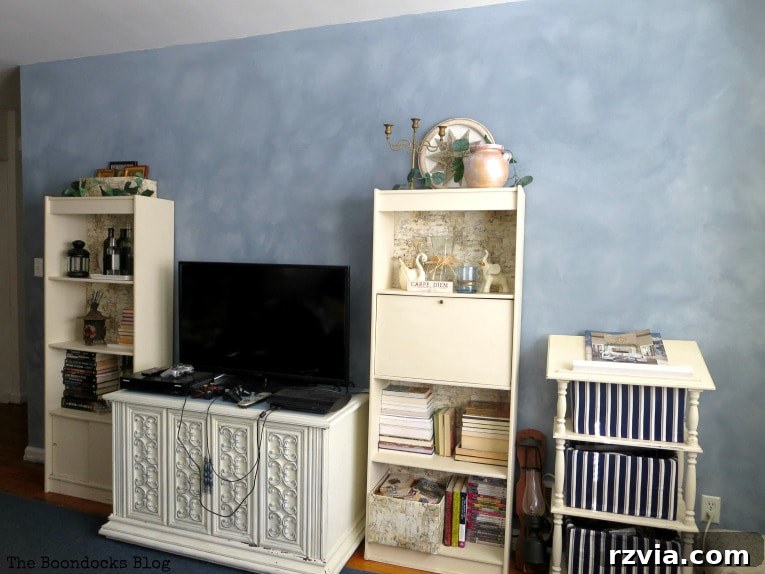
One last appreciative look at the entire living room, with all the furniture meticulously placed in front of the new cloud accent wall!
It was a labor of love, a significant amount of work that left me feeling every muscle, but the unparalleled satisfaction and the dramatic transformation of the space made every brushstroke worthwhile.
If you found inspiration in this project, you might also enjoy a peek at my girl’s enchanting ombre wall, another testament to the power of creative wall treatments.
I firmly believe it’s absolutely worth venturing out of your comfort zone occasionally to discover new creative possibilities. I sincerely hope you enjoyed this detailed tutorial on how to paint clouds with a sponge, milk paint, and brushes. Would you be daring enough to try a similar project in your own home?
And remember to explore the incredible world of Old Fashioned Milk Paint. Its unique characteristics and natural beauty will undoubtedly redefine your approach to painting and inspire countless new ideas for transforming your home.


More Creative Ideas Using Old Fashioned Milk Paint:
If you’re inspired by the versatility of milk paint, here are a couple more projects that showcase its incredible potential for transforming furniture and home decor: