
DIY Green & White Christmas Centerpieces: Repurposing a Chicken Feeder for Festive Holiday Decor
The holiday season is truly magical, and there’s nothing quite like gathering with loved ones around a beautifully decorated table. Today, I’m thrilled to be hosting a special Christmas link party alongside some wonderful friends! We’re calling it “Wrapping up the Holidays,” and it’s an open invitation for everyone to share their festive creations right up until Christmas Eve, December 24th. Whether you have delicious recipes, charming ornaments, creative decor, inspiring gift-wrapping ideas, fun holiday activities, or even timeless older posts, we’d love for you to join our celebration of all things Christmas.
My contribution to this joyful gathering is a showcase of two incredibly easy yet elegant green Christmas centerpieces. These designs emphasize natural elements and a serene green and white palette, proving that stunning holiday decor doesn’t need to be complicated or expensive. Get ready to transform your table with these unique, nature-inspired creations!
From Farm to Festive: Repurposing a Chicken Feeder for Christmas
My journey to creating these distinctive centerpieces began quite unexpectedly a couple of months ago. I participated in a link party hosted by Katie over at Let’s Add Sprinkles, and to my absolute delight, I won a giveaway! Among the wonderful gifts I received, there was one particular item that immediately captured my imagination, even though I had no idea what it was at first glance. Its long, trough-like shape and sturdy construction instantly sparked a myriad of potential uses in my mind.
Was it a fancy baguette pan? Perhaps a unique planter? My curiosity piqued, I embarked on a little research mission. Much to my amusement, I discovered its true identity: a chicken feeder! As someone who appreciates a rustic, farm-inspired aesthetic, I chuckled at my ignorance – what kind of farm girl am I, indeed, to not recognize such a staple? But the discovery only amplified its charm and potential for a truly unique DIY project.

A Fresh Coat of Paint: Transforming the Feeder
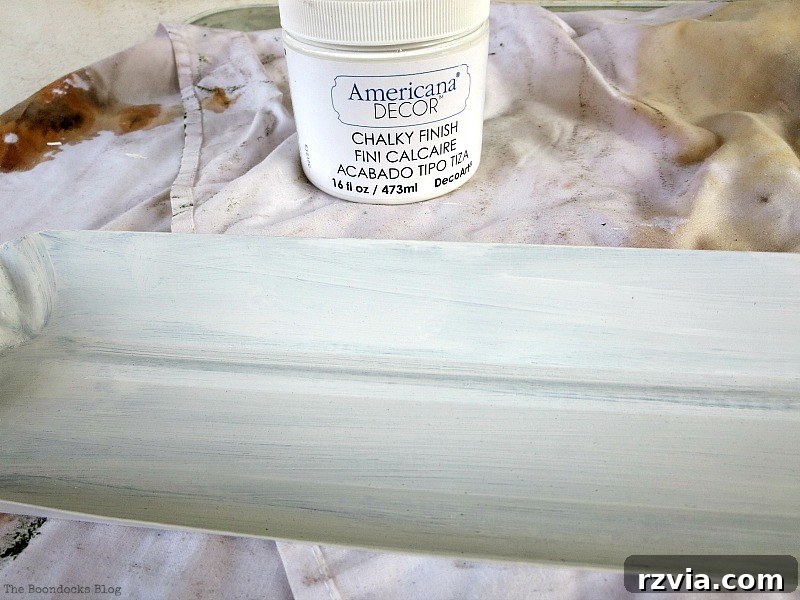
Inspired by my talented friend Katrin of KreativK, who achieves fantastic results by painting tins, I decided my chicken feeder was destined for a chic makeover. A quick trip to my craft stash led me to some American Decor chalky finish paint in the shade ‘Everlasting.’ This soft, creamy white was the perfect choice to elevate the feeder from its humble farm origins to a sophisticated holiday piece. Chalky finish paint is ideal for this kind of project because it adheres beautifully to various surfaces, offering a smooth, matte finish that feels wonderfully rustic yet refined. I carefully applied a couple of coats, allowing each to dry thoroughly, until the feeder was completely transformed into a pristine white canvas.
For those interested in replicating this look, I’ve included an Amazon link for this paint at the end of this post. It’s a versatile product that you’ll find yourself reaching for again and again for various DIY projects around the home.
Gathering Nature’s Bounty: The Base Layer
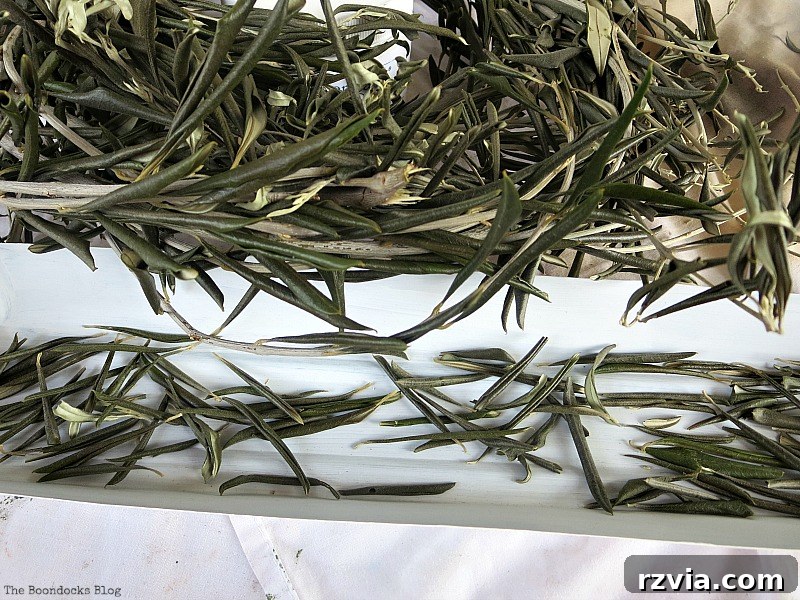
With the chicken feeder now a brilliant white, it was time to add the natural elements that would bring our green Christmas centerpiece to life. You might recall my Natural Thanksgiving Centerpiece from a few weeks prior, which featured an abundance of lovely olive leaves. These leaves, now beautifully dried, provided the perfect rustic and organic foundation for my new design. I simply snapped off a generous amount of these dried leaves and arranged them along the bottom of the painted chicken feeder. Their subtle green-grey hue and elegant shape instantly introduced a sophisticated natural texture.
The beauty of using dried natural elements like these is their enduring charm; they won’t wilt, and they maintain their delicate form throughout the entire holiday season. Plus, collecting them from your own yard or local area adds a personal touch and makes the project incredibly cost-effective. Don’t worry, there were plenty of olive leaves left for all my other holiday decor plans!
Aromatic Accents: Rosemary and Scented Ambiance
Next, I turned to another fragrant natural element I had on hand: dried rosemary. I always seem to have a pitcher full of dried herbs, and rosemary, with its distinctively festive scent and needle-like leaves, was an ideal choice for adding both visual interest and an enchanting aroma to the centerpiece. The subtle herbaceous fragrance of rosemary is synonymous with winter and holiday cooking, making it a wonderful addition that engages more than just the visual senses.
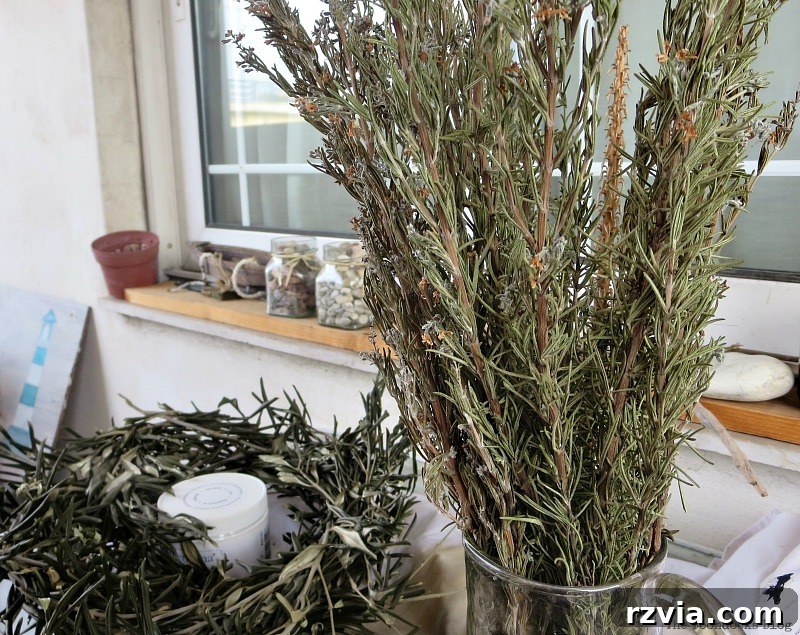
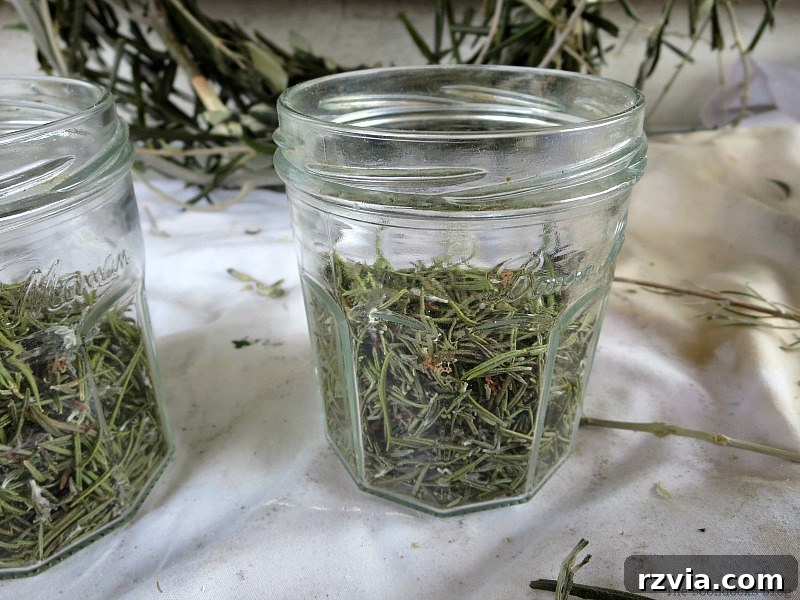
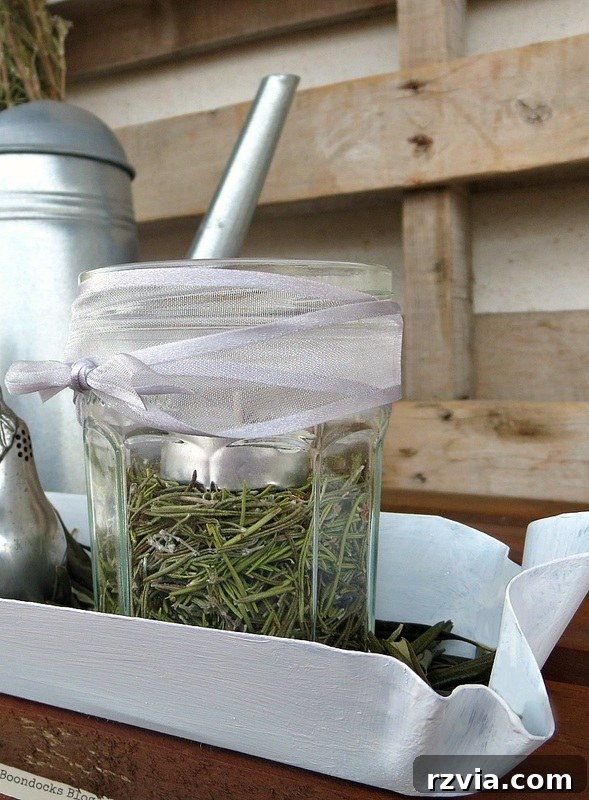
I carefully cut off the individual needle-like leaves from the dried rosemary branches. Then, I filled two small marmalade jars (because, as you know, I love to collect and repurpose everything!) with these fragrant sprigs. These jars would eventually nestle within the chicken feeder, adding height and a lovely textural contrast to the smooth olive leaves. The rosemary not only looks beautiful but also releases a subtle, inviting scent that will gently perfume your home, enhancing the festive atmosphere.
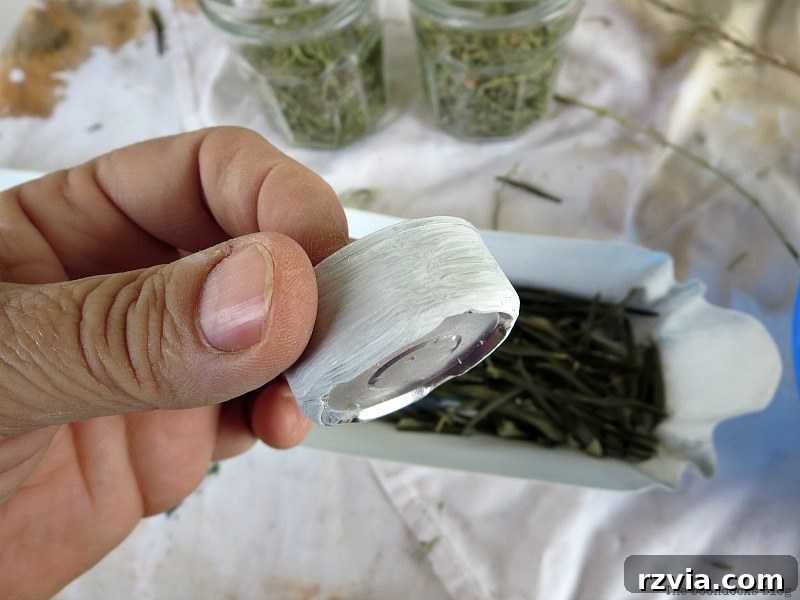
To maintain the cohesive white theme, I even decided to paint the small tea lights I would be using. A quick coat of white paint on the tea light candles ensured they would seamlessly blend with the overall aesthetic, creating a clean and elegant look. This small detail truly makes a difference in achieving a polished, cohesive design for your green and white Christmas centerpiece.
Building the Foundation: Candles and Stability
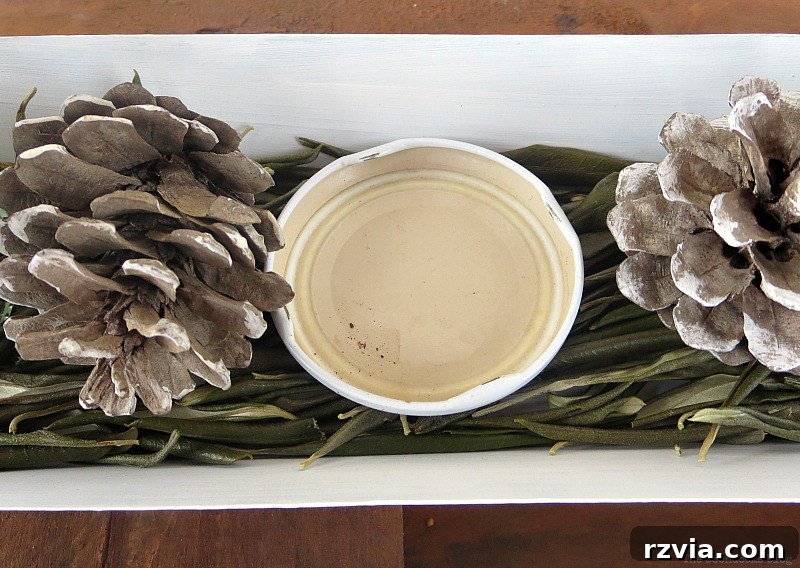
With the rosemary-filled jars and painted tea lights ready, it was time to assemble the main elements within the chicken feeder. To ensure stability for my central candle, I strategically placed a jar lid within the feeder. This simple trick provides a flat, secure base, preventing the candle from tipping over and ensuring it remains upright amidst the surrounding foliage. Around this, I arranged a selection of rustic pinecones, adding another layer of natural texture and a classic touch of Christmas charm.
The Finishing Touches: Ribbons and Elegance
A few carefully placed ribbons were all it took to complete the first rendition of my green Christmas centerpiece. The subtle additions of ribbon tied around the candle and jars instantly elevated the look, adding a touch of festive elegance without detracting from the natural beauty of the elements. It’s amazing how a simple ribbon can tie a whole design together!
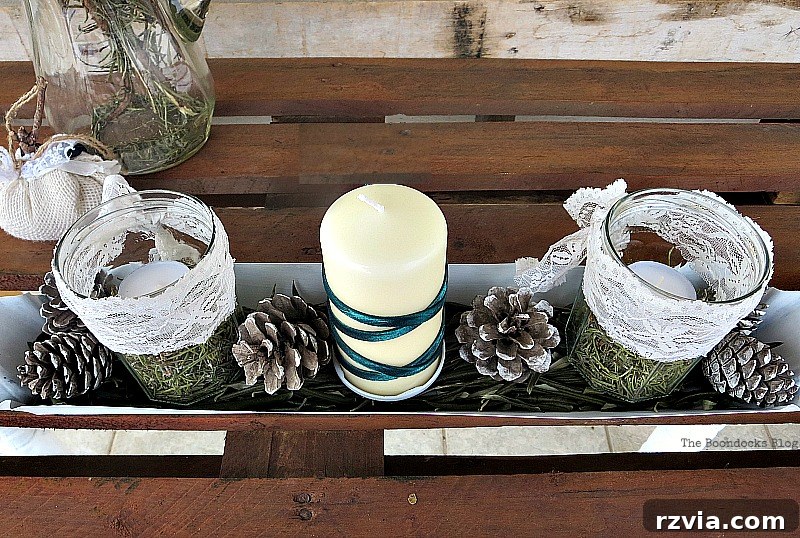
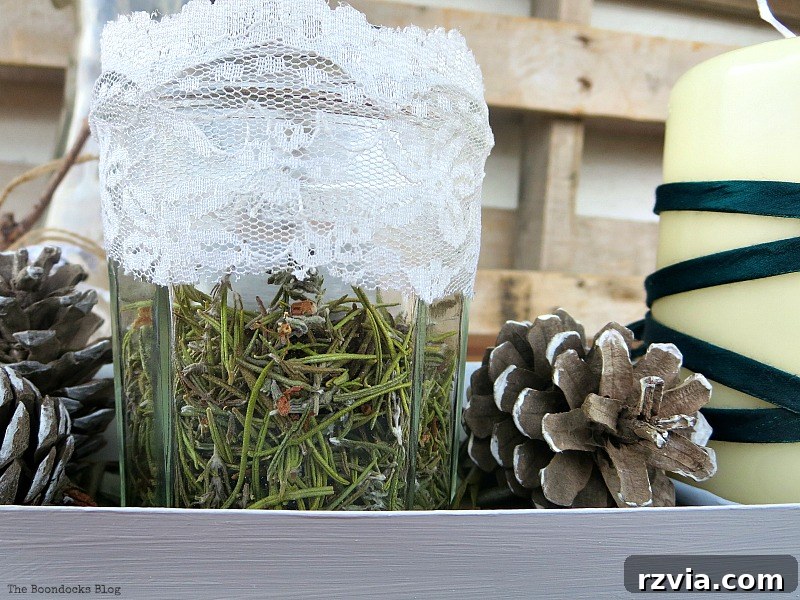
For this specific design, I chose to embellish the marmalade jars with delicate lace, lending a soft, vintage feel. However, you could easily leave them plain for a more minimalist look, or opt for a different type of ribbon that suits your personal style or existing holiday decor. I particularly adore the vibrant green ribbon wrapped around the central candle; it provides a wonderful pop of color that perfectly complements the green of the olive leaves and rosemary, creating a truly harmonious green and white Christmas tablescape.
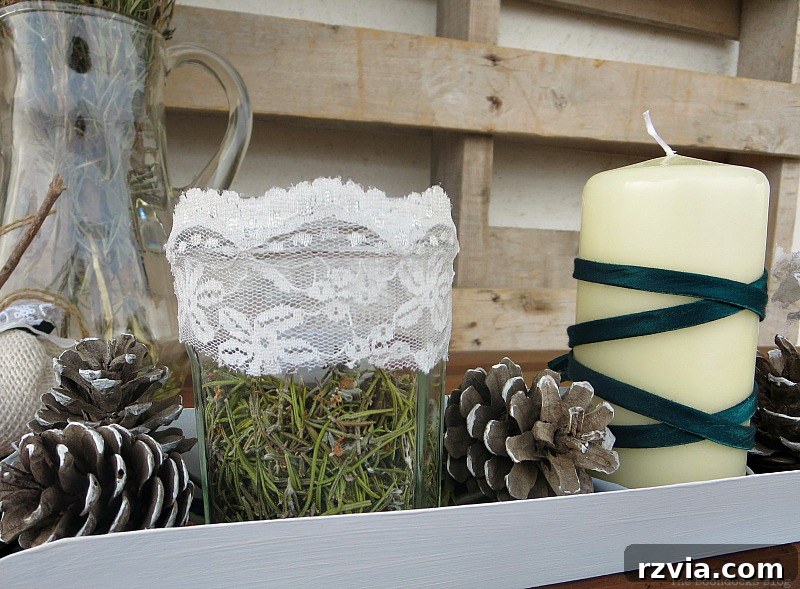
The core idea behind this centerpiece was to maintain a serene green and white palette, richly accented with an abundance of natural elements. The result is a beautifully understated yet impactful decoration that feels both fresh and timeless, perfectly capturing the essence of a natural Christmas.
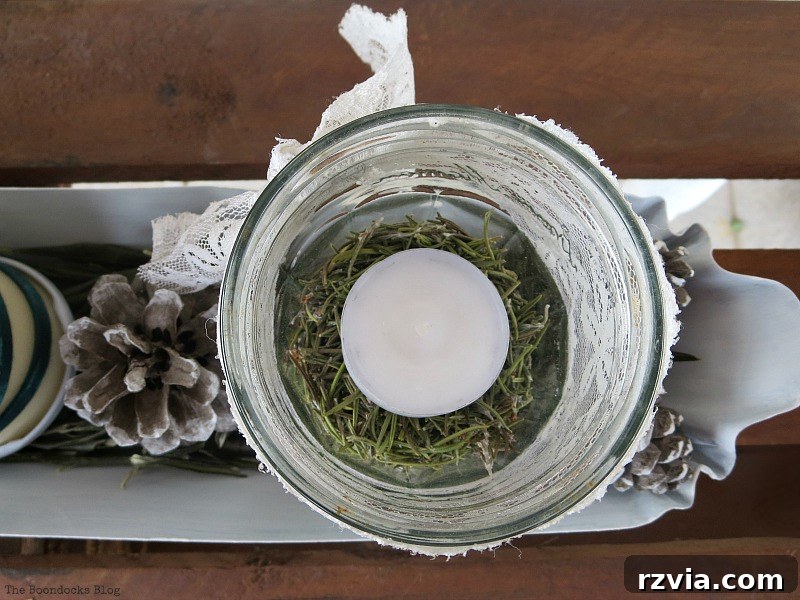
Beyond its visual appeal, the dried rosemary emits a wonderfully subtle fragrance, adding an aromatic dimension to your holiday ambiance. If you look closely, you can even spot the delicate little rosemary flowers peeking through, adding another layer of intricate detail to this natural Christmas decoration.
Elevating the Design: Introducing Metal Accents
Of course, as a true DIY enthusiast, I can rarely leave a project “well enough alone.” My creative spirit always prompts me to explore variations and alternative interpretations. So, after admiring the first version, I decided to change things up a bit and create a second, slightly more refined centerpiece, incorporating a touch of unexpected metallic glam.
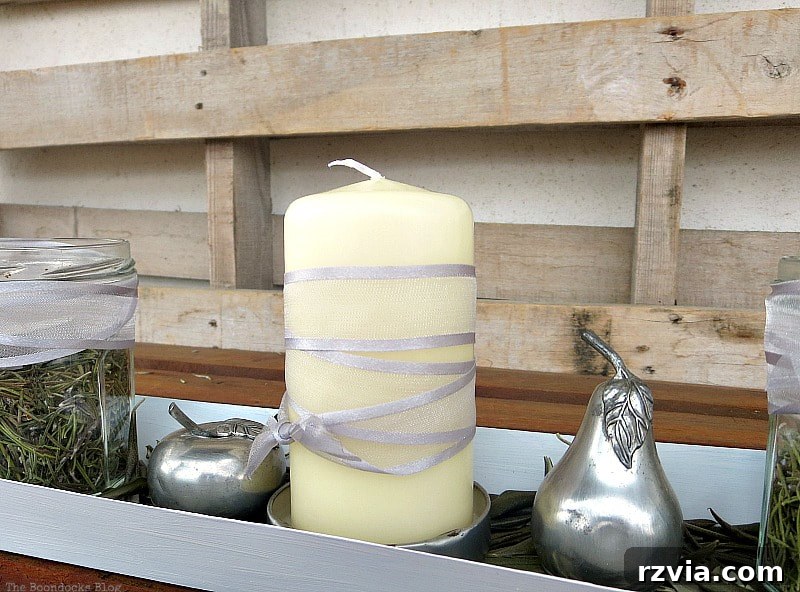
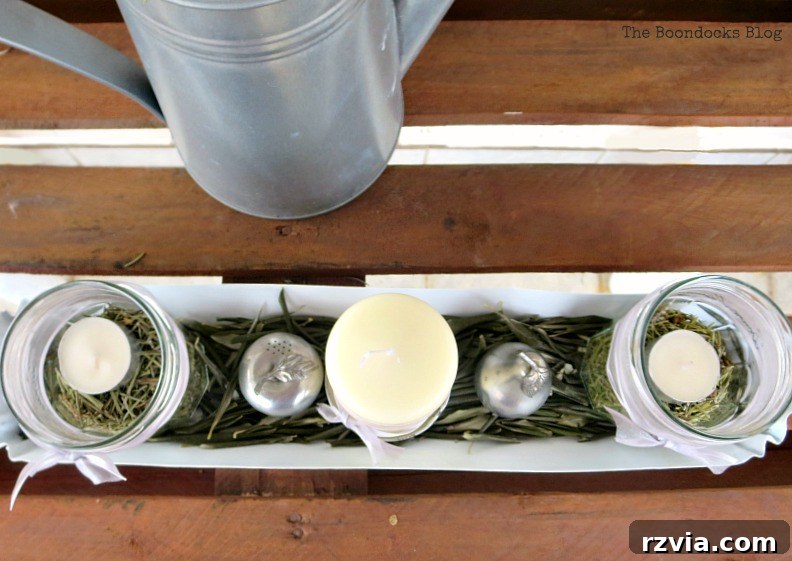
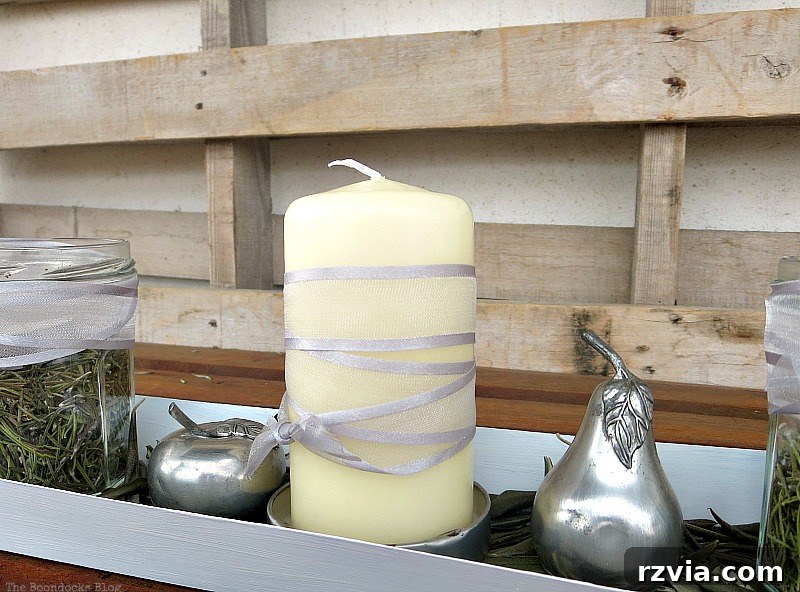
For this version, I swapped out the green ribbon for a sophisticated grey ribbon, tying it around all three elements – the central candle and the two rosemary jars. The grey offers a subtle, chic contrast to the green leaves. Instead of pinecones, I introduced a pair of charming metal apple and pear salt-and-pepper shakers. These small, decorative pieces instantly added a hint of industrial chic and a unique focal point, diverging from the purely rustic feel of the first design.
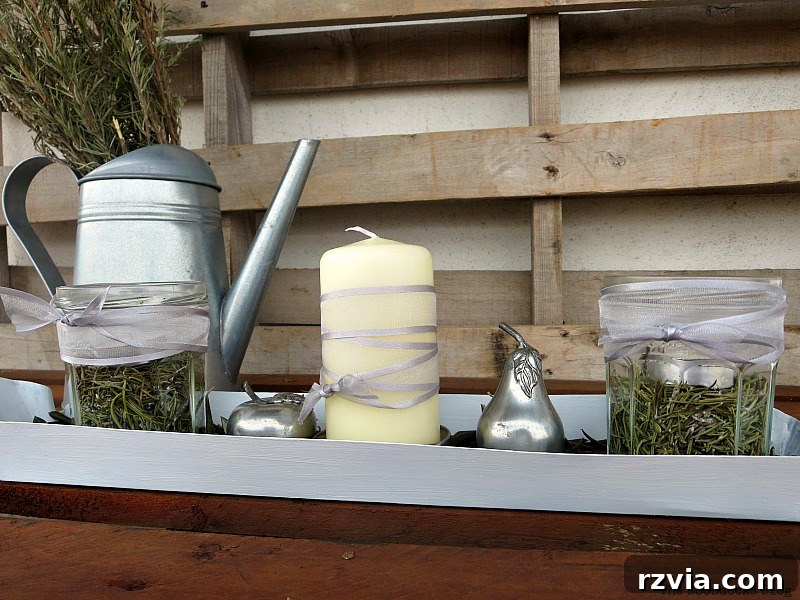
This second look presents a more refined and contemporary aesthetic. The cool tones of the grey ribbon combined with the sleek metallic sheen of the fruit shakers lend an air of modern sophistication to the natural elements, making it perfect for a holiday table that seeks a balance between rustic charm and polished elegance.
What I particularly love about this variation is the dynamic contrast between the smooth, cool metal and the organic, textured natural elements like the olive leaves and rosemary. This interplay of textures and finishes creates visual depth and interest, elevating a simple chicken feeder into a truly eye-catching centerpiece for your Christmas gatherings.
Why Choose Natural & Repurposed Christmas Decor?
I am a firm believer in the power of natural elements when it comes to home decor, especially during the festive season. They infuse a space with unparalleled warmth, authenticity, and a connection to the outdoors that manufactured decorations often lack. Using elements like dried leaves, aromatic herbs, and simple pinecones not only makes your decor unique but also incredibly sustainable and often more budget-friendly.
Repurposing items like this chicken feeder is another fantastic way to add character and a personal story to your holiday decorations. Instead of buying new, consider what forgotten treasures you might have tucked away or could find at a flea market. With a little imagination and a coat of paint, everyday objects can be transformed into extraordinary focal points, bringing a charming, handcrafted feel to your home.
Now, I’d love to hear from you! Which of these two DIY green Christmas centerpieces do you prefer? Do you lean towards the first centerpiece with its classic pinecones and green ribbon, exuding a more traditional rustic charm?
…Or do you prefer the second one, with its sophisticated metal accents and sleek grey ribbon, offering a modern twist on natural holiday decor? Let me know in the comments below!
Tips for Creating Your Own Unique Holiday Centerpiece
Feeling inspired to create your own bespoke holiday centerpiece? Here are a few universal tips to guide your creative process:
- Look for Unexpected Containers: Don’t limit yourself to traditional vases or bowls. Repurpose old tins, wooden crates, vintage feeders, or even old buckets. The more unique the container, the more character your centerpiece will have.
- Embrace Natural Elements: Step outside! Pinecones, evergreen sprigs, dried leaves, branches, berries, and even stones can add incredible texture, color, and authenticity. They are often free and always beautiful.
- Incorporate Scent: Think beyond visual appeal. Cinnamon sticks, dried oranges, fresh rosemary, or even scented candles can elevate the sensory experience of your centerpiece, making your home smell wonderfully festive.
- Vary Heights and Textures: Use items of different heights and textures to create visual interest. Tall candles, sprawling branches, and smaller accents work together to form a dynamic display.
- Consider Your Color Palette: Decide on a core color scheme. While I opted for green and white, you might prefer traditional reds and greens, festive golds, or icy blues. Stick to a limited palette for a cohesive, polished look.
- Add Sparkle (Sparingly): A touch of glitter, some fairy lights, or metallic accents can add a magical glow, but don’t overdo it. A little sparkle goes a long way.
- Personalize It: Include elements that are meaningful to you – perhaps small ornaments from childhood, family heirlooms, or even photographs. These personal touches make your centerpiece truly yours.
- Experiment: Don’t be afraid to try different arrangements until you find one that feels right. The beauty of DIY is that you can always adjust and refine.
If you truly enjoy my creative adventures, I invite you to subscribe to my blog and receive my latest posts twice a week directly in your inbox. You’ll find the subscription form conveniently located on the sidebar. Rest assured, your email address will never be shared with any third party.
The Creative Christmas Link Party is proudly hosted by Janet of Shabbyfufu and the talented bloggers of Blogging 50. We warmly encourage you to visit all of the amazing participating bloggers for even more holiday inspiration!
Related Holiday Decor & DIY Projects:
<< A Repurposed Antique Cauldron for Christmas HOME Sweet Inspiration Link Party #33 >>
This blog is for entertainment purposes only; my DIY tutorials are not professional advice. Read my full disclaimer here.
I love hearing your comments and will always try to reply to them or visit you on your blog. Please do not add a hyperlink to your comment, otherwise we cannot publish it.