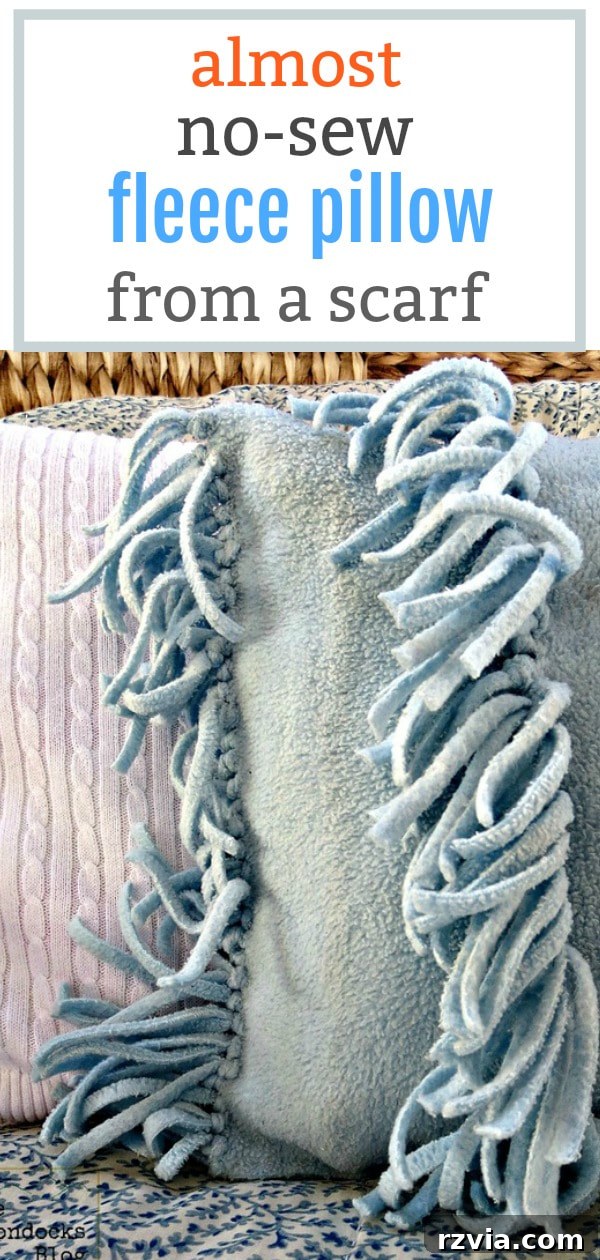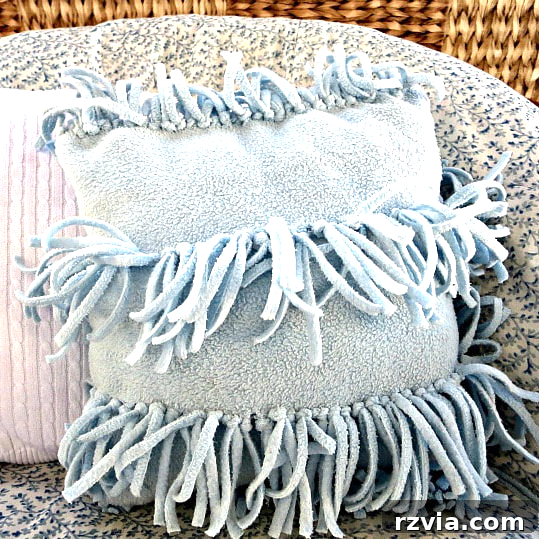
Do you have a collection of beloved fleece scarves that have seen better days, perhaps losing their original shape or simply sitting unused in your wardrobe? Instead of discarding them, imagine transforming one into a delightfully cozy and stylish fleece pillow for your living space! This creative upcycling project is not only incredibly satisfying but also an excellent way to add a personalized touch to your home decor without extensive sewing skills. Get ready to give that forgotten scarf a new lease on life as a charming, comforting accent.
Transform Your Old Fleece Scarf into a Cozy No-Sew Fleece Pillow
Upcycling has become a beloved trend for a reason: it’s a fantastic way to breathe new life into old items, reduce waste, and create unique, personalized pieces for your home. Today, we’re diving into a simple yet brilliant DIY project that takes an old fleece scarf and turns it into a snuggle-worthy pillow. This isn’t just about saving money; it’s about adding character and a story to your space.
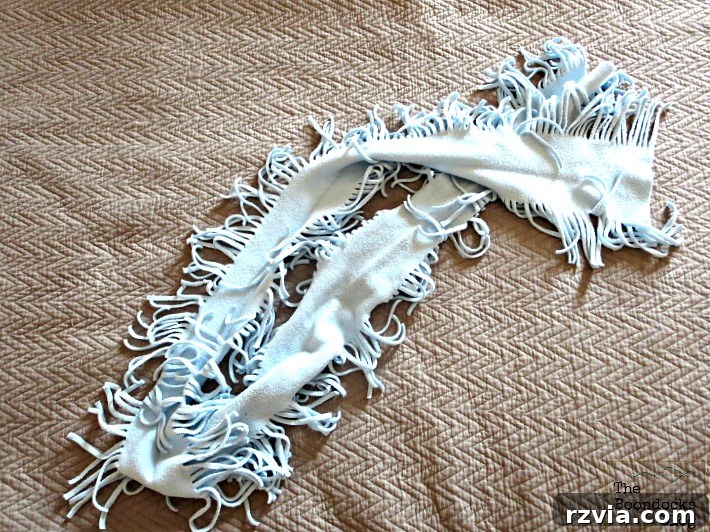
Perhaps you have a fringed fleece scarf, much like the one I started with, that has been stretched and pulled so much it practically reaches the floor! While it once served its purpose keeping you warm, its practicality as a scarf might have diminished. Mine was taking up valuable drawer space, longing for a new identity. This project offers the perfect solution, proving that creativity can transform the mundane into something truly special.
The Magic of Upcycling: Why Repurpose a Fleece Scarf?
Before we dive into the steps, let’s appreciate the benefits of embarking on such a project. Repurposing old textiles, especially soft materials like fleece, aligns perfectly with sustainable living principles. Instead of purchasing new materials, you’re giving an existing item a second chance, reducing landfill waste and minimizing your environmental footprint. Beyond the eco-friendly aspect, there’s immense satisfaction in creating something with your own hands. This DIY fleece pillow is not only budget-friendly but also offers a chance to design a unique accent piece that perfectly complements your home’s aesthetic. Imagine a pillow that carries sentimental value, reminding you of cozy winters or special memories associated with the original scarf.
Materials You’ll Need for Your DIY Fleece Pillow
One of the best things about this project is how few materials you actually need. Most of these might already be lying around your house!
- **An Old Fleece Scarf (preferably with fringes):** The star of our project. Fringes are key for the “almost no-sew” technique.
- **A Pillow Insert or Stuffing:** You can use an old pillow that needs a new cover, fiberfill, or even fabric scraps for a firmer, eco-friendly stuffing.
- **Sharp Scissors:** For any necessary trimming.
- **(Optional but recommended) Needle and Thread:** For a small, secure closure.
- **(Optional alternative) Fabric Glue:** If you want a truly no-sew finish.
Step-by-Step Guide: Crafting Your Almost No-Sew Fleece Pillow
This project is designed to be accessible to everyone, regardless of their crafting experience. The core technique involves tying fringes, which is a surprisingly sturdy and decorative way to join fabric without a sewing machine.
Step 1: Selecting and Preparing the Perfect Scarf
The ideal candidate for this project is a fleece scarf with existing fringes on at least two sides. The longer the fringes, the easier and more secure your knots will be. Assess your chosen scarf: Is it clean? Is the fleece still relatively soft and structurally sound? A scarf that has lost its shape as an accessory is often perfect for a pillow because its inherent softness and flexibility are exactly what you need. Lay your scarf out flat on a clean surface, smoothing out any wrinkles. This will give you a clear idea of its dimensions and how you want to fold it.
Step 2: Folding Your Scarf for the Pillow Form
The essence of creating your pillow pocket begins with a simple fold. Take your scarf and fold it in half lengthwise, bringing the two fringed edges together. Ensure that the fringes align as neatly as possible. The goal here is to create the basic shape of your pillow. The width of your folded scarf will determine the width of your finished pillow, so adjust it to your liking. If your scarf is very long, you might consider folding it into thirds or even quarters to achieve a squarer pillow shape. This initial fold is crucial as it forms the two primary sides that you will begin to secure.
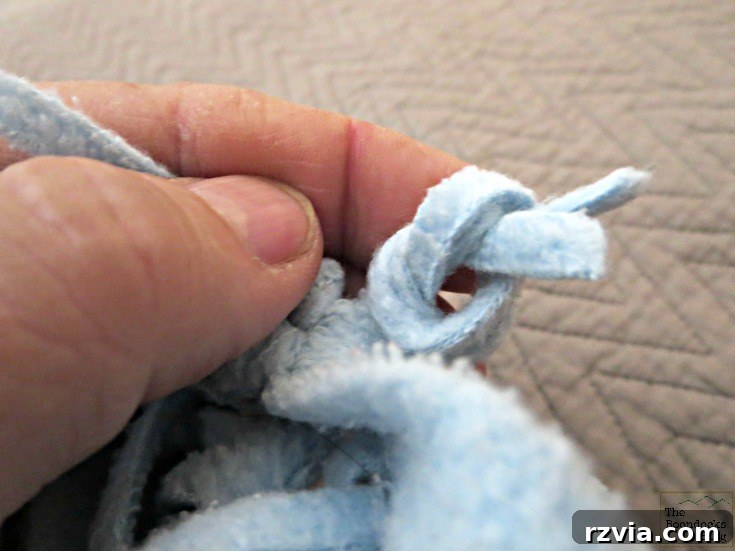
Step 3: The Art of Tying Fringes to Create the Sides
Now comes the fun, slightly meditative part: tying the fringes! This technique is what allows us to achieve an “almost no-sew” result. Begin at one end of your folded scarf. Take two adjacent fringe strips (one from the top layer and one from the bottom layer) and tie them together using a simple, secure double knot. Work your way across the entire length of the folded side, tying each pair of fringes. Make sure your knots are tight enough to hold the fabric securely but not so tight that they pull or distort the fleece. This process can be a little time-consuming, so it’s the perfect opportunity to multitask. Put on your favorite show – perhaps a few episodes of Vampire Diaries, if you’re like me and dealing with teens (or just enjoy a good supernatural drama)! The rhythmic motion of tying knots can be quite relaxing.
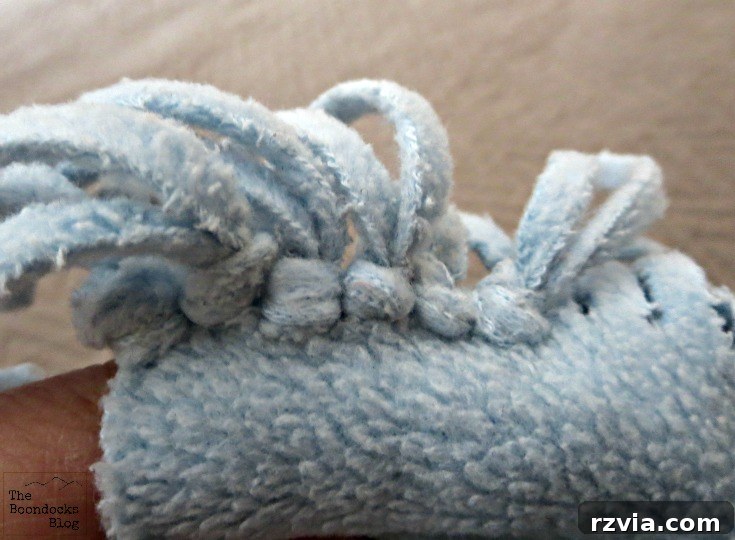
Once you’ve tied all the fringes along one side, you’ll start to see your pillow shape emerge. The tied fringes create a decorative edge that is both functional and aesthetically pleasing. Ensure that all knots are consistent in tightness and appearance for a polished look. Don’t rush this step; the more care you put into tying, the better your final fleece pillow will look and hold up.

Step 4: Forming the Pillow Pocket with Strategic Folds and Ties
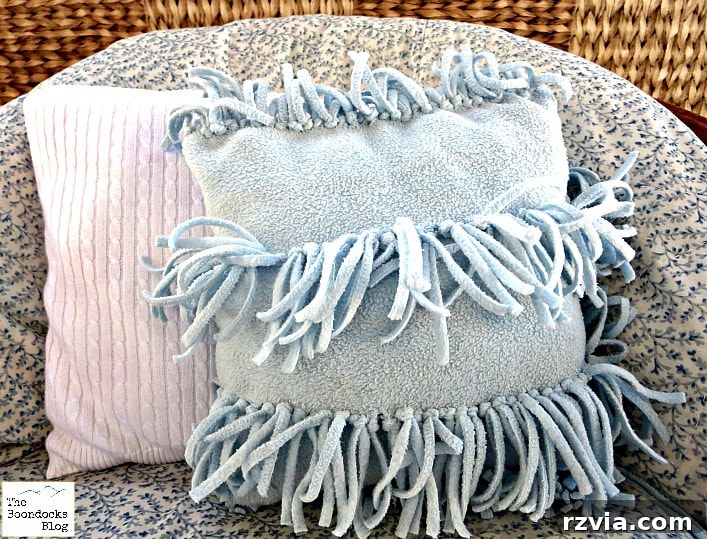
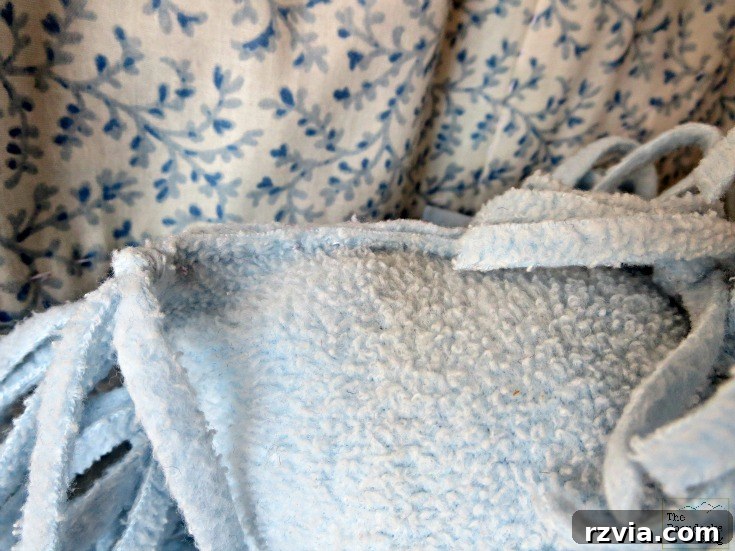
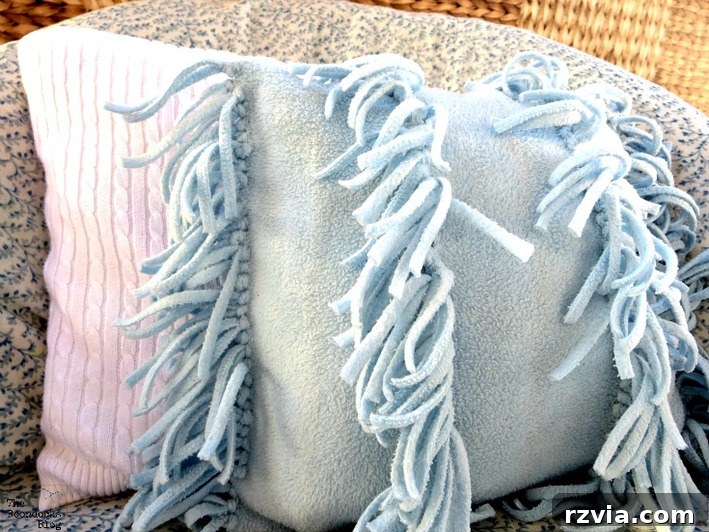
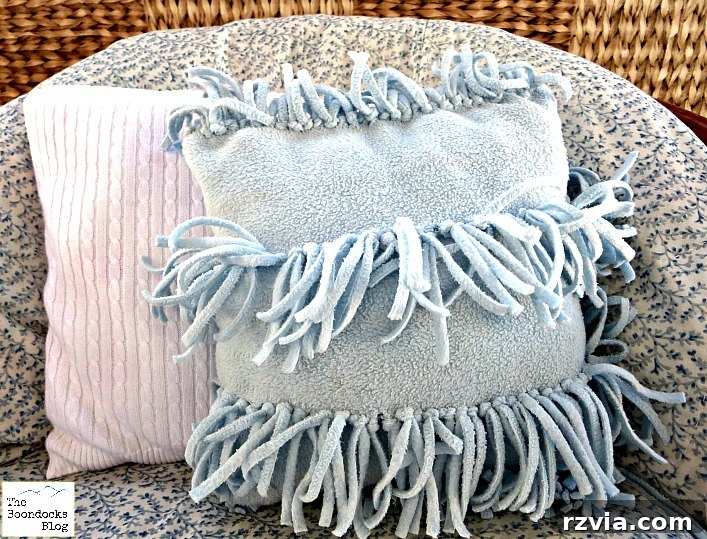
After securing one long side, it’s time to create the “pocket” that will hold your pillow insert. This step involves a bit of strategic folding. My method involved cutting off approximately one-third of the scarf’s length from one end, after the fringes of that section were tied. Then, I refolded the remaining two-thirds of the scarf, creating a layered effect, and tied the bottom fringes of this new fold. The final step was to bring the top part (the 1/3 section) over to create the opening of the pocket.
The beauty of this project is its flexibility. You can adapt the folding method to suit the desired shape and size of your pillow. For instance, you could simply fold the scarf in half (like a book) and tie three sides, leaving one side open for stuffing. Or, if your scarf is very wide, you might fold it into thirds and tie the side fringes to create a rectangular pocket. The key is to ensure that you are always tying fringe pairs together to close off sections, eventually creating an enclosed space with one opening.
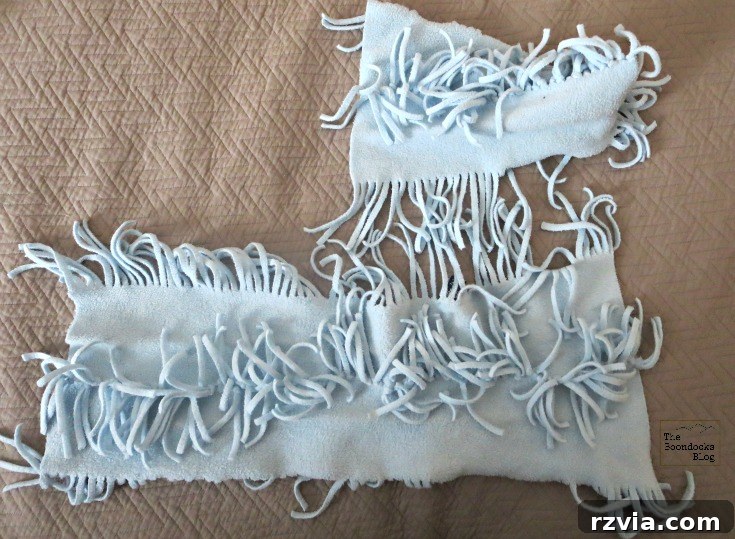
This particular folding technique creates a unique shape and ensures the fringes are integrated beautifully into the pillow’s design. As long as you continue to tie the fringes securely, you’re on the right track. Experiment with different folds to see what works best for your scarf and desired pillow aesthetic. The important thing is that you end up with a defined pocket, ready for stuffing.
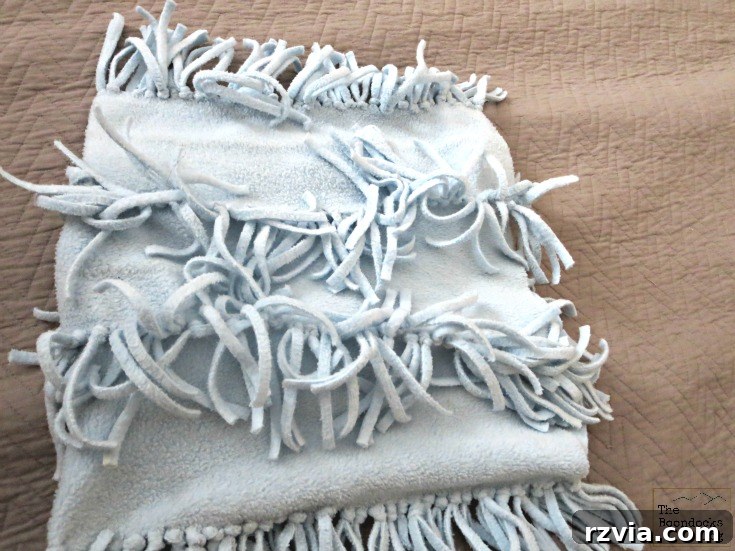
Step 5: Stuffing Your New Pillow
Once your pocket is formed, it’s time to give your fleece pillow its plush shape. Carefully insert your chosen pillow form or stuffing into the opening. If using fiberfill, gently push and distribute it evenly to fill out all corners and create a smooth, plump appearance. If you’re using an old pillow, make sure it fits snugly into the pocket you’ve created. This is where the flexibility of fleece comes in handy, as it can stretch slightly to accommodate the stuffing.
Consider the firmness you desire for your pillow. For a softer, decorative pillow, a standard fiberfill or a slightly deflated old pillow works well. For a firmer, more supportive pillow, you might opt for denser foam scraps or a more tightly packed fiberfill. Don’t overstuff it to the point where the fringes are strained, but ensure it’s full enough to hold its shape beautifully.
Step 6: Securing the Opening (The “Almost No-Sew” Part)
Now, about that “almost no-sew” promise. While the majority of the pillow is constructed by tying, closing the final opening securely might require a tiny bit of help. I chose to close my pillow by hand-sewing the final edge. This small seam, easily done with a needle and matching thread, provides a very secure and durable closure, ensuring your pillow stands the test of time and use. It’s a quick and simple stitch, even for beginners, and makes the pillow fully functional.
However, if you’re truly committed to a no-sew approach, fabric glue is an excellent alternative. Apply a thin, even line of strong fabric glue along the inside edges of the opening, press them together firmly, and allow it to dry completely according to the manufacturer’s instructions. While sewing offers superior durability, fabric glue can provide a perfectly acceptable finish for decorative pillows that won’t see heavy wear and tear. Choose the method that best suits your comfort level and desired longevity for your beautiful new fleece pillow.
Your Beautifully Repurposed Fleece Pillow is Ready!
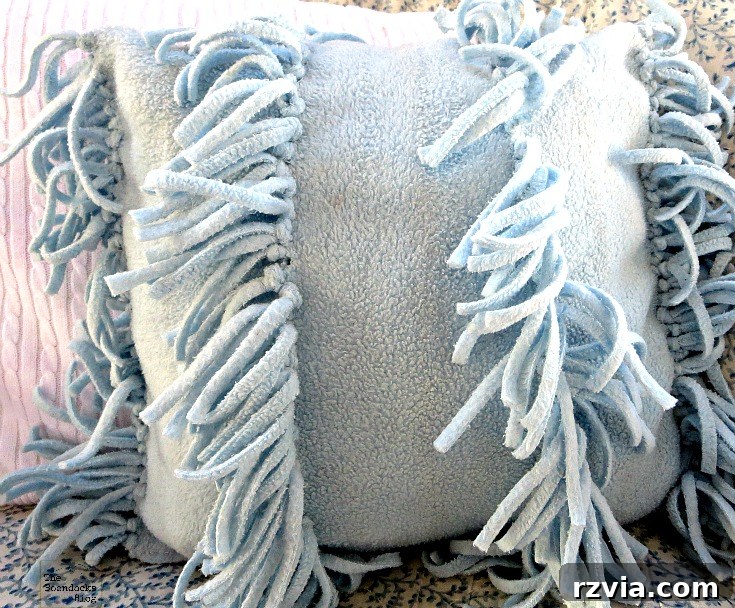
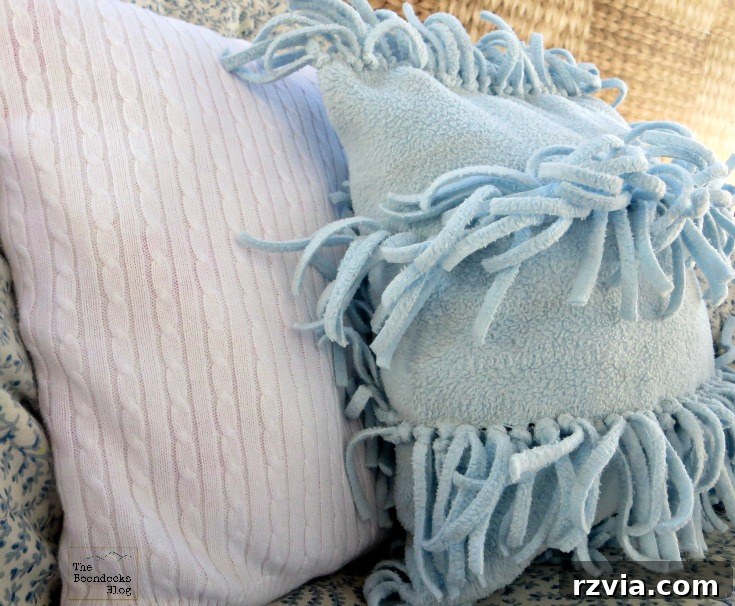
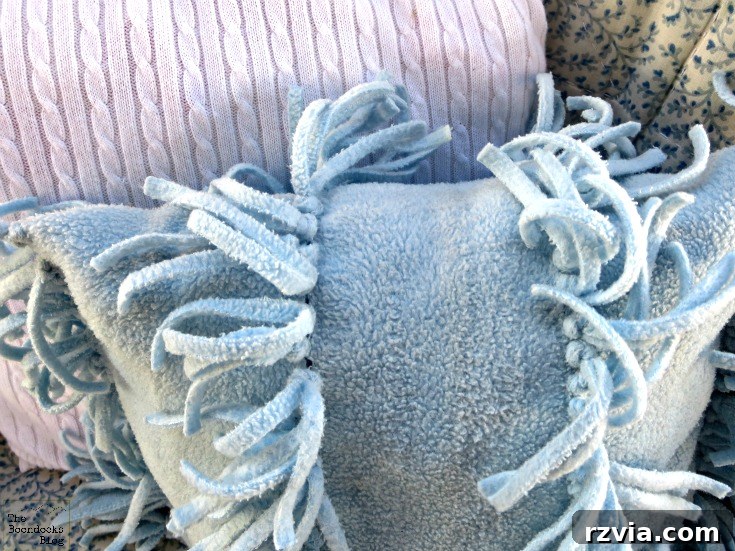
And there you have it! Your almost no-sew fleece pillow, transformed from a forgotten scarf into a charming and practical piece of home decor. The process is straightforward, the materials are minimal, and the result is incredibly rewarding. The fringes create a lovely texture and visual interest, adding to its handmade charm.
Final Thoughts and Gifting Ideas
While I might have “cheated” a little with a small bit of sewing, the overall process is incredibly simple and yields a fantastic result. This beautiful and cozy almost no-sew fleece pillow makes for a wonderful addition to any couch, armchair, or bed. It’s perfect for adding warmth and comfort during cooler months, or simply as a decorative accent all year round. The soft texture of the fleece invites snuggles, making it an instant favorite.
These handmade pillows also make thoughtful and personalized gifts. Imagine presenting this unique creation to a friend or family member for a birthday, housewarming, or as a special Christmas gift. It’s a present that not only shows care and effort but also promotes sustainable living. However, I must confess, sometimes a project turns out so lovely, you just can’t bear to part with it. In my case, this beautiful pillow might just be staying right here in my home!
So, gather those old scarves, unleash your inner crafter, and start transforming them into beautiful, functional home accessories. You’ll be amazed at what you can create with a little imagination and a few simple knots. Happy crafting!