
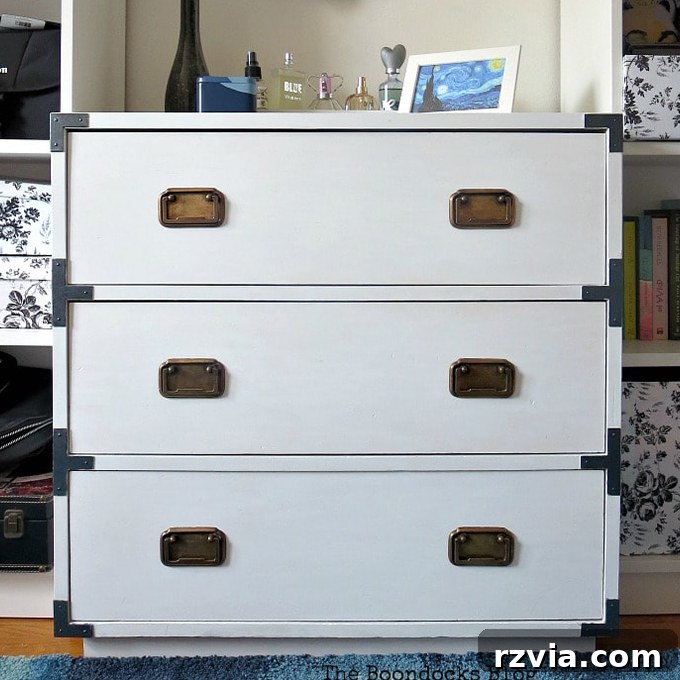
Breathe New Life into Old Furniture: A Step-by-Step Guide to Refinishing a Campaign Dresser
Are you looking to revitalize your living space without breaking the bank? A meticulously refinished dresser can be a game-changer, not only transforming the aesthetic of a room but also offering a sustainable and cost-effective alternative to buying new. In this comprehensive guide, we’ll walk you through the enchanting process of restoring an old wooden dresser, specifically a neglected campaign dresser, using a blend of paint, decorative wrapping paper, and creative DIY hardware updates. Get ready to witness a Cinderella-like transformation right in your own home!
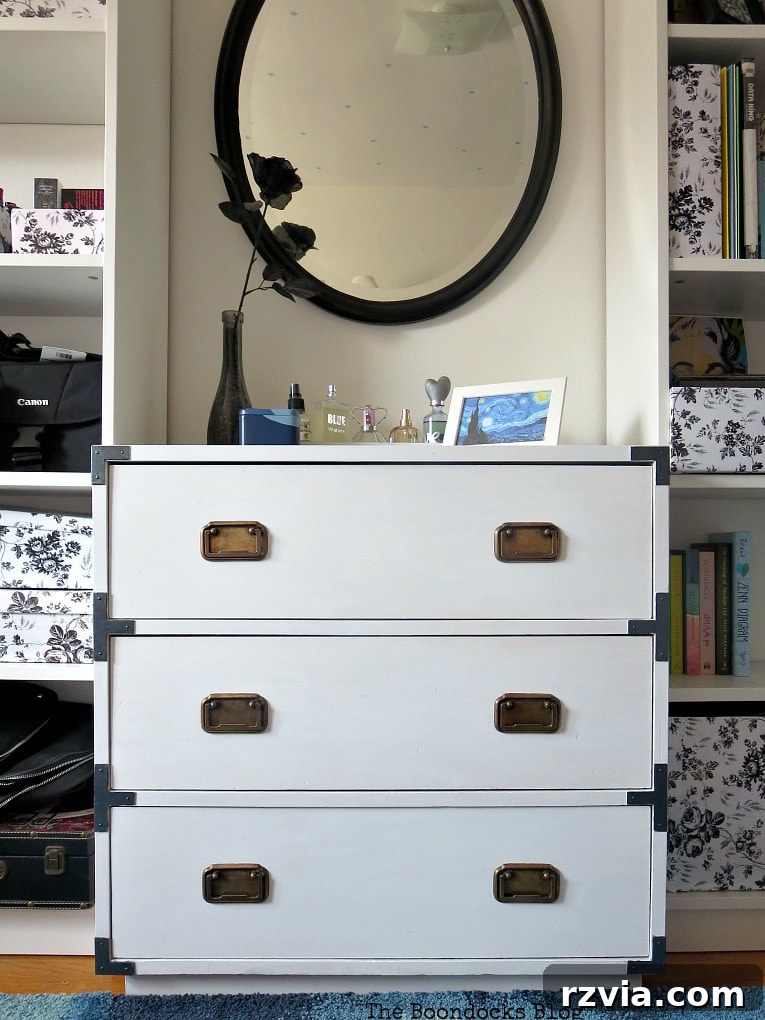
The Quest for Storage: Discovering Our Neglected Gem
With spring finally gracing us with its presence, my focus has been on completing the girls’ bedroom makeover. Adequate storage is a critical need in our home, especially in rooms like theirs, where space is often at a premium. Our house simply doesn’t boast an abundance of built-in storage, making every piece of furniture a potential solution.
It was during this quest for functional yet stylish storage that I stumbled upon a truly promising piece – a lovely campaign dresser. My dad, a veritable treasure trove of old, forgotten furniture, was the generous source of this hidden gem. I immediately knew it had the potential to be a perfect fit for the girls’ room. You might even recall seeing it briefly when I previously shared the mirror makeover. Now, let’s embark on the journey to transform this tired campaign dresser, much like a fairy godmother preparing Cinderella for her grand ball.
Disclosure: This post details a project for which I received product compensation. However, all opinions expressed here are entirely my own. I am committed to recommending only products I genuinely love and would confidently use myself.
Assessing the “Before”: A Dresser in Distress
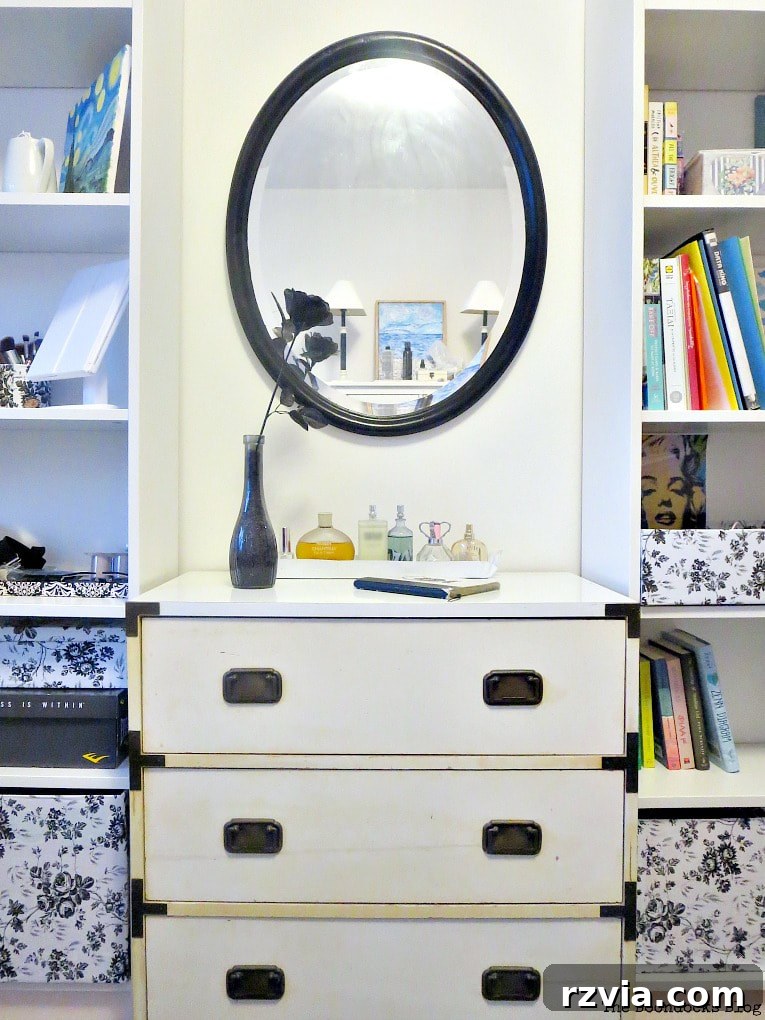
While the dresser’s size and shape were ideal, fitting perfectly between the two Ikea bookcases, its aesthetic left much to be desired. The exterior, likely a laminate finish, had significantly yellowed over time, creating a stark and unflattering contrast with the crisp white bookcases flanking it. Beyond the discoloration, the piece bore numerous scratches, giving it a well-worn, almost neglected appearance, as if it had endured a few too many bumps and knocks over the years. My daughter also voiced a common complaint: the drawers were sticky, difficult to open and close, and often accompanied by an irritating squeak.
How could I leave this campaign dresser looking so forlorn, a sad Cinderella awaiting her transformation? It was clear she needed a fairy godmother – and a complete wardrobe change. My mission was set: to give this piece a new lease on life, making it both beautiful and functional.
Gather Your Supplies: Materials for Your Dresser Makeover
Materials Used to Refinish a Dresser:
Disclosure: This post contains affiliate links for your shopping convenience. Should you choose to purchase any of these products through the provided links, we may receive a small commission at no additional cost to you. For our full disclosure policy, please refer to our privacy policy here.
- DecoArt Americana Satin Enamel Paint in White: A fantastic choice for durable finishes, especially on laminate.
- DecoArt Americana Dazzling Metallics Pearl Black: Adds a sophisticated touch to hardware.
- Vinegar: An eco-friendly solution for cleaning and patinating metal hardware.
- Stainless Steel Scourer (or steel wool): Essential for scrubbing away grime and refreshing metal.
- Bar of soap: The secret weapon for sticky drawers.
- Mod Podge: The ultimate decoupage medium for applying decorative paper and sealing.
- Gift Wrapping Paper (Damask Black and White): For adding unique visual interest.
The Fairy Godmother’s Touch: A Step-by-Step Refinishing Guide
How to Refinish a Dresser:
Step 1: The Pristine White Base Coat
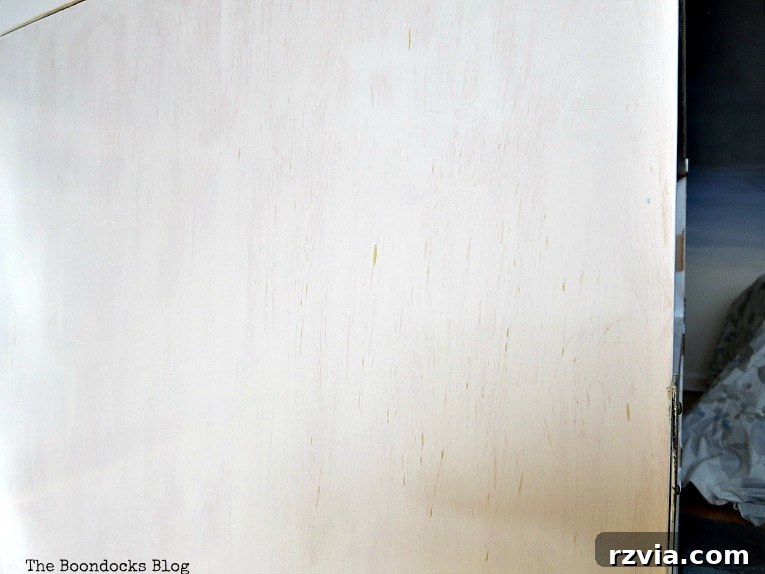
The transformation began with a thorough cleaning of the dresser, ensuring a clean, grease-free surface for paint adhesion. Following this, I applied two generous coats of my favorite satin enamel paint in a crisp white. This particular paint is exceptionally well-suited for laminate surfaces, offering excellent coverage and durability. The key to success when painting laminate without sanding is allowing ample time for the paint to cure between coats and after the final application. By letting the paint cure for several days, you create a robust finish that can withstand daily use without chipping or peeling.
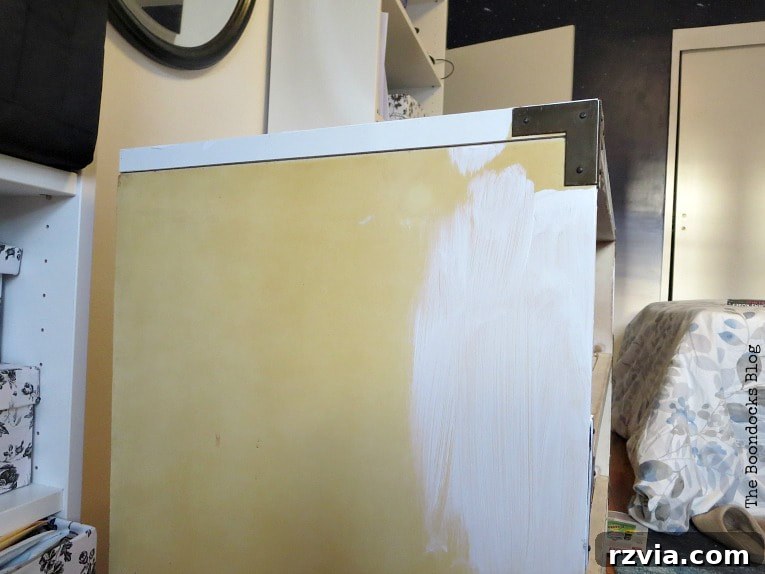
Some areas, particularly those that might see more wear or had initial imperfections, required a third coat to achieve a perfectly smooth and opaque finish. The top surface, being a high-traffic area, also received an additional coat to ensure maximum hardness and resilience. A common question when refinishing furniture is about sanding. In this case, I opted not to sand at all – partly out of a desire for efficiency, but primarily because sanding would have created dust and mess throughout the room, which was simply not an option. Unlike Cinderella’s sooty hearth, I needed to keep the workspace clean! The right paint, applied correctly, can often negate the need for extensive sanding, especially on laminate surfaces.
Step 2: Hardware Rejuvenation – A Blend of Old and New
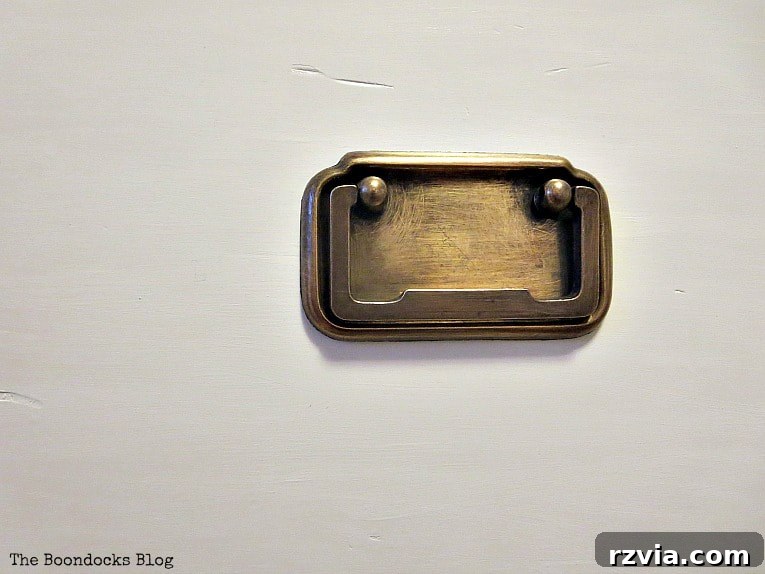
The original hardware consisted of brass handles, which, while classic, had accumulated significant tarnish and patina. To restore them without stripping away all character, I carefully removed the handles and immersed them in a bath of vinegar for about ten minutes. This acidic soak effectively loosened much of the grime and surface corrosion. Following the soak, I gently scrubbed them with stainless steel scourer (or steel wool), which brought out a beautiful, subtly refreshed brass finish. This method didn’t completely eliminate all the patina, and that was intentional. I wanted this piece to exude an eclectic charm, a harmonious blend of its original history and its new, vibrant future – much like Cinderella, who retained her essence despite her transformation.
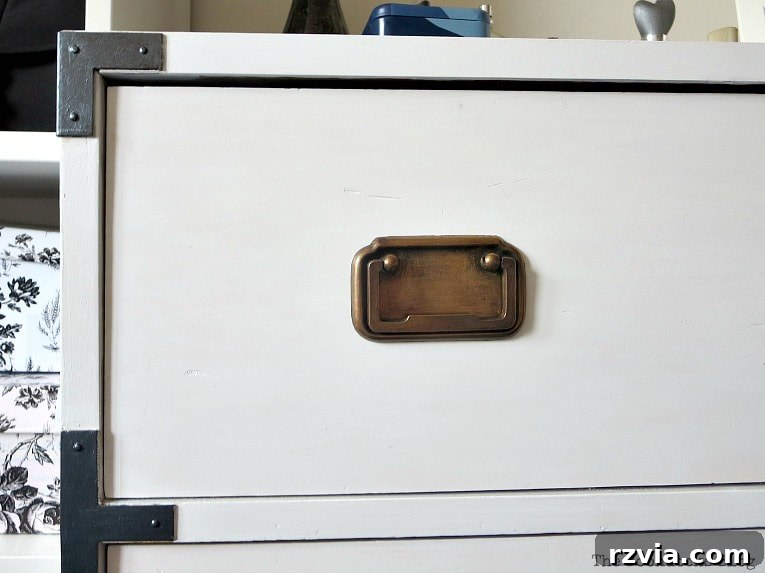
For the remaining hardware, specifically the pulls and accents on the edges of the dresser, I opted for a different approach. These pieces were painted using DecoArt Americana Dazzling Metallics Pearl Black. This same captivating shade had previously adorned the hardware of a nightstand, creating a cohesive design element within the room. By combining the refreshed brass handles with the metallic black accents, I introduced a dynamic visual interest. The metallic black, when kissed by light, subtly shifts to a deep gray, adding an extra layer of sophistication and depth to the overall design. This duality in hardware choices adds intrigue and reinforces the eclectic nature of the piece.
Step 3: Adding Decorative Flair with Wrapping Paper
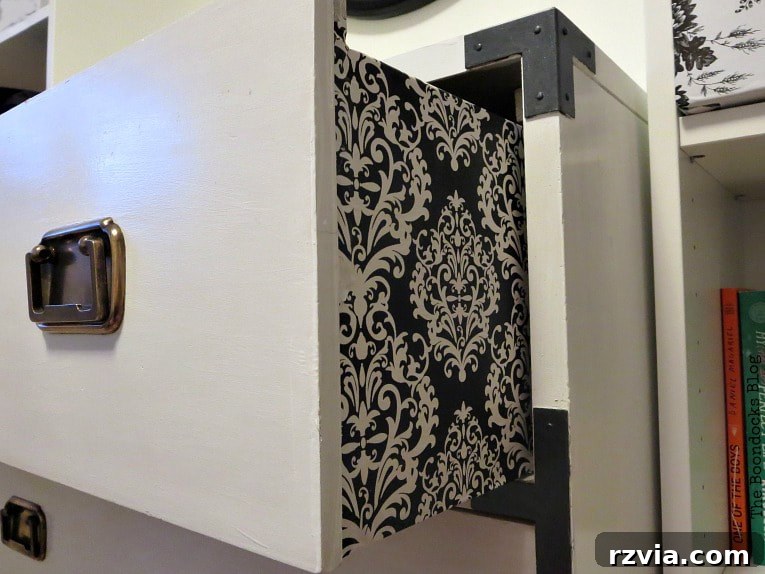
Of course, our Cinderella dresser couldn’t go to the ball with just new paint and refreshed hardware – she needed a distinctive touch, something akin to her glass slippers! To achieve this, I introduced a beautiful damask black and white wrapping paper, adhering it to the sides of the dresser using Mod Podge. This wasn’t the first time this particular paper made an appearance in the room; I had previously used it to embellish pretty storage boxes nestled on a nearby shelf, creating a subtle, cohesive theme.
Applying the wrapping paper with Mod Podge is an incredibly straightforward process. Begin by brushing a generous, even layer of Mod Podge directly onto the clean, painted wood surface. Carefully position your chosen wrapping paper over the wet Mod Podge, taking care to align it precisely. Once in place, use a soft cloth or a crafting squeegee to gently smooth out any air bubbles or wrinkles, working from the center outwards. Allow the paper to dry completely. Once dry, apply a final top coat of Mod Podge over the paper. This top coat acts as a sealant, protecting the paper from wear and tear, and creating a durable, wipeable surface that integrates seamlessly with the painted wood. This simple technique elevates the dresser from merely painted to a truly customized piece of art.
Step 4: Silencing the Squeaks and Smoothing the Slides
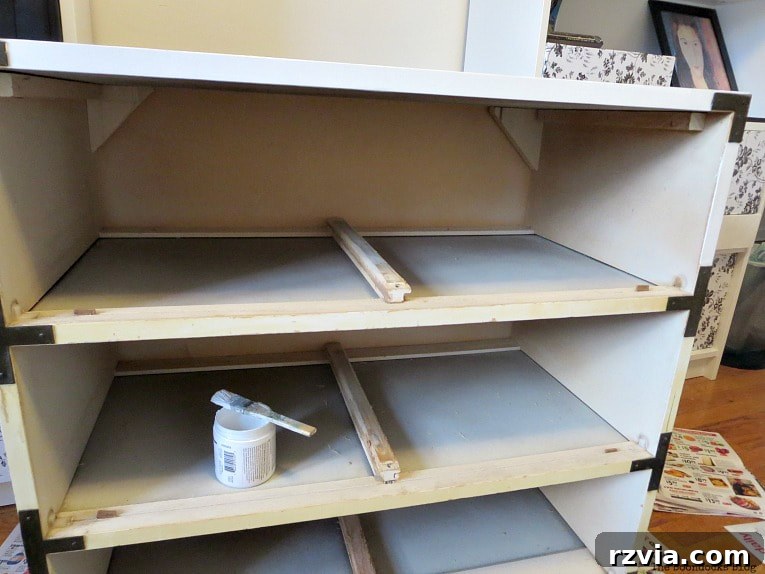
Let’s not overlook my daughter’s primary complaint: the sticky, squeaky drawers. This common issue is surprisingly easy to remedy. The solution? A simple bar of soap! I generously rubbed the bar of soap along the wooden runners within the dresser frame – the parts where the bottom of the drawer slides into the wood. The soap acts as a dry lubricant, drastically reducing friction and allowing the drawers to glide open and close smoothly and silently. It’s an incredibly effective, budget-friendly trick that makes a world of difference in the functionality of old wooden furniture. Easy peasy, indeed!
The Grand Reveal: Cinderella Ready for the Ball
By incorporating all these distinct elements – the fresh white paint, the eclectic hardware, the decorative paper, and the functional drawer fix – the refinished dresser achieves a captivating balance of interest and elegance. Our Cinderella is undeniably ready for the ball!
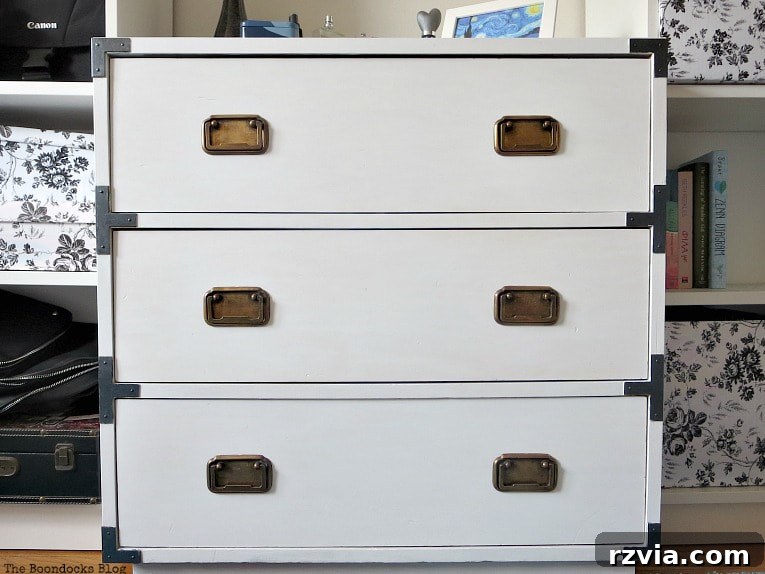
While she may not embody the classical image of a Cinderella dresser, adorned with elaborate scrolls and pastel hues, she is, in my eyes, a true beauty of a makeover. Her modern, sophisticated charm proves that true elegance lies in thoughtful design and creative restoration.
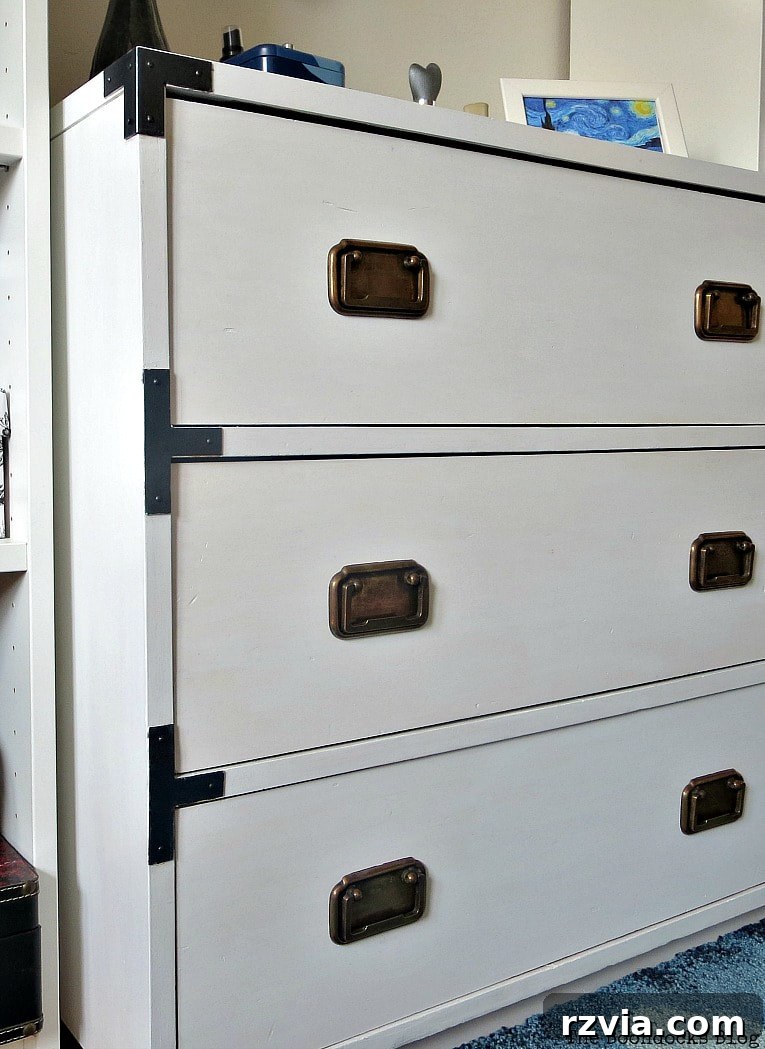
A Thoughtful Design: Avoiding the “Matchy-Matchy”
You might be wondering why I didn’t use the same toile pattern that graces the bookcases on the dresser. The intention behind this choice was to introduce an element of delightful surprise and to prevent the room from feeling overly coordinated or “matchy-matchy.” Design, after all, thrives on subtle contrasts and unexpected details. The damask pattern on the dresser, while distinct, harmonizes beautifully with the black and white theme of the room, adding depth and visual intrigue without overwhelming the space. It’s about creating a cohesive yet dynamic environment.
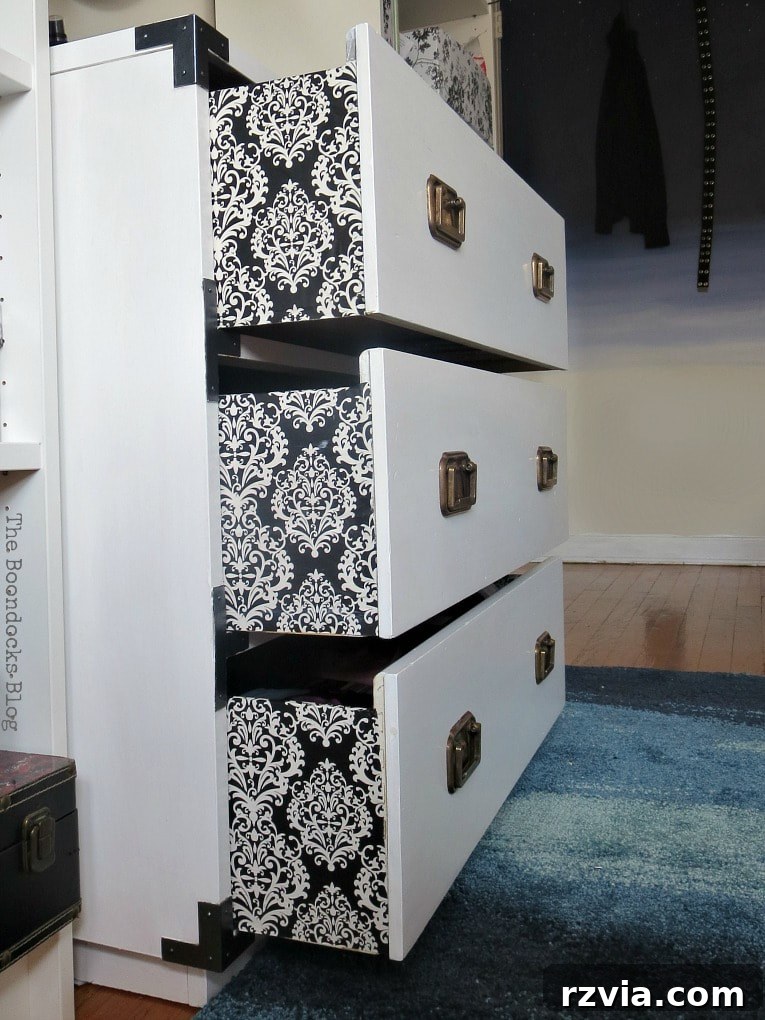
This dresser marks the final piece of furniture in the room to undergo a makeover. While I’m contemplating adding a chair later, for now, the room feels complete and beautifully refreshed.
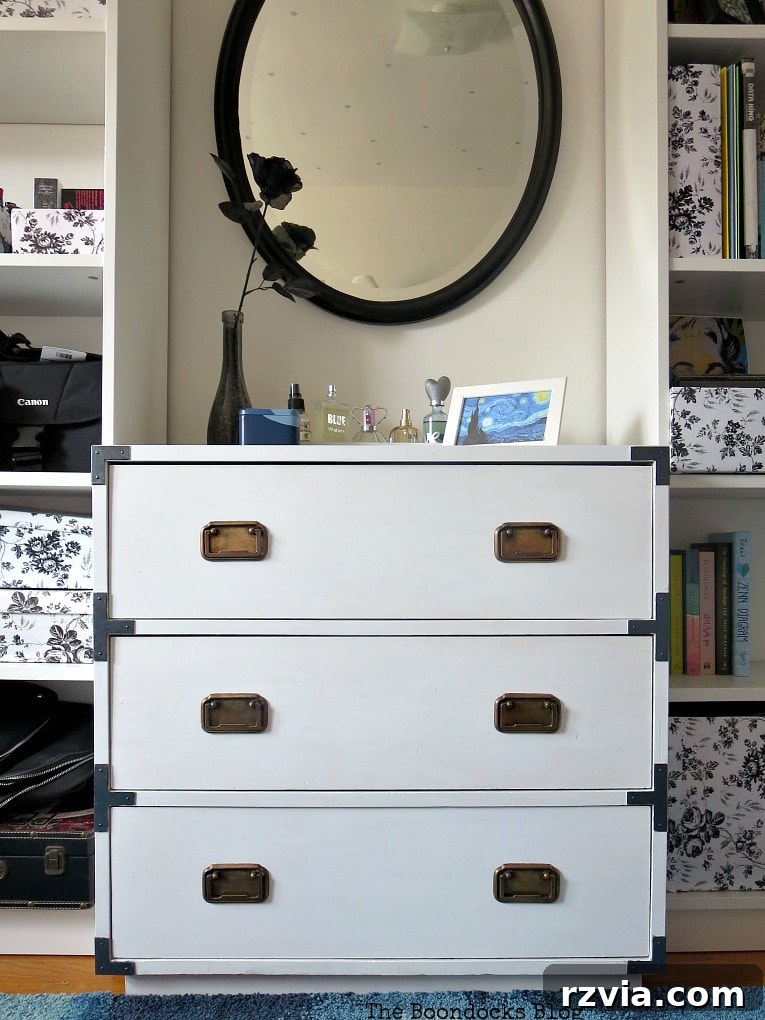
Sometimes, the simplest interventions, like a fresh coat of paint, can yield the most dramatic transformations. When I unveiled this piece to my dad, his jaw quite literally dropped. He remembered the dresser in its original, much worse condition and confessed he had always intended to paint it but never found the time. It was a gratifying moment, a testament to the power of DIY – and perhaps a little confirmation of where I inherited my own “DIY genes” from!
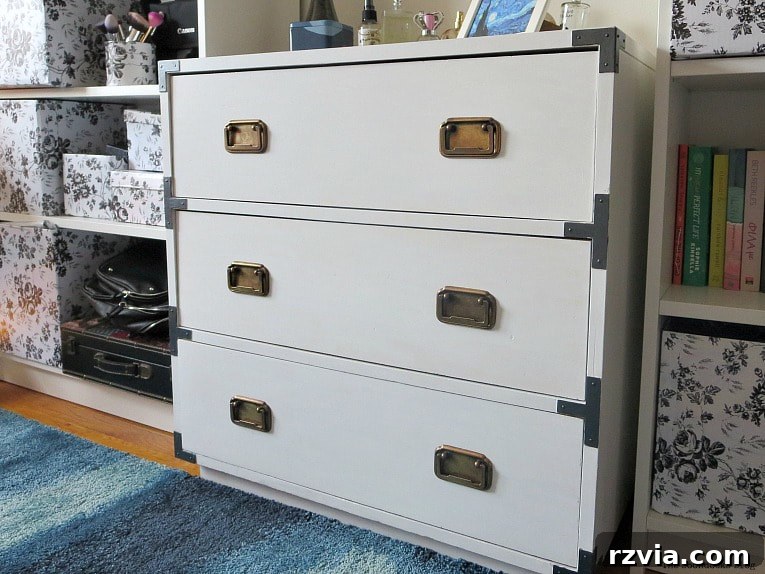
And so, our laminate campaign dresser, once a forgotten relic, has been lovingly restored, much like Cinderella for her grand entrance. She stands ready for the ball, radiating a refreshed elegance and modern charm. Now, I ask you, was I worthy of being a fairy godmother to this beautiful dresser? I believe so, and I hope this guide inspires you to find your own neglected pieces and bring them back to life!

Explore the Black and White Bedroom Project
The dresser makeover is just one part of a larger project. Dive into the complete transformation of this black and white bedroom by exploring these related posts: