
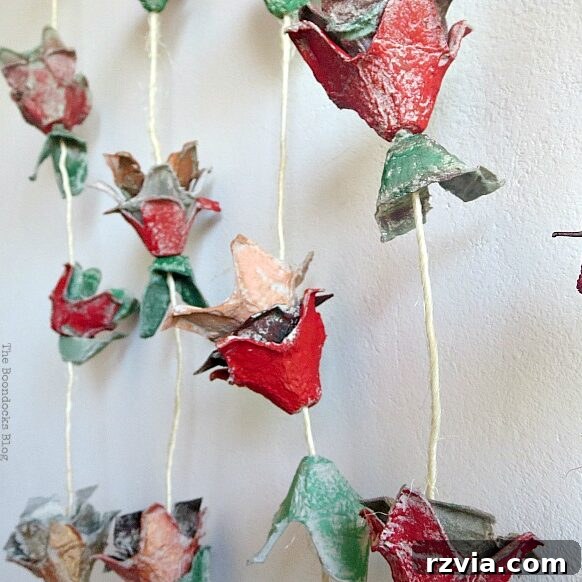
Crafting Autumn’s Charm: Easy Upcycled Egg Carton Fall Flowers
Last spring, while browsing my friend Carol’s delightful blog, The Red Painted Cottage, I stumbled upon an inspiring post. She had shared her wonderful visit to Magnolia Market, the iconic home decor haven owned by the beloved Chip and Joanna Gaines from The Fixer Upper. As I virtually toured through her beautiful photographs, my eye caught a charming decoration near a window. It was something utterly simple, yet profoundly creative: an ornament crafted entirely from egg cartons.
That moment sparked an undeniable joy in the depths of my “hoarder’s heart”! Finally, I had discovered a truly ingenious way to repurpose something often discarded as useless. My new adventure began immediately – collecting as many egg cartons as I could get my hands on, all to recreate this captivating project. Today, I’m thrilled to guide you through the process of making these surprisingly elegant and eco-friendly fall flowers using humble egg cartons. It’s a craft that combines sustainability with stunning seasonal decor, proving that beauty can indeed come from the most unexpected places.
If you’re a regular follower of my creative endeavors, you might recall my previous attempts at transforming everyday paper rolls into imaginative pieces, such as charming hearts or other unique creations. This egg carton project perfectly aligns with my passion for upcycling and finding new life in forgotten items. Prepare to be amazed by what a little paint, some twine, and a stack of egg cartons can become!
Why Upcycle Egg Cartons for Your Fall Decor?
Before we dive into the creative process, let’s appreciate why egg cartons are such a fantastic material for crafting, especially when it comes to seasonal decorations. Beyond the sheer satisfaction of turning trash into treasure, upcycling egg cartons offers numerous benefits:
- Eco-Friendly: Giving egg cartons a second life keeps them out of landfills, reducing waste and contributing to a more sustainable lifestyle. It’s a small but meaningful step towards environmental responsibility.
- Budget-Friendly: This craft is incredibly inexpensive. Most of the materials – egg cartons, a bit of paint, and some twine – are either readily available around your home or can be purchased for very little cost. It’s perfect for decorating on a shoestring budget.
- Versatile and Customizable: Egg cartons are surprisingly pliable and easy to work with. They can be cut, painted, and shaped in countless ways, allowing for endless creative variations. You can customize the colors and arrangements to perfectly match your home decor or the changing seasons.
- Unique Aesthetic: Unlike mass-produced decorations, handmade egg carton flowers possess a unique, rustic charm. Each “petal” and “flower” will have its own character, creating a one-of-a-kind piece that tells a story.
- Fun for All Ages: This project is simple enough for crafters of all skill levels, making it a wonderful activity to share with family and friends. It’s a great way to introduce children to the concept of repurposing materials.
So, gather your cartons, embrace the spirit of creativity, and let’s transform these everyday items into something truly beautiful!
Gather Your Supplies for This Inspiring Craft
To embark on this delightful upcycling journey, you’ll need just a few basic items. Most are likely already in your craft stash or readily available:
- Plenty of cardboard egg cartons (the more, the merrier for a lush display!)
- Scissors (sharp enough to cut through cardboard)
- Acrylic paints in your chosen fall color palette (think warm reds, burnt oranges, coppers, deep yellows, and earthy greens)
- Paintbrushes
- A tool for poking holes (a screwdriver, skewer, or even sharp scissors will do)
- Twine or sturdy string
- A piece of wood or a branch for hanging (driftwood, a dowel, or any sturdy stick will work)
Once you have everything assembled, prepare your workspace, maybe put on some inspiring music, and get ready to create some autumn magic!
Step-by-Step Guide: How to Make Your Egg Carton Fall Flowers
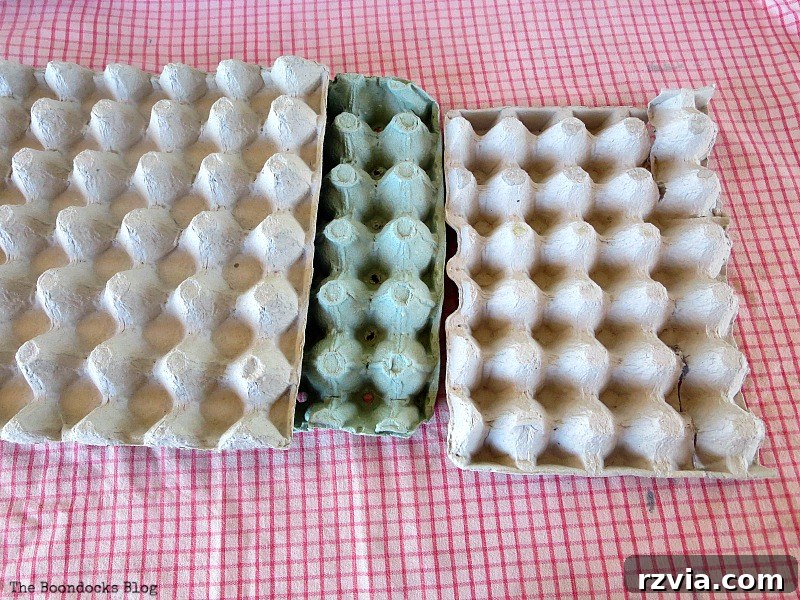
Step 1: Preparing Your Cartons – The Foundation of Your Flowers
The first step is to transform your whole egg cartons into individual flower “cups.” Carefully cut out each egg holder, separating them from the main carton. Don’t worry about achieving perfect symmetry or smooth edges; the beauty of this project lies in its rustic, organic feel. Embrace the imperfections – they add character and natural charm to your finished flowers.
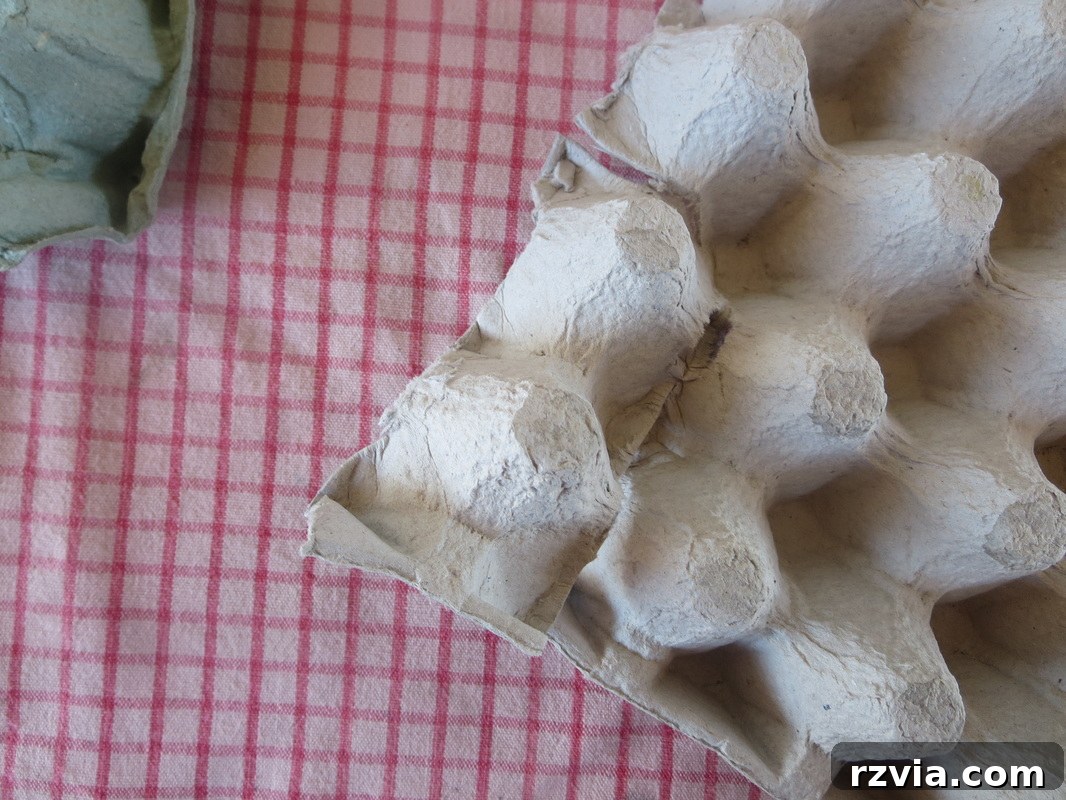
Once separated, each piece will resemble a small, somewhat irregular cup. This raw, natural look is exactly what we’re aiming for to create a sense of authenticity and handcrafted elegance. The variations in shape and size will make each flower unique, contributing to the overall beauty of your wall hanging.
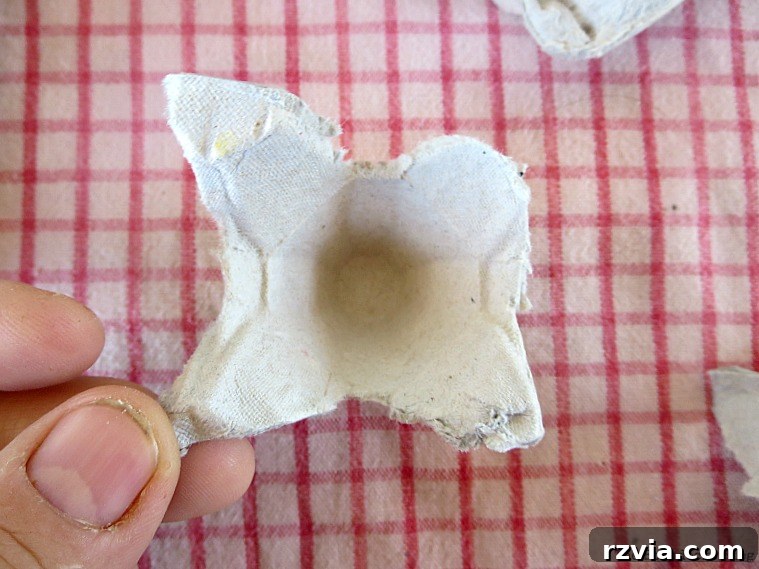
Step 2: Unleash Your Inner Artist – Painting Your Petals
Now for the fun part: painting! Grab your acrylic paints and brushes. There’s no strict science here – mix and match colors as you please. I opted for a rich fall palette, blending warm reds, deep oranges, coppery browns, and golden yellows to mimic the vibrant hues of autumn leaves. Don’t be afraid to experiment with different shades and blends on each piece. Did I get a bit carried away with all the beautiful colors? Perhaps, but the result was worth it! Allow the paint to dry completely before moving on.
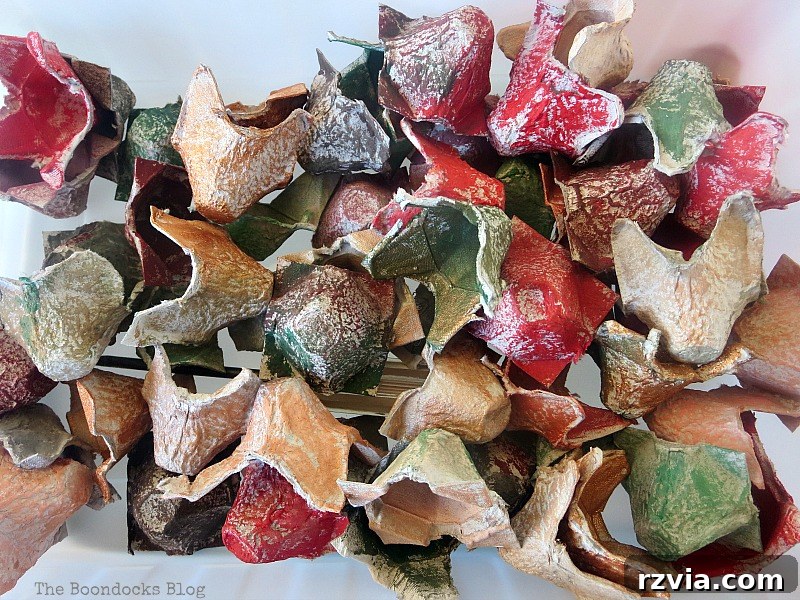
Step 3: Creating the Flower Base – Poking Holes
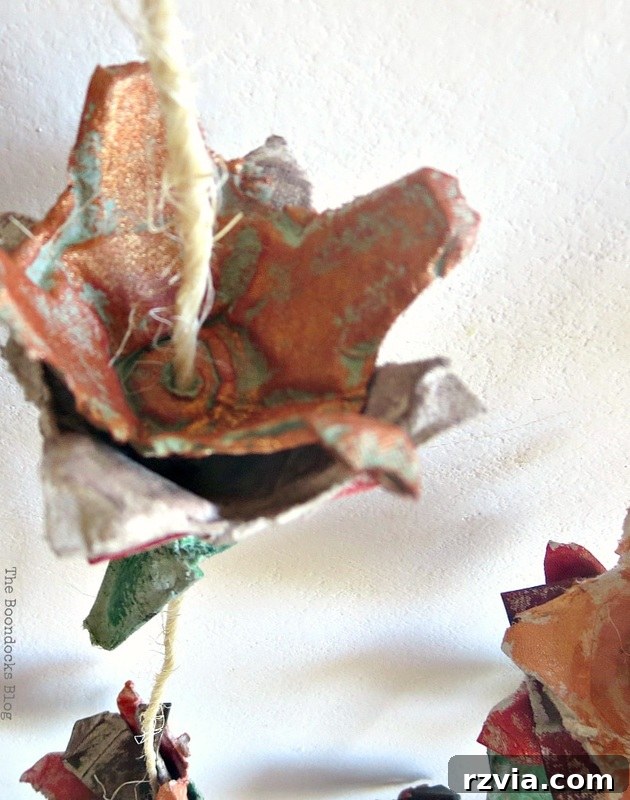
Once the paint is dry, you’ll need to create a small hole in the center of each painted egg carton cup. This hole will be used to thread the twine. I found a screwdriver handy for this task, but feel free to use any sharp, pointed object like a skewer, a robust knitting needle, or even the tip of a pair of scissors. Just be careful and ensure you have a stable surface beneath to avoid any accidents.
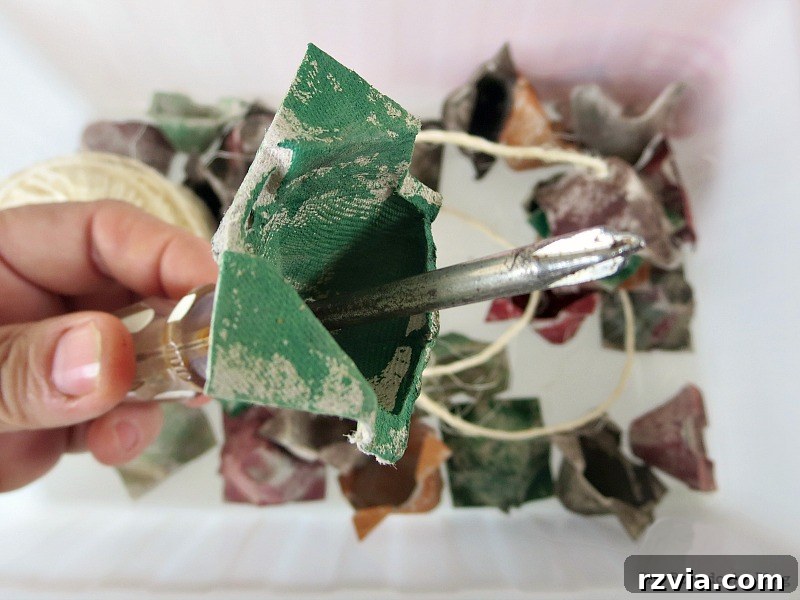
Step 4: Assembling Your Blossoms – Threading the Twine
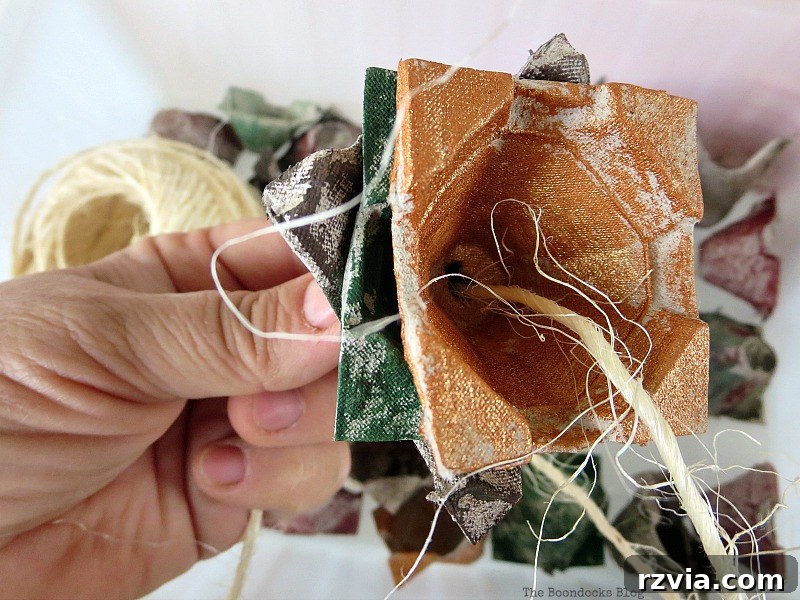
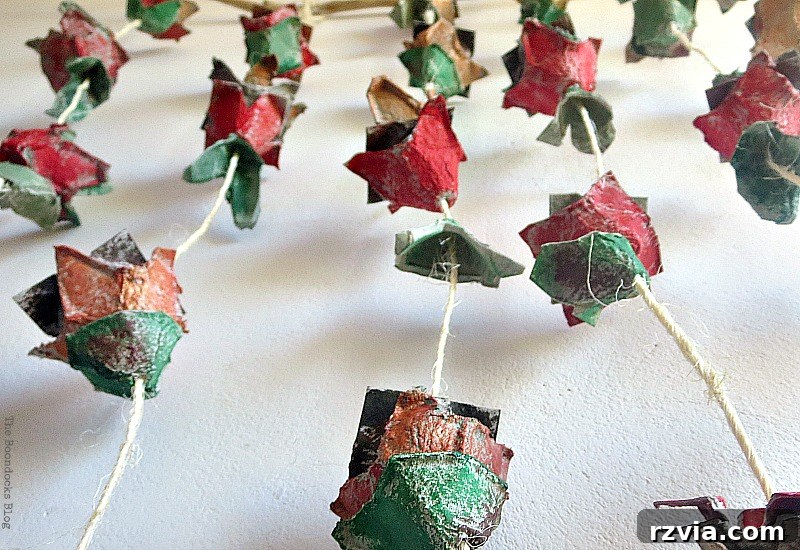
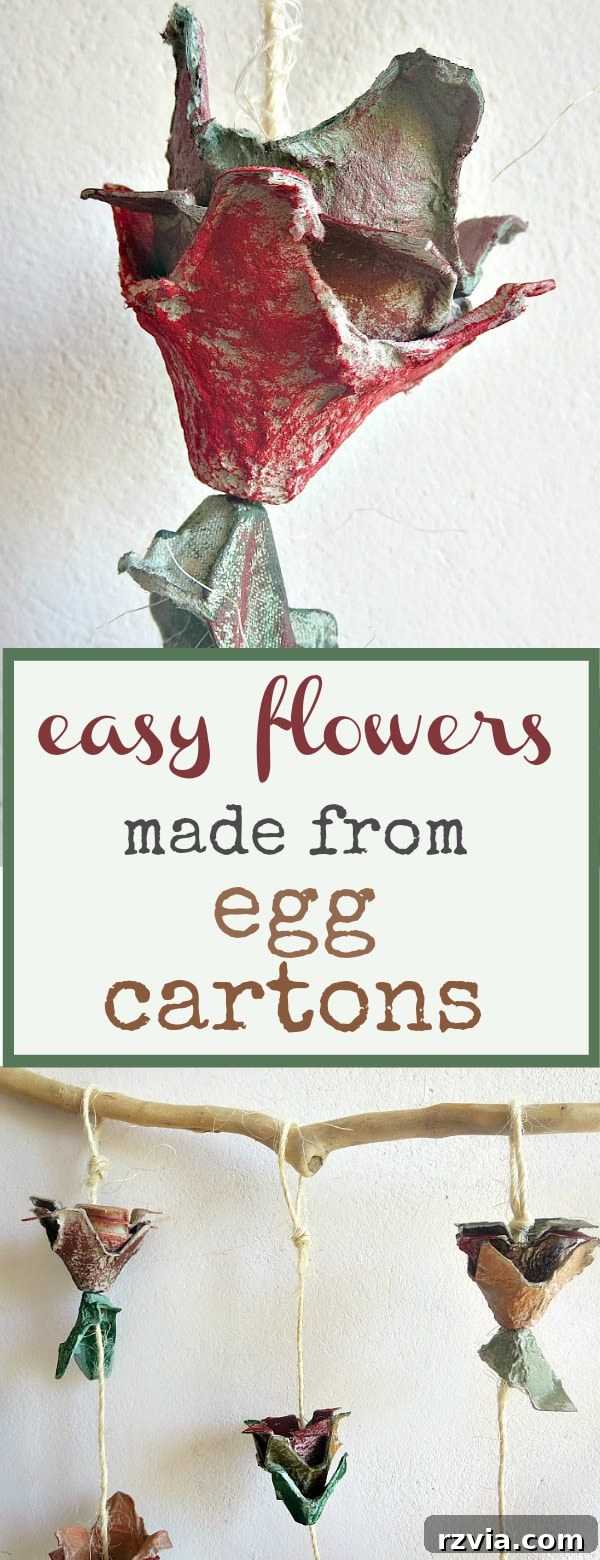
Now, let’s bring these individual pieces together into charming floral arrangements. Cut lengths of twine – the exact length will depend on how long you want your finished hanging strands to be. For each flower unit, take three of your painted egg carton cups. Thread the twine through the center hole of each, layering them one on top of the other. The key here is not to stack them perfectly evenly. Instead, gently twist and offset each layer slightly so that the edges stick out at different angles, creating a more organic, multi-petaled flower appearance. This twisting action gives depth and a natural feel, making them truly resemble abstract blossoms.
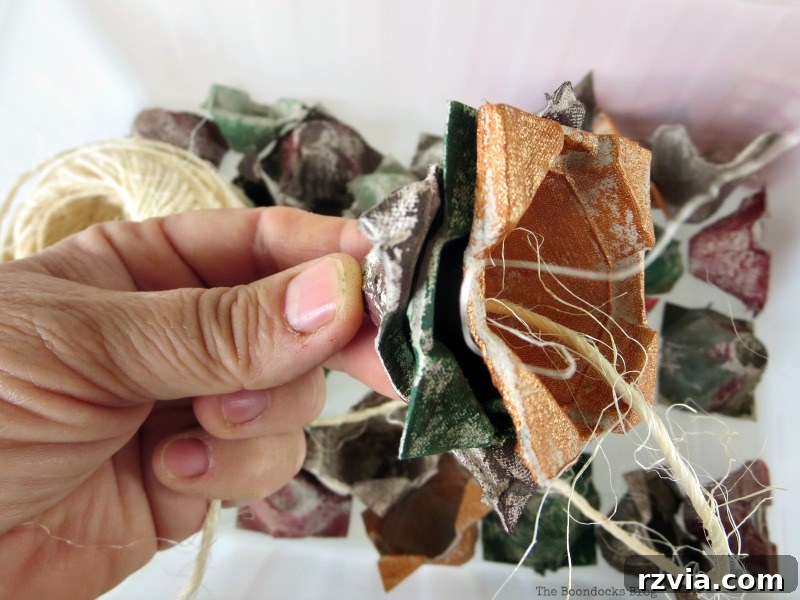
Here’s a closer look at the layered effect. Notice how the staggered placement of the “petals” contributes to the overall texture and visual interest. This technique is crucial for achieving that desired natural, bloom-like quality without needing intricate cutting.
Disclosure: The items below are affiliate links and link to Amazon.com. If you purchase any of these products through the links, I receive a small commission, which helps me continue to provide you with lovely content. There is no extra charge to you for purchasing through my affiliate links.
Step 5: Adding Leafy Accents – Finishing Touches
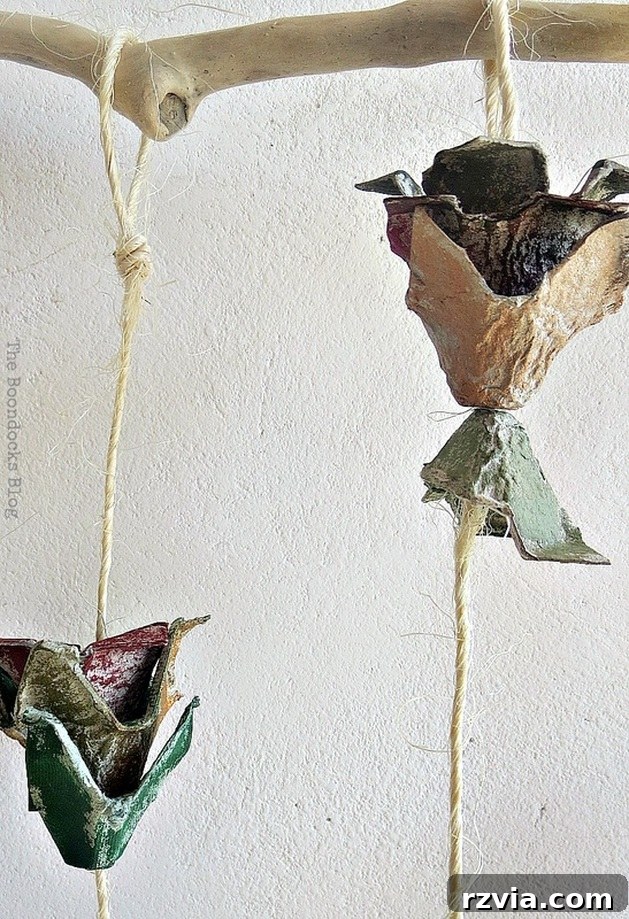
To add a touch of realism and a complete “vine” aesthetic, incorporate some of the half-shells that you might have from the edges of the egg cartons. Paint these green or a contrasting fall color to resemble leaves. Insert them upside down onto the twine, below your main flower clusters. You can also add some regular egg carton cups right-side up at the bottom of a string to vary the design. This creates a more dynamic and lush appearance, enhancing the natural, cascading look of your wall hanging.
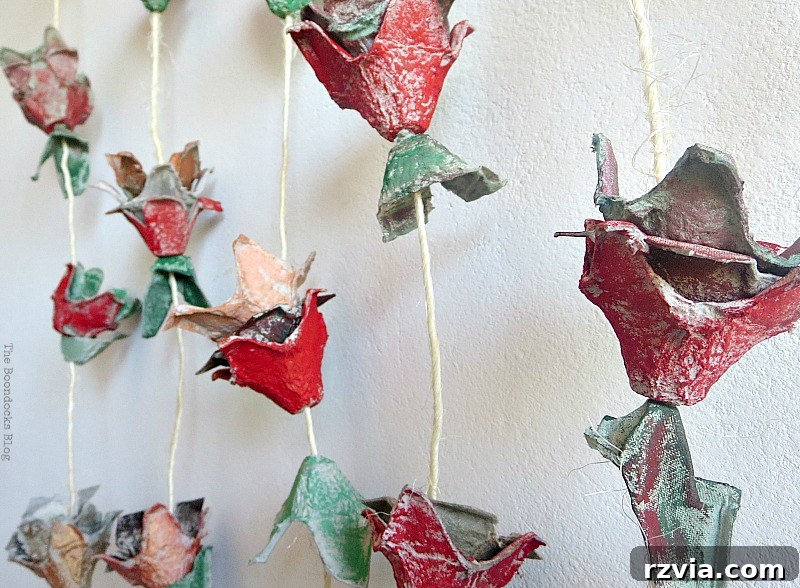
Step 6: The Grand Finale – Tying it All Together
The final step is to bring all your individual flower strings together into a cohesive piece. Take your chosen piece of wood or branch, which will serve as the top anchor for your decoration. Tie each completed string of egg carton flowers securely to the piece of wood. Space them out evenly or create a varied arrangement for a more artistic look. And just like that, your unique, upcycled fall flower wall hanging is complete!
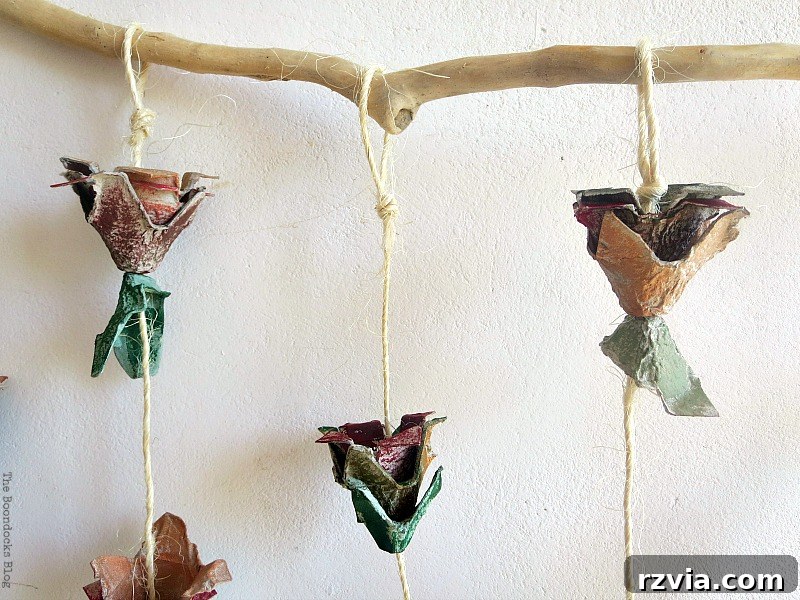
Bringing Autumn Inside: Displaying Your Masterpiece
Once assembled, find the perfect spot to display your beautiful creation. I love how it looks hanging against the wall, especially with the warm glow of the morning sun streaming through the window. The light beautifully highlights the varied textures and rich fall colors, bringing a cozy, autumnal ambiance to the room.
Each individual egg carton piece, twisted and layered, truly takes on the appearance of delicate flower petals. The imperfect, handmade quality is what makes it so charming and unique.
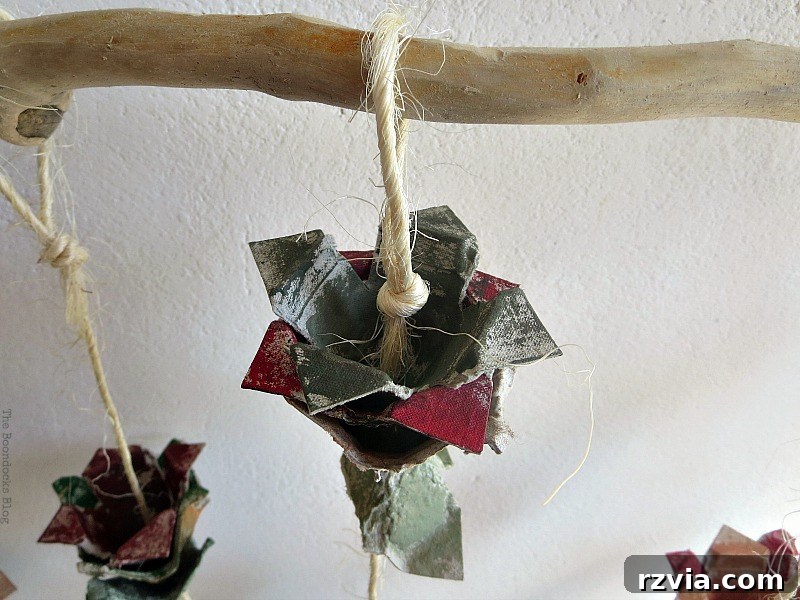
The carefully chosen blend of warm reds, coppers, and other fall tones creates a harmonious palette that perfectly captures the essence of the season. It’s amazing how simple, discarded materials can be transformed into such a visually rich display.
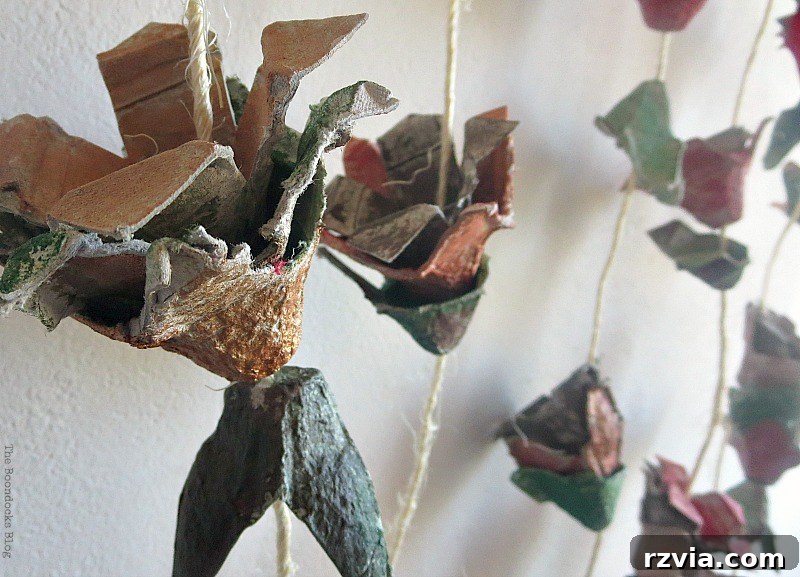
When hung, the arrangement creates a beautiful illusion, resembling a whimsical vine of flowers gracefully climbing down the wall. It adds a touch of organic beauty and handcrafted warmth to any space.
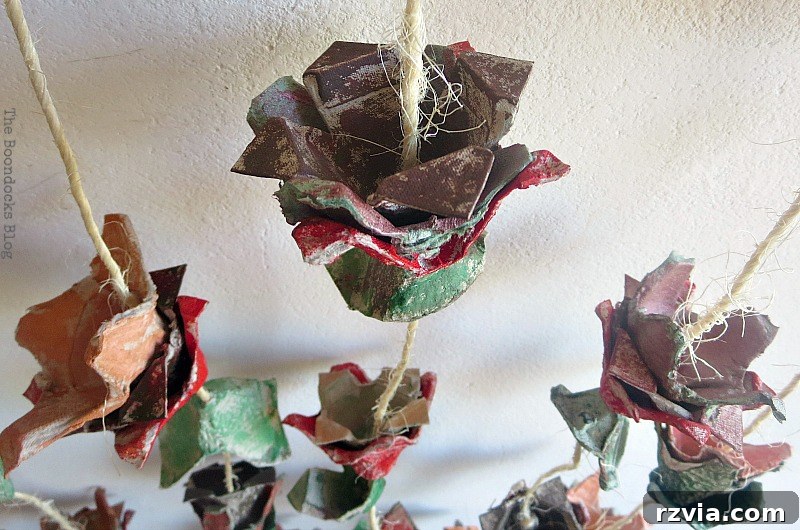
It now proudly adorns my wall. I did attempt to hang it in front of a window, and while it looked lovely in person, the photograph turned out quite horrible, so I’ll spare you that visual! Sometimes, the camera just doesn’t capture the magic as the human eye does.
One of the aspects I cherish most about this project is the individuality of each flower. No two are exactly alike, creating a truly organic and artistic display. Furthermore, the beauty of this craft is its adaptability: you can paint these flowers any color imaginable to reflect your current mood, celebrate a different season, or match a specific decor scheme.
The Enduring Joy of Repurposing
A huge thank you goes out to Carol of The Red Painted Cottage, whose inspiring post at Magnolia Market truly ignited the spark for this project. Her lovely photos and idea stayed with me for two whole seasons until I finally had the chance to bring my vision to life. I must admit, the final outcome far exceeded my expectations. It’s a testament to how a simple glimpse of inspiration can lead to something truly rewarding.
It seems all my “hoarding” of egg cartons truly paid off, wouldn’t you agree? Not only did I create this beautiful and unique wall hanging, but I also contributed positively to the environment by repurposing these materials in a creative and constructive way. It’s a win-win!
So, there you have it – a super easy project with a significant visual impact, showing you how to make charming fall flowers using everyday egg cartons. Do you have any surprising items you love to hoard and repurpose, or am I the only quirky crafter around? Share your thoughts in the comments below!
If you enjoyed this tutorial, please share it with your friends or save it to your Pinterest boards for future reference. If you’d like to stay updated on all my creative adventures, subscribe to my blog and receive fresh content directly in your inbox twice a week!
Related Upcycling and DIY Projects You Might Love
<< Sweet Inspiration Link Party #27 HOME The Paranoid Man Pumpkin Craft >>
This blog is for entertainment purposes only; my DIY tutorials are not professional advice. Read my full disclaimer here.
I love it when I get your comments and I will reply to them. Please do not add a hyperlink to your comment, otherwise we cannot publish it.