
Transforming an Old Honey Tin into a Rustic DIY Kitchen Utensil Holder
As a home cook and DIY enthusiast, I’ve noticed a common dilemma in many kitchens, including my own: an abundance of kitchen utensils! It seems no matter how many spatulas, whisks, or ladles I own, there’s never quite enough space, and standard ceramic holders often fall short. They either overflow, topple over, or simply don’t match the unique aesthetic I’m trying to cultivate. This persistent clutter on my kitchen counter had me wondering if there was a more functional and stylish way to store these essential tools without sacrificing precious counter space or breaking the bank on new storage solutions. This isn’t just about tidiness; it’s about creating a harmonious and efficient kitchen environment.
Instead of heading to a home goods store, I decided to embark on a little treasure hunt right within my own home. I delved deep into my cabinets, rummaging through forgotten corners and dusty shelves, hoping to unearth a hidden gem. Lo and behold, my persistence paid off! I discovered an old metal tin, a relic from a time when we evidently consumed a generous amount of nature’s liquid gold. This particular tin was quite substantial, once holding a hefty 5 kilograms or about 10 pounds of honey. It’s safe to say, our family has always had a sweet tooth! The size and robust nature of this tin immediately sparked an idea: it possessed the perfect dimensions and sturdy construction to house my ever-growing collection of kitchen utensils. This wasn’t just any old tin; it was a blank canvas waiting for a creative transformation, a potential solution to my kitchen organization woes, and a testament to the power of upcycling.
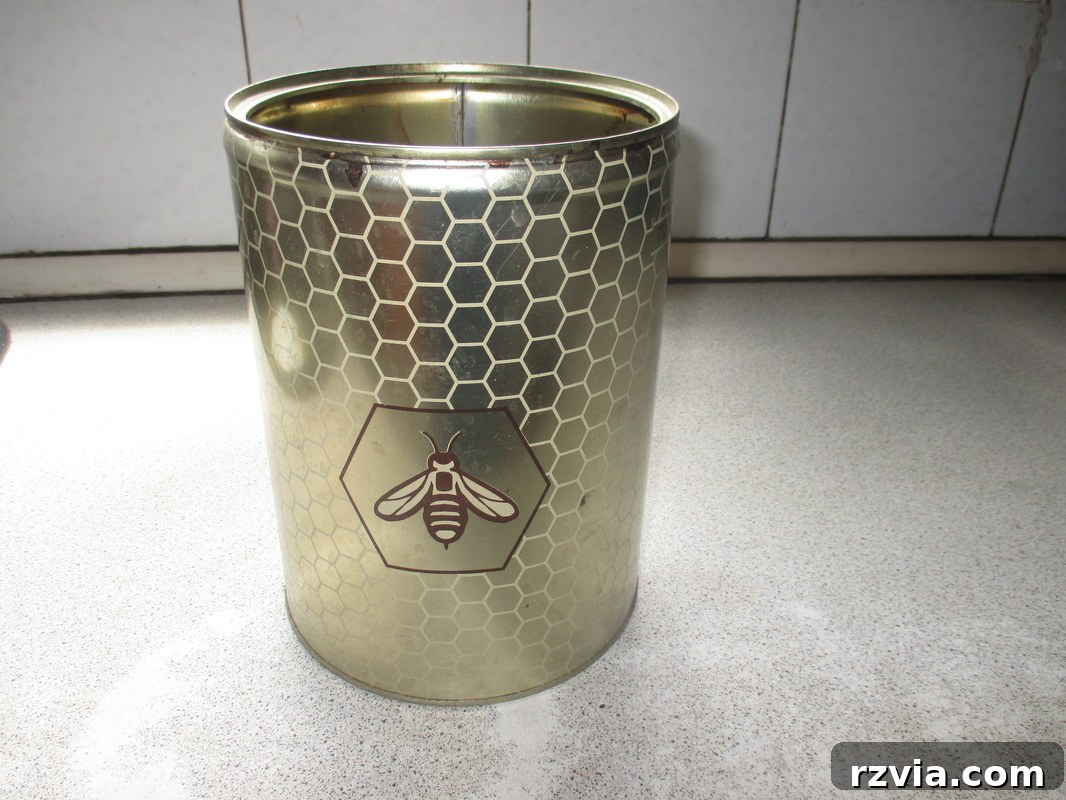
The Artistic Genesis: A Touch of Black
My first step in this exciting upcycling journey was to give the large honey tin a complete makeover with a coat of black paint. Now, I can almost hear you thinking, “Does she have an obsession with black, or did someone just gift her a gallon of it?” It’s a fair question! While it might seem like a simple or even arbitrary choice, I assure you there’s a method to my apparent “madness.” Black isn’t just a color; it’s a statement. In interior design, black offers a sophisticated, grounding element that can elevate any space. My kitchen, in particular, features certain accents and appliances that benefit from this bold, modern hue. By choosing black, I wasn’t just covering the old tin; I was setting the stage for a dramatic transformation, aiming for a look that would be both elegant and versatile, capable of seamlessly integrating into my existing decor. This initial step was crucial in moving the piece from a forgotten container to a potential showstopper, laying the foundation for the character and charm it would soon embody.
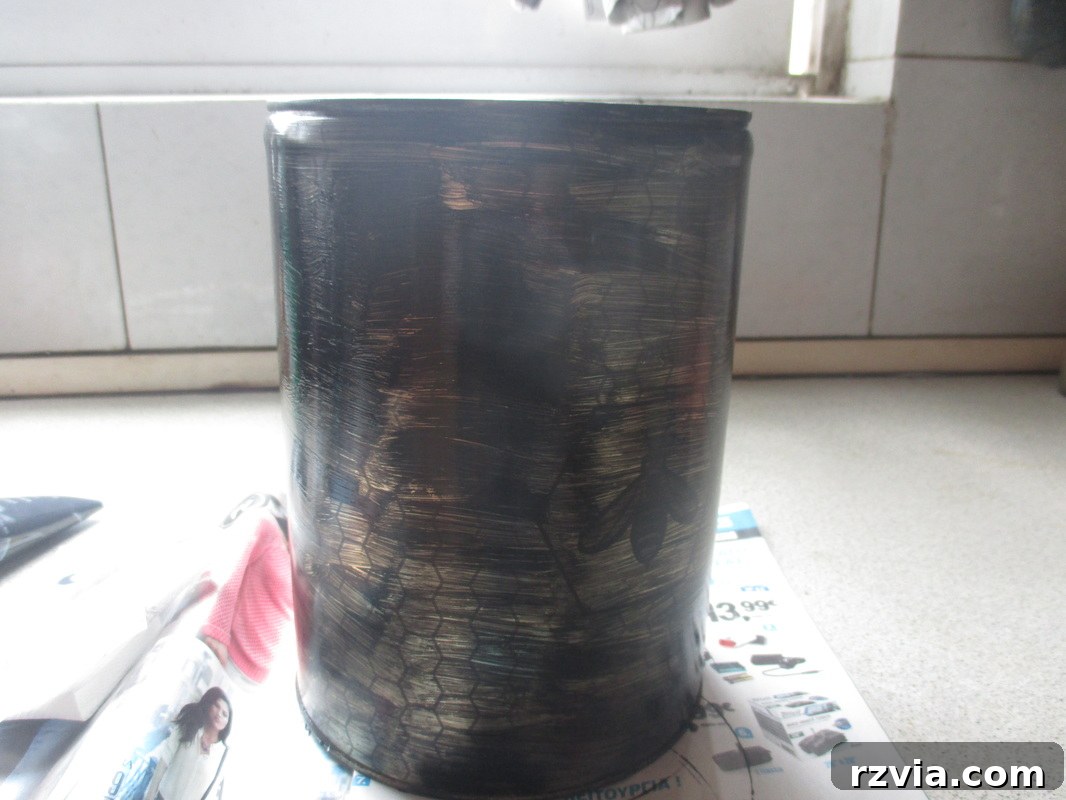
Embracing the Beauty of Imperfection
Achieving full, opaque coverage on the old tin required approximately three coats of acrylic paint. Even after multiple layers, the coverage wasn’t absolutely flawless. However, for this particular project, perfection wasn’t the goal; in fact, minor inconsistencies and subtle variations in the paint’s texture were exactly what I was hoping for. I consider myself far from a perfectionist, especially when it comes to crafting. My aesthetic leans towards the rustic, the vintage, and the subtly worn – pieces that tell a story and possess a unique character. These “imperfections” were not flaws but rather deliberate opportunities. They were essential for the next phase of my transformation, acting as a canvas for the distressed look I had envisioned. This approach saves time, reduces stress, and ultimately creates a piece with a much more authentic and lived-in feel, perfectly suited for a farmhouse or industrial-inspired kitchen aesthetic. It’s about finding beauty in the natural wear and tear, rather than striving for a sterile, factory-made finish.
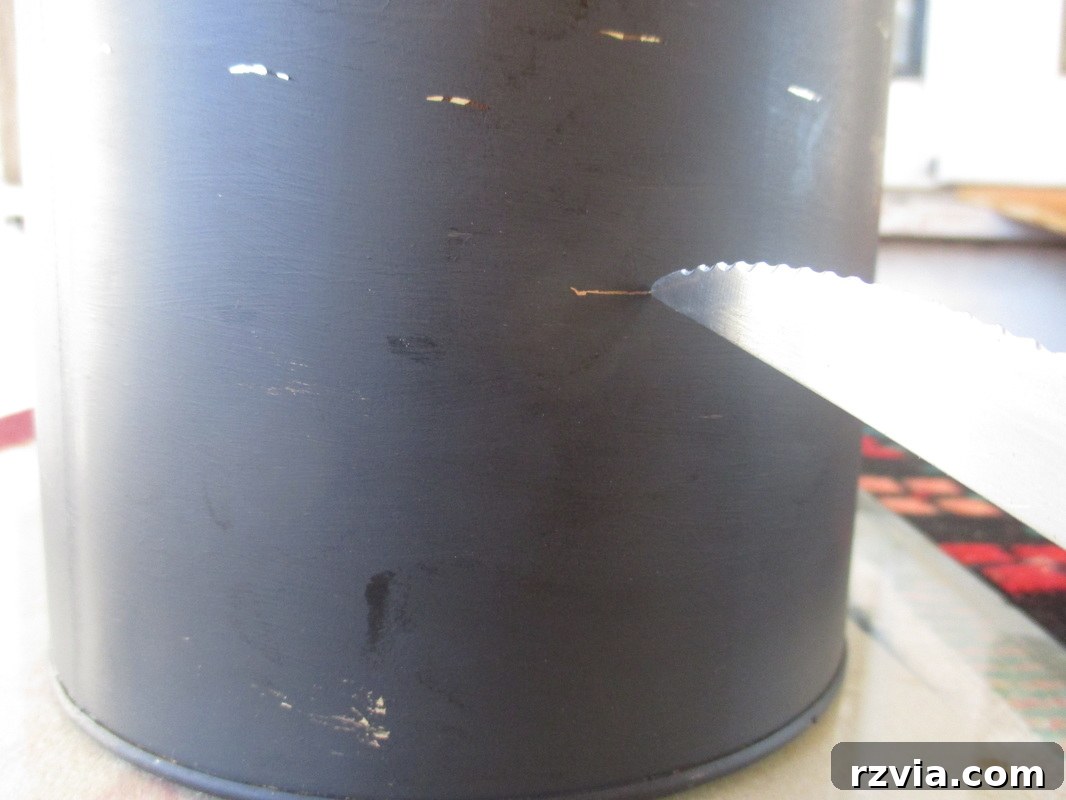
Adding Character: The Art of Distressing
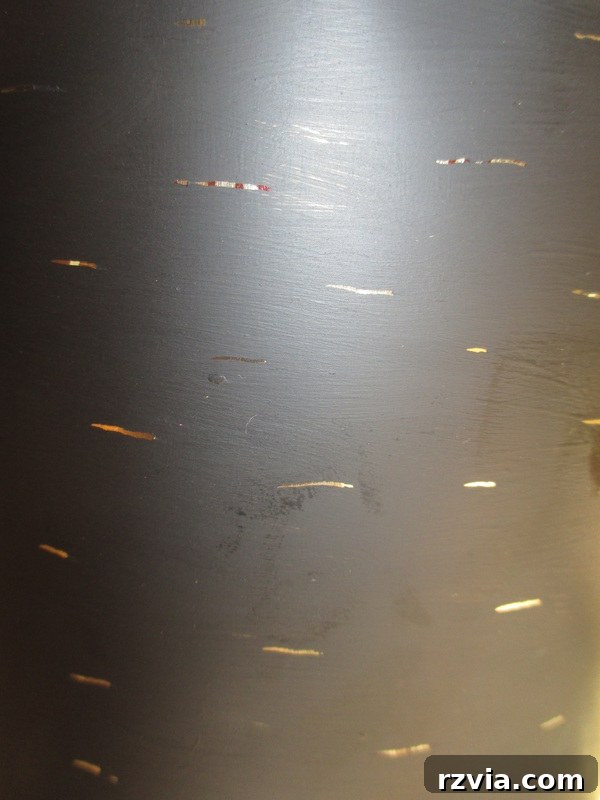
Here’s where the magic truly happened and my initial “imperfections” came into play. With the black paint dry, I began the distressing process, intentionally creating scratches and lines onto the surface of the tin. For this, I simply used a household knife, applying gentle but firm pressure to scrape away layers of paint. This technique wasn’t about damaging the piece, but rather about strategically revealing the original gold finish of the tin peeking through from underneath. The contrast between the matte black and the shimmering gold created a wonderfully aged and rustic effect, giving the utensil holder a sense of history and character. Each scratch was deliberate, contributing to a worn, vintage appearance that tells a story, making the piece unique and adding depth that a flat, uniform paint job simply couldn’t achieve. This method allows for complete control over the level of distress, ensuring the final look is exactly as envisioned – perfectly imperfect.
Sealing the Deal: Ensuring Durability
With the distressing complete and the desired rustic look achieved, the final crucial step was to apply a protective varnish. This clear coat serves a vital purpose: to seal in the paint and the distressed details, safeguarding them from the inevitable wear and tear of a busy kitchen environment. Kitchens are high-traffic areas, prone to spills, splashes, and constant handling. Without a durable protective layer, my beautifully upcycled utensil holder wouldn’t stand a chance against daily use. The varnish ensures that the black paint remains intact, the golden scratches retain their crispness, and the entire piece maintains its aesthetic appeal for years to come. It’s an essential step for any DIY project destined for a functional space, transforming a decorative item into a truly practical and long-lasting kitchen accessory. This final touch provides both protection and a subtle sheen, enhancing the overall finish.
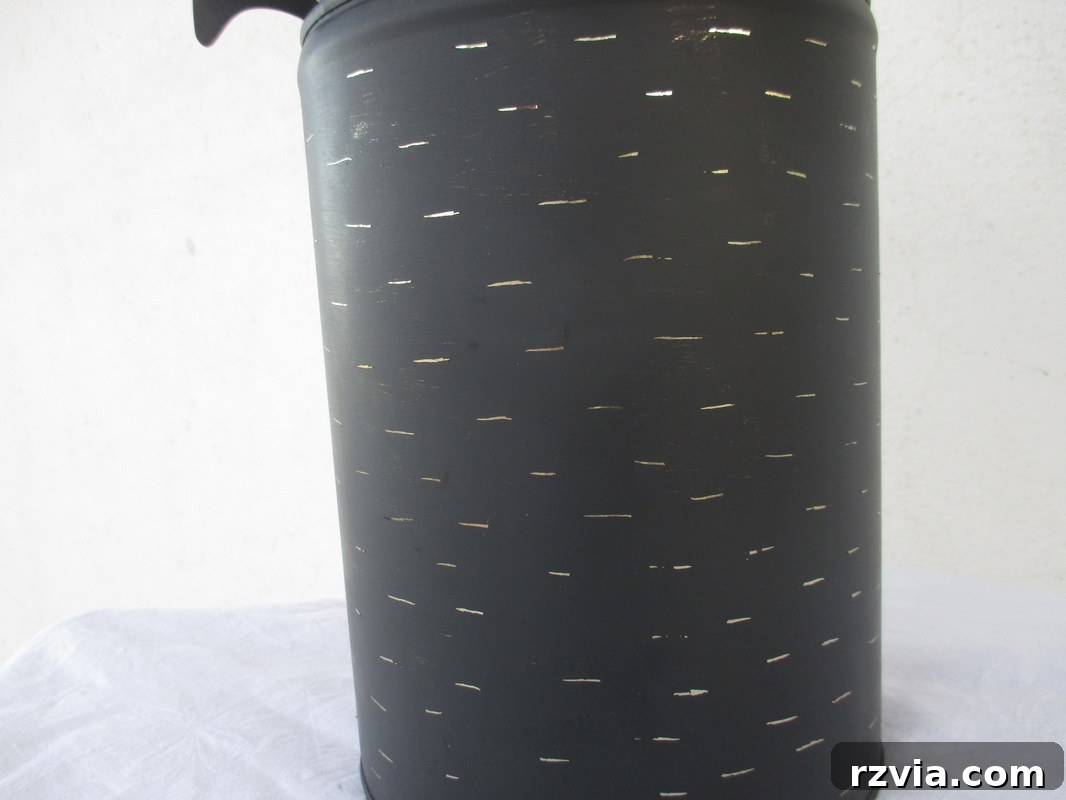
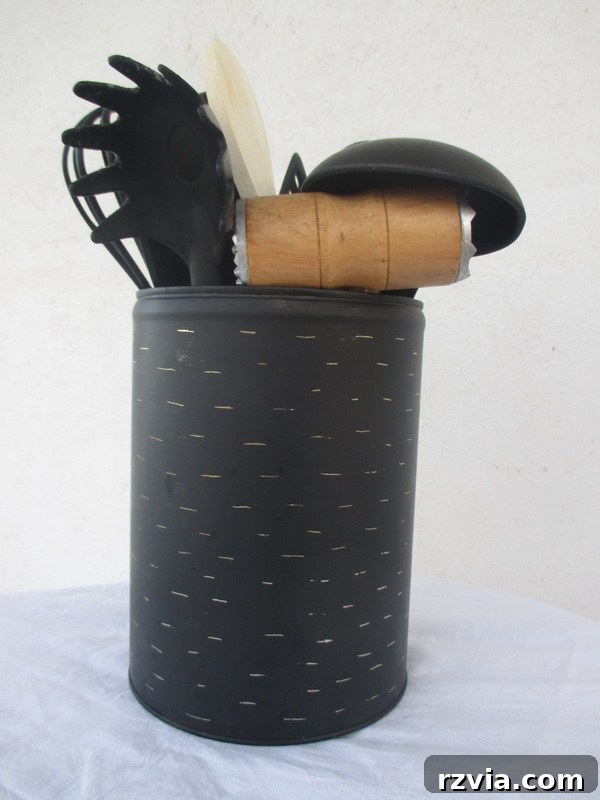
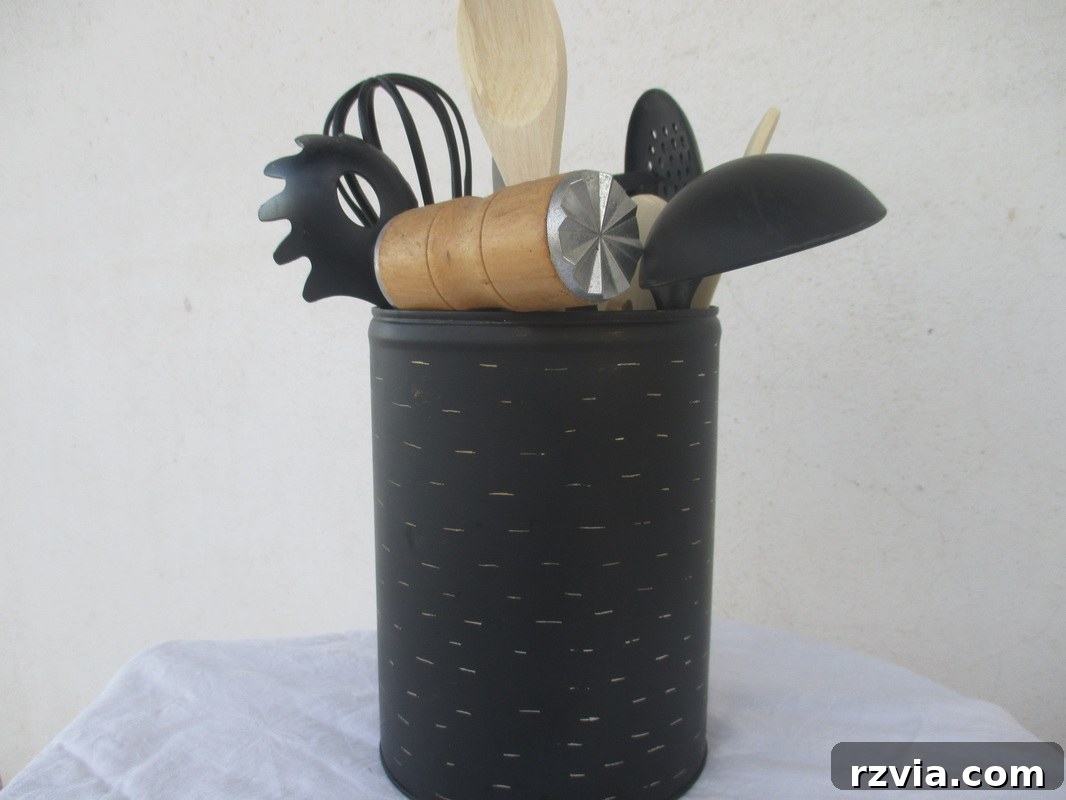
And with all my beloved kitchen utensils finally in place, I was left with something truly special: a piece I like to call “imperfect perfection”! It’s a testament to the idea that beauty doesn’t always lie in flawless finishes or store-bought uniformity, but often in the unique character and story that a handmade, upcycled item carries. This rustic utensil holder perfectly embodies the charm of a well-loved, functional object, bringing a touch of personalized warmth to my kitchen.
A Cohesive Kitchen Aesthetic
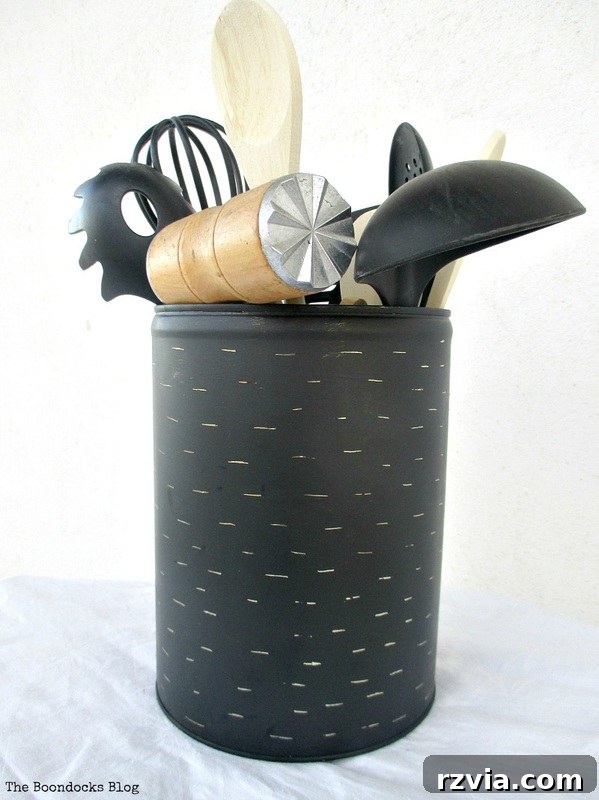
The moment I placed my newly transformed utensil holder on the counter and filled it with my collection of sleek black kitchen tools, I knew my initial instinct about the black paint was spot on. It complements them perfectly, creating a cohesive and sophisticated look that ties the entire counter space together. This isn’t just a haphazard collection of kitchen implements; it’s a curated display that adds to the overall aesthetic of the room. So, you see, there was indeed a carefully considered thought process behind all that black paint. It wasn’t just a random choice, but a deliberate decision to enhance the visual appeal and functionality of my kitchen. The distressed finish adds depth and texture, preventing the black from appearing too stark, and instead lending a warm, inviting feel that complements the practical nature of the space.
Your Thoughts and My Next Upcycle Challenge
Now that the project is complete and proudly displayed, I can’t help but wonder: is it perhaps *too* elegant for a bustling kitchen counter? Did I inadvertently create a piece that’s almost too refined for its utilitarian purpose? Or does its rustic charm perfectly balance its sophisticated color? I’d love to hear your opinions! This super easy, virtually no-cost upcycle truly exemplifies how readily available items can be transformed into something beautiful and functional with a little creativity and effort. It’s a rewarding process that not only saves money but also gives new life to forgotten objects. What are your thoughts on this distressed black utensil holder? Let me know in the comments below – your insights and feedback are always appreciated, and they often inspire my next DIY adventure!
Materials You’ll Need for Your DIY Utensil Holder:
- An old metal tin (honey tin, coffee tin, large food tin)
- Black acrylic paint (or your preferred color)
- Paint brushes
- A sharp knife or abrasive tool for distressing
- Clear varnish or sealant
- Cleaning supplies (soap, water)
Simple Step-by-Step Guide:
- Clean Your Tin: Thoroughly wash and dry your old tin to ensure it’s free of any residue or rust.
- Prime (Optional): For better paint adhesion, you can apply a metal primer, though acrylic paint often adheres well to clean metal.
- Paint It Black: Apply 2-3 coats of black acrylic paint, allowing each coat to dry completely. Don’t worry about perfect coverage; minor imperfections add character.
- Distress for Effect: Once the paint is fully dry, use a sharp knife or sandpaper to carefully scratch and distress the surface, revealing the original metal color underneath. Focus on edges and areas that would naturally show wear.
- Seal with Varnish: Apply 1-2 coats of clear varnish or sealant to protect the paint and distressed finish from moisture and daily use. Allow to dry completely.
- Fill and Enjoy: Place your kitchen utensils inside your new, custom-made holder and admire your handiwork!
Why Upcycle? The Benefits Beyond the Project
Upcycling isn’t just a fun craft; it’s a sustainable practice that offers numerous benefits. By repurposing an old honey tin, we prevent it from ending up in a landfill, contributing to waste reduction. It’s an incredibly budget-friendly way to decorate and organize your home, as most materials are either found or inexpensive. Beyond the environmental and financial aspects, upcycling allows for immense personalization. You get to create a unique piece that perfectly matches your home’s style and tells a story, unlike mass-produced items. This DIY utensil holder is more than just storage; it’s a statement about conscious living and creative expression in your home.
Customization Ideas for Your Upcycled Tin
While I chose a distressed black and gold aesthetic, the possibilities for customizing your upcycled tin are endless! Consider using a vibrant pop of color like turquoise or mustard yellow for a modern look. You could try different distressing techniques, such as sanding to create a softer, more weathered effect, or even applying a rust-effect paint for an industrial vibe. Stencils are another fantastic option for adding patterns, numbers, or decorative motifs. Imagine a tin with a stenciled herb name for garden tools, or a geometric pattern to match a contemporary kitchen. The key is to let your creativity flow and design a piece that truly reflects your personal style and complements your home decor.
Conclusion: Embrace Your Inner DIY Designer
This simple project is a wonderful reminder that beautiful, functional decor doesn’t have to come with a hefty price tag. With a little imagination and some basic supplies, an forgotten item like an old honey tin can be given a brand new life, solving a common kitchen problem while adding a unique touch to your home. It’s about celebrating handmade charm, sustainable living, and the satisfaction of creating something truly your own. So next time you’re about to discard an old container, pause and consider its potential. You might just be holding your next favorite DIY project!
You May Also Like These Creative DIY Projects:
|
HOME
|
Happy May Day >>
This blog is for entertainment purposes only; my DIY tutorials are not professional advice. Read my full disclaimer here.
I love it when I get your comments and I will reply to each one here or on your blog.