
Transforming the Forgotten: A Rusted Dish Rack’s Journey to Rustic Charm
Welcome, fellow DIY enthusiasts and upcycling advocates! Today, I’m thrilled to share a simple yet impactful project that breathed new life into an item destined for the landfill. We’ve all been there – staring at something old, rusted, and seemingly beyond repair, with the easy option being to simply toss it. But sometimes, just sometimes, inspiration strikes, turning what seemed like trash into a treasured piece of functional decor.
My inspiration came in the form of an old, neglected dish rack. Its wire frame, once a dutiful helper in the kitchen, was now marred by rust and age. It was teetering on the edge of the discard pile when a spark of creativity ignited. Instead of letting it go, I envisioned a complete transformation, giving it a stylish new purpose.
The “Before” Picture: A Humble Beginning
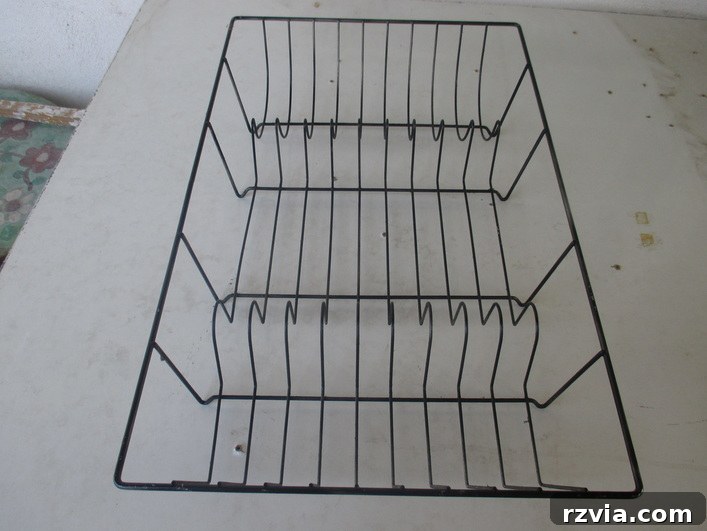
I whisked that old wire rack away to my creative sanctuary at the farm, where most of my painting magic happens. In my eagerness to start, I completely forgot to snap a “before” picture – a common oversight in the heat of a crafting moment! To help you visualize its initial state, imagine a standard metal dish rack, similar to the stock photo below, but with significant rust spots and a general air of wear and tear. It truly looked like it had seen better days and was ready for retirement.
The First Coat: Rust-Proofing and Revitalization
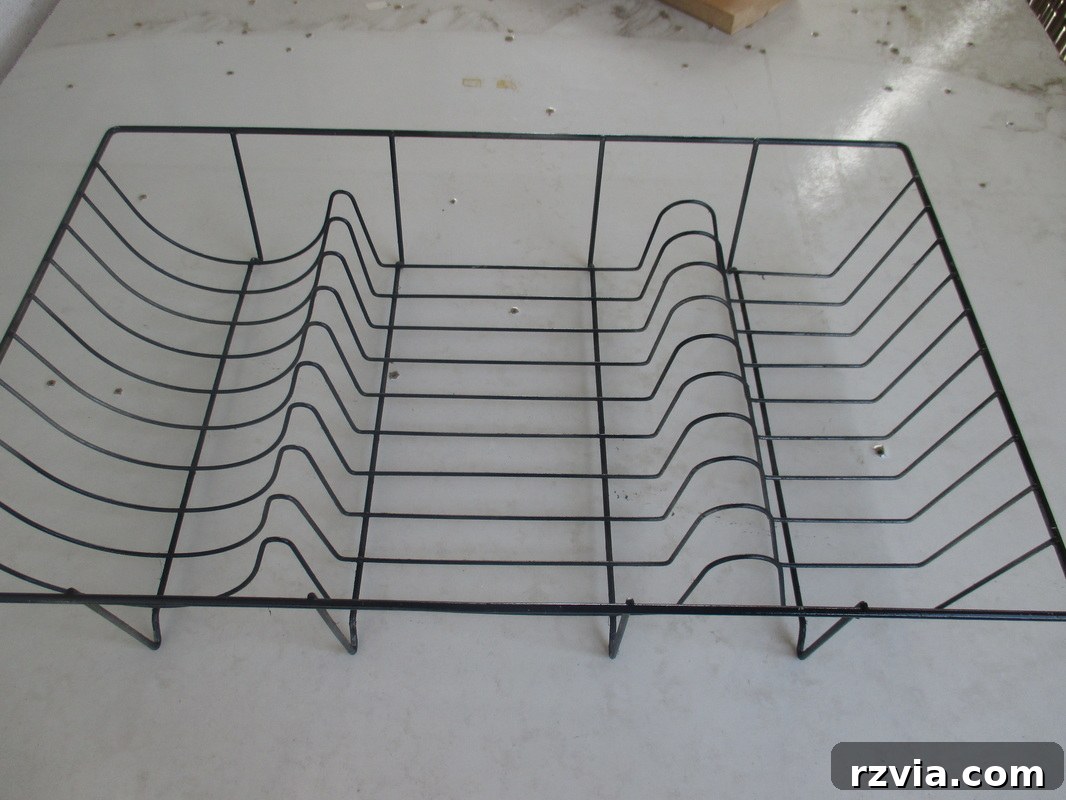
The first crucial step in this revival project was to tackle the rust and provide a fresh, protective base. I opted for a black rust-proof spray paint. Black offers a classic, versatile finish that can effortlessly blend with various decor styles, from modern to rustic. More importantly, the rust-proof quality ensures that my newly repurposed item will stand the test of time and not revert to its former rusty self.
I applied the paint, aiming for even coverage, but confess that I was running low on paint by the end. This meant the coverage wasn’t absolutely pristine – a blessing in disguise, I believe. The slight imperfections and the hint of the old world showing through the new coat only added to its charm, giving it an authentic, well-loved character. It’s a testament to the fact that perfection isn’t always the goal; sometimes, a little ruggedness adds immense personality.
Embracing the “Wrapping Frenzy”: Adding Rustic Texture
Now, for the next creative dilemma: what to do after the paint had dried? If you’ve been following my crafting adventures, you might know that I’ve been in a bit of a “wrapping frenzy” lately. I’d even vowed to take a break from wrapping projects for a while… but as fate would have it, this dish rack practically begged for some twine!
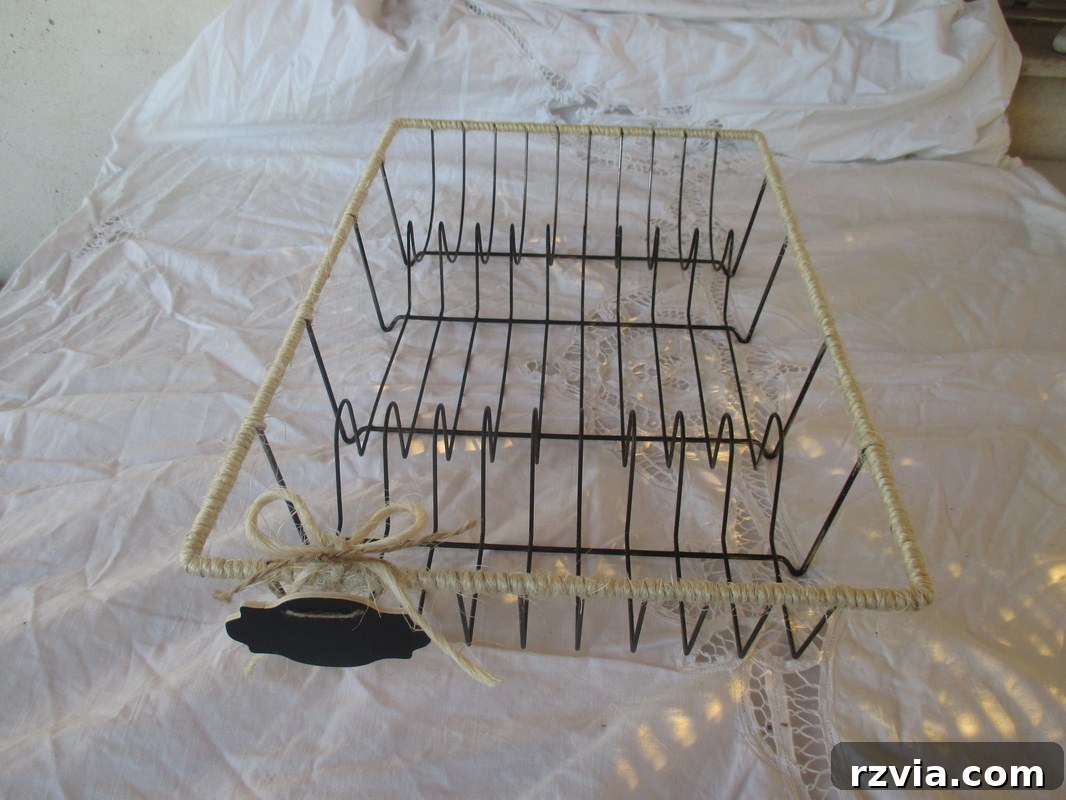
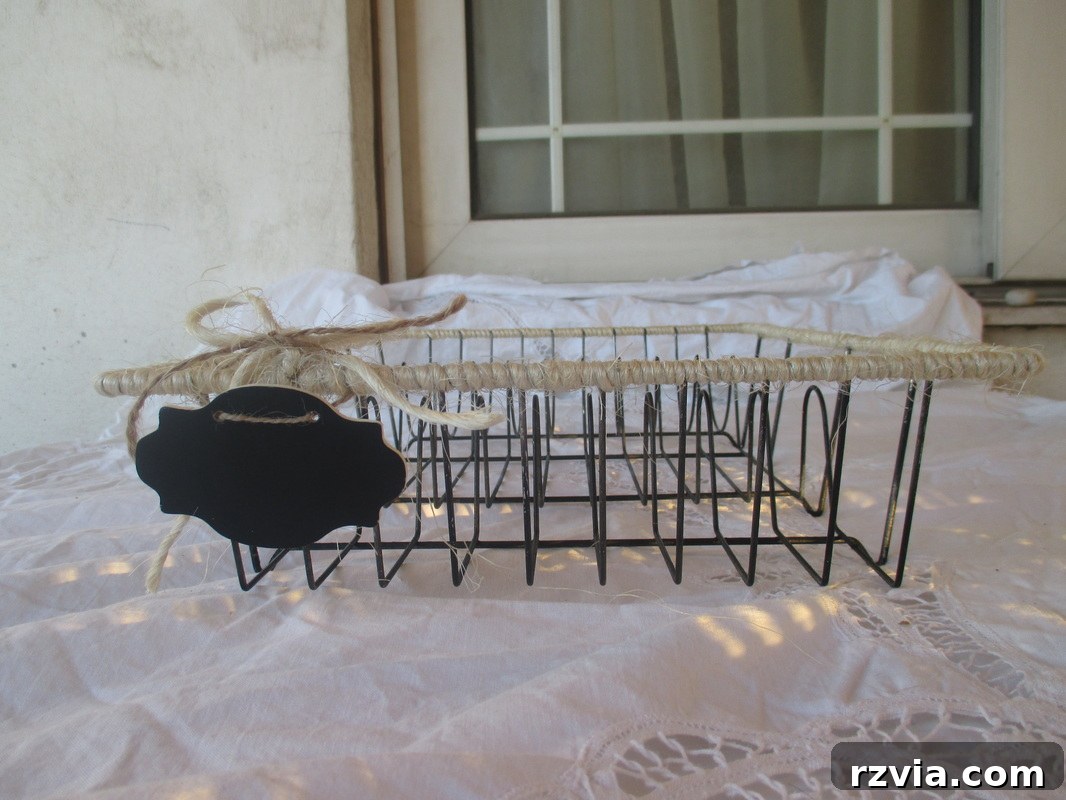
And so, I succumbed to the urge, and I’m so glad I did. This time around, the wrapping process felt much less arduous, perhaps because the black base provided such a clear canvas, or maybe I was just more practiced. I carefully wrapped the twine all around the top section of the wire rack, intertwining it through the bars to create a beautifully textured contrast against the smooth, dark paint.
The Art of Twine Wrapping
Twine is an incredible material for adding a touch of rustic, farmhouse, or coastal charm to almost anything. Its natural fibers and earthy tone bring warmth and organic texture to metal or plastic items. For this project, the twine served multiple purposes: it visually softened the industrial look of the wire, added a tactile element, and further enhanced the repurposed, handcrafted feel I was aiming for. I found that wrapping it tightly and evenly, securing the ends with a simple knot or a dab of glue (though I just tied mine), made for a clean and professional finish.
The Final Touches: Rustic Elegance and Personalization
With the twine securely wrapped around the upper section of the wire rack, the transformation was almost complete. I believe this simple addition imparts a wonderful rustic feel without making the piece look overly heavy or cluttered. As I mentioned earlier, the slightly imperfect black paint job contributes to an “old world charm,” giving it a history and warmth that a perfectly factory-finished item might lack.
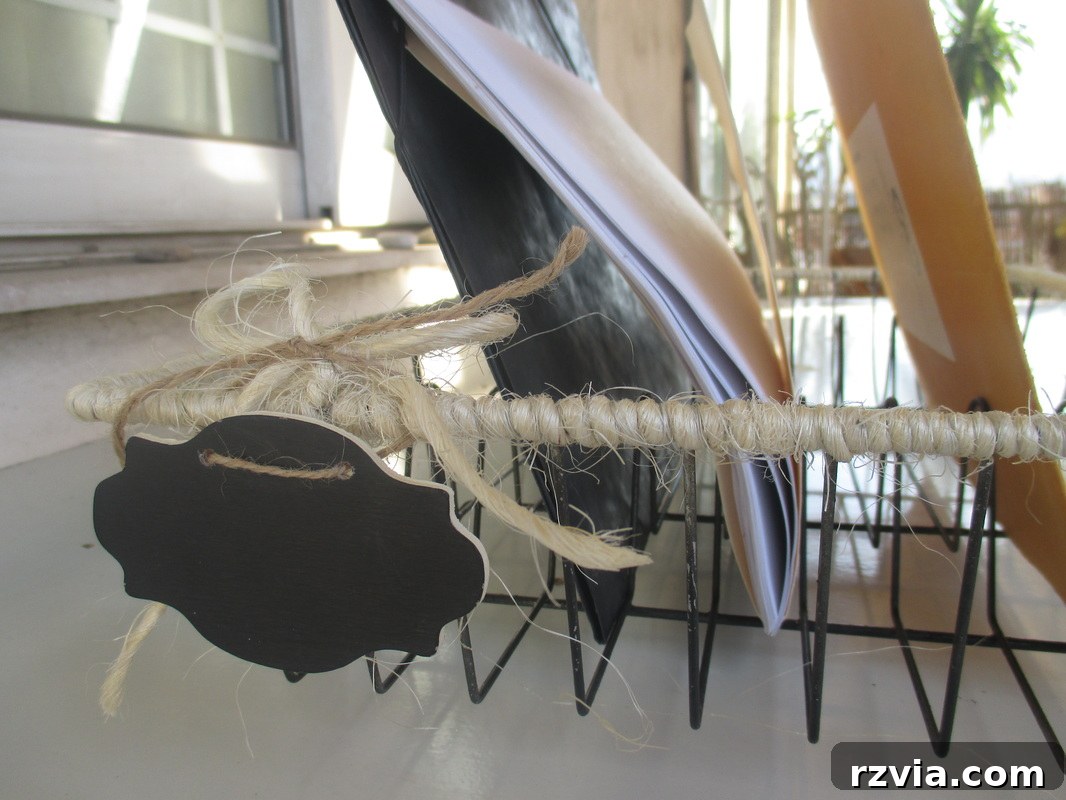
To truly personalize and complete the look, I tied off the twine on the side and attached a small blackboard label that I had previously purchased from Michael’s. These little labels are fantastic for DIY projects, allowing you to easily write or draw on them, changing their message as needed. It’s a small detail, but it elevates the piece, offering both functionality (if used for categorization) and decorative flair.
|
|
I secured the twine with a neat knot on the side and added the charming blackboard label. This small, interchangeable detail allows for customization, whether you want to label its contents or simply add a decorative message. |
A New Purpose: From Dish Rack to Stylish File Holder
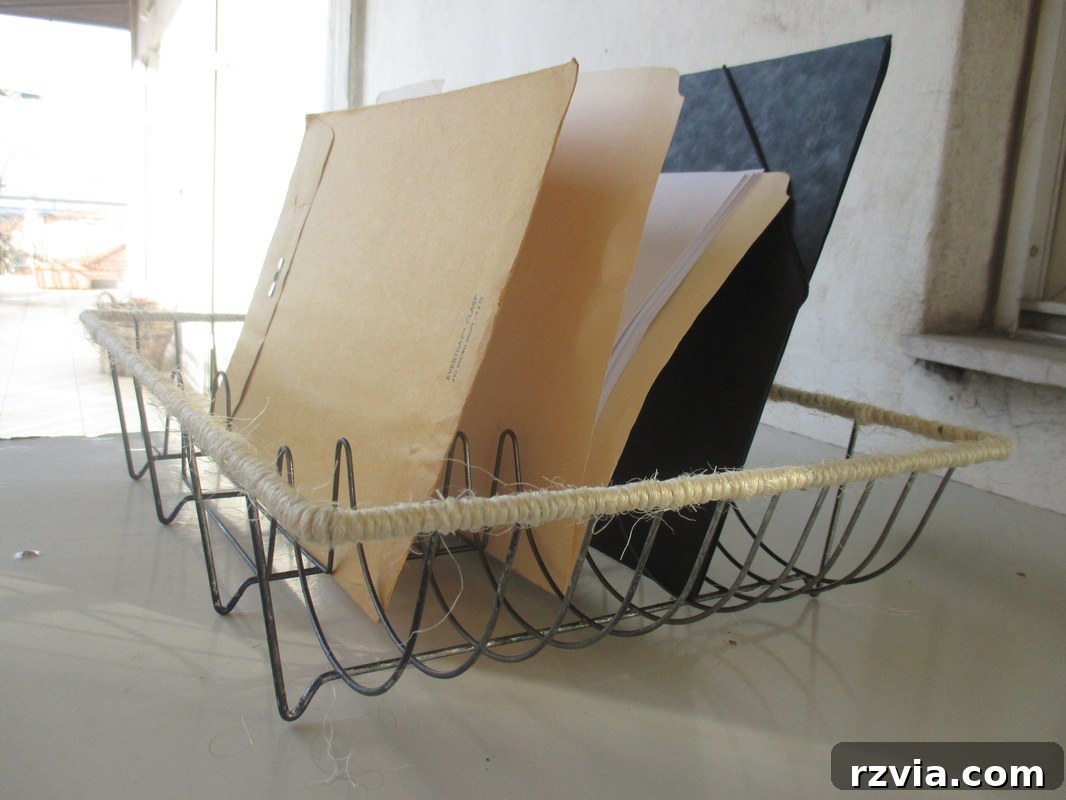
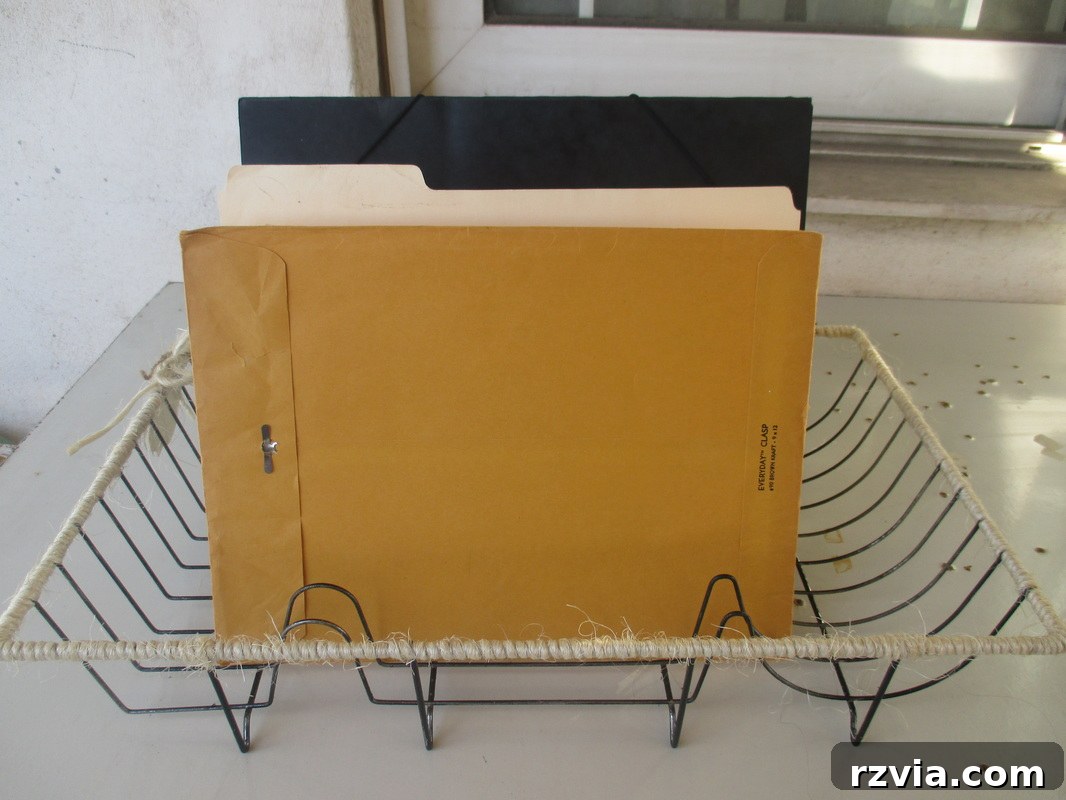
Once the decorative elements were complete, the next question was its ultimate function. While originally a dish rack, its new aesthetic opened up a world of possibilities. After some thought, I decided its new role would be as a chic file holder. Its sturdy wire structure and divided sections proved ideal for keeping documents, magazines, or mail neatly organized.
This repurposing is a fantastic solution for anyone looking to add a touch of unique style to their home office, craft room, or even kitchen counter. Instead of a generic plastic or metal file organizer, you now have a one-of-a-kind piece that tells a story, marrying practicality with bespoke decor.
Why Choose Repurposing? The Benefits of Upcycling
This project isn’t just about transforming a dish rack; it’s about embracing the broader philosophy of upcycling. Upcycling, or creative reuse, offers numerous benefits:
- Environmental Impact: By repurposing items, we divert waste from landfills, reducing our environmental footprint and conserving natural resources.
- Cost-Effectiveness: Breathing new life into old items is often far more economical than buying new ones, especially for decorative or organizational pieces.
- Unique Decor: Upcycled items are inherently unique. They carry a history and a handmade touch that mass-produced goods simply cannot replicate, adding character and personality to your home.
- Creative Expression: DIY projects like this allow for personal expression and a sense of accomplishment. It’s incredibly satisfying to see your vision come to life.
- Sustainability: It fosters a mindset of sustainability, encouraging us to look at discarded items with fresh eyes and imagine their potential.
So, the next time you’re about to toss something, pause for a moment. Could it be your next DIY masterpiece? The possibilities are endless!
Disclosure: The items below are affiliate links and link to Amazon.com. If you purchase any of these products through the links, I receive a small commission, that way I can continue to provide you with lovely content. There is no extra charge to you for purchasing through my affiliate links.
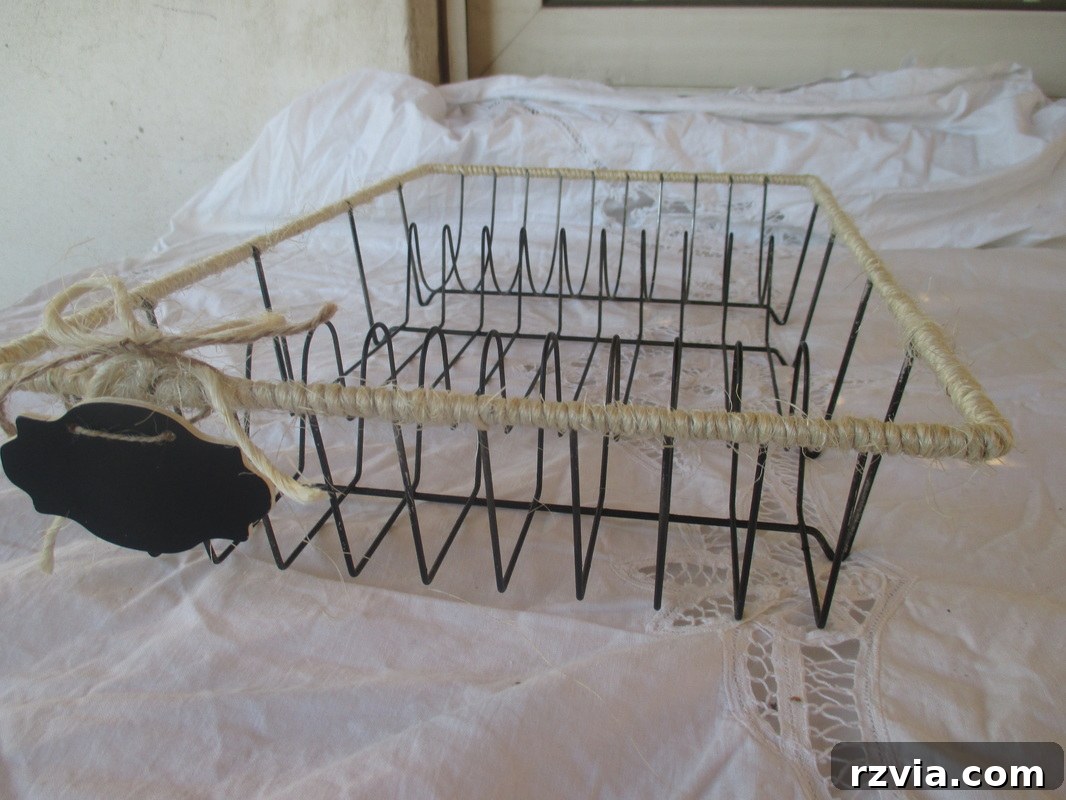
This project truly exemplifies the potential hidden within everyday household items. It’s amazing what a little imagination, some paint, and twine can do to transform something mundane into a statement piece. It’s not just a file holder; it’s a conversation starter, a nod to sustainable living, and a testament to the power of DIY.
Your Turn to Create: Share Your Upcycling Journey!
That about wraps up this simple yet satisfying transformation for today. I hope you enjoyed seeing how an everyday, seemingly unusable household item can be given a completely new lease on life with just a few materials and a dash of creativity. This easy repurpose project is a wonderful way to add character to your home and practice sustainable living.
What are your thoughts on this project? Have you ever repurposed something unexpected into a functional piece of decor? I’d love to hear about your own upcycling triumphs and ideas in the comments below! Let’s inspire each other to see the potential in every forgotten item.
If you like what you see and want to be part of our creative community, please share this post with your friends, or save it to your favorite Pinterest board for future inspiration. If you’re eager for more DIY adventures and upcycling tips, consider subscribing to my blog to get fresh content delivered straight to your inbox twice a week!
You May Also Like These Creative Repurposing Ideas:
The Twine Lady Returns
The Useless Display Rack
The Hanging Corner
This blog is for entertainment purposes only; my DIY tutorials are not professional advice. Read my full disclaimer here.
I love it when I get your comments and I will try to reply to them or visit you on your blog. Please do not add a hyperlink to your comment, otherwise, we cannot publish it.