
Transform Your Space: DIY Heater Cover with Upcycled Cardboard and Washi Tape
Welcome back, everyone! I hope you all enjoyed a fantastic weekend. For me, it marked the start of another school year for the kids, and my seemingly endless quest to finish decorating that bedroom continues. Today, I’m excited to share a clever and budget-friendly DIY project that addresses a common household dilemma: the unsightly but essential space heater. This project is all about transforming a necessary eyesore into a functional and stylish piece of furniture.
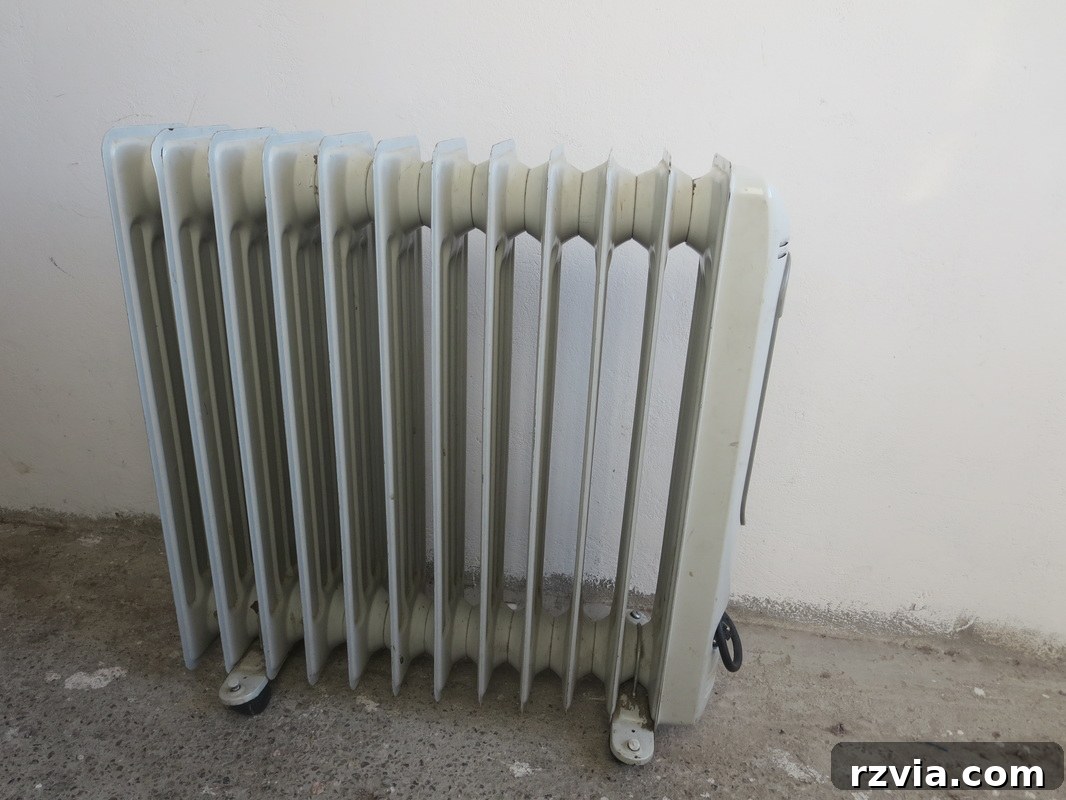
Every home has those indispensable items that, while serving a crucial purpose, might not be the most aesthetically pleasing. In our case, it’s a trusty spare electric heater. It’s a lifesaver on those unexpectedly chilly evenings, providing much-needed warmth. However, it usually sits behind the bed, looking rather utilitarian and, frankly, a bit out of place. We often tried to use the top surface for a bedside lamp, but its uneven and exposed nature made it an unreliable and unsafe spot for anything delicate. I knew it needed a makeover – something to not only conceal its presence but also make it more functional.
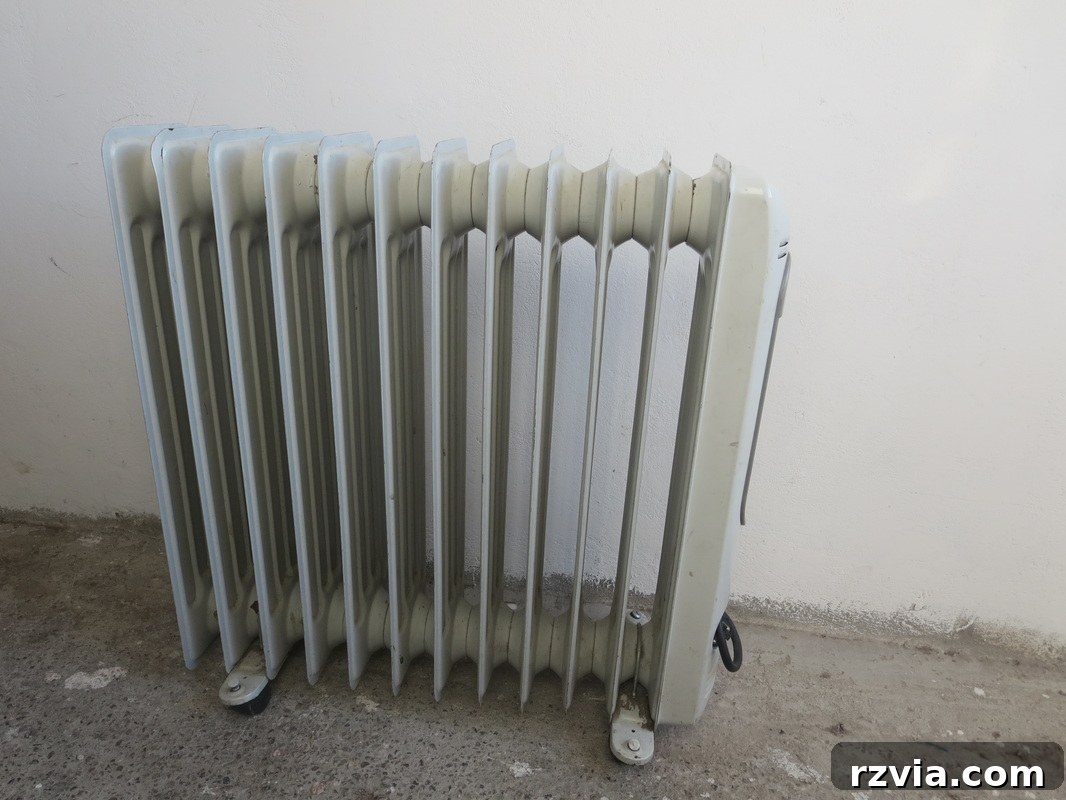
The Vision: Creating a Functional and Stylish Cover
My goal was clear: create a stable, appealing cover that would instantly elevate the heater’s appearance and provide a sturdy surface for a lamp or other bedside essentials. The solution had to be simple, inexpensive, and ideally, utilize materials I already had on hand. That’s when inspiration struck! I remembered an old, sturdy cardboard box from a recently purchased guitar. It was perfectly sized and strong enough to bear the weight of a lamp. This was the ideal starting point for my upcycling project.
Step 1: Crafting the Cardboard Top
My first task was to transform this humble cardboard box into a neat, rectangular top for the heater. I carefully measured the dimensions of the heater’s top surface, ensuring the cover would extend slightly beyond its edges for a clean, finished look. Using a sharp utility knife and a straight edge, I meticulously cut the cardboard into a precise rectangle. This step requires patience and accuracy to ensure all sides are even and the corners are square, which is crucial for a professional-looking finish.
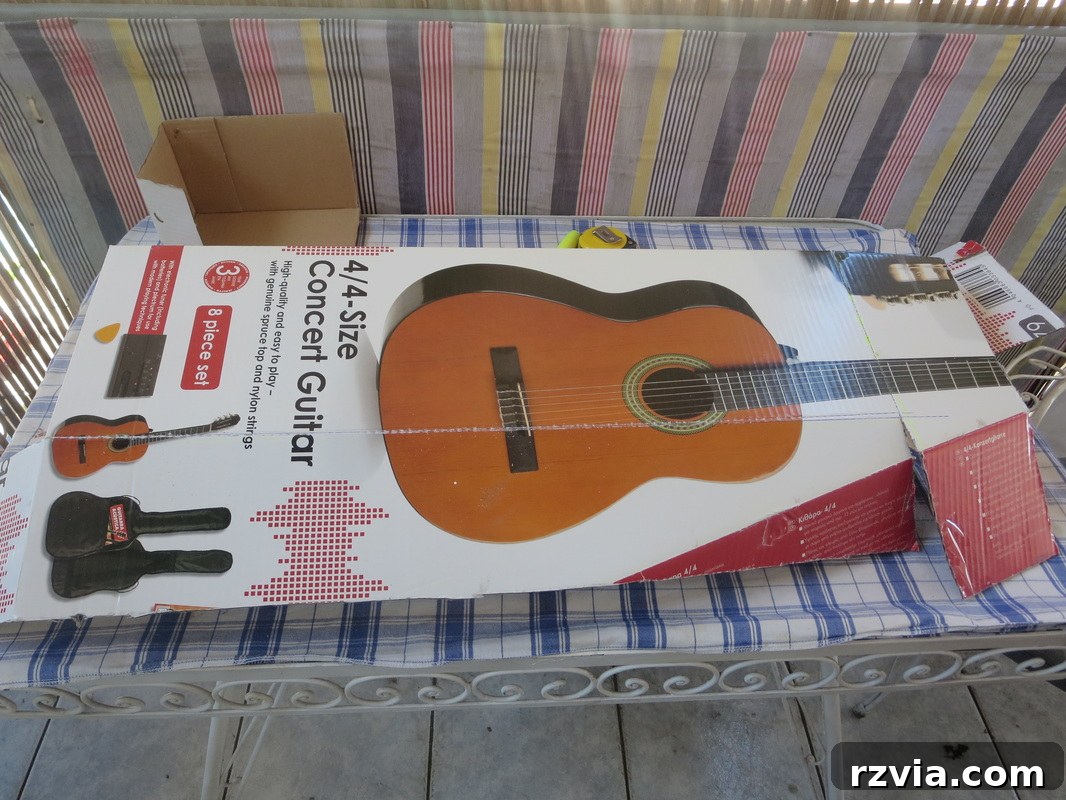
Step 2: Assembling the Cardboard Structure
Once the main rectangular piece was cut, I needed to give it structure. I folded the cardboard to create sturdy sides, forming a box-like shape that would sit snugly over the heater. Precision in folding is key here – you want crisp edges for a clean aesthetic. After folding, I secured the corners and flaps together using a staple gun. Stapling offers a quick and robust way to assemble cardboard, ensuring the structure is durable enough to hold objects without collapsing. I made sure all staples were on the inside or securely flattened to prevent any snags. I then carefully placed this newly formed cardboard box cover directly on top of the heater. So far, so good! It immediately provided the flat, stable surface I was looking for.
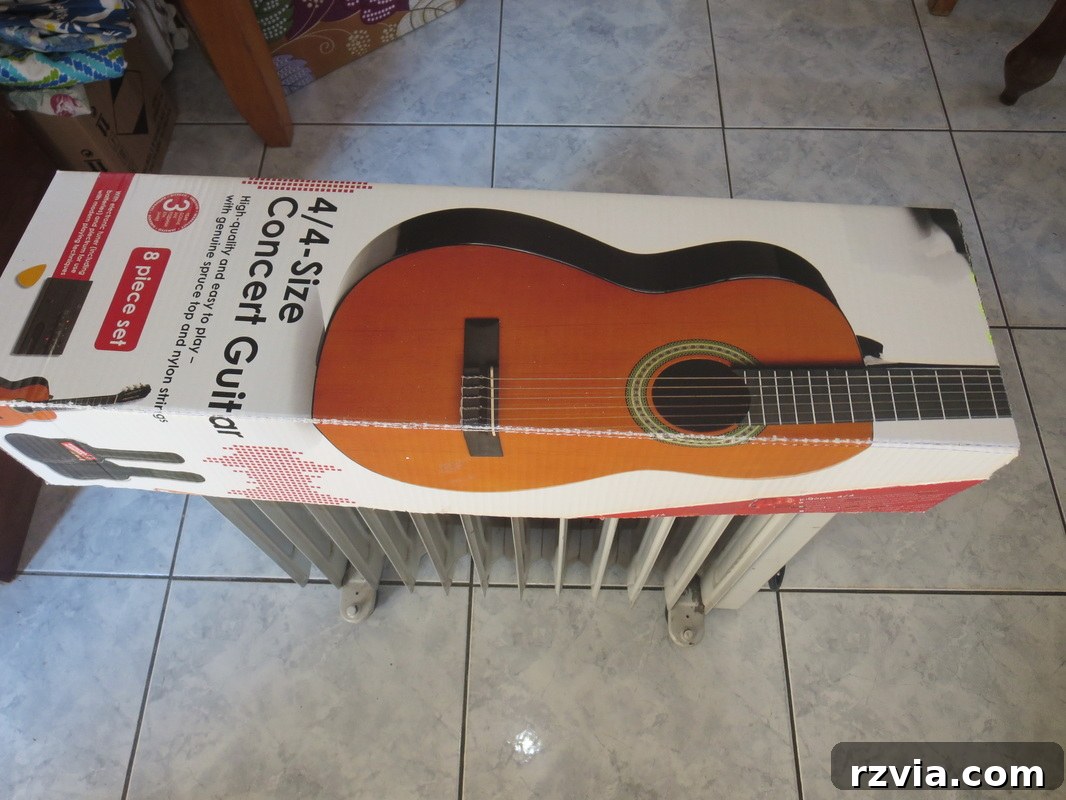
Adding Personality: The Washi Tape Makeover
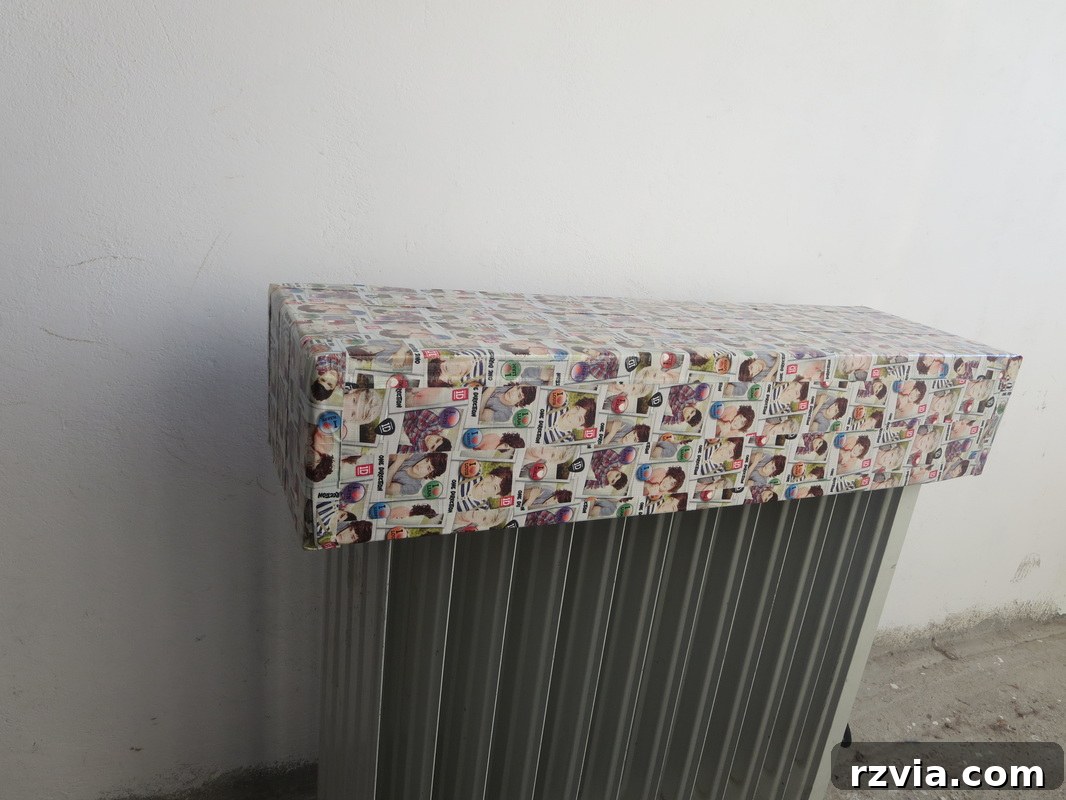
While the cardboard box provided excellent functionality and sturdiness, its plain brown appearance left much to be desired. It looked, well, like a cardboard box. This project demanded a touch of creativity to transform it from merely functional to genuinely decorative. I rummaged through our craft supplies in the “blue room” and stumbled upon a treasure trove of forgotten Washi tape, specifically a roll adorned with “One Direction.” My daughter, in her younger years, was absolutely obsessed with the band, and I confess, I can still hum a tune or two from their discography!
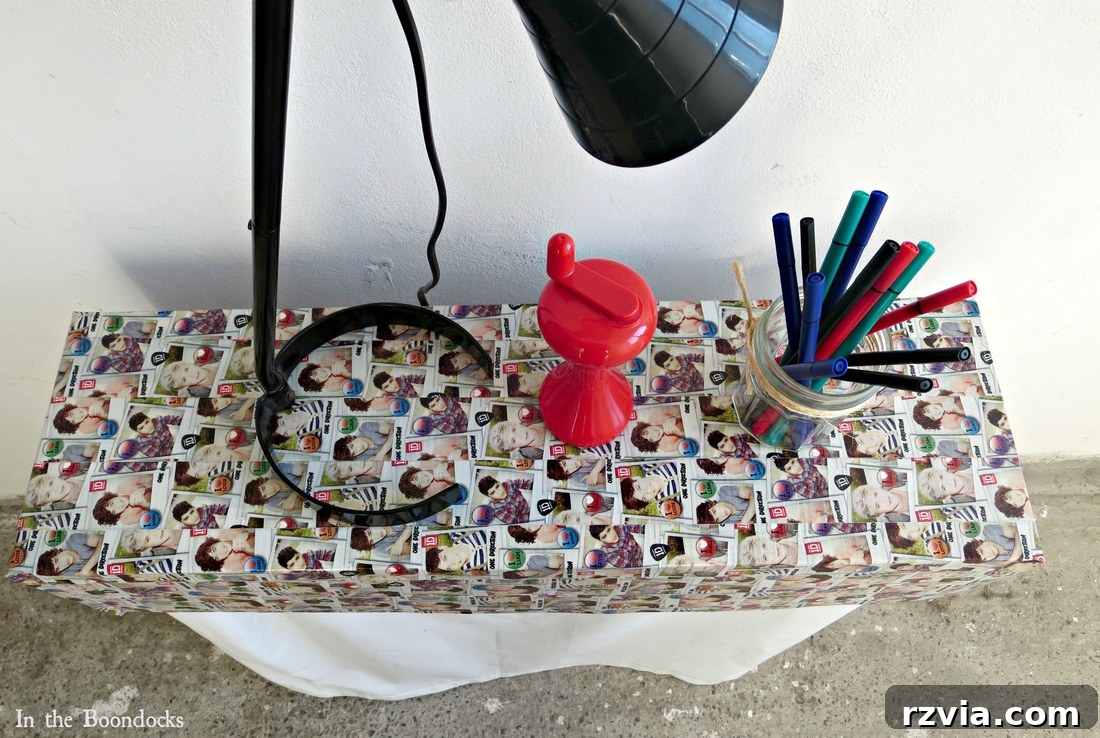
This particular Washi tape had been languishing in a drawer, no longer desired by my now-teenage daughter. According to her expert opinion, “Harry looks way too young in this tape!” It was a perfect candidate for upcycling. Instead of letting it go to waste, I decided to embrace its unique pattern and turn it into a form of abstract art for my heater cover. This decision not only gave the tape a new purpose but also added a whimsical, personalized touch to the bedroom decor. Applying the Washi tape was a fun and therapeutic process. I carefully layered strips, sometimes overlapping, sometimes creating interesting geometric patterns, transforming the dull cardboard into a vibrant and eye-catching surface.
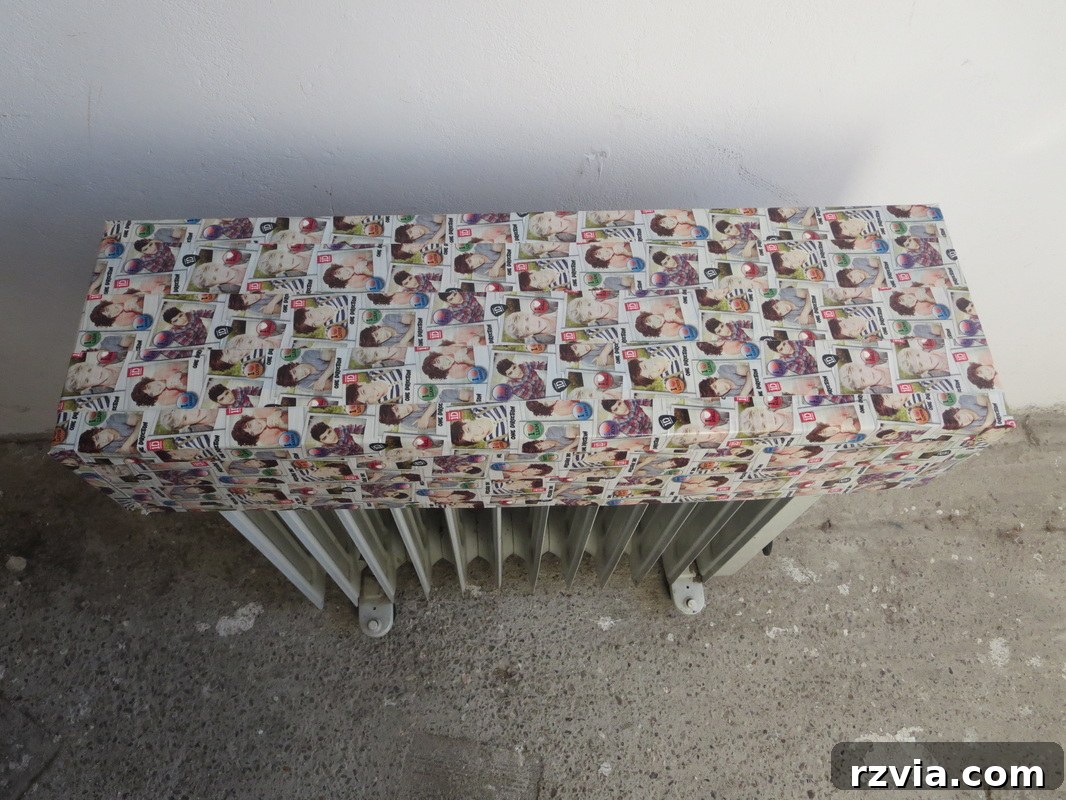
The Washi tape not only drastically improved the aesthetic of the cardboard cover but also added another layer of durability and rigidity to the structure. Its adhesive quality and slight thickness reinforced the cardboard, making the top even sturdier and more resistant to minor wear and tear. Despite my daughter’s humorous critique about Harry’s youthful appearance, the finished Washi tape design didn’t look half bad at all! It brought a pop of color and personality to an otherwise mundane object, instantly upgrading the bedroom’s vibe. This simple decorative step truly shows how repurposing materials can breathe new life into everyday items and inject a sense of fun into home decor.
Completing the Transformation: A Fabric Skirt
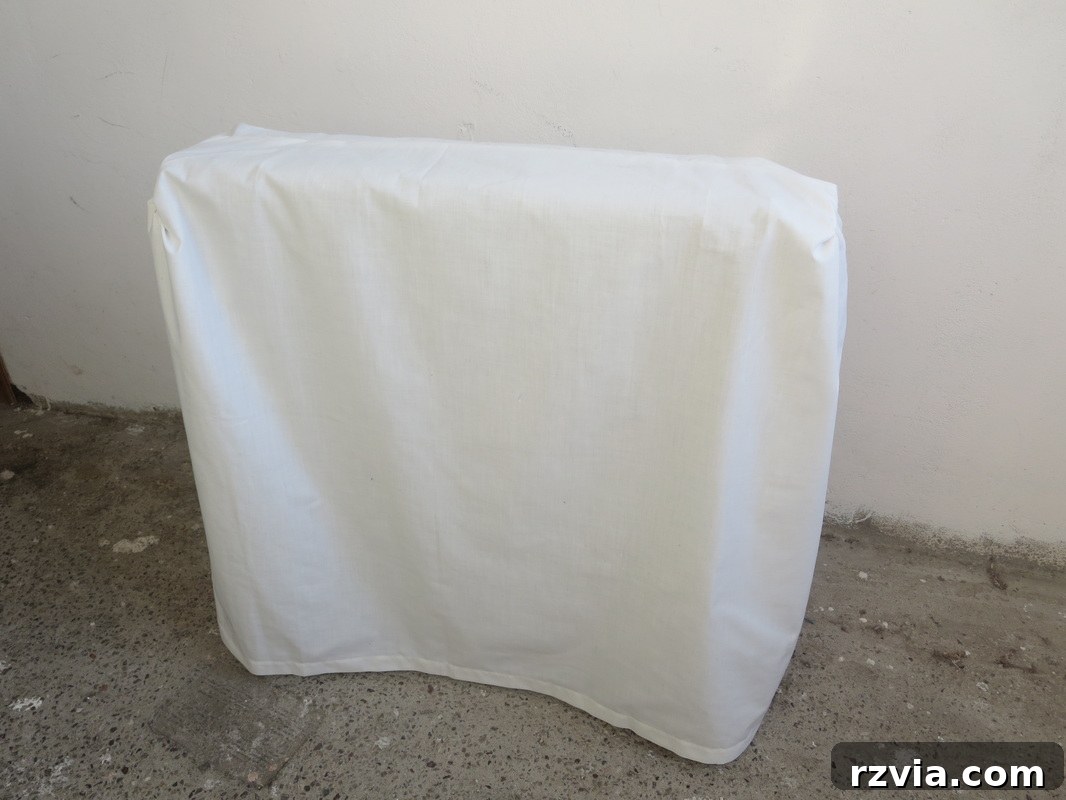
With the top cover looking fantastic, the next step was to address the rest of the heater. The lower portion still remained exposed, detracting from the overall polished look I was aiming for. To completely conceal the appliance and give it a more integrated, furniture-like appearance, I decided to add a fabric skirt. This would provide a soft, flowing element that would elegantly hide the heater’s base while complementing the bedroom’s decor. It also adds a layer of visual warmth, making the heater blend in more harmoniously with the soft furnishings.
Staying true to my upcycling ethos, I delved into my fabric scraps and found a leftover piece from an old sheet. This was perfect – not only was it free, but its soft texture and neutral color would work wonderfully. I measured the height and circumference of the heater’s lower section to ensure the skirt would drape beautifully. I then folded the fabric into a rectangle, carefully cutting it to the desired dimensions, allowing for seam allowances. With a few quick passes on my sewing machine, I sewed two sides of the fabric together, creating a simple tube-like shape that would slide over the heater. For those who aren’t keen on sewing, fabric glue or iron-on hemming tape would work just as effectively for creating neat seams.
The Grand Reveal: Putting It All Together
With both the Washi-taped cardboard top and the fabric skirt ready, it was time for the final assembly. I gently draped the fabric skirt over the heater, ensuring it hung evenly around all sides. The soft folds of the fabric instantly softened the industrial look of the heater. Then, with a satisfying click, I placed the sturdy cardboard top cover onto the fabric skirt, securing it in place. The two components fit together seamlessly, creating a cohesive and beautifully transformed piece. The once-obtrusive heater had vanished, replaced by what now resembled a charming, personalized side table.
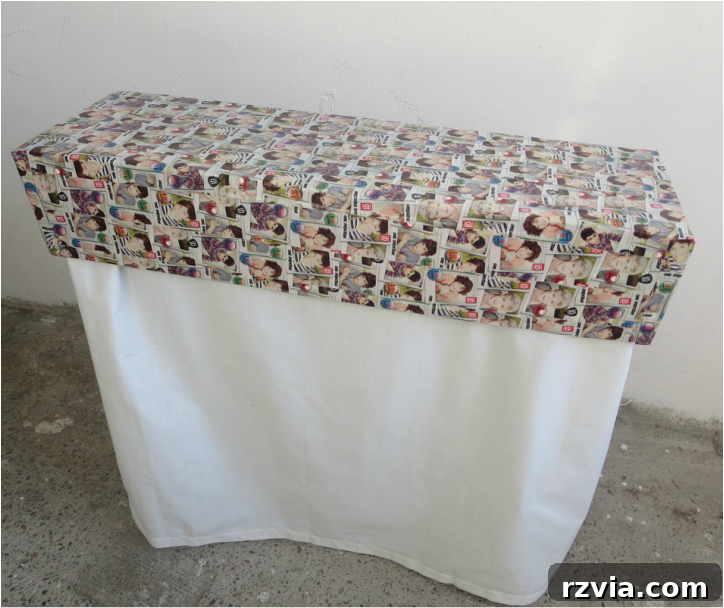
The humor wasn’t lost on my other daughter, a dedicated fan of The Beatles. Upon seeing the “One Direction” themed Washi tape, she immediately declared, “This is going in the Wrong Direction!” We all had a good laugh, and it became a running joke. But even with her playful jab, the undeniable transformation spoke for itself. The room instantly felt cozier and more organized, proving that even a small DIY project can have a big impact on the overall ambiance of a space. It’s a testament to how personal touches, even humorous ones, can make a house feel more like a home.
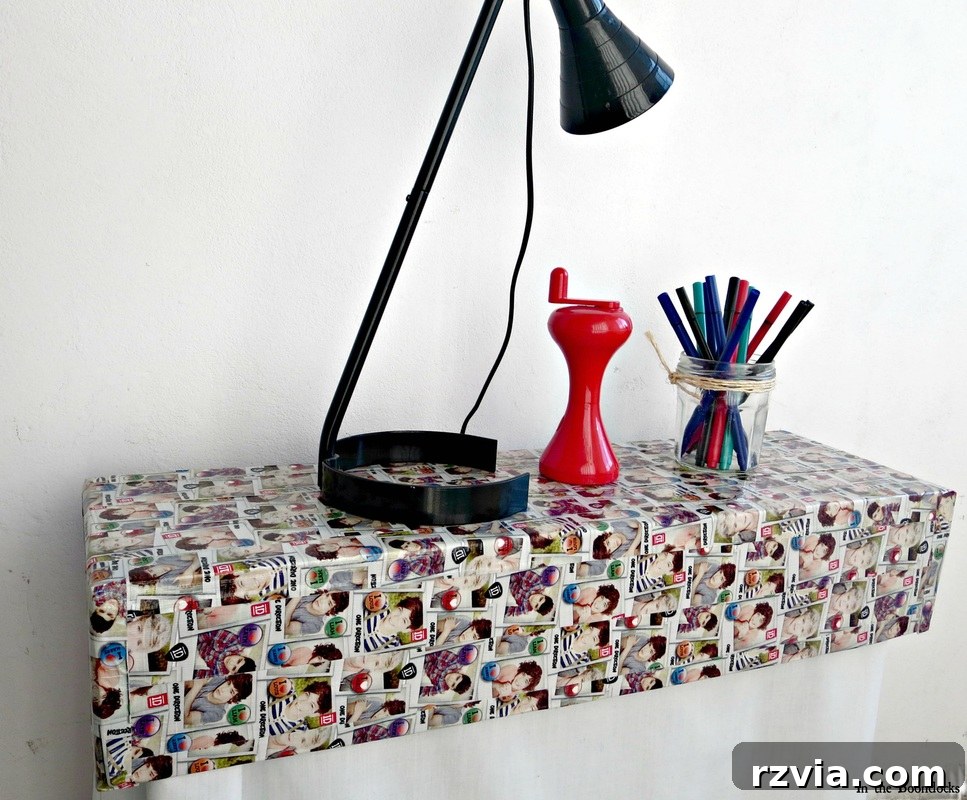
Before & After: The Power of DIY Transformation
Let’s take a moment to appreciate the striking difference a little creativity and effort can make. Here’s a look at the heater before its ingenious disguise:
Final Thoughts: A Win for Functionality and Style
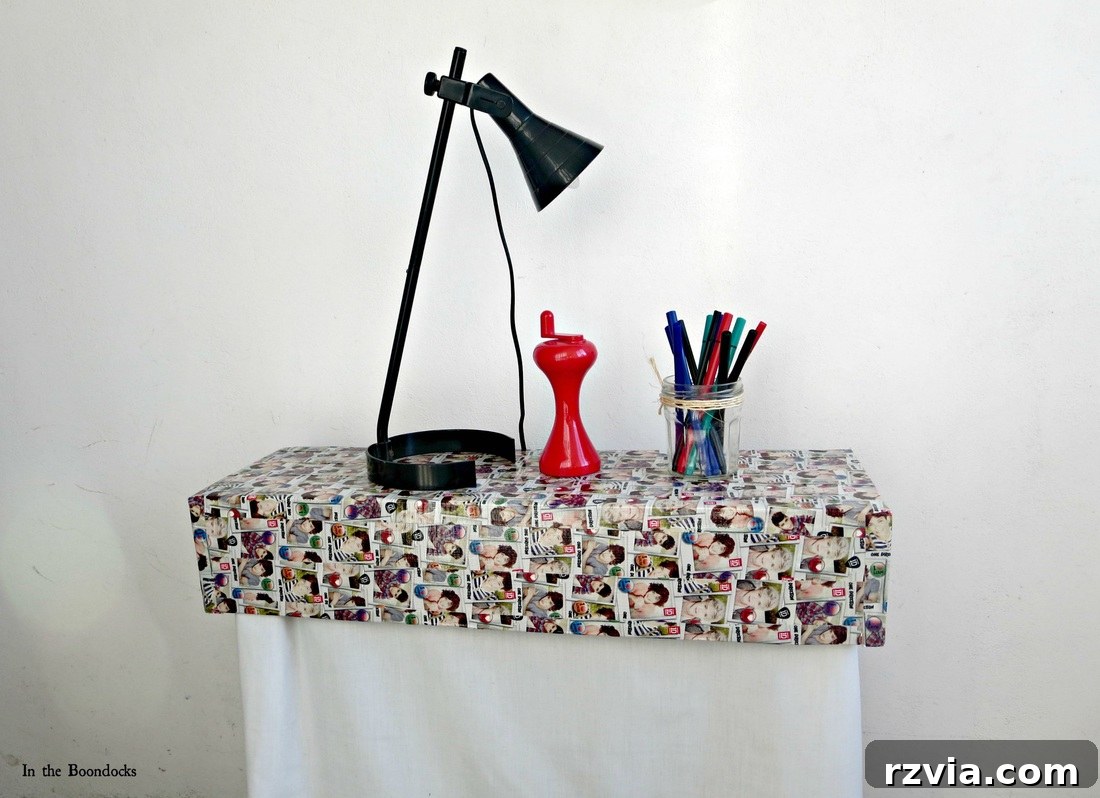
Regardless of whether my daughter thinks this project went in the “Wrong Direction,” I consider it a resounding success! This DIY heater cover is incredibly sturdy, providing a reliable surface to hold a lamp, books, or other small decorative items. More importantly, it completely hides the once-ugly heater, seamlessly integrating it into the bedroom’s aesthetic. And the best part – a detail that always makes me happy – it cost me absolutely nothing to create! By repurposing a cardboard box, some old Washi tape, and a scrap of fabric, I achieved a stylish and practical solution without spending a single cent.
Now, be honest with me: would you ever have guessed what was hiding underneath this charming little side table? This project is a perfect example of how clever upcycling and a touch of DIY spirit can transform ordinary household items into something truly special. It proves that you don’t need a big budget to create functional and beautiful decor for your home. This heater cover not only solves a practical problem but also adds character and a personal touch to the bedroom. It’s an easy, rewarding project that anyone can tackle, bringing a fresh look to any room.
If you’re inspired by this transformation, please consider sharing this project with your friends or saving it to your Pinterest boards. The image above is perfect for pinning! For more creative DIY ideas and home adventures, I invite you to subscribe to my blog. You’ll receive fresh content and inspiration twice a week directly in your inbox. The subscription form is conveniently located on the sidebar, and rest assured, your email address will always be kept confidential and never shared with third parties.
You May Also Like These DIY Projects:
<< Previous Post: The Blue Bunk Bed Home Next Post: In Praise of Autumn >>
Disclaimer: This blog is intended for entertainment purposes only; my DIY tutorials are not professional advice. Please read my full disclaimer here.
I genuinely appreciate all your comments and will do my best to reply to them or visit your blog. Please ensure that your comments do not include hyperlinks, as this may prevent them from being published. Thank you for being a part of my creative journey!