
Welcome back, cherished readers, to my favorite monthly event – another exciting edition of the International Bloggers Club! For those new to our community, we are a diverse group of friends from across the globe, united by our passion for DIY, home decor, and sharing unique projects. Each month, we gather to explore a new theme, compare our creative approaches, and offer a glimpse into how we infuse craft into our corners of the world. Last month, we delved into the art of flat lay photography, with my contribution showcasing the vibrant essence of Greece, and the month prior, we explored inventive crafts utilizing baskets. This month, our focus shifts to a material that is foundational to countless DIY endeavors: wood! Get ready to transform a simple piece of timber into a stylish and functional DIY coat rack, perfect for any home seeking a touch of organized charm.
Our monthly theme for the International Bloggers Club is wood, and I couldn’t be more excited to tackle a project that not only embraces this versatile material but also addresses a real need in my newly organized home. Many of you who have followed my journey know about my previous home in Greece, where I had the luxury of a vast basement brimming with an endless supply of crafting materials and tools. While my new home doesn’t boast the same scale of inventory just yet, I’ve managed to accumulate quite a collection in my current basement. This space promises many future discoveries, but for today, we’re focusing on a humble yet transformative piece of wood. The beauty of wood lies in its simplicity and the endless possibilities it offers for customization, making it the perfect choice for a functional and aesthetically pleasing project.
As I’ve shared previously, we recently moved, and the ongoing process of settling in and getting organized has been a significant undertaking. One particular area that needed immediate attention was the girls’ bedroom. They needed a dedicated spot for hanging their school bags, jackets, hats, and other essentials – something simple, accessible, and most importantly, that wouldn’t require drilling numerous holes into the fresh walls. It was this specific need that sparked the idea for this easy DIY coat rack. I envisioned a clean, minimalist design that would complement the room’s decor while providing much-needed vertical storage. This project emerged from a desire for both functionality and a touch of handcrafted elegance, proving that practical solutions can also be beautiful additions to any space.
Crafting Your Farmhouse DIY Coat Rack: Materials Needed
Embarking on any DIY project begins with gathering the right supplies. For this stylish and sturdy coat rack, I opted for materials that would offer both durability and a classic farmhouse aesthetic. Here’s a detailed list of what you’ll need to recreate this project:
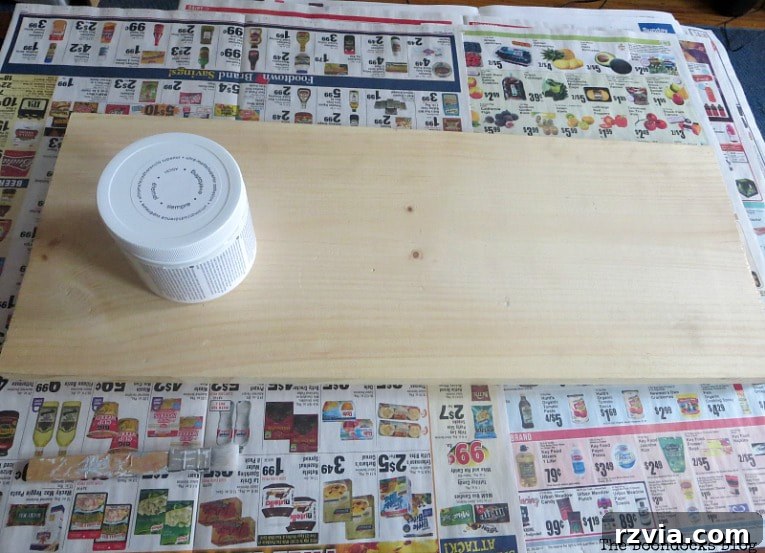
- A Piece of Wood: The foundation of our coat rack. I used a piece measuring 10 inches by 24 inches, which I found to be an ideal size for holding multiple items without overwhelming the wall space. You can adjust these dimensions to fit your specific needs or available lumber.
- DecoArt Americana Chalky Type Paint in Everlasting: This beautiful white chalk paint provides a soft, matte finish that is characteristic of farmhouse style. Its excellent coverage means fewer coats are needed, making the painting process quick and enjoyable.
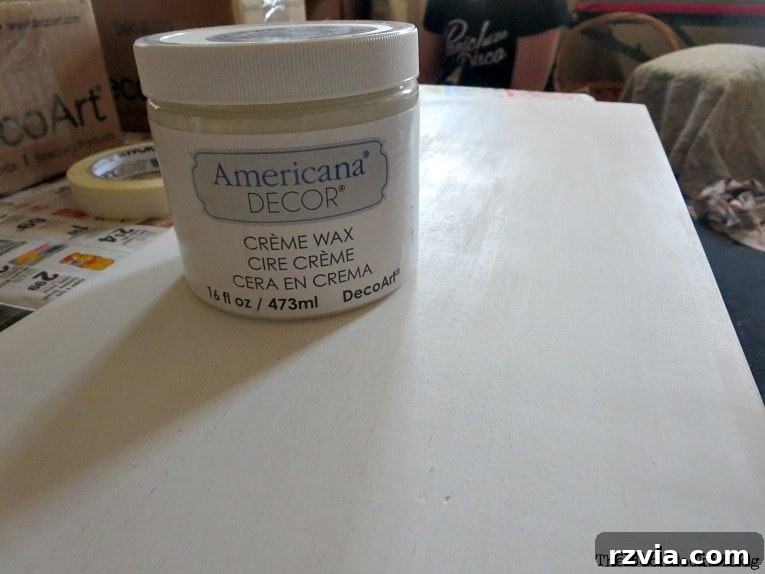
- DecoArt Americana Clear Cream Wax: Essential for protecting the chalk paint finish and giving it a subtle sheen and durability. Wax also enhances the smooth texture of the painted wood.
- Sandpaper: Fine-grit sandpaper (around 220-grit) is perfect for smoothing the wood surface before painting and for achieving that desirable buttery-smooth finish after the wax application.
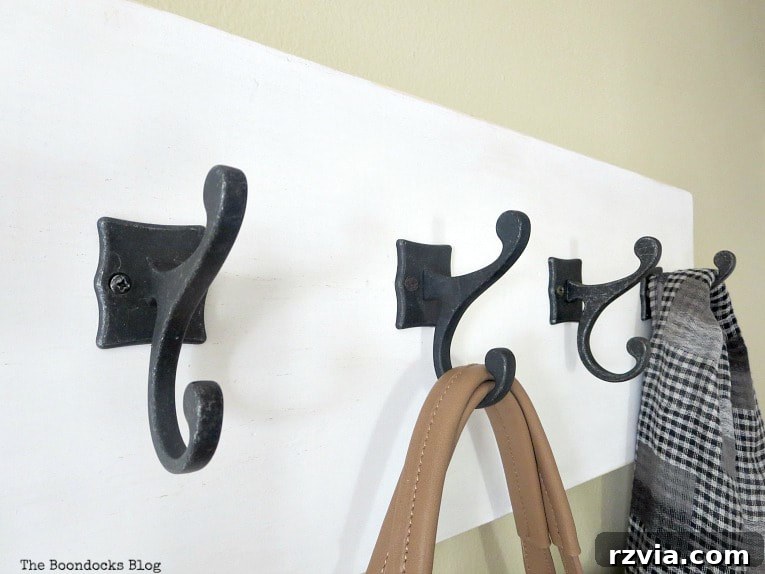
- 4 Brainerd Double Scroll Hooks, in Dark Gunmetal: These hooks are the star of the show! Their elegant double scroll design and rich dark gunmetal finish add a sophisticated, rustic touch. The “double” aspect means more hanging capacity, which is always a bonus for an organizer.
- 2 Sawtooth Hangers: For securely mounting your finished coat rack to the wall. These are easy to install and provide a reliable hanging solution.
Step-by-Step Guide: How to Make a DIY Wooden Wall Hanger
Step 1: Preparing and Painting Your Wood Base
The journey to a beautiful coat rack begins with preparing your chosen piece of wood. First, ensure your wood is clean and free of any dust or debris. If the wood is rough, a quick sanding with medium-grit sandpaper (120-150 grit) can help. For my project, the initial piece of wood was relatively smooth, so I started directly with painting. I applied three light, even coats of DecoArt Americana Chalky Type Paint in Everlasting. The key here is to apply thin layers, allowing each coat to dry completely before applying the next. This multi-coat approach ensures a durable, streak-free finish and allows the beautiful white hue to truly pop. Chalk paint is incredibly forgiving and dries quickly, making this step relatively fast and satisfying.
Step 2: Sanding for a Silky Smooth Finish
After the final coat of paint had fully cured, I moved on to sanding. Before applying the protective wax, I gently sanded the entire surface, paying particular attention to the edges and the top face of the board. I used fine-grit sandpaper (220-grit) to achieve a wonderfully smooth, almost buttery texture. This step not only refines the surface but also subtly distresses the edges, adding to that coveted farmhouse aesthetic. The feeling of the smooth wood under my fingertips after this step was incredibly satisfying – a testament to the transformative power of a little sanding.
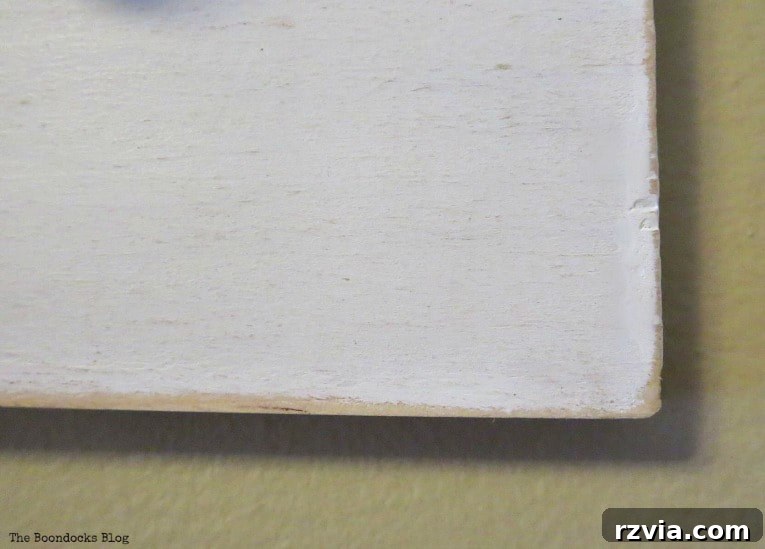
Step 3: Sealing with Clear Cream Wax
With the paint dry and the wood perfectly smooth, it was time to apply the DecoArt Americana Clear Cream Wax. This step is crucial for sealing the chalk paint, protecting it from wear and tear, and giving it a subtle, polished finish. I applied the wax sparingly with a clean cloth, rubbing it into the wood in circular motions. After a few minutes, I buffed the surface gently to remove any excess and bring out a soft sheen. This protective layer ensures your coat rack will stand up to daily use and maintain its beautiful appearance for years to come.
Step 4: The Quest for the Perfect Hooks (and a Happy Discovery!)
When I first envisioned this coat rack, I had a very specific aesthetic in mind for the hooks. I wanted something with character, a distinct finish that would beautifully contrast against the crisp white wood. My initial search at local stores, however, proved disappointing. I found options that were either too flimsy, too ornate, or, in one particularly frustrating instance, a rather cheap-looking, fake gold finish that was completely at odds with my vision. It was disheartening to find that the local market wasn’t aligning with my design aspirations. I truly believe that the hardware makes the piece, and settling for anything less than perfect was not an option.
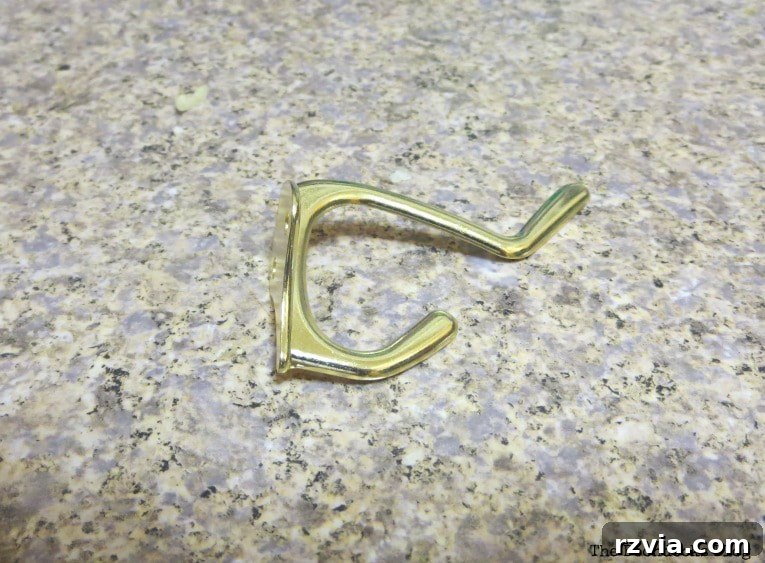
For those who know me, you’ll know I spend a good amount of time on social media, especially Facebook. It’s where I often find inspiration and connect with amazing brands. It was there that I discovered D. Lawless Hardware, a company I had been following for quite some time. Living overseas for so long meant I couldn’t order from them, but now that I’m back, there was absolutely nothing stopping me! I reached out to their team, and to my absolute delight, these stunning hooks arrived at my doorstep within just two days. The speed and efficiency of their service were truly impressive, turning my hook-hunting frustration into pure joy. Their extensive selection and commitment to quality made them an instant favorite.
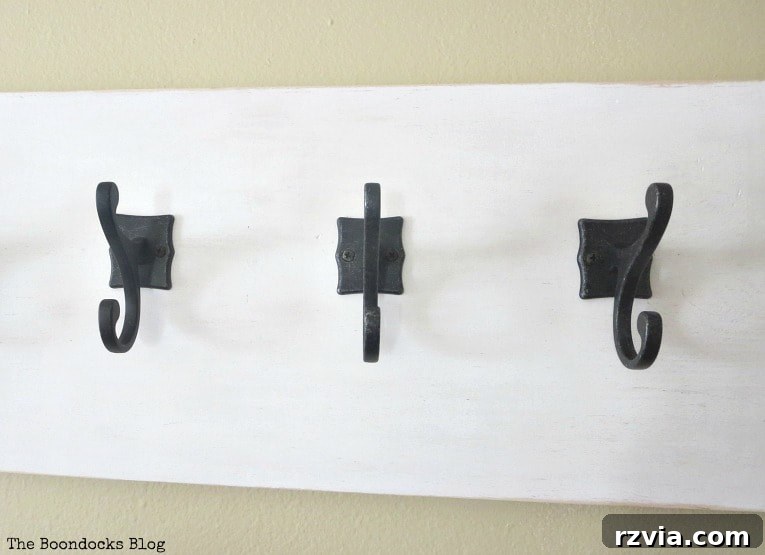
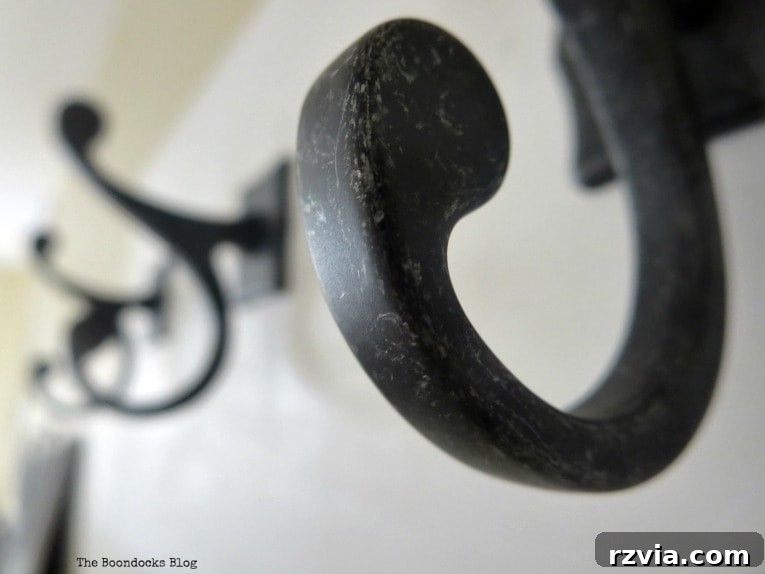
Just look at that magnificent gunmetal finish! I honestly never thought I’d be waxing poetic about hardware, but these Brainerd Double Scroll Hooks are truly exceptional. Their deep, rich tone and elegant curves provide the perfect contrast to the white chalk paint, elevating the entire piece. The quality is palpable – these aren’t just decorative; they’re solid and built to last. It goes to show, sometimes a little patience and a willingness to look beyond the immediate local options can lead to truly wonderful discoveries. Never say never when it comes to finding the perfect components for your DIY projects!
Disclosure: This post contains affiliate links for your shopping convenience. If you purchase any of these products through the links, we receive a small commission at no extra charge to you. You can find our full disclosure here. We only recommend products we genuinely love and use in our own projects.
Step 5: Assembling Your DIY Coat Rack
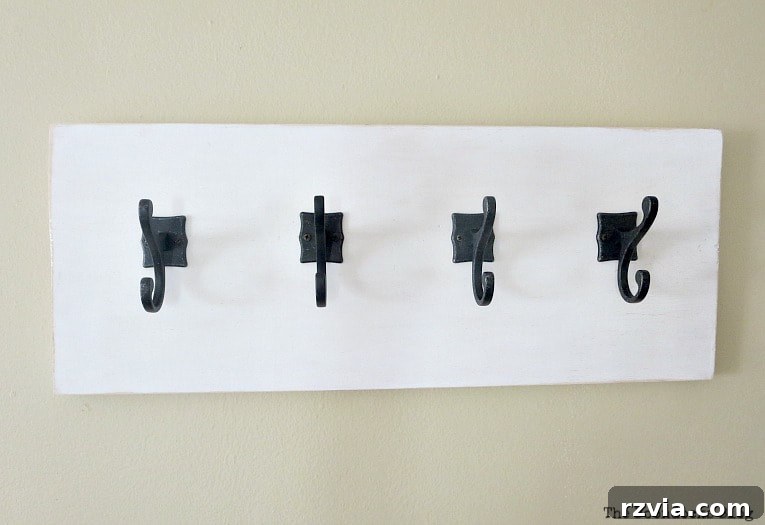
With the perfect hooks in hand, the final assembly was straightforward and incredibly rewarding. Four of these exquisite gunmetal hooks were precisely what I needed. I carefully measured and marked the placement for each hook, ensuring even spacing for both aesthetic appeal and practical use. Then, using appropriate screws, I securely attached each hook to the painted wooden board. This step was surprisingly empowering; I truly put this piece together all by myself, from painting to attaching the hardware. There’s a unique sense of accomplishment that comes with seeing a project through from start to finish with your own two hands. To complete the assembly, I affixed two sawtooth hangers to the back of the board, positioning them for balanced and secure wall mounting. This simple yet effective method ensures your coat rack hangs perfectly level and can support a substantial amount of weight.
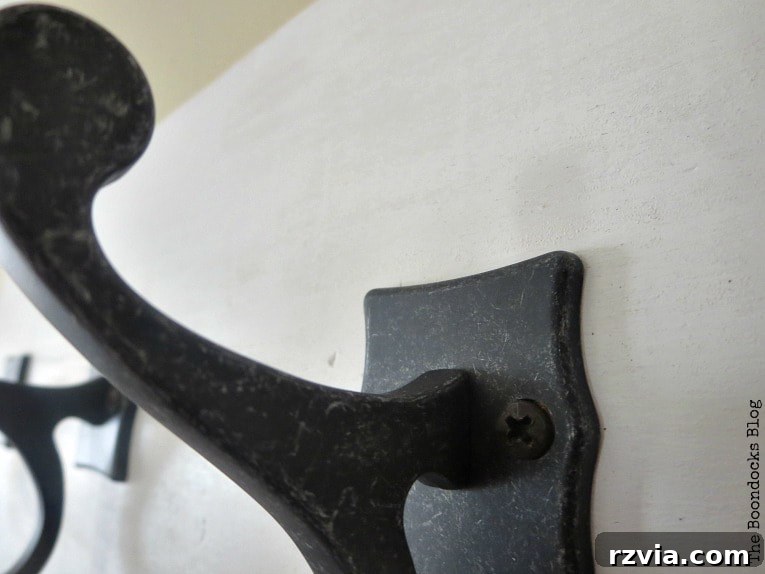
Just feast your eyes on those elegant curves and the robust construction of these hooks! There truly is no comparison between these high-quality gunmetal beauties and the flimsy, fake gold hooks I initially considered. Investing in good hardware truly makes all the difference, transforming a simple piece of wood into a functional work of art. The stark contrast of the dark metal against the crisp white wood creates a visually striking piece that perfectly embodies the modern farmhouse aesthetic I was aiming for. It’s details like these that elevate a DIY project from merely functional to truly stunning.
The Finished Product: A Stylish and Organized Space
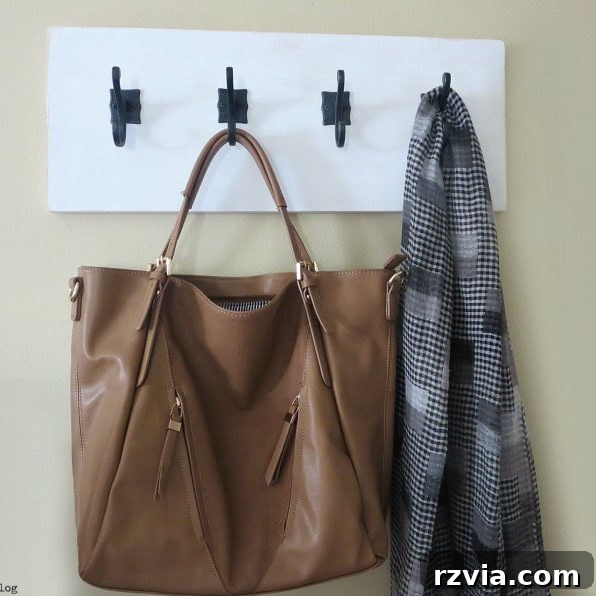
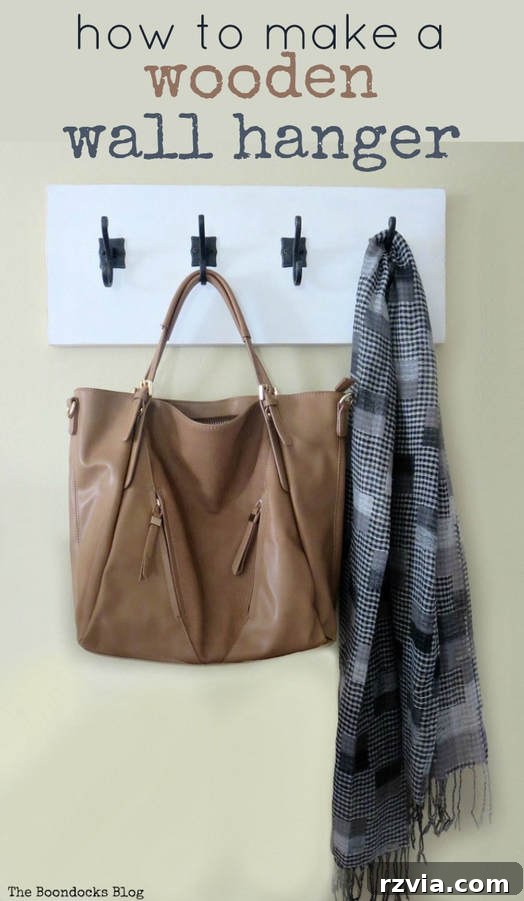
And here it is, proudly mounted on the wall! The transformation is remarkable. What was once an overlooked corner is now a beautifully organized and inviting space. Seeing the coat rack in place, performing its intended function, brings such a sense of satisfaction. It’s amazing how a single DIY project can have such a profound impact on a room’s functionality and aesthetic. This coat rack serves as a perfect example of how personalized, handcrafted solutions can truly enhance your living environment.
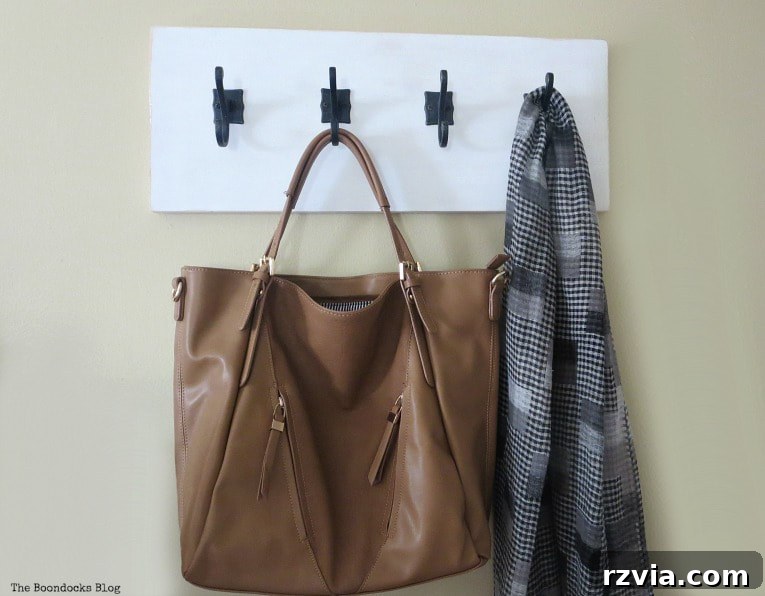
I genuinely feel a newfound sense of organization and calm, at least in this particular corner of the girls’ bedroom. No more bags carelessly tossed on the floor or jackets draped over chairs! The ease of access and the aesthetic appeal of this DIY coat rack make it an instant favorite. It’s a testament to the idea that even small changes can make a big difference in maintaining a tidy and functional home. This simple wooden organizer provides a designated spot for frequently used items, making daily routines smoother and reducing clutter significantly.
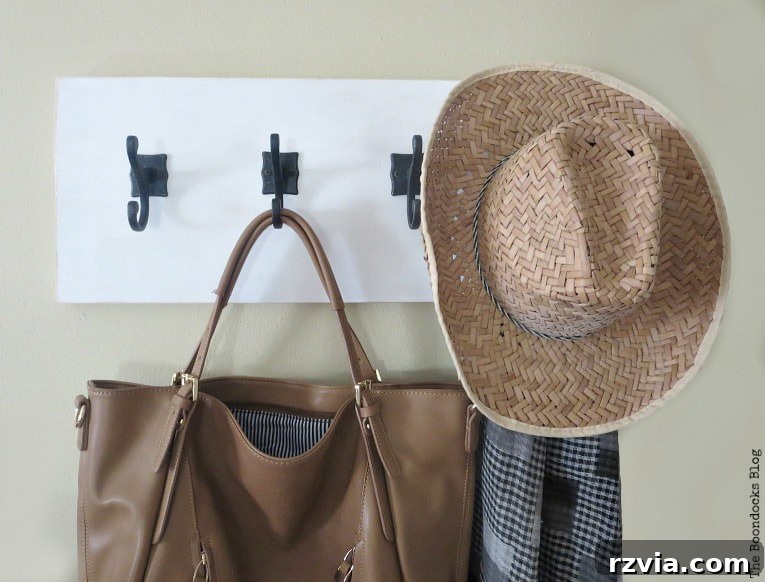
These Brainerd Double Scroll Hooks aren’t just pretty; they are incredibly sturdy and practical, brimming with character. Their solid construction ensures that my items will stay securely hung, offering reliable storage for anything from heavy backpacks to delicate scarves. The choice of quality hardware truly pays off in both form and function, guaranteeing longevity and peace of mind. This wooden wall hanger isn’t just a temporary fix; it’s a durable, stylish addition that will serve its purpose for years to come.
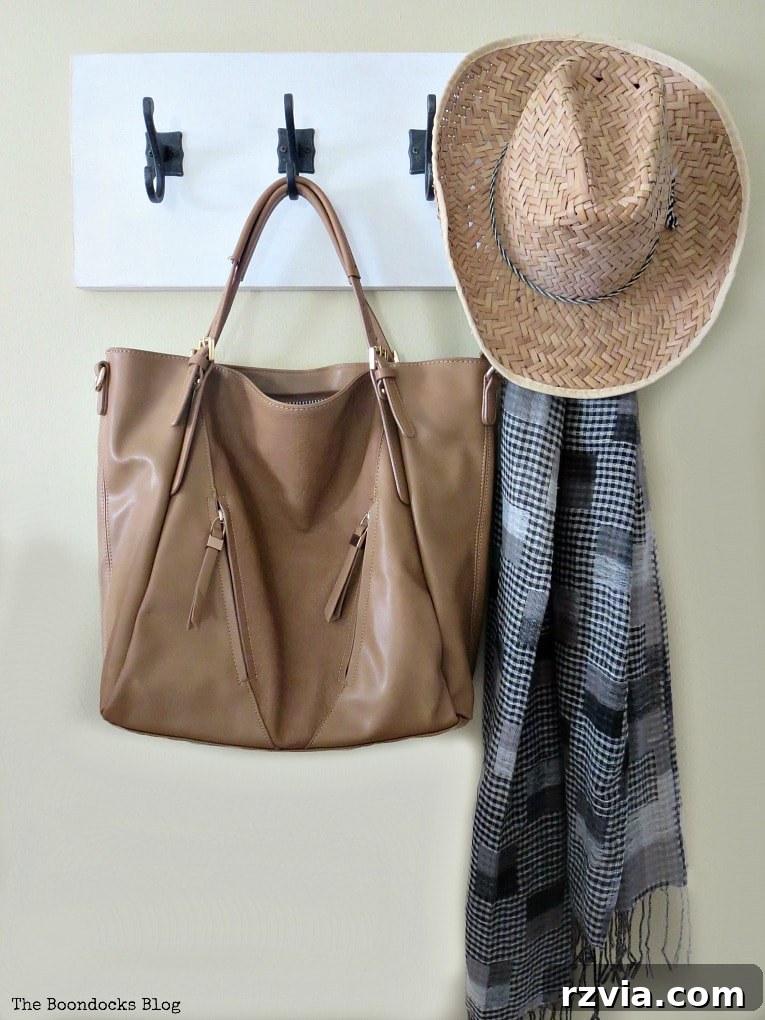
And because we believe in keeping things authentically real around here, here’s a “reality shot.” This showcases the coat rack fully in action, holding all the items it was designed for. While the perfectly styled shots are lovely, it’s the real-world functionality that truly matters. This image demonstrates how easily it accommodates multiple items, proving its practical value in a busy household. It’s not just a decorative piece; it’s a hardworking organizer that genuinely simplifies daily life.
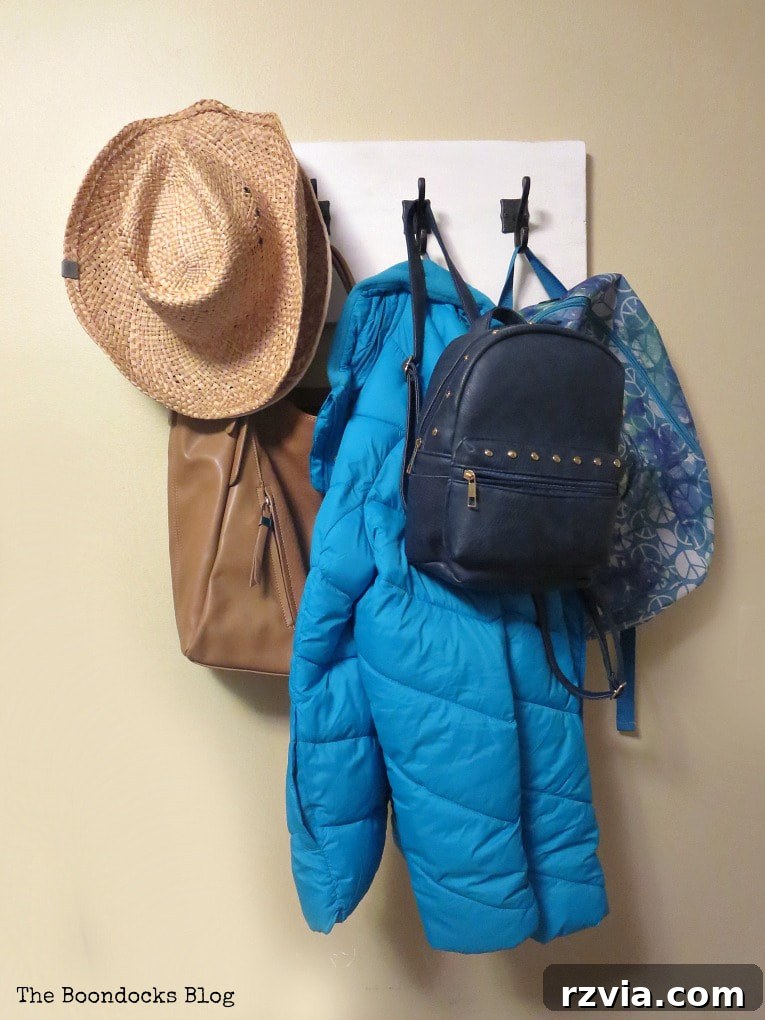
I anticipate some of you might be thinking that the base itself is just a plain piece of wood. And you’re absolutely right! However, considering the multitude of items – bags, coats, scarves, hats – that will be hung on it, the wall will become quite visually dynamic. Furthermore, I deliberately chose a simple black and white palette to ensure that the exquisite beauty and intricate design of those gunmetal hooks remain the focal point. The minimalist wood provides a clean, sophisticated backdrop that allows the hardware to truly shine, preventing any visual clutter and maintaining a chic, organized aesthetic. Sometimes, less is truly more, especially when you have such stunning accents.
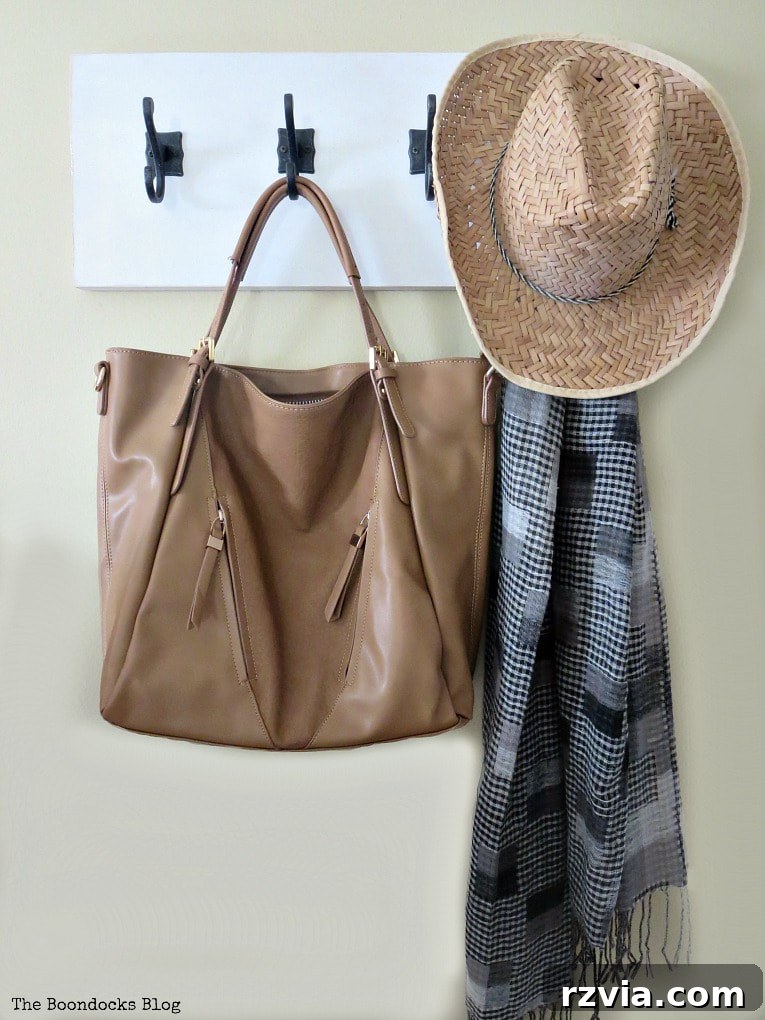
Through this straightforward yet impactful project, I’ve successfully addressed my immediate organizing dilemma and, I hope, inspired you with a detailed guide on how to create your own functional and stylish wooden wall hanger. All those previously scattered items are no longer on the floor or overflowing from dressers, but neatly contained and easily accessible. I must confess, this project was far easier and more budget-friendly than I initially imagined, especially compared to purchasing a pre-made coat rack of similar quality and style. The satisfaction of crafting something beautiful and useful with your own hands is truly unparalleled.
I highly encourage you to explore the extensive collection offered by the D. Lawless Hardware Company. Their vast variety of high-quality items, coupled with their exceptional customer service, has certainly earned them a loyal customer in me. With so much more organization still needed around the house, I know I’ll be placing another order soon! Do you prefer to tackle organization challenges with DIY solutions, or do you find yourself opting for store-bought organizers? Share your thoughts in the comments below!
Before you go, I warmly invite you to hop over and discover the incredible wood projects shared by my four talented friends in the International Bloggers Club. Their unique perspectives and creative endeavors are sure to inspire your next DIY adventure. Simply click on the images below my name to visit their blogs. And if you’re eager to revisit our past challenges and explore more inspiring projects, you can always click here for a wealth of ideas.

If you enjoyed this tutorial and want to stay updated on all my latest DIY adventures and home decor tips, be sure to subscribe to my blog! You’ll receive fresh content twice a week directly in your mailbox. Just look for the subscription form on the sidebar. Rest assured, your email address will always remain confidential and will never be shared with any third party.
Please note: This blog content is provided for entertainment purposes only, and my DIY tutorials are not intended as professional advice. Always exercise caution and follow safety guidelines when undertaking any DIY project. For detailed information, please read my full disclaimer here.