
Transforming Forgotten Furniture: A DIY Repurposed Stool and Drawer Side Table
As a passionate enthusiast of repurposing and upcycling, I always keep an eye out for hidden potential in everyday items. It’s truly amazing what a little creativity and effort can do to breathe new life into forgotten pieces of furniture or odds and ends that simply clutter our living spaces without serving much purpose. This philosophy not only helps declutter the home but also allows for the creation of unique, personalized decor that tells a story.
My latest adventure in furniture transformation began with a small, unloved folding stool. Honestly, it wasn’t particularly practical in its original form. It was too diminutive to offer comfortable seating and too narrow to function effectively as a side table or a stable surface for holding items. It was merely taking up space, waiting for a new identity. Alongside it, I had an old drawer, perfectly intact but detached from its original cabinet, lying idle and yearning for a purpose.
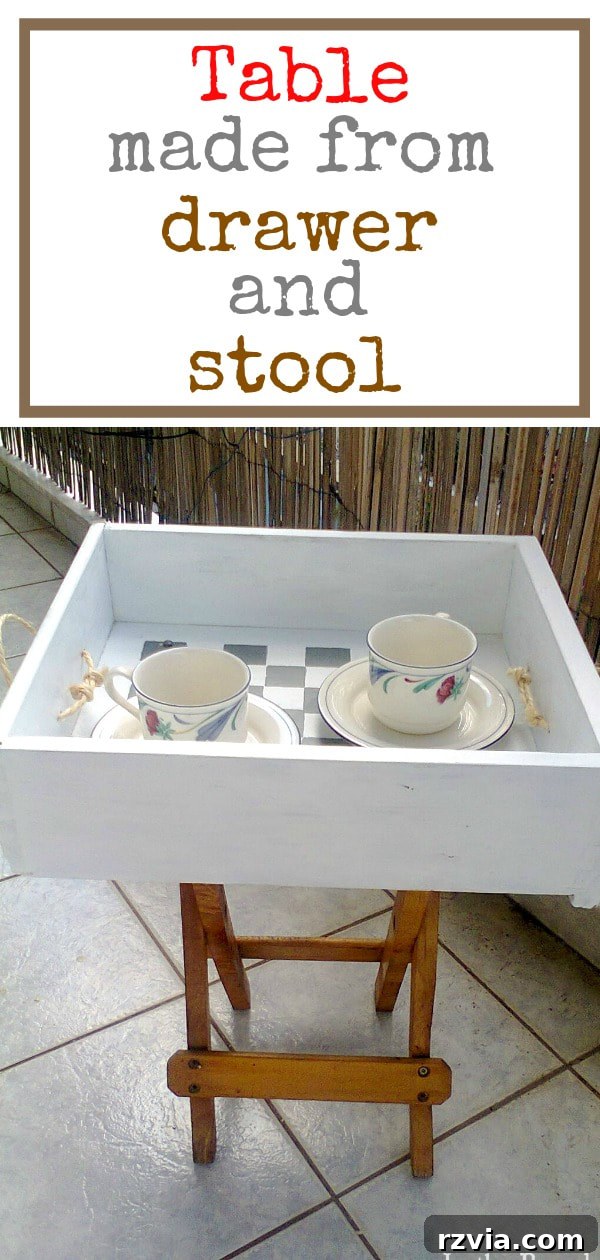
Seeing these two seemingly disparate items, an idea sparked: why not combine them? This inspiration led to what I affectionately call “Pieces of a Table” – a project that merges these two forgotten fragments into a cohesive, functional, and visually appealing piece of furniture. This endeavor wasn’t just about crafting a table; it was about demonstrating how simple, overlooked items can be reimagined into something truly valuable and beautiful, proving that recycling and creative reuse are indeed at their best when we see beyond an object’s initial design.
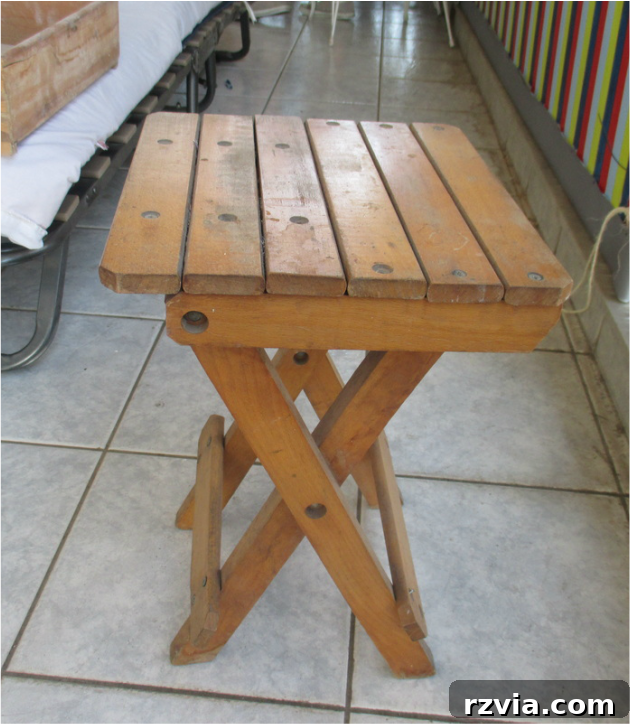
The Allure of Upcycling: Why Give Old Items a New Life?
Upcycling, at its heart, is more than just a craft; it’s a sustainable practice that benefits both our homes and the environment. Choosing to repurpose existing items instead of buying new ones significantly reduces waste, lessening our ecological footprint. Every piece of furniture saved from a landfill is a small victory for our planet. Beyond environmental benefits, upcycling offers a chance to infuse personality and uniqueness into your decor.
Mass-produced furniture often lacks character, but a repurposed piece carries a history and a handmade charm that can’t be replicated. Imagine a conversation starter in your living room, a table born from a humble stool and a discarded drawer – it’s a story waiting to be told. Moreover, DIY upcycling projects are incredibly budget-friendly. Instead of investing in expensive new furniture, you can transform existing items or inexpensive finds into functional works of art with minimal cost.
There’s also immense personal satisfaction in taking something old and giving it a completely new identity. The process of envisioning, planning, and executing a transformation project, especially one that results in a useful and beautiful item, provides a unique sense of accomplishment. It challenges your creativity, hones your practical skills, and ultimately enriches your living space with items that truly reflect your style and values. This particular project, turning a simple stool and a drawer into a charming side table, perfectly embodies these principles, offering both practicality and aesthetic appeal.
Gathering Your Toolkit: What You’ll Need
Every successful DIY project begins with gathering the right materials. For our “Pieces of a Table” transformation, the beauty lies in utilizing items that might otherwise be overlooked or discarded. Here’s a comprehensive list of what you’ll need, along with a few tips:
- An Old Drawer: Look for one that’s sturdy and a size that complements your stool.
- An Old Stool: A small, folding, or even a basic wooden stool will work. The less practical it is on its own, the more satisfying its transformation will be!
- Oil and Vinegar Solution for Cleaning: This natural, effective solution is fantastic for deeply cleaning and rejuvenating old wood without harsh chemicals. It’s a must-have for any wood upcycling project.
- Chalky Finish Paint: Known for its beautiful matte finish and excellent adhesion, chalk paint often requires minimal prep like sanding or priming, making it ideal for quick makeovers.
- Chip Brushes: Inexpensive and perfect for applying chalk paint, these brushes help achieve a rustic or textured look.
- Homemade Wax: A brilliant alternative to store-bought polishes, this provides a durable, smooth, and natural finish.
- Beige and Black Acrylic Paint: For creating custom colors and designs.
- Masking Tape: Essential for creating clean lines and patterns.
- Twine: A simple, rustic material for unique handles.
- Screws: To securely attach the drawer to the stool, ensuring stability and durability for your new table.
The beauty of this project is its flexibility. Don’t have these exact items? Look around your house or local thrift stores for similar pieces that can be transformed. The most important ingredient is your imagination!
Indeed, I had this old drawer just sitting around, not fulfilling any purpose, much like the stool. It struck me that these two dormant items, when combined, could escape their fate of being stored away indefinitely or eventually discarded. This realization was the genesis of creating something truly useful and beautiful from what many would consider junk. It’s a testament to the fact that sometimes, the most innovative solutions come from creatively pairing what you already have.
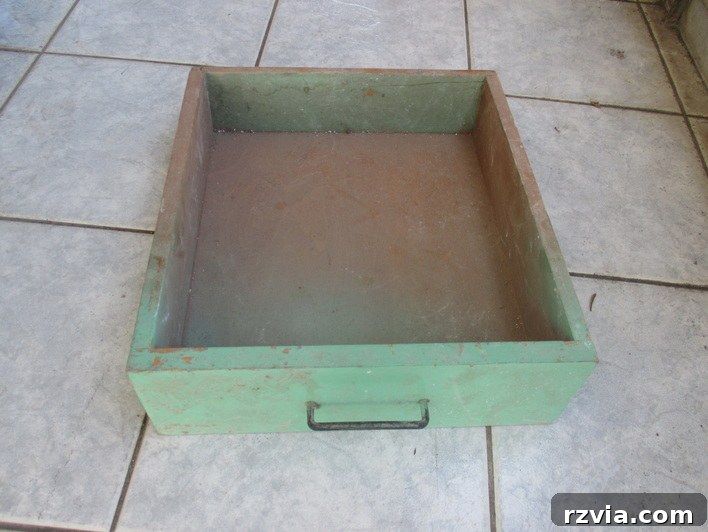
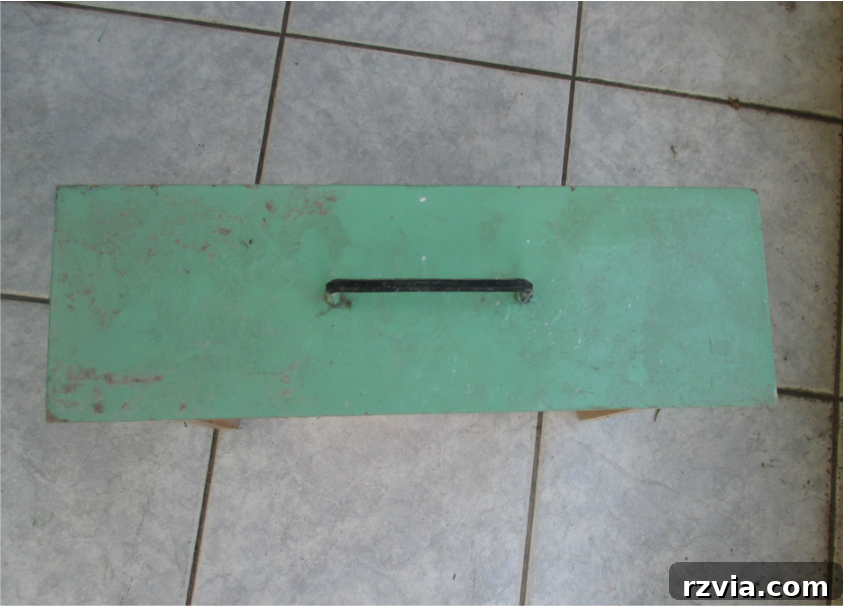
The How-To: A Step-by-Step Transformation
Phase 1: Revitalizing the Stool
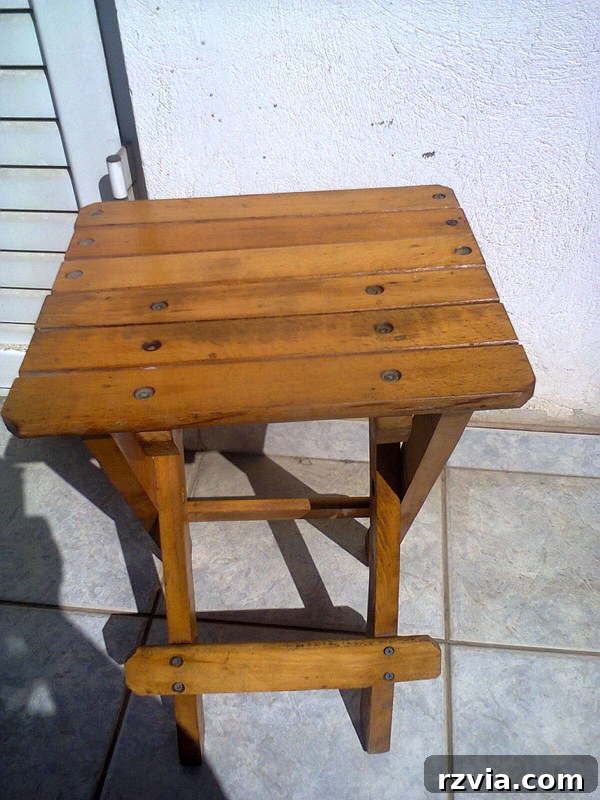
Our journey began with the stool, the foundation of our new table. Its surface was dull and showed signs of wear, a common state for items awaiting a new lease on life. The first crucial step was a thorough cleaning. For this, I turned to my trusty homemade oil and vinegar solution. This natural concoction is incredibly effective for wood, gently lifting dirt and grime while nourishing the material.
I simply applied the solution generously with a cloth, rubbing it into the wood grain. The acetic acid in the vinegar works as a mild disinfectant and cleaner, while the oil helps to moisturize and restore the wood’s natural luster. After a good scrub, I wiped it down to remove any residue. The transformation was immediate and satisfying. The stool, once looking tired and neglected, now boasted a visibly cleaner, healthier surface, ready for its next incarnation. This simple step not only prepared the wood for subsequent treatments but also revealed its inherent beauty, laying a perfect groundwork for the creative steps that followed.
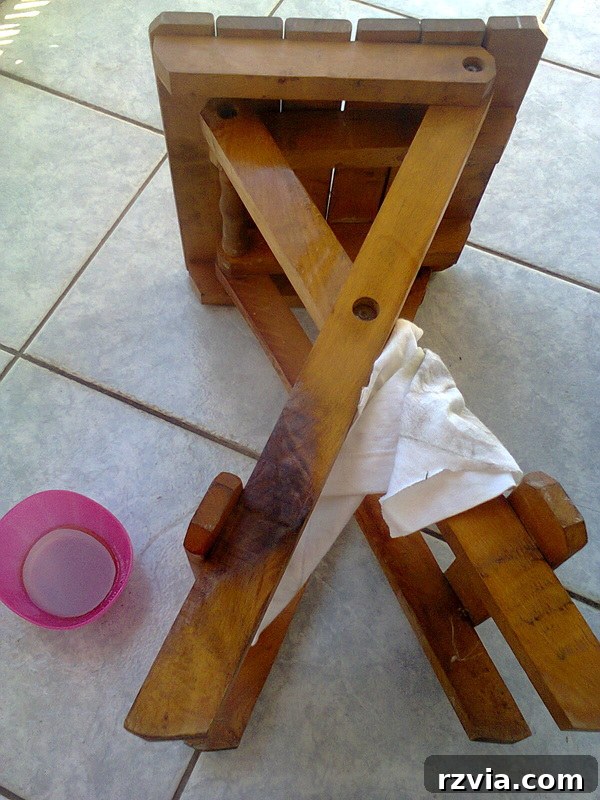
All nice and clean and shiny! The wood grain was now more pronounced, and the overall appearance was significantly improved, radiating a fresh, revitalized feel. This initial cleaning step is often underestimated, but it truly makes a difference in the final quality and longevity of any refinished piece.
Phase 2: Prepping the Drawer for its New Role
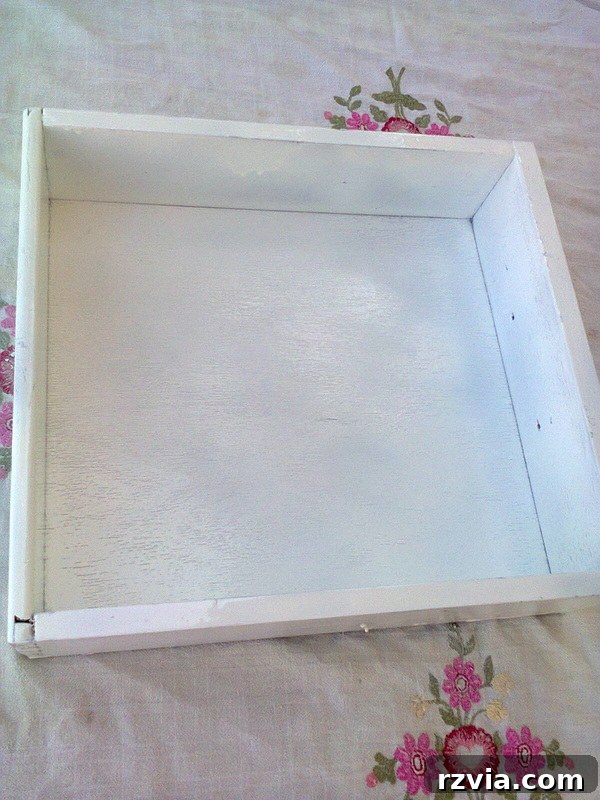
Next, my attention shifted to the drawer, which was destined to become the tabletop and storage compartment of our new creation. The first step was to remove its existing handle, as it wouldn’t suit the new aesthetic. Once the handle was off, I gave the drawer a base coat of white spray paint. This provided a uniform, clean canvas for the next layers.
After the spray paint dried, I lightly sanded the surface. This is a crucial step to ensure adhesion for the subsequent paint layer and to create a smoother finish. Following this, I applied a coat of chalky finish paint. Chalk paint is a miracle worker in the DIY world; it adheres beautifully to most surfaces with minimal preparation and dries to a soft, velvety matte finish. This choice was deliberate, aiming for a gentle, aged aesthetic rather than a glossy, modern one. The chalky finish imparted a much softer, more inviting look to the drawer, perfectly aligning with the rustic charm I envisioned for the completed table.
Phase 3: Crafting Unique Handles with Twine
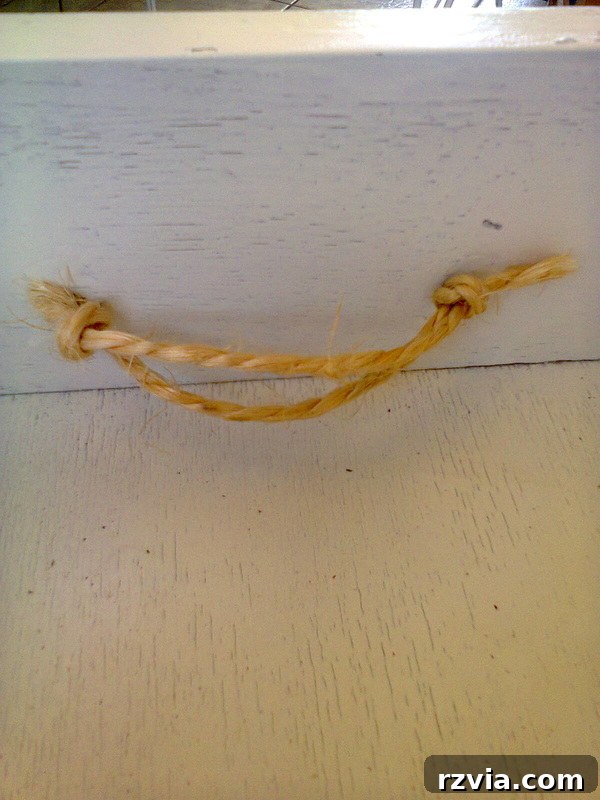
After painting, the drawer still presented a small challenge: the two holes on the front where the original handle had been. My initial thought was to simply fill them in and paint over, but then a flash of inspiration struck – a memory of what I affectionately call the “Twine Lady,” a nod to the rustic, natural aesthetic that can be achieved with simple materials. This idea immediately felt right, offering a charming, handmade touch that perfectly complemented the repurposed nature of the project.
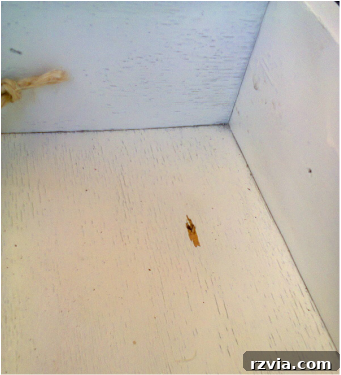
Instead of concealing the holes, I decided to embrace them and even add two more on the opposite side of the drawer. This allowed for the creation of unique, tactile handles made from twine. The process was straightforward: I simply threaded the twine through the holes, tying sturdy knots on the inside to secure them. The result was not only functional, providing an easy way to pull the drawer open, but also aesthetically pleasing. The twine handles introduced an organic, rustic element that added character and warmth to the chalk-painted surface, transforming a potential flaw into a distinct design feature. This simple modification underscored the project’s overall theme of creative problem-solving and embracing imperfections.
Phase 4: Designing the Drawer Interior – A Touch of Whimsy
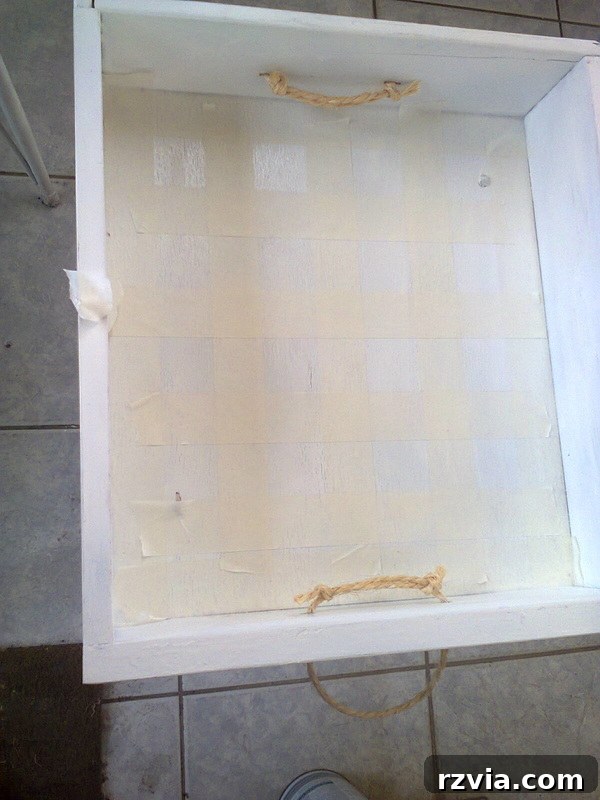
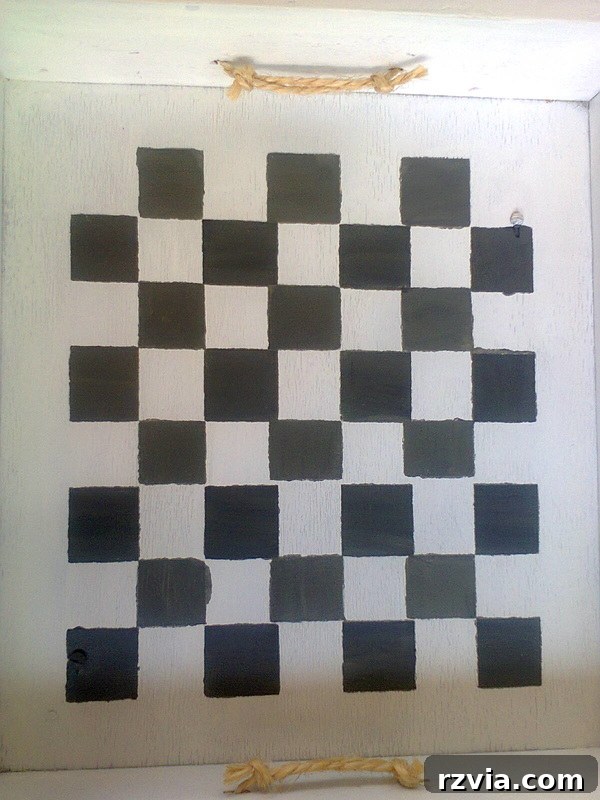
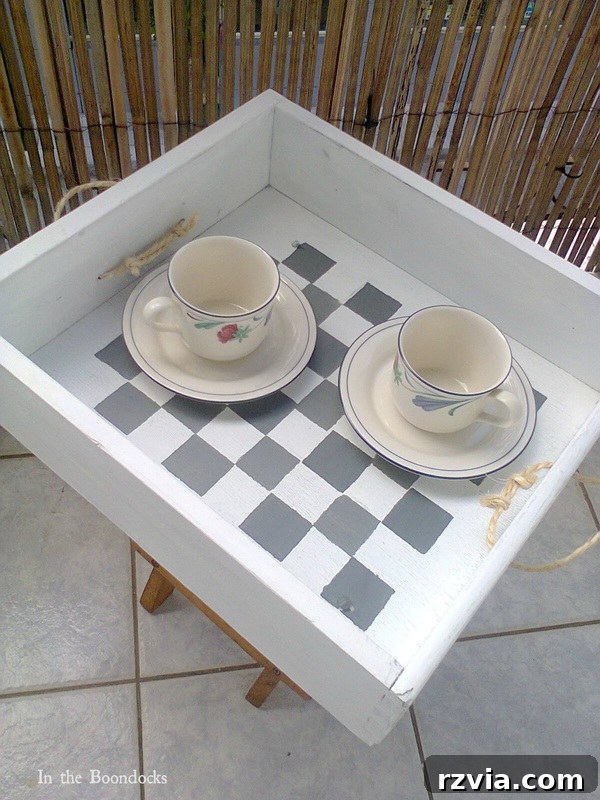
Before permanently attaching the drawer to the stool, a significant design decision presented itself: what to do with the interior of the drawer? I pondered whether to leave it a simple white or to introduce a decorative element. My husband, ever the creative one, suggested a backgammon design. While an intriguing idea, the intricacy felt a bit overwhelming for my current project, so I opted for a simpler, yet equally charming, checkerboard pattern. This design choice would add a playful and classic touch, making the inside of the drawer as interesting as the outside.
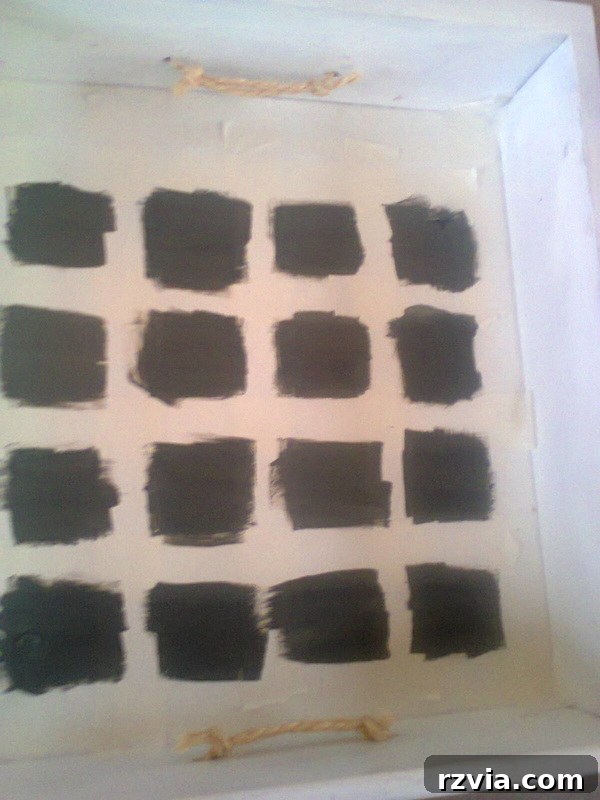
To achieve clean lines for the checkerboard, I meticulously marked off the areas I wanted to paint using masking tape. Precision here is key for a crisp finish. With the tape in place, I then set about creating my custom color. I blended beige and black acrylic paints to achieve a sophisticated, muted tone that complemented the white exterior. Once the paint was dry, I carefully removed the masking tape to reveal sharp, distinct squares.
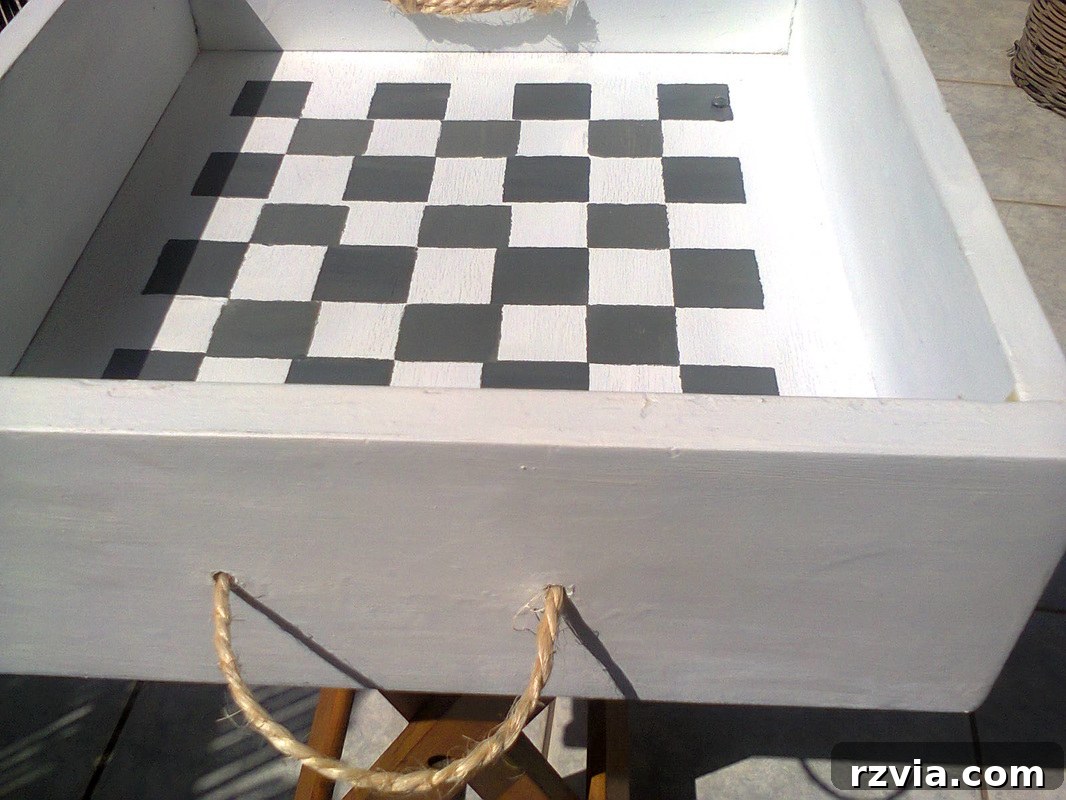
The result was fantastic. The painted checker design instantly elevated the drawer’s interior, making it a hidden gem. What made it even more special was the subtle character of the chalk paint, allowing glimpses of the original wood grain to peek through in places, adding depth and a touch of rustic authenticity to the newly painted pattern. This unexpected detail enhanced the overall charm, truly making it a one-of-a-kind piece.
|
|
I carefully marked off the areas for the checkerboard design with masking tape, ensuring straight and even squares. Then, I applied my custom-mixed beige and black acrylic paint within these defined sections. The precision of the masking tape allowed for crisp lines, and the combined colors created a unique, muted palette that beautifully complemented the overall rustic aesthetic. The end result was a subtly elegant checker pattern, transforming the drawer’s interior into an engaging design feature.
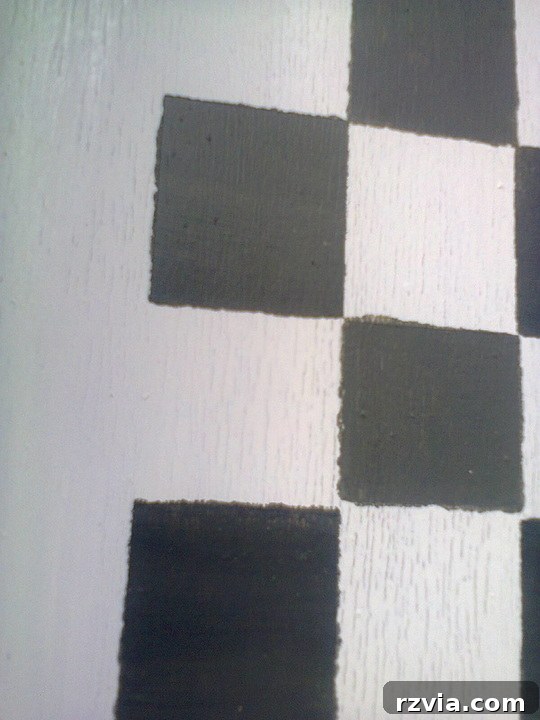
A closer look reveals the beautiful interplay between the paint and the natural wood. You can clearly see the subtle grain of the wood still peeking out from beneath the chalk paint, a charming detail that adds texture and character. This intentional effect highlights the organic nature of the material, preventing the finish from looking too uniform or artificial.
Phase 5: The Secret to a Smooth Finish: Homemade Beeswax Polish
My work wasn’t quite finished yet. To protect the lovely checkerboard design and give the drawer a durable, luxurious feel, I knew it needed a sealant. Traditional furniture wax would be perfect, but living “in the boondocks,” as I often say, means some specialized supplies are hard to come by. This minor obstacle, however, was quickly overcome with a bit of DIY ingenuity and the help of my trusty friend, Google.
A quick search revealed a simple yet effective recipe for homemade furniture wax. The solution was surprisingly straightforward: a blend of one part beeswax with two parts olive oil. This natural mixture creates a polish that not only seals and protects the paint but also imparts a rich, satiny smoothness to the wood. I melted the beeswax gently, then stirred in the olive oil until thoroughly combined, allowing it to cool into a soft, workable paste. You can find the full tutorial for making your own beeswax furniture polish here.
Applying this homemade wax was truly magical. As I rubbed it onto the painted surfaces of the drawer, the rough, chalky texture instantly transformed into something buttery smooth and wonderfully tactile. The wax deepened the colors slightly, giving them a more professional and finished appearance, while offering a protective layer against wear and tear. I made sure to apply it liberally over all the areas where the chalk paint had been used, ensuring consistent protection and a uniform, silky feel across the entire drawer.
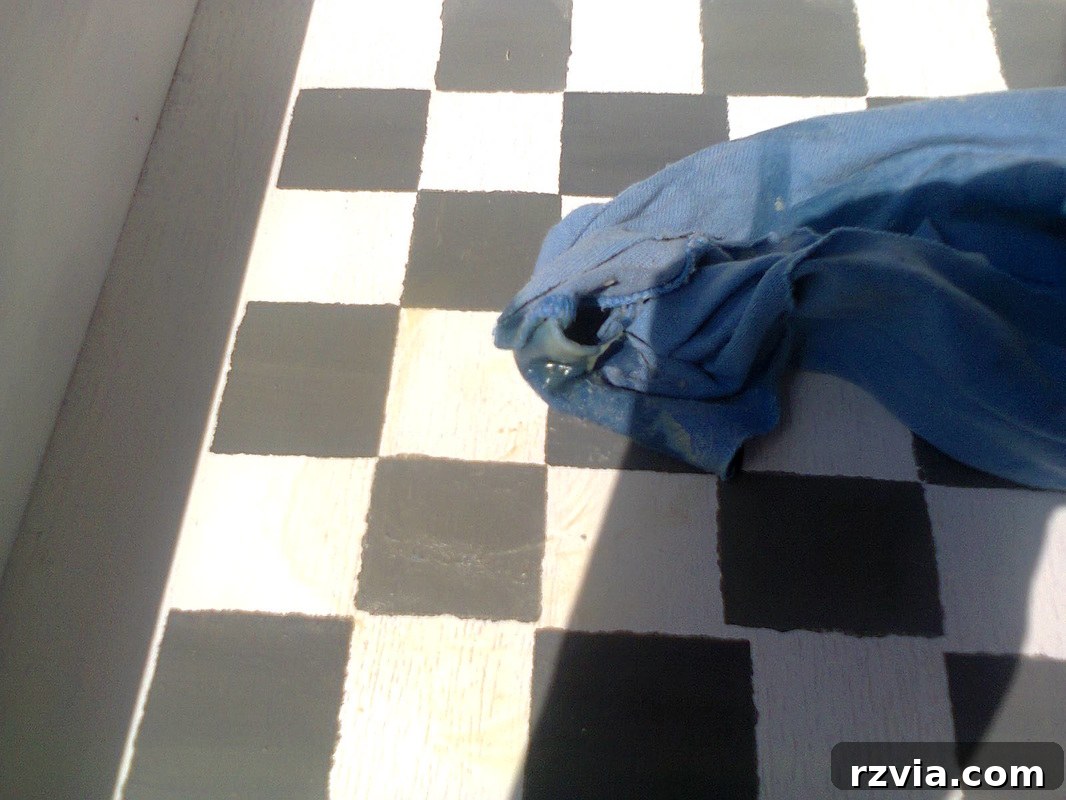
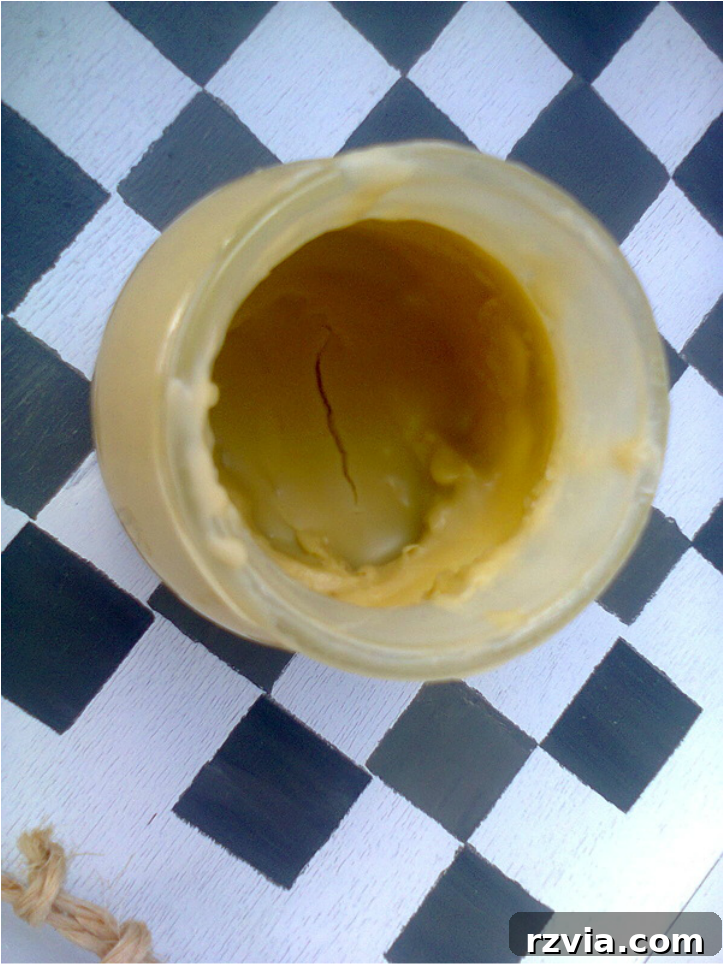
The application of the homemade beeswax polish was transformative. From a slightly rough and porous texture characteristic of chalk paint, the drawer surface became incredibly smooth and soft to the touch. This rich, buttery finish was precisely what I envisioned, not only enhancing the aesthetic appeal but also providing a protective layer that would ensure the durability of the painted design. I meticulously rubbed the wax across every chalk-painted surface of the drawer, making sure to achieve a consistent, luxurious feel throughout.
Phase 6: Final Assembly – Uniting the Pieces
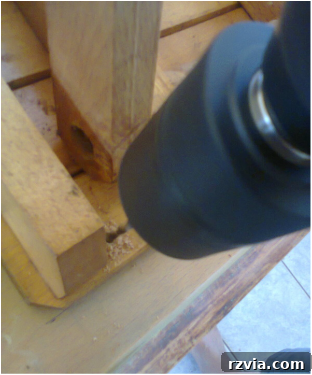
With both the stool thoroughly cleaned and the drawer beautifully painted, designed, and waxed, it was time for the final act of assembly: uniting these two distinct pieces into a functional whole. This involved carefully attaching the drawer to the top of the stool. I precisely marked and drilled two holes into the bottom of the drawer and corresponding holes into the top of the stool frame. Using sturdy screws, I then securely fastened the drawer to the stool, ensuring a stable and robust connection.
This critical step required attention to alignment and structural integrity, as the drawer would now serve as the table’s surface and its storage compartment. The goal was to create a seamless integration, making it look as though the two pieces were always meant to be together. Once fastened, our “Pieces of a Table” was complete, ready to serve its new purpose with a renewed sense of style and utility.
|
|
And so, from two overlooked and underutilized items, a beautiful and functional piece of furniture emerged. I now have a lovely, unique table on which to leisurely drink my coffee, or tea if you prefer. Its compact size and integrated storage make it incredibly versatile, perfect for small spaces or as an accent piece in any room. The checkerboard pattern inside the drawer adds a delightful surprise, while the homemade wax finish gives it a truly luxurious feel. It’s a testament to the power of imagination and the joy of creating something new from old.
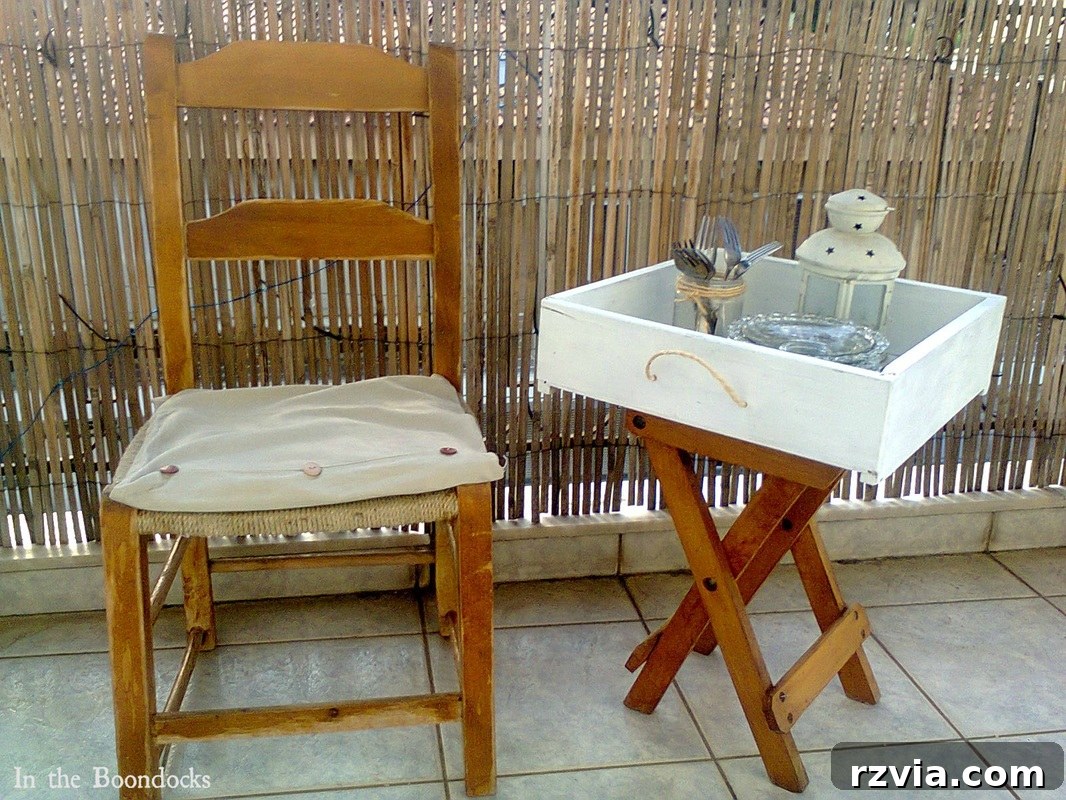
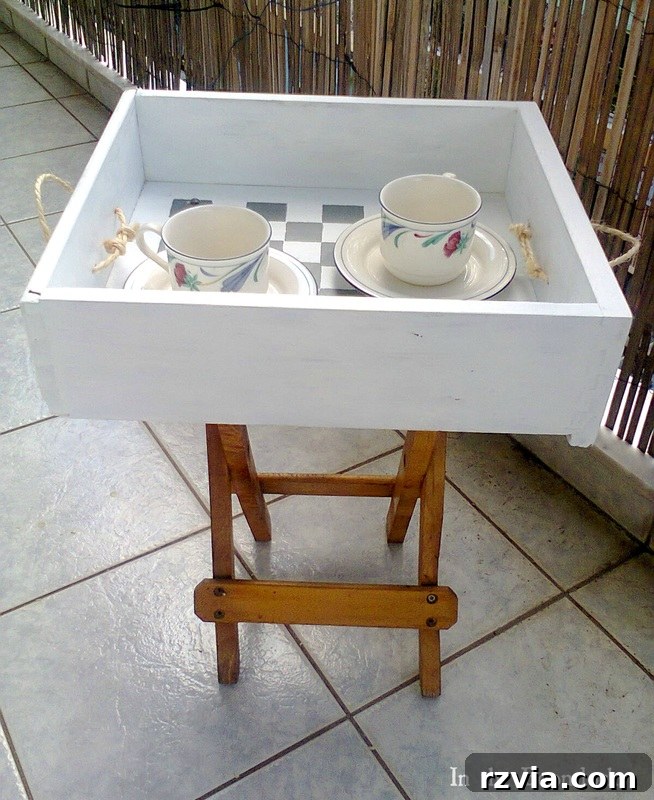
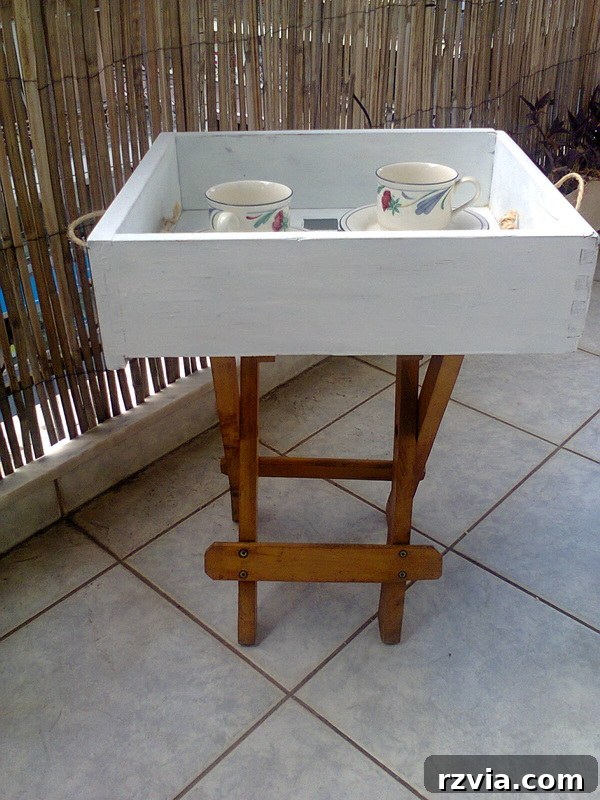
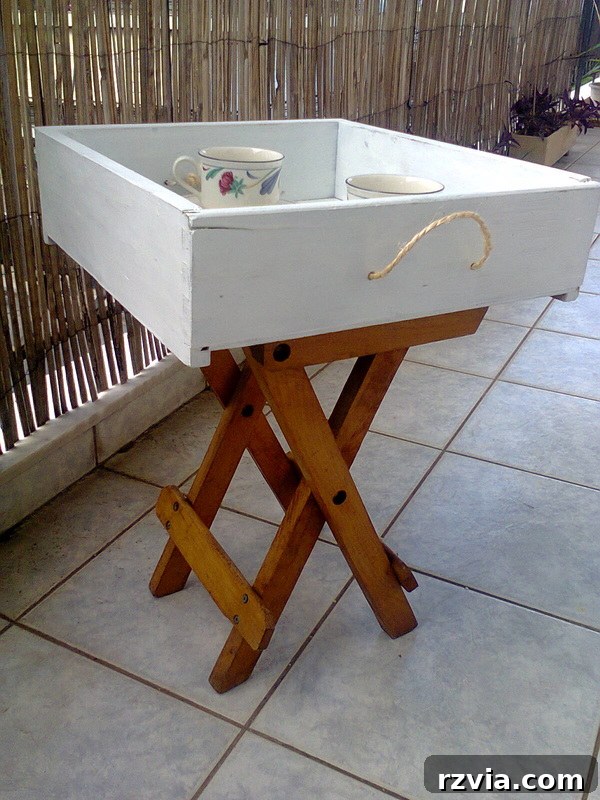
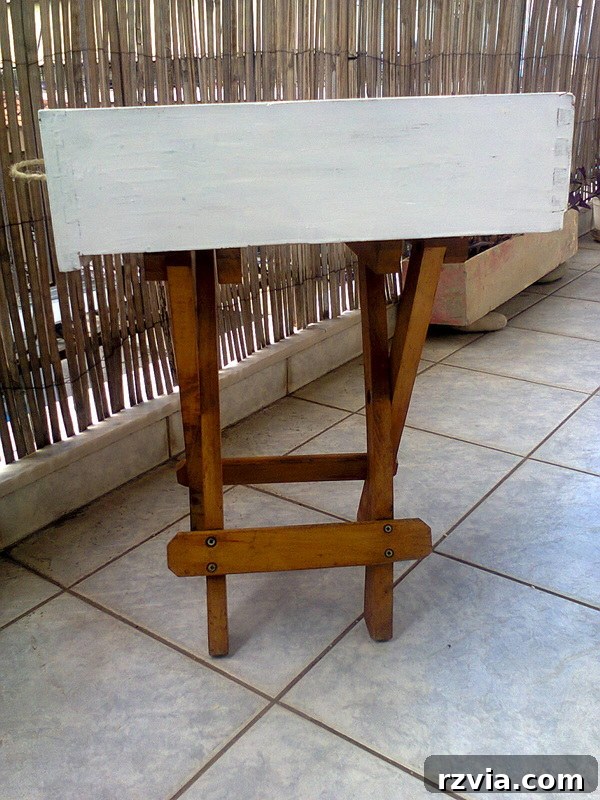
I plan to keep it out here on the balcony, where I can fully appreciate its charm and functionality while enjoying my morning coffee or an evening read. It’s the perfect spot for a little moment of peace, made even more special by the knowledge that this table was once just forgotten pieces, transformed by hand. This beautiful, repurposed piece now adds a personal touch to my outdoor space, reflecting a commitment to creativity and sustainable living.
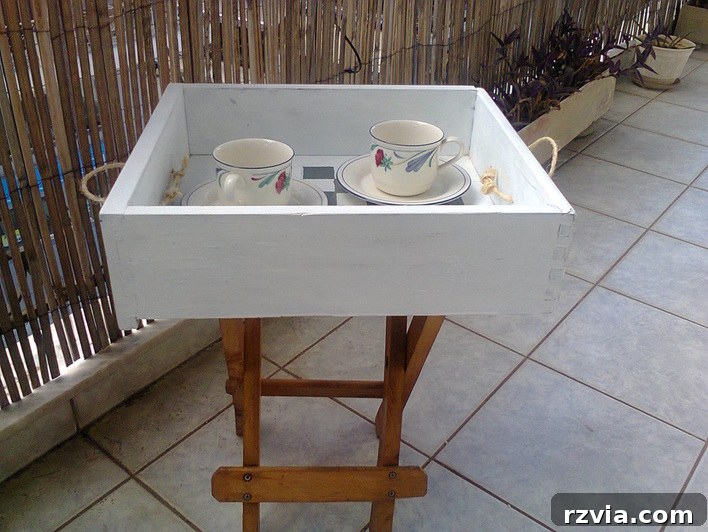
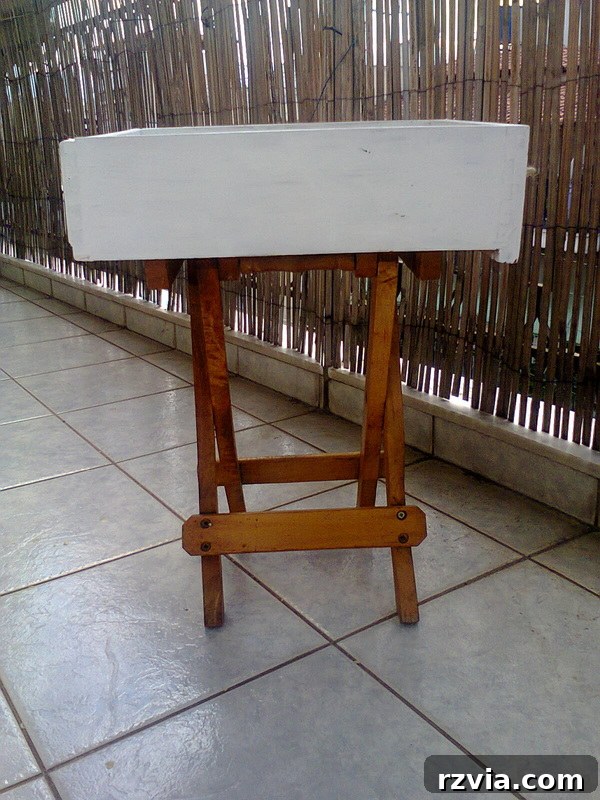
Well, that concludes today’s transformation story. It’s truly inspiring to see how a collection of unused items – an old stool and a forgotten drawer – can be combined through simple DIY techniques to create a beautiful, functional, and conversation-starting table. This project truly embodies recycling at its best, proving that creativity can turn neglected pieces into cherished possessions. Do you have any leftover pieces just waiting to be given new life in your home? I encourage you to look around with fresh eyes; you might be surprised by the hidden potential waiting to be unleashed!

If you like what you see, share it with your friends, or save it on Pinterest. If you really like what you see, subscribe to my blog and get my adventures twice a week in your mailbox.

Other posts you may like:
HOME
This blog is for entertainment purposes only; my DIY tutorials are not professional advice. Read my full disclaimer here.
I love it when I get your comments and I will reply to each and every one of them.