
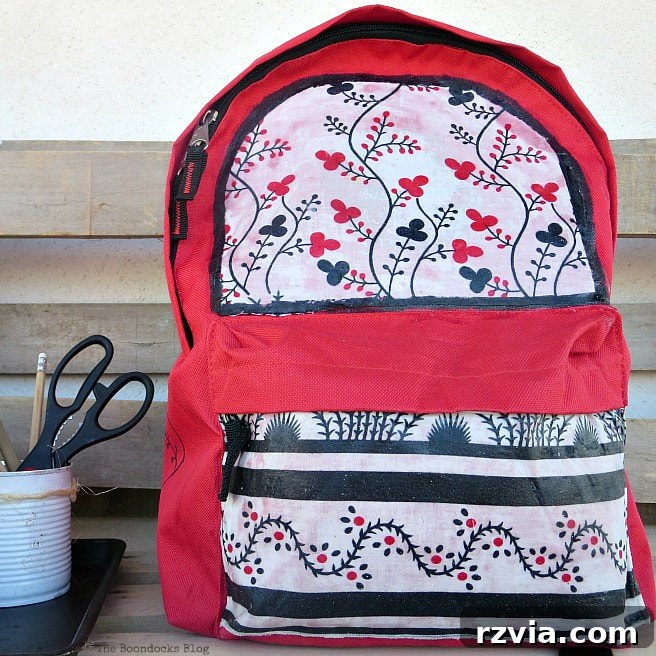
Is your old backpack looking a bit sad, or perhaps its design no longer suits your style? Instead of buying a new one, why not give it a fresh, personalized look just in time for the upcoming school year? Discover how to transform a dated or childish backpack into a stylish, age-appropriate accessory using readily available materials like old clothes and Mod Podge. This simple yet effective DIY backpack makeover project is perfect for back-to-school, offering a sustainable and creative way to express your unique personality.
Revitalize Your Back-to-School Essentials: A Creative Backpack Makeover
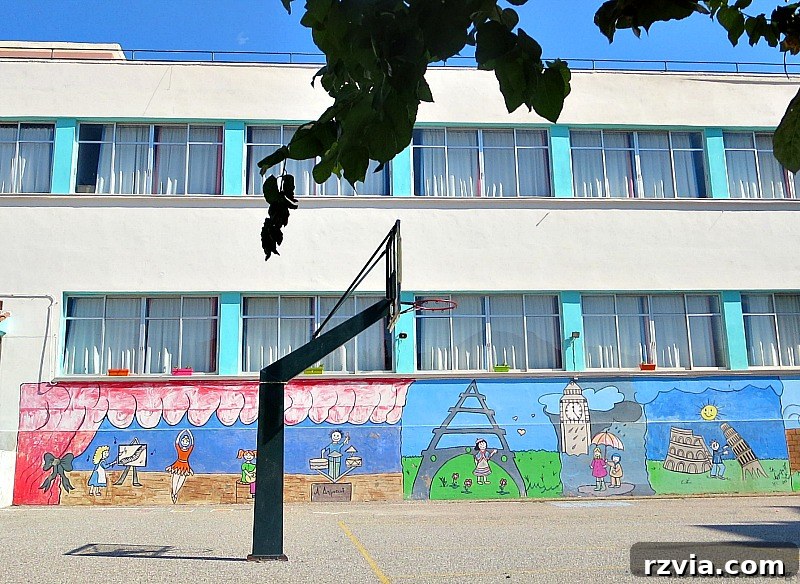
As summer draws to a close and the thought of back-to-school approaches, many students (and parents!) start thinking about new supplies. However, a “new” backpack doesn’t always have to mean a trip to the store. In many parts of the world, like Greece where I live, school typically begins in mid-September. The warm weather lingers, making it a perfect time for creative projects before diving back into textbooks. This period offers an ideal opportunity to tackle DIY projects, giving existing items a new lease on life.
The education system in Greece, for context, sees children starting grade school at age six. Following elementary education, there are three years of middle school and another three years of senior high school. Post-graduation, students can pursue higher education at universities or vocational schools. My own children have progressed through this system, with my youngest now in her final year of high school. School days here generally run from around 8:10 AM until 2 PM, depending on the grade level. There isn’t a dedicated lunch break; instead, students can purchase snacks. After school, many attend tutorial schools, especially for subjects like English, which is widely learned since Greek is not an international language.
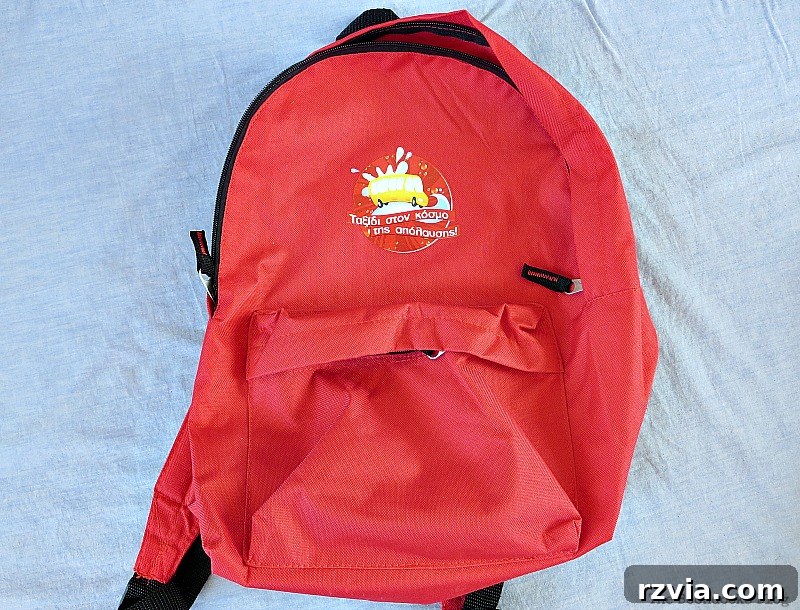
This brings me to the perfect candidate for our DIY project: a small, sturdy backpack one of my girls received during a factory visit. While it was well-made and useful for carrying a few books, its design featured a prominent, childish sticker that was no longer appropriate for a teenager. Teens, as we know, have a keen sense of style and prefer items that reflect their evolving tastes. Giving it away seemed wasteful, especially since the bag itself was in excellent condition and a convenient size for lighter school days. The only real issue was that persistent, age-inappropriate sticker.

This project is a testament to the power of upcycling and personalization. Instead of succumbing to the pressure of buying new, we can transform existing items, reducing waste and fostering creativity. Follow along to see how we gave this functional but uninspired bag a complete style overhaul, making it truly unique and perfect for a high schooler.
Giving a Backpack a DIY Makeover: Step-by-Step Transformation
The journey to a perfect backpack makeover often involves a bit of experimentation. My first thought for covering the offensive sticker was to use paint. I mixed acrylic paint with a fabric medium, hoping to achieve a durable, opaque finish that would seamlessly blend with the backpack’s material.
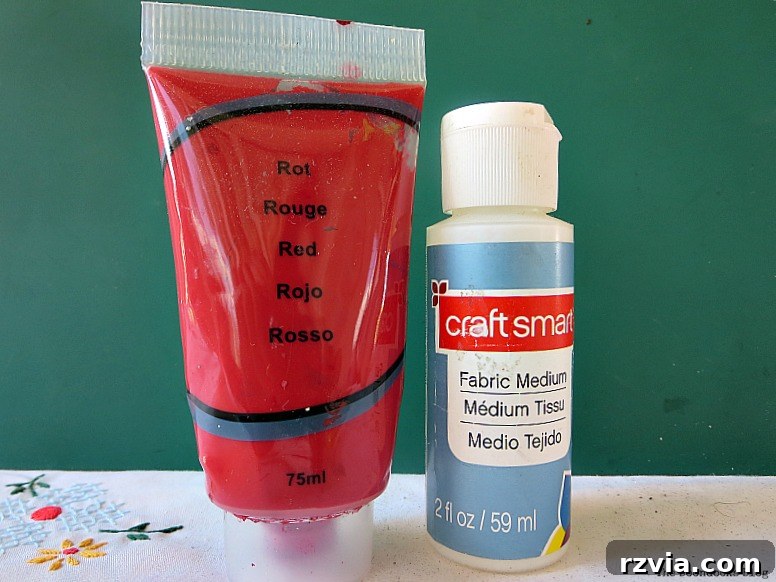
However, once I began painting, it became clear that this approach wouldn’t work. My primary mistake was failing to recognize that the backpack’s surface was plastic, not fabric. The fabric medium, designed to make acrylic paint flexible on textiles, was utterly useless here. Furthermore, the paint provided very little coverage, allowing the childish design beneath to show through quite clearly. It was a valuable lesson in material compatibility and the importance of a well-researched plan before starting a DIY project.

Embracing Fabric for a Flawless Finish
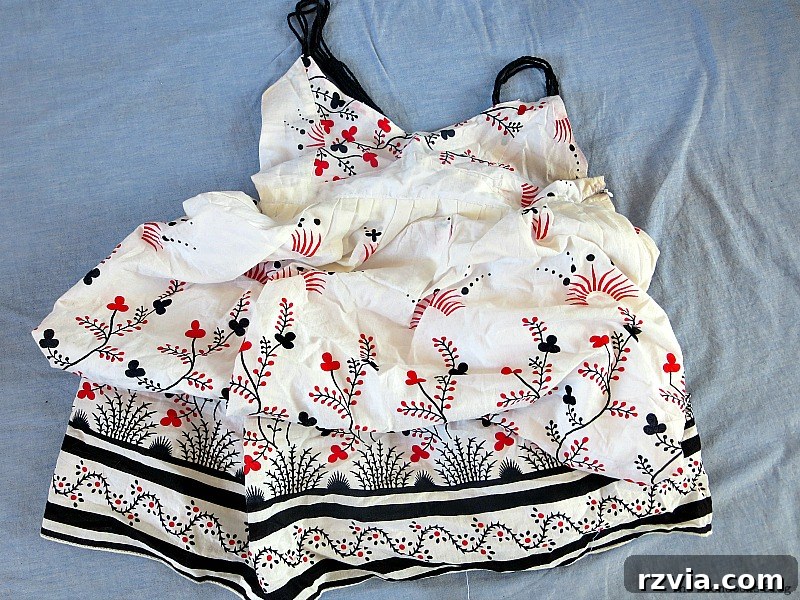
After the initial setback, a new and much more effective idea emerged: covering the problem areas with fabric. This solution offered not only superior coverage but also the opportunity to introduce beautiful patterns and textures, completely transforming the backpack’s aesthetic. I had a lovely old dress that was too small but featured a fabric pattern I adored. Repurposing old clothing is a fantastic way to give beloved textiles a new purpose, a habit I often practice in my crafting. I’ve previously used old clothing to create a special pillow and even a seat cover, showcasing the versatility of fabric scraps. You can explore more of my fabric-based upcycling projects in my fabric category.
Crafting with Precision: Templates and Adhesion
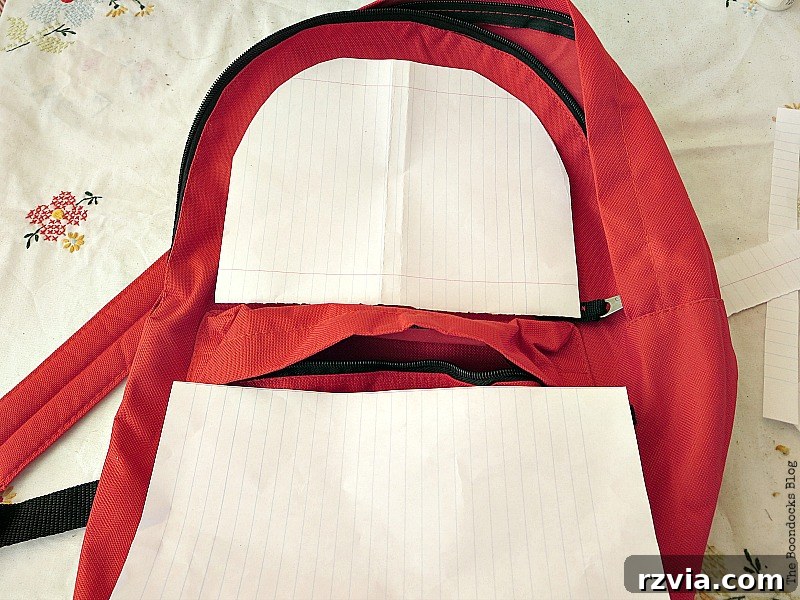
To ensure a neat and professional finish, creating accurate templates was crucial. I used plain paper to trace the exact dimensions of the areas I intended to cover with fabric. This step is vital for achieving clean lines and a seamless application, preventing any uneven edges or awkward overlaps.
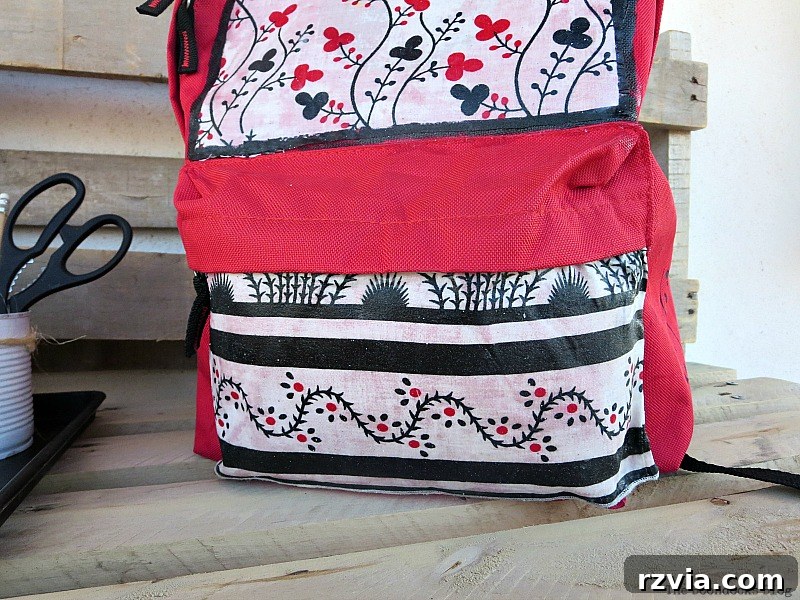
Once the fabric pieces were cut according to the templates, I used a strong fabric glue to attach them to the backpack. Applying glue evenly is key to preventing bubbles and ensuring the fabric adheres smoothly to the surface. I carefully positioned the fabric, pressing down firmly to secure it in place.
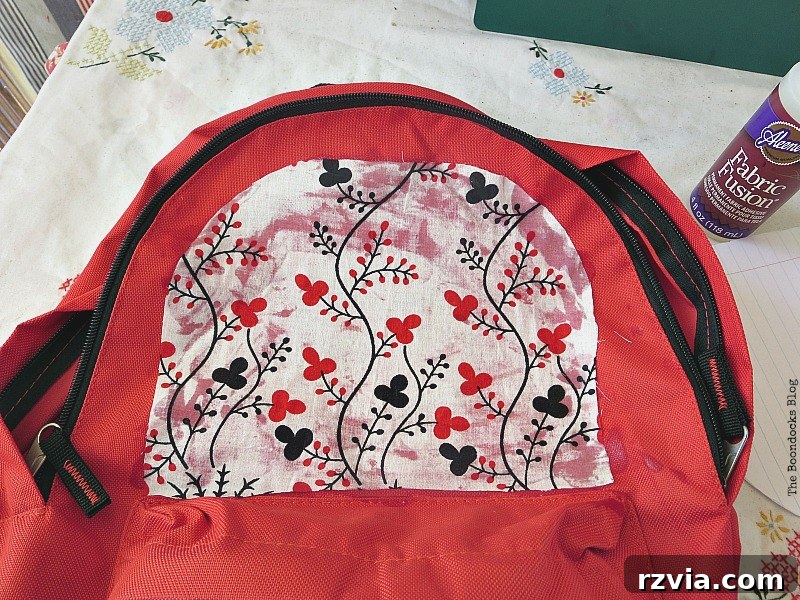
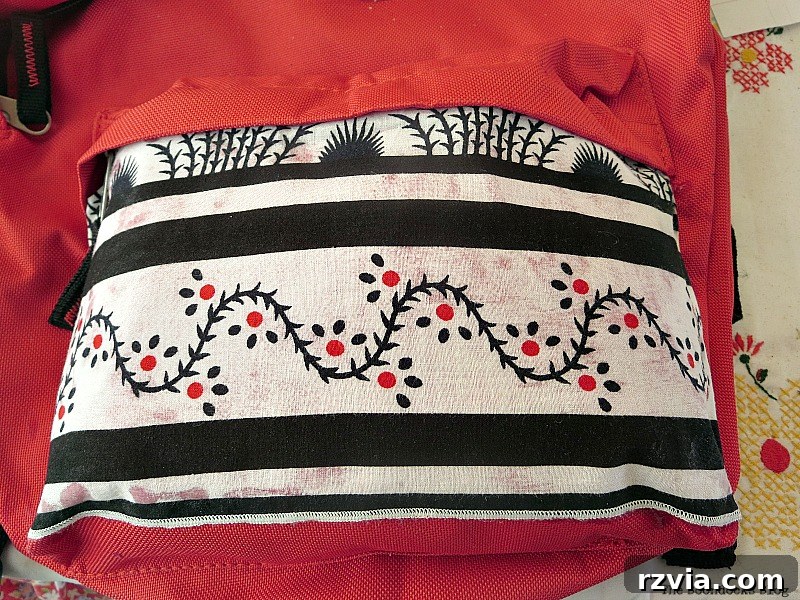
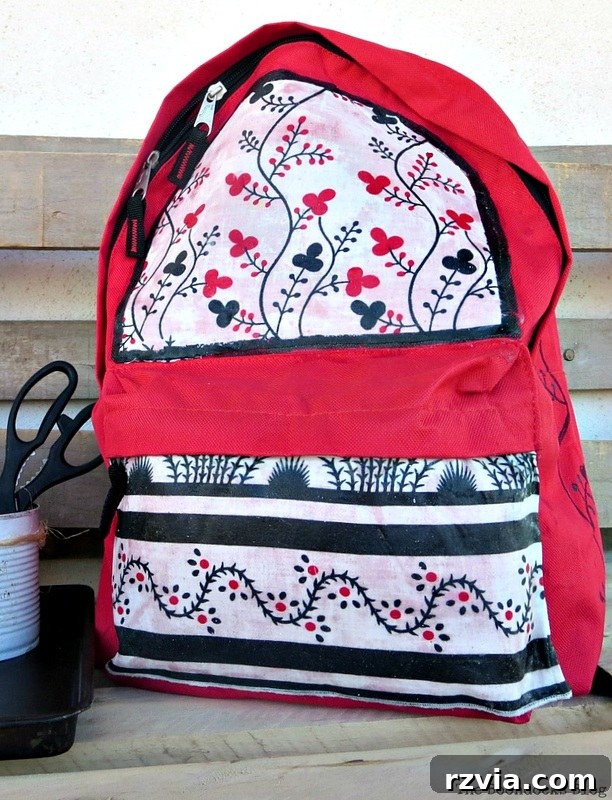
This process was repeated for all designated areas, including the bottom pocket, which was the most prominent location of the original sticker. Once the fabric was securely glued, the next essential step was sealing it. I applied two generous coats of Mod Podge over the fabric. Mod Podge acts as both an adhesive and a sealant, providing a durable, water-resistant finish that protects the fabric from wear and tear, ensuring the makeover lasts.
Adding Personalized Flair and Functionality
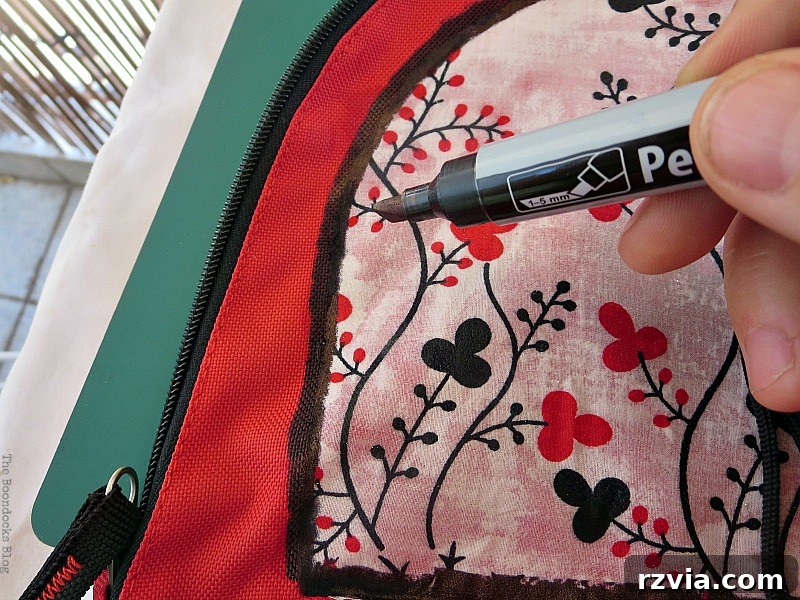
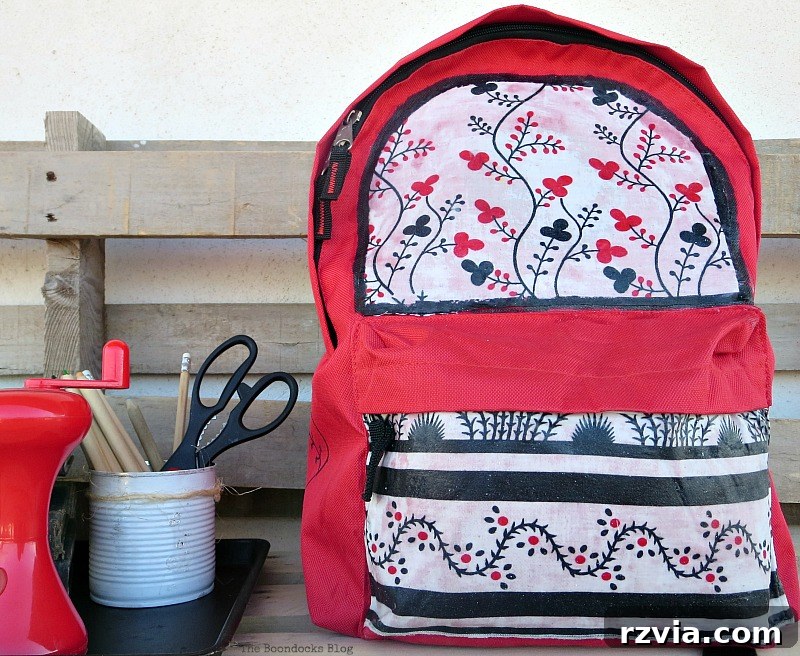
With the primary fabric application complete, it was time to add personalized touches that truly elevated the backpack’s design. I decided to create a defined border on the top fabric section. Using a permanent marker, I carefully traced along the edge, giving it a polished and intentional look. This simple detail helped to frame the fabric panel beautifully.
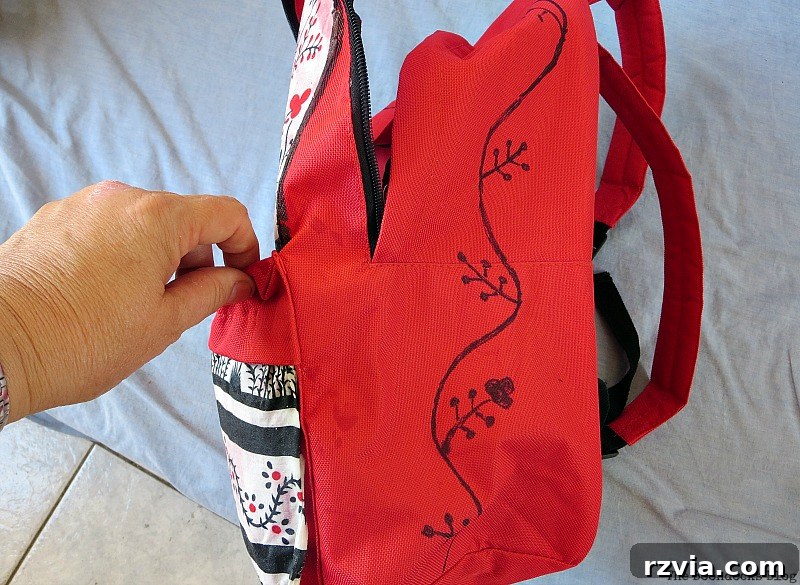
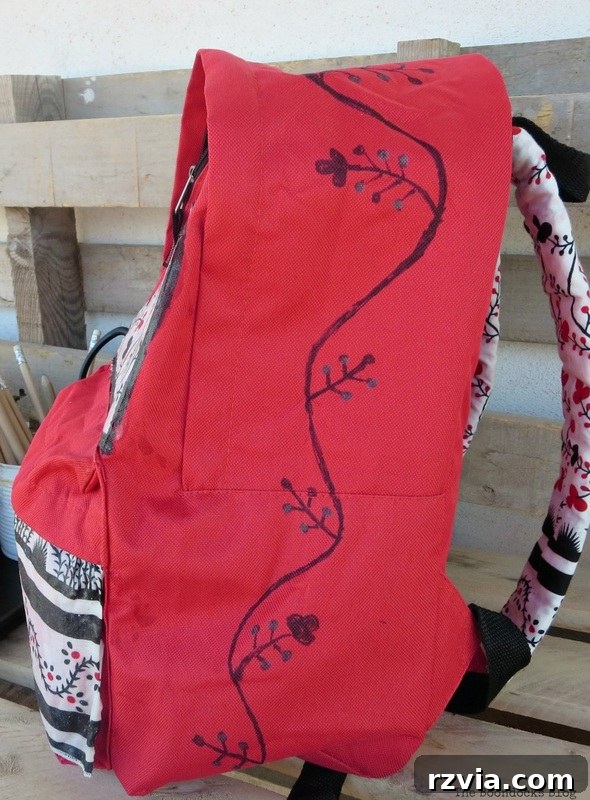
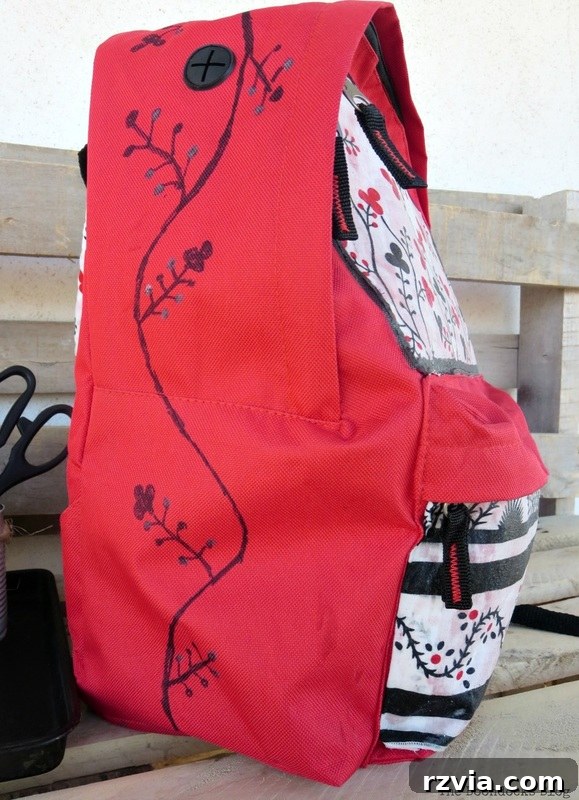
My daughter also expressed a desire for some decorative interest on the sides of the backpack. To complement the existing fabric pattern, I freehand drew a floral design on the side panels. This allowed for a cohesive look while adding an extra layer of unique artistry. Freehand drawing allows for flexibility and ensures the design feels organic and integrated with the overall aesthetic.
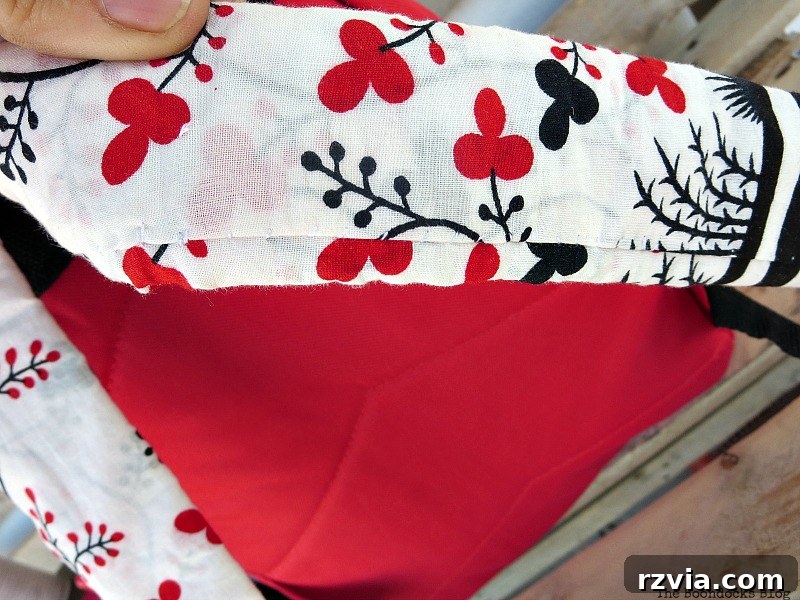
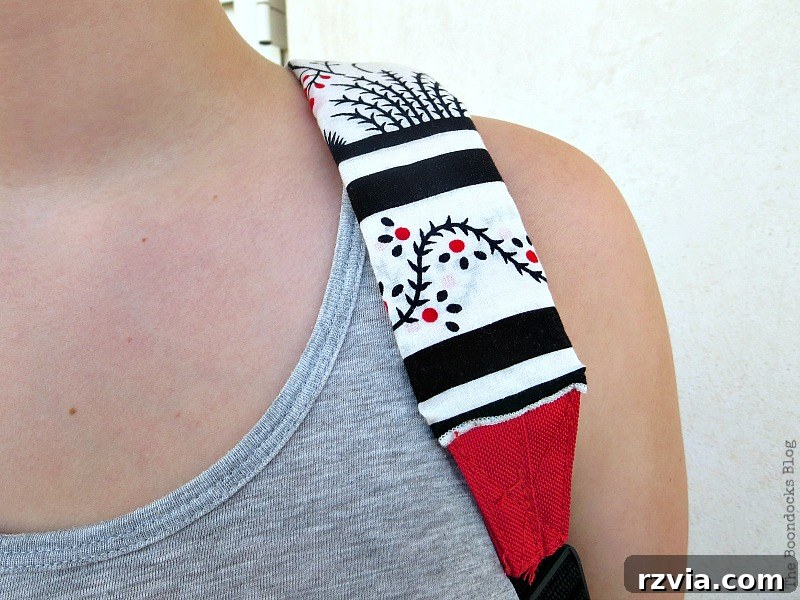
Finally, to complete the cohesive transformation, she asked me to cover the backpack straps with the same lovely fabric. I chose to sew the fabric onto the straps for added durability, especially considering the weight they would bear. However, for those who prefer a no-sew option, a strong fabric glue could certainly be used here as well. Covering the straps not only enhances the aesthetic but also provides a more comfortable feel, making the entire backpack feel brand new.
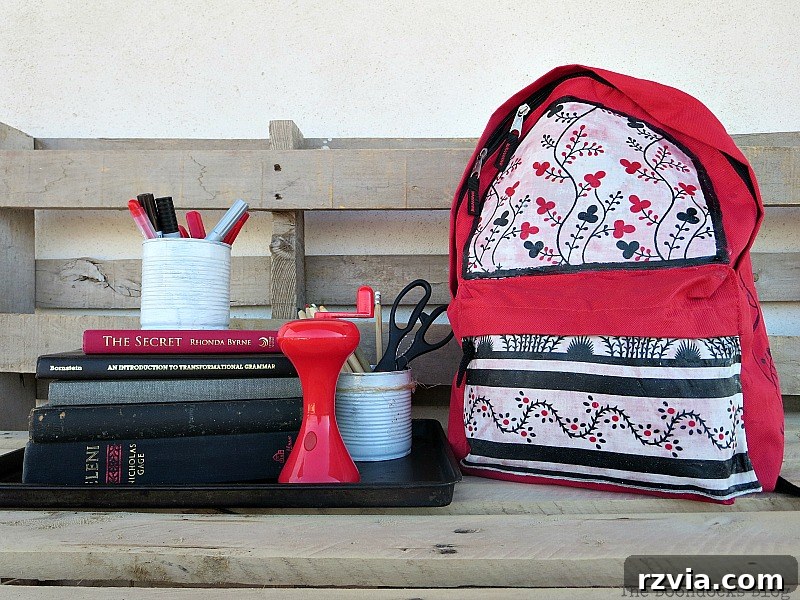
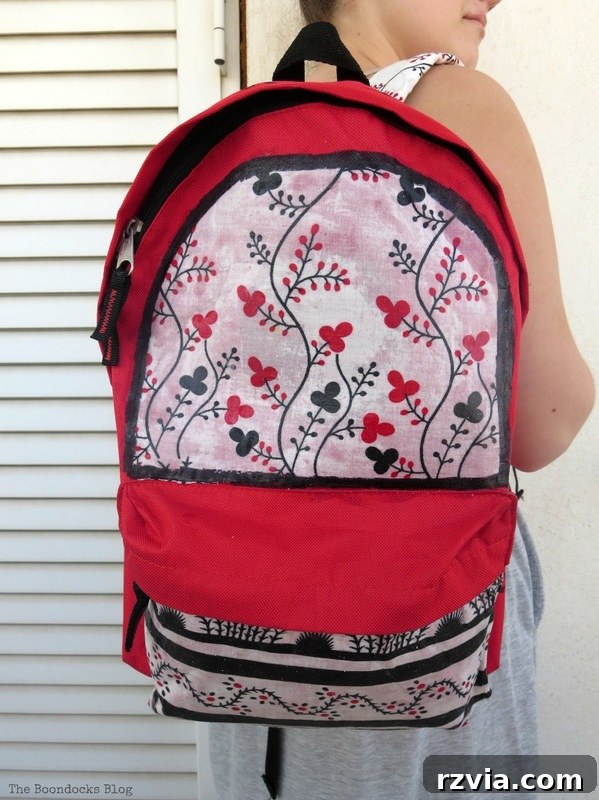
The chosen fabric truly brought this backpack to life, adding a touch of elegance and personality.
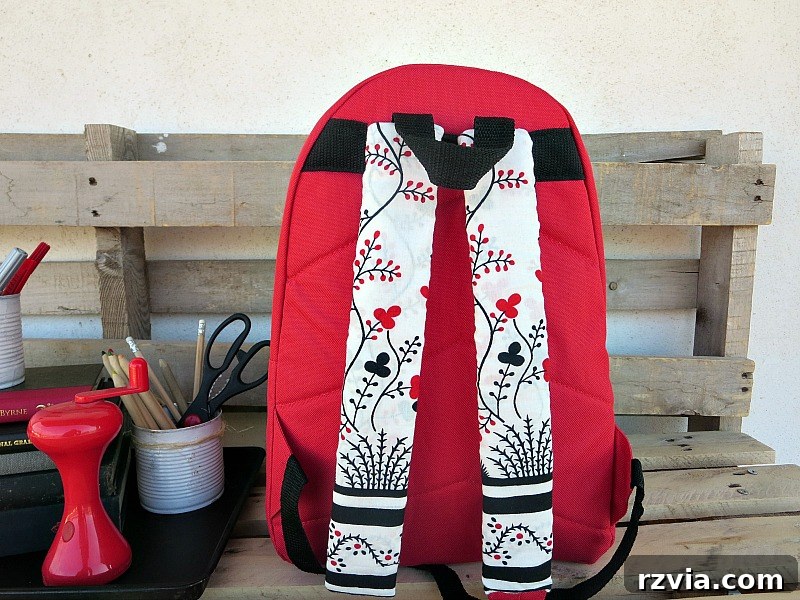
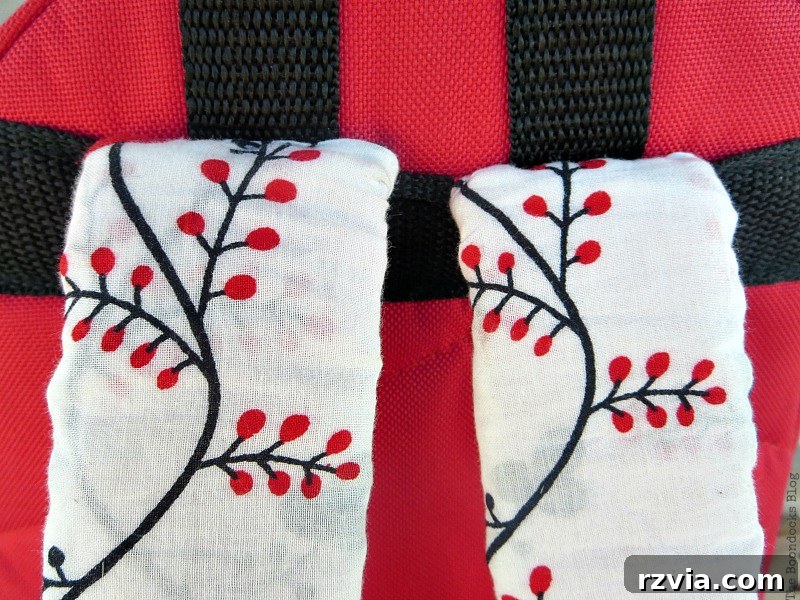
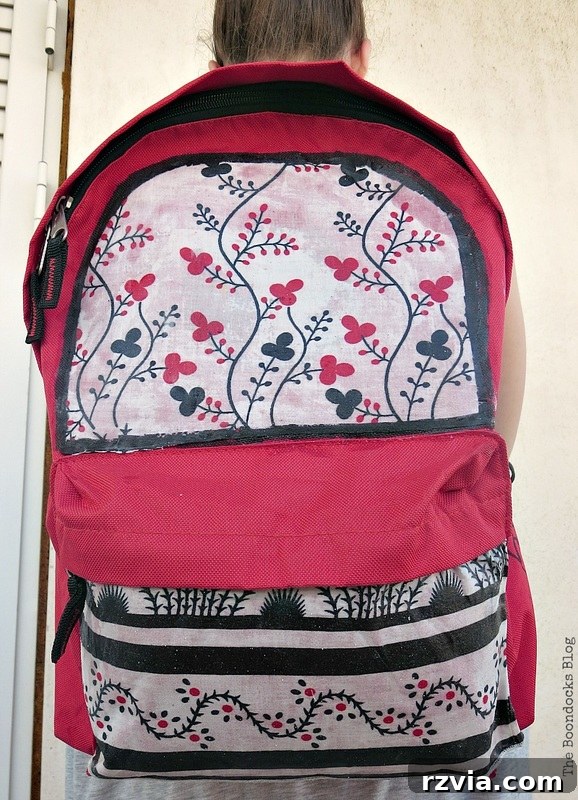
When worn, the fabric-covered straps create a beautiful, continuous flow from the front of the bag, making a stylish statement.
To add a final touch of interest and dimension to the hand-drawn floral design, I used a metallic grey marker. This subtle addition caught the light beautifully, giving the flowers a delicate shimmer and enhancing the overall custom look.
Related: If you’re inspired to create a backpack from scratch, check out this DIY rucksack sewing patternat Sustain my Craft Habit for another exciting project.
A Backpack Reborn: Sustainable Style for Back-to-School
The old backpack makeover is now complete, perfectly timed for the start of the school year. The transformation is remarkable; it bears no resemblance to its former childish self. With the careful selection of a beautiful floral fabric, it has become a pretty, feminine, and utterly unique accessory. Most importantly, the unsightly, childish sticker is now completely hidden, replaced by a design that truly reflects a teenager’s style.
I genuinely feel this DIY backpack makeover, utilizing upcycled old clothes, went above and beyond simply covering a sticker. It involved a comprehensive redesign, adding numerous personal touches that make this bag truly one-of-a-kind. My daughter absolutely adores her “new” bag, and that, ultimately, is the most rewarding outcome. This project demonstrates that with a little creativity and effort, functional items can be reinvented, avoiding waste and creating something far more special than anything store-bought. What creative solutions would you have explored to transform a similar item?

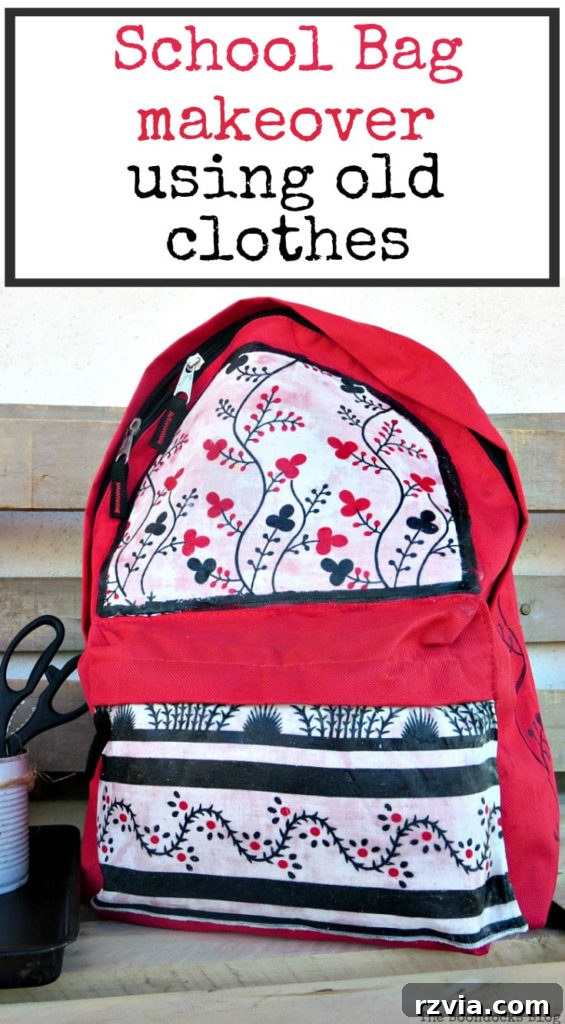
If you found this DIY backpack makeover inspiring, please share it with your friends or save it to your Pinterest boards for future reference. To stay updated with more creative projects and adventures, consider subscribing to my blog and receive fresh content directly in your inbox twice a week.